Attached Garage Moisture Risk in Tualatin
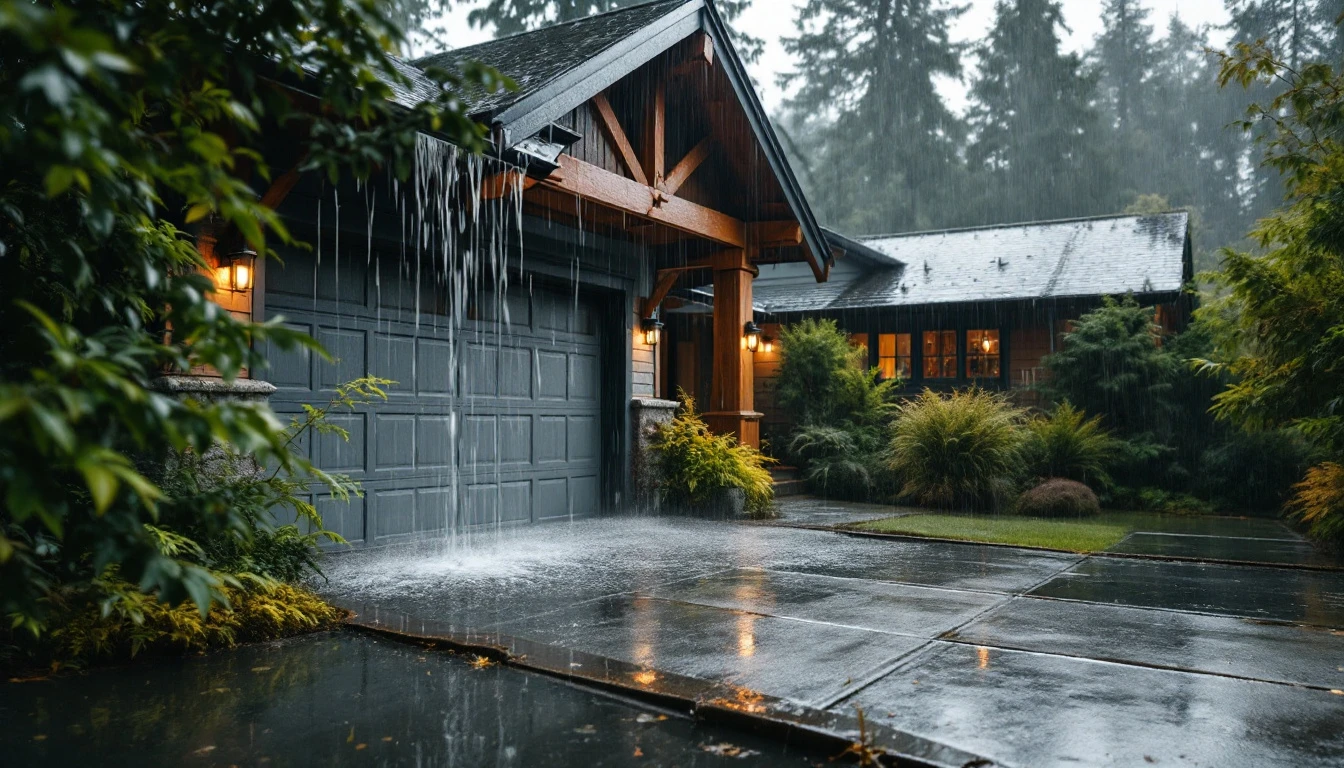
Tualatin’s housing boom from the 1980s through 2000s created neighborhoods filled with two-story homes featuring attached two-car garages. These garages share walls with living spaces, and their original seals and drainage systems are now decades old. Tualatin garage moisture damage prevention starts with understanding how Portland Metro’s cool, wet winters—October through March brings extended rainfall and temperatures hovering between 35-48°F—allow moisture to find every vulnerability.
What does this moisture do? Metal fixtures develop rust. Walls show water stains that signal deeper problems. Structural wood begins to decay. Homeowners who ignore these warning signs face repair bills ranging from $3,000 to $8,000 or more when damage spreads to framing, drywall, and foundation elements.
The alternative? Regular inspections catch failing weatherstripping before water enters.
Maintaining door seals costs a fraction of repairing rotted framing. Preventative maintenance protects your investment by stopping moisture damage before it starts.
Seasonal Garage Maintenance Checklist for Tualatin Homes
Timing your garage maintenance to Tualatin’s weather patterns prevents moisture damage before it starts. Here’s what to tackle each season, with specific deadlines and tools you’ll need.
- Fall (September-November): Complete weatherstripping inspections by October 1st, before heavy rains arrive. Walk the perimeter with a flashlight during daylight, checking for gaps where door meets frame. Replace cracked or compressed weatherstripping using adhesive-backed vinyl strips (about $15 at hardware stores). Clean gutters and downspouts monthly through November—clogged drainage sends water cascading down garage walls. Use a caulk gun to seal any gaps around door frames, windows, or where siding meets concrete.
- Winter (December-February): Check doors weekly during storms for water intrusion signs—puddles, damp concrete, or musty odors. Test door operation monthly; icing can stress springs and tracks. Verify bottom seals remain flexible despite cold temperatures.
- Spring (March-May): Inspect all weatherstripping for winter damage by April 1st. Replace any sections that stayed compressed or developed tears. Check painted surfaces for peeling or bubbling—early signs of moisture beneath.
- Summer (June-August): Examine hinges, tracks, and brackets for rust formation. Apply rust-inhibiting spray to bare metal. Verify garage ventilation keeps humidity low during warm months.
Weatherstripping Replacement Basics
Weatherstripping forms a critical barrier preventing water from seeping through gaps between your garage door and its frame. In Tualatin’s wet climate, these seals degrade faster than in drier regions, typically requiring replacement every three to five years as rubber cracks, compresses, or pulls away from the frame. Understanding proper garage weatherstripping Tualatin Oregon maintenance helps extend the life of your door system.
Three materials dominate the market: silicone, rubber, and foam. Silicone and rubber outperform foam in Pacific Northwest conditions because they resist moisture absorption and maintain flexibility through wet winters. Foam compresses permanently and holds water, creating the very moisture problems you’re trying to prevent.
To replace weatherstripping yourself, start by measuring your door frame perimeter. Remove the old material by prying out nails or pulling adhesive strips. Install the new weatherstripping by pressing it firmly into the channel or securing it with provided fasteners, working from top to bottom. Close the door and check for light gaps indicating incomplete seals.
DIY replacement costs between one hundred and three hundred dollars for materials and takes two to three hours. Professional installation adds labor charges but guarantees proper compression.
Inspect your weatherstripping before each rainy season—if you spot cracks, missing sections, or permanent compression, replace it immediately to protect your attached garage from water infiltration.
Early Warning Signs of Moisture
Catching moisture damage early can save you thousands in repair costs. Water stains or discoloration on interior walls—particularly at floor level where moisture collects—signal that water is penetrating your garage’s defenses. Check the shared wall between your garage and house, door frame corners, and floor edges where the concrete meets the wall.
Rust on door hinges, bolts, spring hardware, and metal wall fixtures tells you water is reaching metal components. A musty odor, mold growth, or peeling paint on the door or frame indicate poor ventilation and high humidity levels that promote decay. Visible gaps in weatherstripping or daylight around door edges show your moisture barrier has failed. Understanding Portland metro garage rust prevention winter conditions helps you spot these signs before they become major issues.
Where should you look in your attached garage? Focus on transitions between surfaces: where walls meet floors, where the garage door frame connects to the wall, and along the bottom edge of the door itself. These vulnerable spots reveal problems before they spread. Understanding moisture content requirements for building materials can help you assess whether damage has reached critical levels.
DIY vs. Professional Maintenance
Most Tualatin homeowners can handle basic moisture-prevention tasks themselves. Replacing weatherstripping, caulking gaps around the door frame, cleaning gutters above the garage, and touching up chipped paint all fall within DIY territory. These routine maintenance tasks prevent the kind of moisture intrusion that leads to costly repairs down the road.
When should you call a professional? If you discover structural damage around the door frame, extensive rust on hardware or tracks, standing water indicating drainage failures, or compromised seal integrity, professional assessment becomes necessary. These problems often signal underlying issues that require expert diagnosis.
Here’s a simple decision framework: If the problem is cosmetic and you caught it early through seasonal inspections. Tackle it yourself. If damage appears structural, widespread, or you’re uncertain about the cause, contact Garage Harmony for evaluation.
Spending a few hundred dollars on preventative DIY maintenance beats facing $3,000 to $8,000 in professional repair bills later.
Next Steps: Protect Your Investment
Tualatin’s October rain season starts soon—make this the week you schedule your fall garage inspection. Create a simple maintenance calendar marking four seasonal checkpoints: fall weatherstripping inspection, winter drainage checks, spring sealing review, and summer ventilation assessment. Set aside resources for weatherstripping materials, caulking, and minor repairs as part of your regular home maintenance routine.
This preventative approach costs far less than fixing water-damaged drywall, replacing rusted door hardware, or addressing structural rot. Just as the City of Tualatin maintains streets through preventative maintenance to extend their lifespan, your regular garage inspections protect your home’s value. If your inspection reveals rust spreading across metal components, water stains on interior walls, or gaps wider than a pencil eraser in your weatherstripping, contact Garage Harmony today. Our team can assess damage extent and recommend repairs before minor moisture problems become major structural concerns.