Why November Is Critical for Winterization and Your Winter Garage Preparation Checklist
In the Portland metro area, the first hard freeze typically arrives between mid-November and early December. When those temperatures drop, frozen pipes don’t just cause inconvenience—they burst, flooding your garage and causing thousands of dollars in water damage. Garage door tracks seize up with ice, leaving you locked in or out. Weatherstripping failures create ice dams that wreak havoc on your door mechanisms. That’s why a solid winter garage preparation checklist isn’t optional—it’s your defense against preventable disasters.
Here’s the problem: many freeze-related damages are irreversible once they occur. A burst pipe can’t be un-burst. Water-damaged drywall can’t be un-soaked. By the time December arrives and temperatures plummet, it’s too late to prevent these emergencies—you’re stuck calling for costly repairs during the busiest season for contractors.
Pacific Northwest weather patterns make November your window of action. You still have mild days to inspect weatherstripping, test door mechanisms, and address pipe insulation before the freeze hits. Homeowners who complete a focused winterization checklist in November avoid emergency repair calls when temperatures drop. Why wait until you’re dealing with a frozen garage door at 7 a.m. on a workday? Act now, before winter forces your hand.
Pre-Freeze Checklist: Priority Tasks
What’s the most effective way to protect your garage before temperatures drop? Focus on the tasks that directly prevent freeze damage and water intrusion. We’ve organized this checklist by priority and time commitment so you can tackle the most urgent items first and schedule the rest based on your availability.
High Priority: Door Seals and Weatherstripping (30-60 minutes)
Your first line of defense against freezing air is the barrier between your garage and the elements. Inspect all weatherstripping along the bottom, sides, and top of your garage door. Look for cracks, brittleness, gaps where the seal doesn’t make full contact, or sections that have pulled away from the mounting surface. Even small openings let in cold air that can freeze pipes and water heaters tucked into garage corners.
Run your hand along the door perimeter while it’s closed—can you feel a draft? That’s your signal to replace the weatherstripping. The bottom seal takes the most abuse from opening and closing, so check it carefully for wear patterns or compression damage. Replacement weatherstripping is widely available at home improvement retailers and installs with basic tools in under an hour.
High Priority: Garage Door Cold-Weather Function Test (15-30 minutes)
Does your garage door operate smoothly when temperatures drop into the 30s? Metal contracts in cold weather, lubricants thicken, and door openers can struggle with the increased resistance. Test your door on a cold morning before the freeze hits. Listen for grinding, hesitation, or uneven movement along the tracks.
Check the auto-reverse safety feature by placing a roll of paper towels in the door’s path—it should reverse immediately upon contact. Cold weather can affect sensor alignment and spring tension, making this safety test especially important. If your door shows signs of strain or doesn’t reverse properly, call a professional. Spring adjustments and opener calibration require specialized tools and knowledge.
Medium Priority: Water Lines and Leak Detection (45-90 minutes)
Identify every water source in your garage: utility sinks, water heater connections, washing machine hookups, and outdoor spigots that run through garage walls. Turn off and drain any lines you won’t use during winter. For active lines, wrap exposed pipes with foam insulation sleeves—focus on pipes along exterior walls where cold penetrates most easily.
While you’re inspecting plumbing, look for existing moisture problems. Check the ceiling for water stains that signal roof leaks. Examine the floor near the foundation for efflorescence (white, chalky deposits) or dampness that indicates groundwater seepage. Address these issues now, before freeze-thaw cycles turn minor leaks into major damage.
Medium Priority: Roof, Gutters, and Foundation Inspection (30-45 minutes)
Water intrusion points become critical during freeze-thaw cycles. Clean leaves and debris from gutters so melting snow can drain properly instead of backing up under roof shingles. Look for missing or damaged shingles that could let water into your attic space. Check the foundation perimeter for cracks or gaps where water might pool and freeze, expanding the damage over winter months.

Weatherstripping and Seals
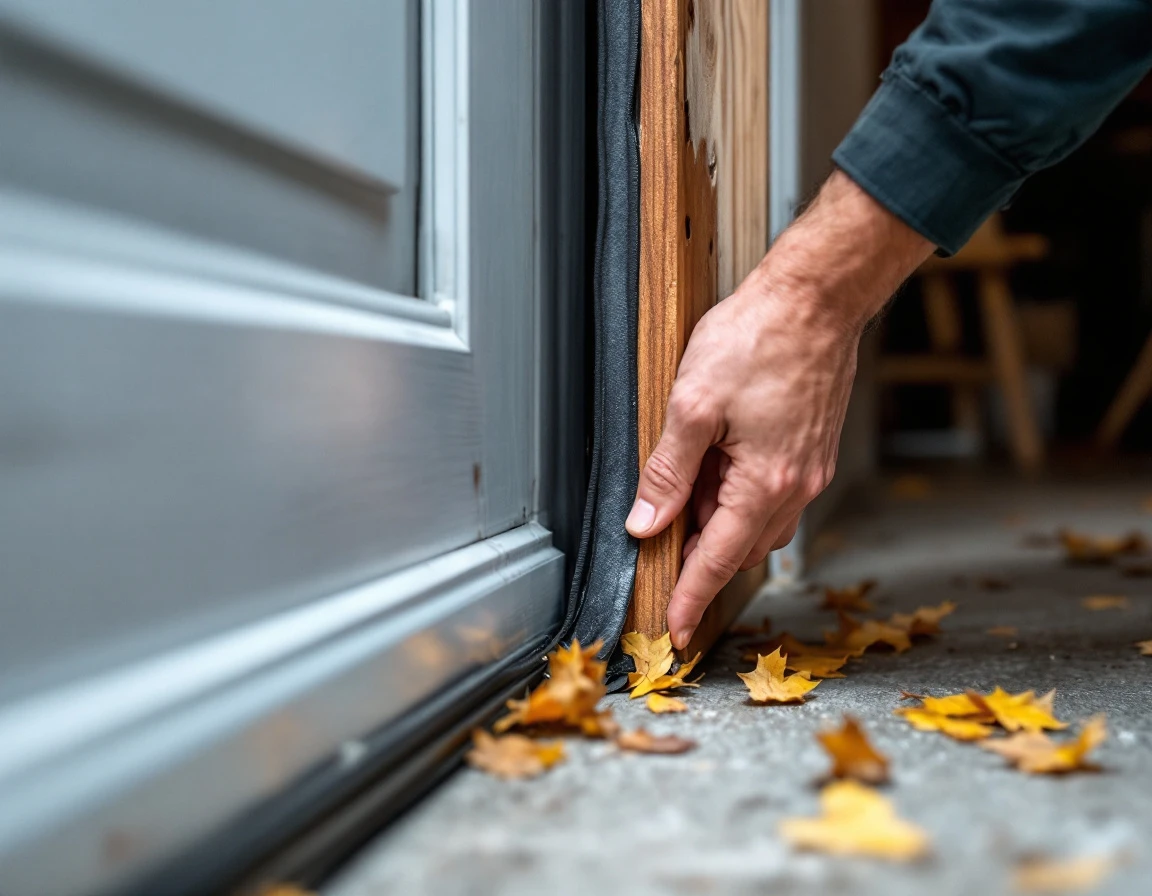
Your garage door weatherstripping is the first line of defense against cold air infiltration and moisture entry—two factors that can lead directly to frozen pipes and ice dams. Before the first hard freeze hits, walk around your garage door and inspect every seal. Look for cracked, missing, or hardened rubber along the bottom, sides, and top of the door. Press the material gently; if it feels brittle or doesn’t spring back, it’s time for replacement.
Gaps in weatherstripping allow cold air to rush in, dropping temperatures around water lines and creating conditions for pipe bursts, while also introducing moisture that freezes and expands, damaging door mechanisms and creating ice buildup along roof edges.
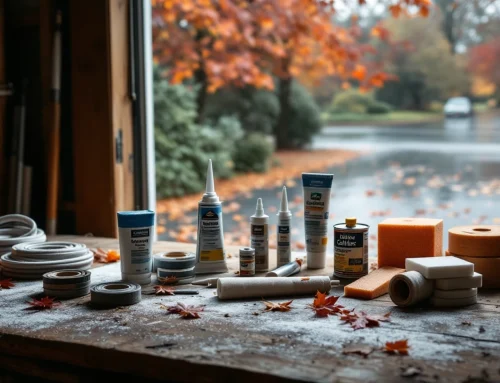
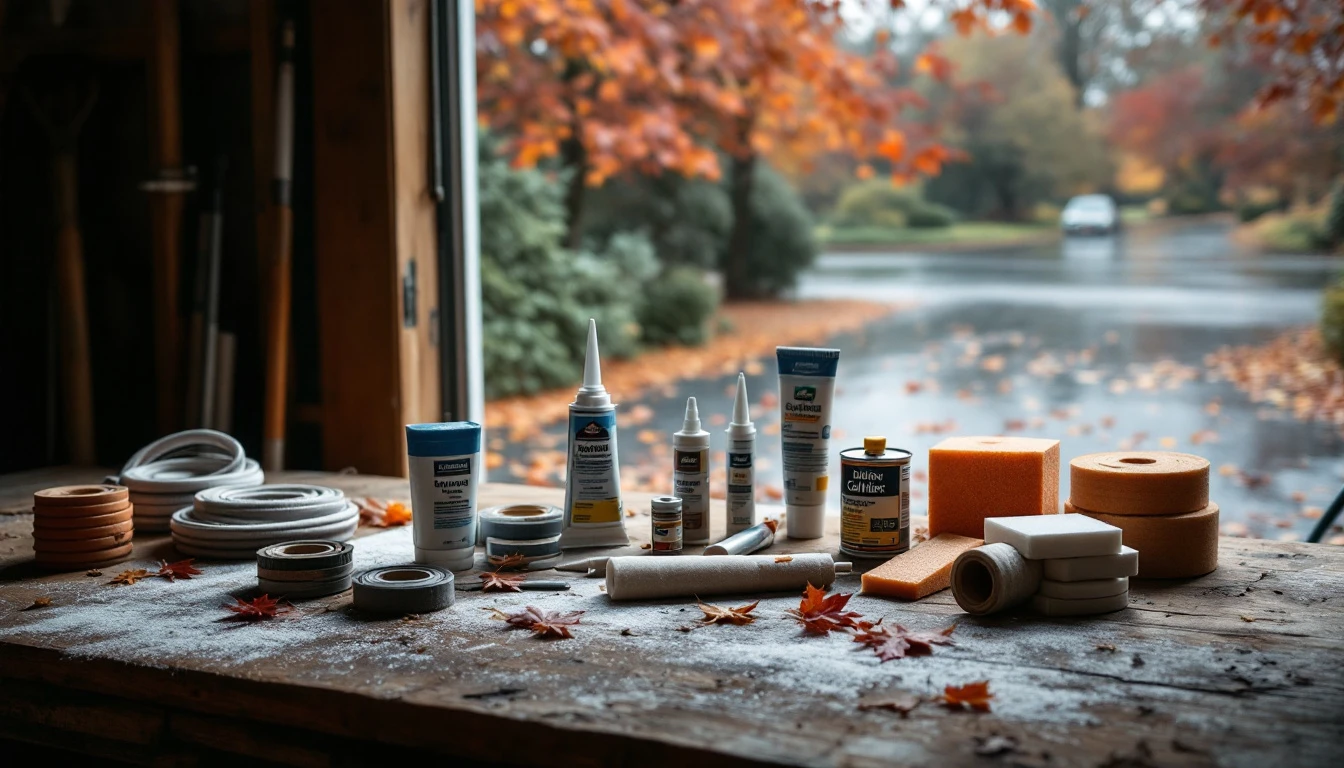
This is a key step in garage winterization steps for Portland homeowners. Replacing weatherstripping is a manageable DIY project. Budget $50–$200 for materials depending on your garage size and door type. Most homeowners complete the job in 1–2 hours. Remove the old seal, clean the channel thoroughly, cut new weatherstripping to length, and press or slide it into place. Check your work by closing the door and looking for light gaps—seal any you find.
Door Operation and Mechanism Care
Freezing temperatures put serious stress on your garage door system. Cold weather stiffens lubricant, turning it thick and sluggish. Springs lose flexibility and face increased tension. Ice can build up in tracks, blocking rollers and preventing smooth movement. Doors may bind, misalign, or refuse to close completely—leaving your garage vulnerable to the freeze you’re trying to prevent.
Start with a visual inspection before the temperature drops. Look for ice or debris in the tracks, rust on springs or hardware, and gaps that signal misalignment. Then test the door through its full open-and-close cycle. Does it hesitate, grind, or stick at any point? Those are warning signs that need attention now. Learning how to winterize garage before freeze conditions arrive means catching these problems early.
Winter lubrication matters. Skip the heavy grease—it stiffens in cold weather. Instead, use silicone spray on springs, hinges, and rollers. It stays fluid even when temperatures plunge.
If your door sticks, makes grinding noises, or won’t close smoothly, call a professional before the freeze arrives. Emergency repairs during a cold snap cost more and leave you exposed. Address issues now while help is readily available.
Water Drainage and Pipe Protection
In the Pacific Northwest’s wet climate, managing water around your garage isn’t just about preventing puddles—it’s about avoiding serious freeze damage and garage freeze damage prevention. When water gets trapped in cracks, around door thresholds, or inside pipes, that first hard freeze turns moisture into an expanding force that cracks concrete and bursts plumbing. November is your window to identify and eliminate water sources before temperatures drop.
Start outside by disconnecting and draining all garden hoses. Even if they’re attached to frost-free spigots. Water left in hoses can back up into pipes and freeze. Next, clear gutters and downspouts above and around your garage—clogged drainage sends water cascading down walls and pooling at the foundation. Check that downspouts direct water at least three feet away from the structure.
Inside your garage, inspect the door threshold and foundation walls for existing leaks or dampness. Look for water stains, efflorescence (white mineral deposits), or cracks wider than a quarter-inch. Standing water indicates poor drainage that needs addressing now. Small foundation cracks can be sealed with hydraulic cement and minimal labor using basic tools. Threshold gaps may need new weatherstripping, which you covered in an earlier step.
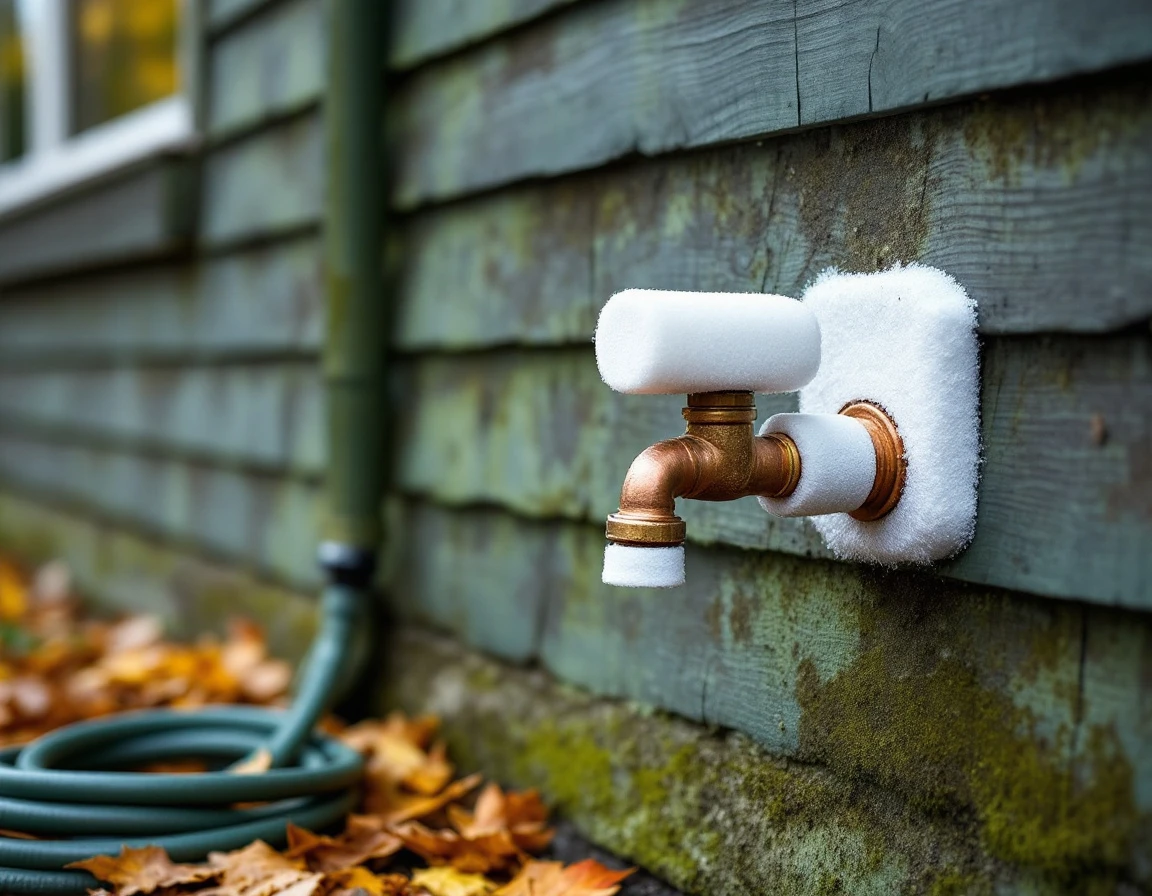
If you have exposed water pipes running through your garage, they need protection. Foam pipe insulation costs $5–$15 per six-foot section and installs in minutes—just split the tube and press it over the pipe. For pipes prone to freezing, heat tape adds active protection for $15–$30 per section and takes about 30 minutes to wrap and plug in. Not confident working around plumbing or electrical connections? Call a professional to handle heat tape installation safely.
DIY vs. Professional Tasks: When to Call
Not every winterization task belongs on your DIY list. Some jobs—like replacing broken garage door springs. Realigning door tracks, or addressing frozen pipes—pose serious safety risks or lead to cascading damage if handled incorrectly. How do you know when to grab your toolbox and when to pick up the phone?
Use this framework: inspect everything yourself. But call a professional for anything involving tension systems, electrical components, or structural repairs. You can safely handle weatherstripping replacement, gutter cleaning, and basic lubrication. Leave spring adjustments, track realignment, and opener motor repairs to trained technicians who have the right tools and safety equipment.
The cost comparison makes the decision easier. A $200 weatherstripping repair you schedule in November prevents water intrusion that leads to a $3,000+ damage bill in January when freeze-thaw cycles crack your foundation. Emergency service calls during peak freeze season cost two to three times standard rates—and you’ll wait days for an available appointment while your garage stays unusable.
When you’re unsure about a task’s complexity or safety, don’t gamble with trial and error. Portland-area homeowners can contact Garage Harmony for a quick winterization assessment to identify which tasks you can handle yourself and which need professional expertise. We’ll walk through your garage, point out potential freeze vulnerabilities, and give you a clear action plan—so you can tackle what’s safe and leave the rest to our team.
Your November Action Plan: Winter Garage Preparation Checklist
Breaking your winterization checklist into weekly phases makes the workload manageable and keeps you on track before the first freeze arrives. Here’s how to structure your November garage prep.
- Week 1: Visual Inspection and Assessment. Walk through your garage with the checklist from earlier sections. Examine weatherstripping, test your door operation, check for water sources, and look for foundation cracks or roof issues. Document everything that needs attention.
- Weeks 2–3: DIY Repairs and Waterproofing. Replace weatherstripping, disconnect hoses, clean gutters, and insulate exposed pipes. Apply silicone spray to door hardware. These tasks take minimal time but deliver maximum protection.
- Week 4: Professional Assessment and Final Testing. If you found issues beyond your skill level during inspection, call Garage Harmony now. Waiting until late November reduces your options for professional scheduling. Test your door one final time before freezing temperatures arrive.
Homeowners who complete a November winterization checklist avoid the freeze-season rush, prevent thousands in emergency repairs, and gain peace of mind knowing their garage is ready for winter.
Contact Garage Harmony today for a professional winterization assessment!