Oregon’s Wet Season Threat Timeline: Guide to Garage Door Winter Preparation
When does your garage door face the greatest risk? For Oregon homeowners, the danger zone runs November through March, when the rainy season delivers 60-80% of annual rainfall in those winter months. This concentrated moisture combines with freezing temperatures in the Willamette Valley and Portland metro, where thermometers regularly drop to 25-32°F during cold snaps. Proper garage door winter preparation during October can prevent costly damage before Oregon’s harsh wet season arrives.
That combination creates two critical hazards: moisture entrapment that corrodes metal components and ice-binding that freezes moving parts in place. Garages experiencing this damage face emergency repairs ranging from $800 to $2,500. Compared to prevention costs of just $150 to $400.
Completing fall maintenance by late October captures the dry weather window before sustained wet conditions arrive. This narrow opportunity allows you to address vulnerable components while they’re accessible and functional, rather than frozen solid or corroded beyond simple fixes.
Five Fall Maintenance Tasks for Garage Door Weatherproofing
Ready to protect your garage door from winter’s worst? These five tasks, completed in order, will prepare your system for months of rain, freezing temperatures, and heavy use. Each connects directly to a wet-season threat Oregon homeowners face every year.
- Task 1: Inspect weather seals and replace worn rubber on door edges and frame. Cracked or compressed seals let moisture seep into tracks and panels, causing rust and wood rot. Run your hand along all seals—if you feel drafts or see light gaps, replace them. Success criteria: No visible daylight through closed door perimeter.
- Task 2: Clean tracks and remove debris to prevent moisture pooling and freeze damage. Leaves, dirt, and grime trap water in tracks. When temperatures drop, that water freezes and jams rollers. Wipe tracks with a damp cloth and vacuum corners. Success criteria: Smooth, dry metal surfaces with no residue.
- Task 3: Lubricate hinges, springs, and rollers to prevent cold-weather stiffness. Cold air thickens old grease, making parts strain and wear faster. Apply white lithium grease or silicone spray to all moving parts. Success criteria: Door operates quietly without grinding sounds.
- Task 4: Test auto-reverse and photo-eye safety features before relying on them in winter. Place a 2×4 under the door and watch it reverse on contact. Block the photo-eye and confirm the door won’t close. Success criteria: Immediate response in both tests.
- Task 5: Check spring tension and balance—do not attempt DIY spring adjustments. Disconnect the opener and manually lift the door halfway. It should stay put. If it drops or shoots up, springs need professional adjustment. Springs store lethal force; professional service costs less than an emergency room visit.
Weather Seal & Track Inspection
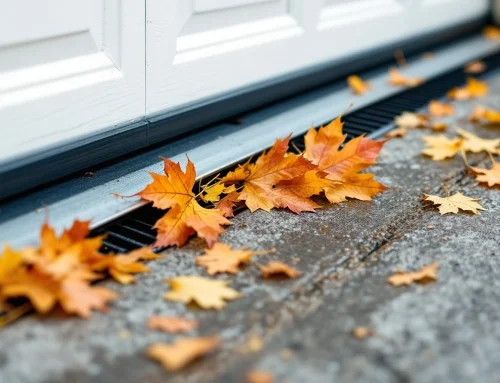
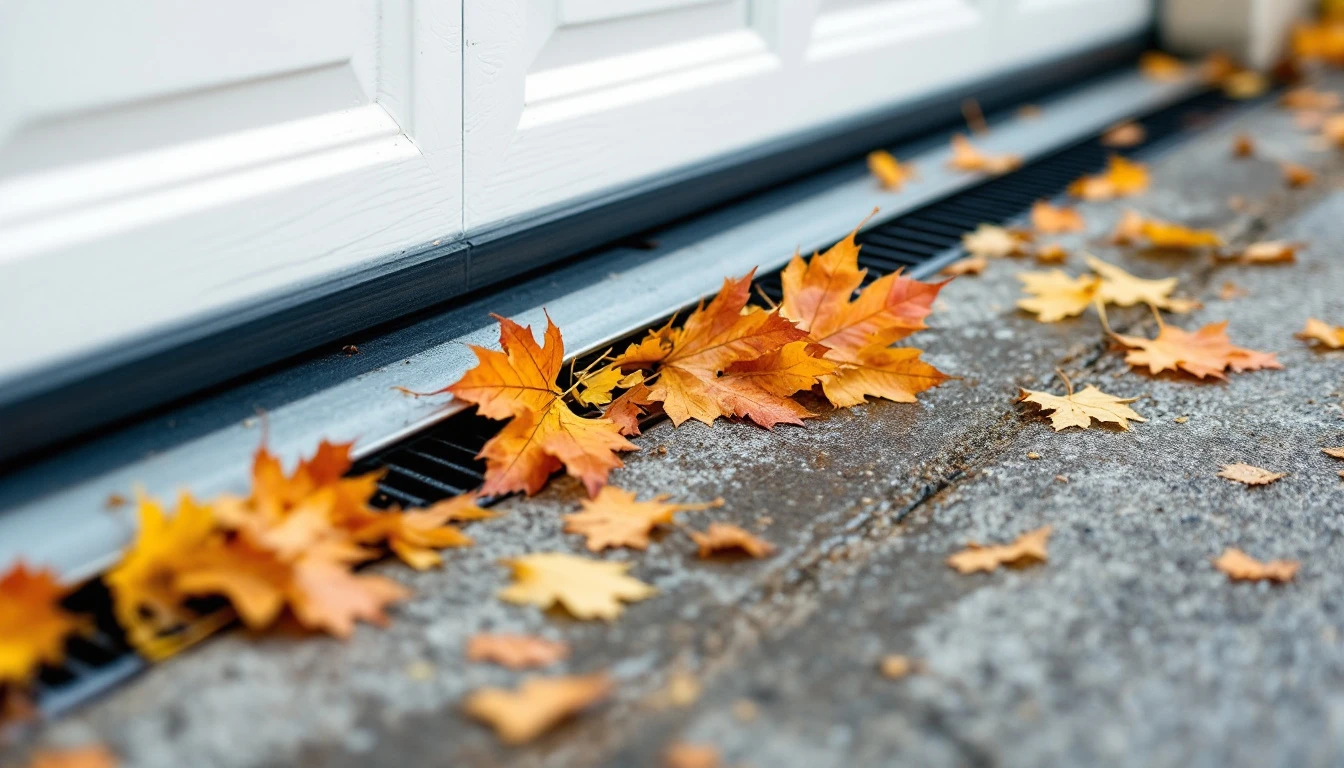
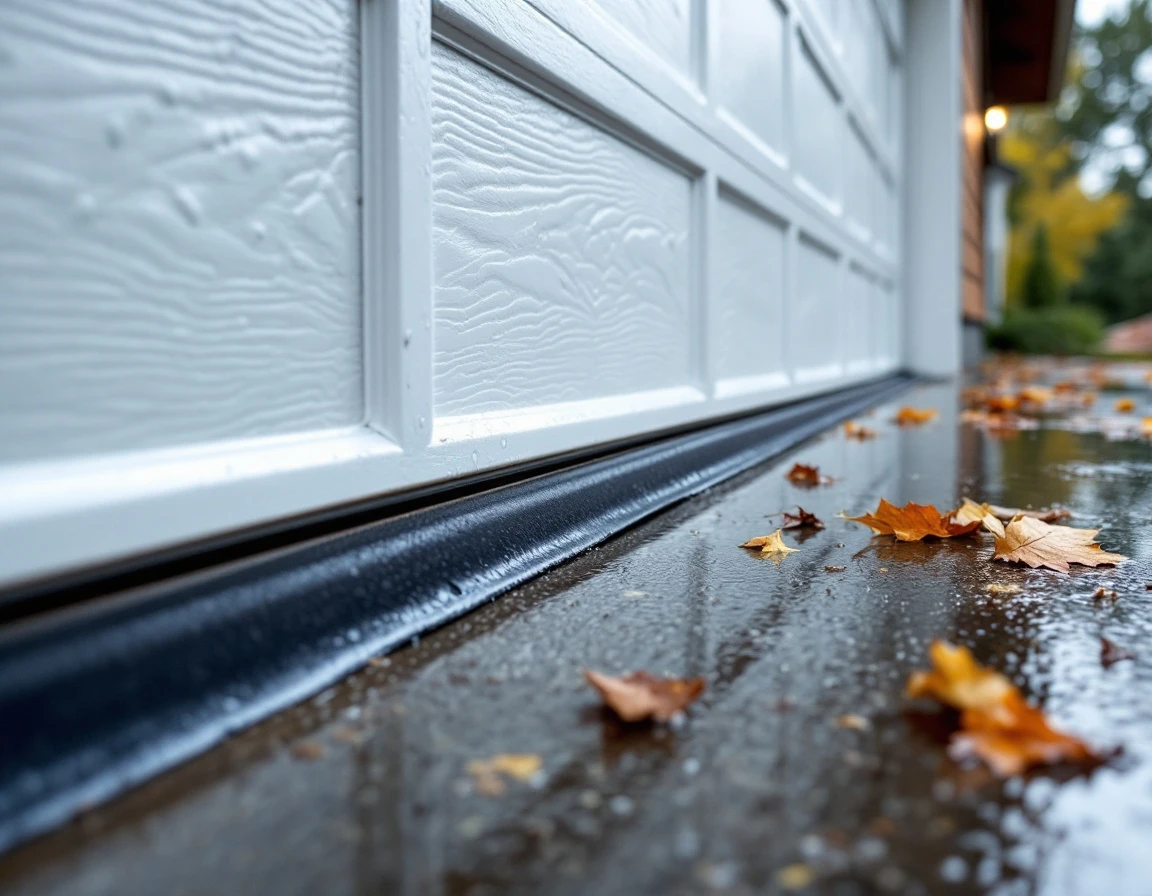
Start by examining the rubber seals along your garage door’s bottom edge and vertical sides. Look for cracks, hardening, or visible gaps that compromise the weathertight barrier. When seals fail, moisture seeps into the track system where it becomes trapped. Oregon’s freeze-thaw cycles then expand that water, warping metal tracks and causing structural damage that leads to misalignment and eventual opener failure.
Next, clean your tracks thoroughly using a dry brush or compressed air to remove leaves, dirt, and standing water. Even small debris accumulations trap moisture against metal surfaces. If gaps in your weather seals exceed one-quarter inch or you spot visible deterioration, replace them immediately. A basic DIY replacement seal kit costs just $30-60 and includes brushes, compressed air, and new seals—making this the highest-impact, lowest-cost prevention step in your fall maintenance routine for protecting your garage door before cold weather arrives.
Lubrication & Safety Systems
Cold temperatures thicken grease and oil, increasing friction on moving parts. Apply silicone-based lubricant—not WD-40, which attracts dirt—to hinges, rollers, and the track where metal touches metal. This simple step maintains smooth operation when overnight freezes hit Oregon’s wet season.
Safety sensors become liability issues when families rush through garage doors on dark winter mornings. Test your auto-reverse by placing your hand in the door’s path; it should stop and reverse within two inches of contact. Then test photo-eyes by blocking the sensor beam—the door should refuse to close if the beam is broken.
DIY lubricant maintenance costs little more than the product itself and takes under 30 minutes for both tasks combined—a quick, practical approach that prevents dangerous malfunctions.
Spring Tension & Professional Inspection
While the previous tasks fit comfortably into a weekend DIY routine, spring tension and balance adjustments require professional expertise. Garage door springs operate under extreme tension—attempting to adjust them yourself risks serious injury. Oregon’s freeze-thaw cycles place additional stress on metal components, making pre-winter inspection a smart risk-mitigation strategy rather than an unnecessary expense.
Spring tension deteriorates year-round, but winter weather accelerates the process. An unbalanced door forces your opener to work harder, while a catastrophic spring failure can trap your vehicle inside or damage the door itself. A professional spring inspection typically costs $75-150 and identifies pre-failure conditions before they become emergencies. Compare that to emergency spring replacement at $500-1,200. Often scheduled days out when you need access immediately.
A qualified technician can complete this inspection in 30-60 minutes, ideally scheduled before November. If you’ve completed the DIY tasks from earlier sections, the pro can handle spring assessment during the same visit. Homeowners throughout the Willamette Valley and Portland metro can benefit from this combined approach—you handle the accessible maintenance while Garage Harmony’s experts manage the high-risk components.
When should you call a professional instead of going DIY? If your door feels heavy when lifting manually, closes too quickly, or makes grinding sounds during operation, that’s your signal. Contact us today to schedule a fall inspection before winter weather arrives.
October Action Timeline for Garage Door Winter Preparation
Breaking your fall maintenance into a three-week schedule gives you the breathing room to handle unexpected issues before November’s wet weather arrives. Here’s your week-by-week action plan that turns the five-task checklist into a manageable timeline.
- Week 1-2 (Early October): Schedule your professional spring inspection appointment now—qualified technicians book up quickly as homeowners prepare for winter. Order weather seals and silicone lubricant online or pick them up locally so you have supplies ready when dry weather allows.
- Week 2-3 (Mid-October): Complete Tasks 1-4 during dry afternoons—inspect and replace weather seals, clean tracks, lubricate moving parts, and test safety features. These DIY jobs work best when surfaces are completely dry.
- Week 3-4 (Late October): Have your professional complete the spring inspection and tension adjustment before November 1st. This buffer protects you if the technician discovers worn parts requiring replacement—you’ll have time to order components without rushing.
- Post-action: Document completion dates and retain all receipts for warranty claims and insurance records. Ready to get started? Contact Garage Harmony this week to check service availability in your area!