Signs Your Weatherstripping Needs Replacement
Your garage door weatherstripping replacement protects against drafts, moisture, and pests—but these components eventually wear out and need attention.
Visible cracks, gaps, or peeling rubber around
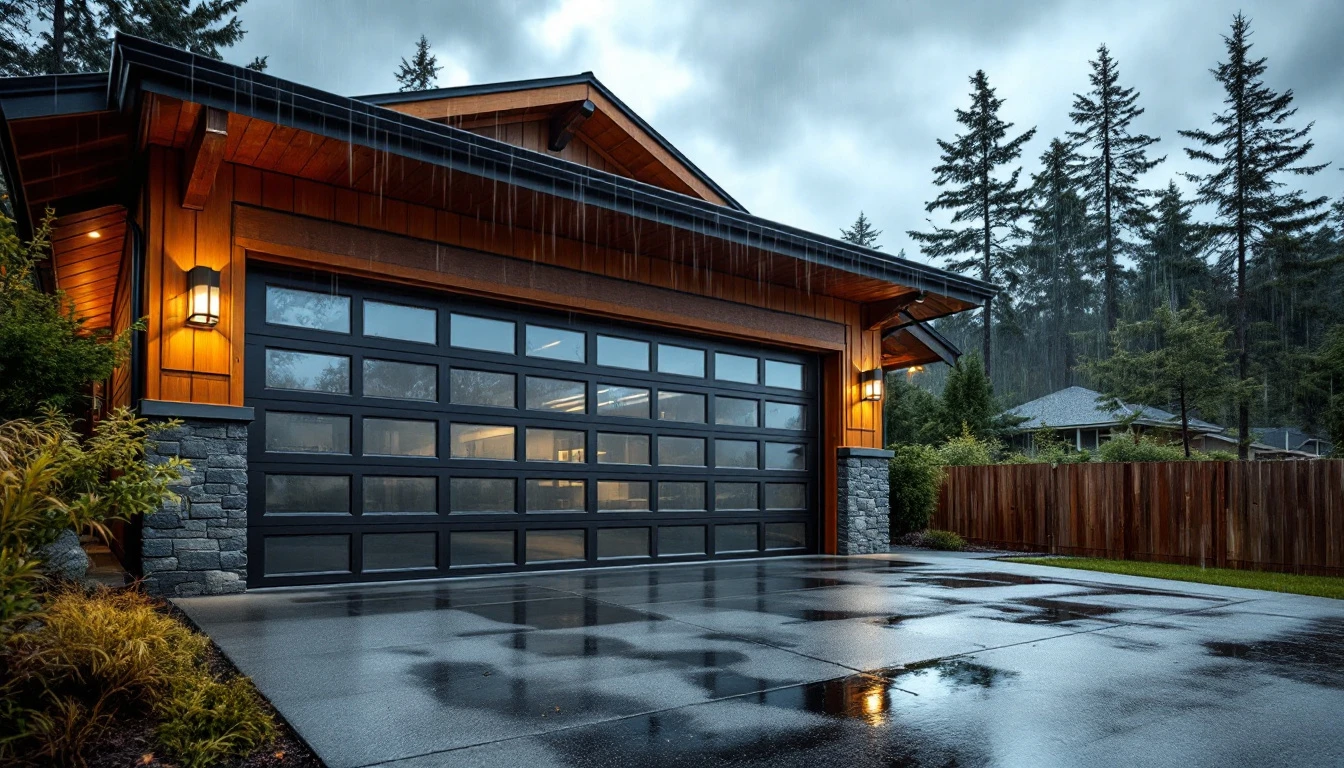
Inspect your garage door frame closely for cracked, brittle, or peeling rubber weatherstripping. Vancouver’s wet winters accelerate deterioration—look for gaps where the seal no longer meets the frame tightly. These openings allow drafts, water intrusion, and pest entry.
Notice increased heating bills or puddles near your garage door? These symptoms often indicate failing weatherstripping.
Addressing visible damage now prevents moisture-related wood rot and insulation problems that cost significantly more to repair than a simple $50-150 weatherstripping replacement.
Pest Entry or Unusual Noise When Door Opens/Closes
When your garage door sounds like it’s grinding or squealing during operation, worn weatherstripping is often the culprit. As the rubber seal hardens and loses flexibility—particularly after enduring Vancouver’s cold, wet winters—it creates gaps that let in mice, spiders, and other pests. These same gaps allow rain to seep under your door and create drafts that drive up heating costs during our long, damp season.
Garage Door Weatherstripping Installation Tips by Type
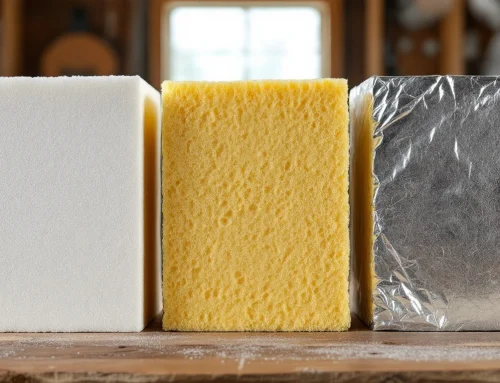
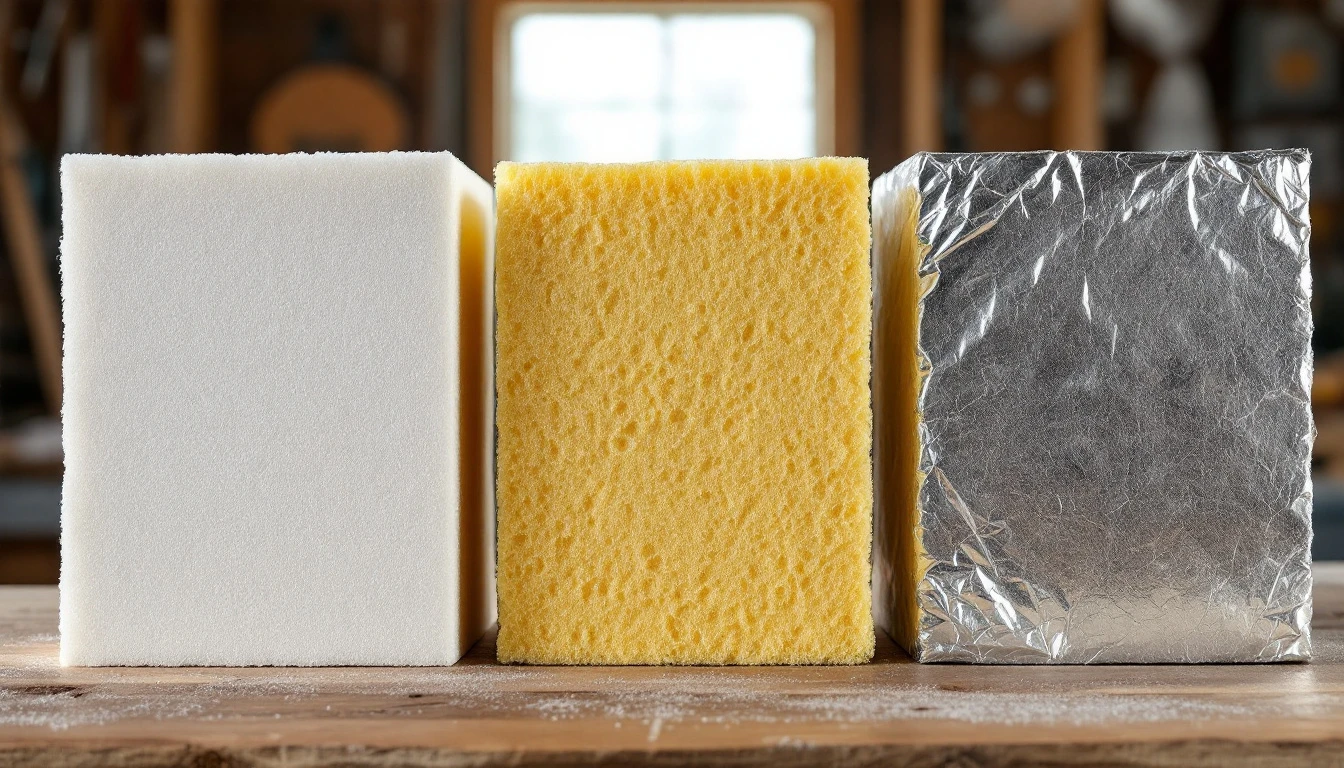
Choosing the right weatherstripping material makes the difference between replacing it every year and enjoying five years of protection. For Vancouver’s wet winters and temperature swings, three main types dominate the market—but they perform very differently in Pacific Northwest conditions.
- Rubber weatherstripping stands as the clear winner for our climate. EPDM rubber resists moisture, maintains flexibility through freezing nights and 90-degree summer days, and typically lasts 5-7 years in constant rain exposure. Expect to pay $50-80 for DIY materials or $150-200 installed professionally. While the upfront cost runs higher than alternatives, the longevity pays off.
- Vinyl weatherstripping offers a middle ground at $30-50 for DIY installation or $100-150 professionally. It handles moisture reasonably well but tends to crack after 3-4 years of temperature cycling between Gorge winds and summer heat. Many Battle Ground and Ridgefield homeowners find themselves replacing vinyl strips more frequently than expected.
- Foam weatherstripping represents the budget option at $20-40 DIY, but here’s where you truly get what you pay for. Foam absorbs moisture like a sponge during our nine-month rainy season, compresses permanently within 2-3 years, and often needs replacement after a single wet winter. For Vancouver’s climate, foam rarely makes financial sense despite the tempting price tag.
DIY Replacement: Tools and Materials
Before you start, gather these essential tools:
- A pry bar for removing old weatherstripping
- Phillips and flathead screwdrivers
- A utility knife for trimming
- A measuring tape to determine exact door dimensions
- Rubbing alcohol and clean rags for surface preparation
For materials, purchase weatherstripping based on your door measurements—bottom seals typically run $25-40 for rubber options at local Vancouver hardware stores like McLendon Hardware on Mill Plain Boulevard or The Home Depot locations in Hazel Dell and Orchards. Side and top seals add another $20-30.
Your total DIY investment? $50-150 per door including all tools and materials. Compare that to hiring a professional ($500+ for labor and parts) or replacing an entire door prematurely ($1,500-3,000). Most homeowners already own basic tools, reducing actual costs to just $45-70 for weatherstripping materials alone.
How to Replace Garage Door Weatherstripping: Step-by-Step Guide
Replacing your garage door weatherstripping is a simple project that takes about 30 minutes form start to finish. With your materials from Jerry’s Home Improvement or Lowe’s Vancouver ready, you can tackle this project on a Saturday morning and immediately feel the difference when the next rainstorm hits.
Step 1: Remove the Old Weatherstripping (5 minutes)
Start by fully opening your garage door to access all sides. For bottom seals, simply slide the worn weatherstripping out of the retainer track—no tools needed. For side and top seals, gently peel away the old material, noting how it was positioned. Save a 6-inch piece of the old weatherstripping as a template so you buy the correct profile if you haven’t purchased replacement material yet.
Step 2: Clean the Installation Surfaces (5 minutes)
Use a wire brush or scraper to remove any accumulated dirt, old adhesive, or debris from the retainer tracks and door frame. Wipe everything down with a damp cloth and let it dry completely.
This step is important in Vancouver’s wet climate—moisture trapped under new weatherstripping will cause premature failure.
Step 3: Install the New Weatherstripping (15 minutes)
Start with the bottom seal. Slide the new weatherstripping into the retainer track, working from one end to the other. For vinyl seals, slightly warming them with a hairdryer makes insertion easier on cold days. Next, install the side seals from bottom to top, confirming they meet the bottom seal without gaps. Finish with the top seal, trimming any excess with a utility knife for a clean fit at the corners.
Step 4: Test and Adjust (5 minutes)
Close the door and check for even compression along all sides. The door should close smoothly without binding or resistance. Walk around the exterior and look for light gaps—if you see daylight, adjust the positioning. “…Open and close the door three times so the weatherstripping stays in place and the door operates normally.
When to Call a Professional
Sometimes replacing weatherstripping won’t solve your garage door problems. If your door frame is damaged or visibly misaligned, new weatherstripping will simply compress unevenly and fail prematurely. The door itself needs structural repair first.
Does your door bind, stick, or feel heavy when opening? These are signs of balance problems or spring issues that require professional attention. Installing weatherstripping on a misaligned door wastes time and money—the seal won’t work properly, and you’ll still have drafts.
Complex sectional doors with multiple seal points or commercial-grade doors often need professional assessment. If you notice cracks in the door panels, broken hinges, or rust that’s compromised the door’s integrity, weatherstripping is a band-aid on a structural problem.
Garage Harmony serves Vancouver, WA homeowners with honest assessments of whether weatherstripping replacement will actually extend your door’s lifespan or if repair is necessary. Contact us today for an evaluation that saves you from unnecessary DIY work.
Maintenance Schedule for Vancouver Winters
When should you check your garage door weatherstripping? In Vancouver, the answer ties directly to our climate.
Inspect weatherstripping every fall before November, when our rainy season intensifies. This proactive check lets you catch degradation before moisture causes real damage.
Replace weatherstripping every 3-5 years as routine maintenance, not just when problems appear. This cycle prevents the premature door replacement we discussed earlier—saving you $500 or more. After winter ends in April, conduct a post-season inspection to assess damage from months of Pacific Northwest rain and occasional ice.
Think of weatherstripping maintenance like changing your oil: regular intervals preserve the larger investment. By following this schedule, you’ll extend your garage door’s lifespan by 5-10 years. You now know exactly when to act, transforming weatherstripping from a forgotten component into a strategic maintenance priority that protects your home year-round.