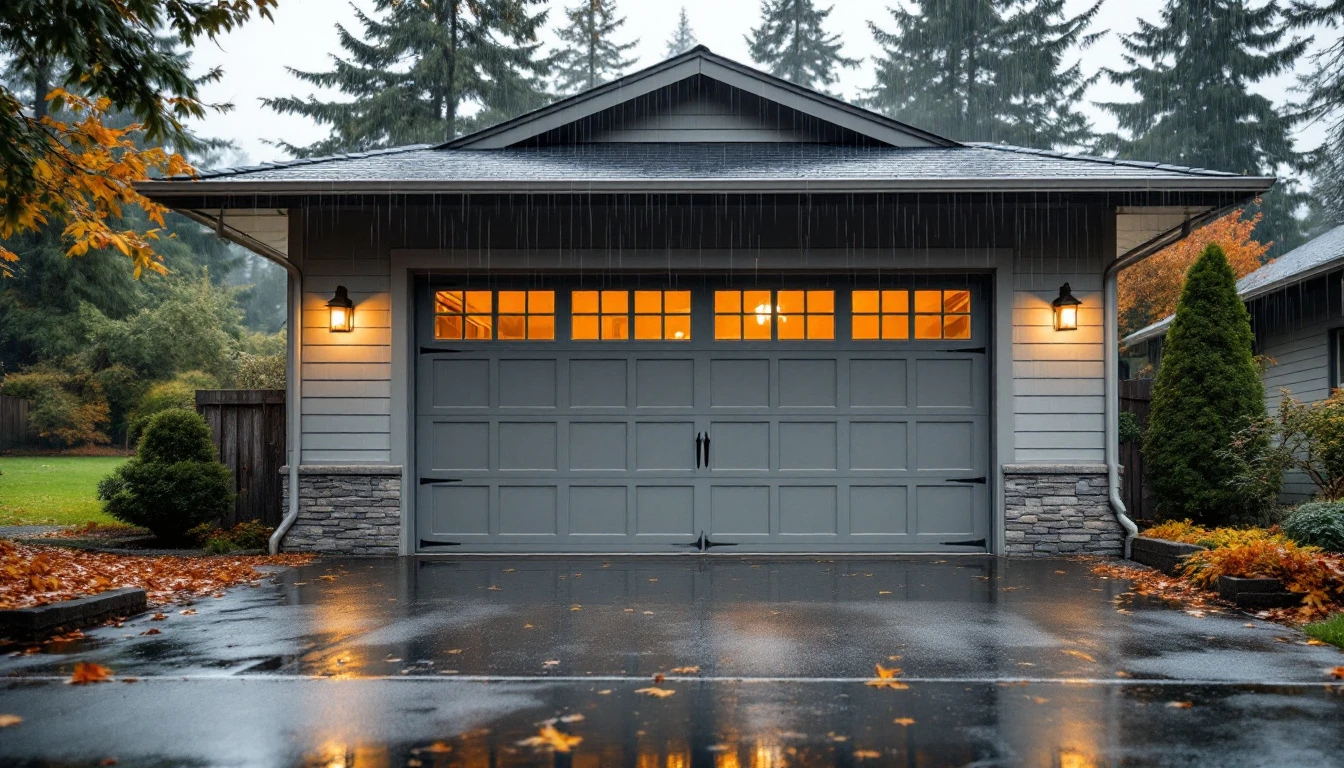
Why Garage Seals Matter Before Fall Rains: Rainy Season Garage Maintenance Portland
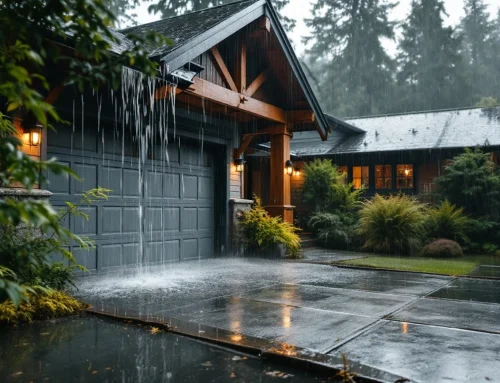
Portland’s rainy season begins in September, with peak rainfall arriving between October and December. This predictable pattern gives homeowners a narrow window to prepare their garages before the heaviest storms hit. Smart rainy season garage maintenance Portland starts now, before water intrusion becomes an expensive problem.
If you wait until the first big downpour, you’ve already missed your chance to prevent damage.
Water intrusion wreaks havoc on garages in multiple ways. Structural rot develops when moisture seeps into wood framing and drywall, weakening the foundation of your home. Mold growth follows close behind, creating health risks and requiring expensive remediation. Meanwhile, vehicles, tools, and stored belongings face exposure to standing water and humidity that can ruin electronics, rust equipment, and stain upholstery.
A properly sealed garage stops these problems before they start. Door seals, threshold strips, and proper drainage channels keep rainwater where it belongs—outside. When you inspect and repair these barriers now, you protect both your structure and your investment in vehicles and equipment stored inside.
Acting in September means you can schedule repairs at your convenience rather than placing emergency calls mid-winter when contractors are swamped and water is already pooling on your garage floor.
Inspect Seals and Weatherstripping
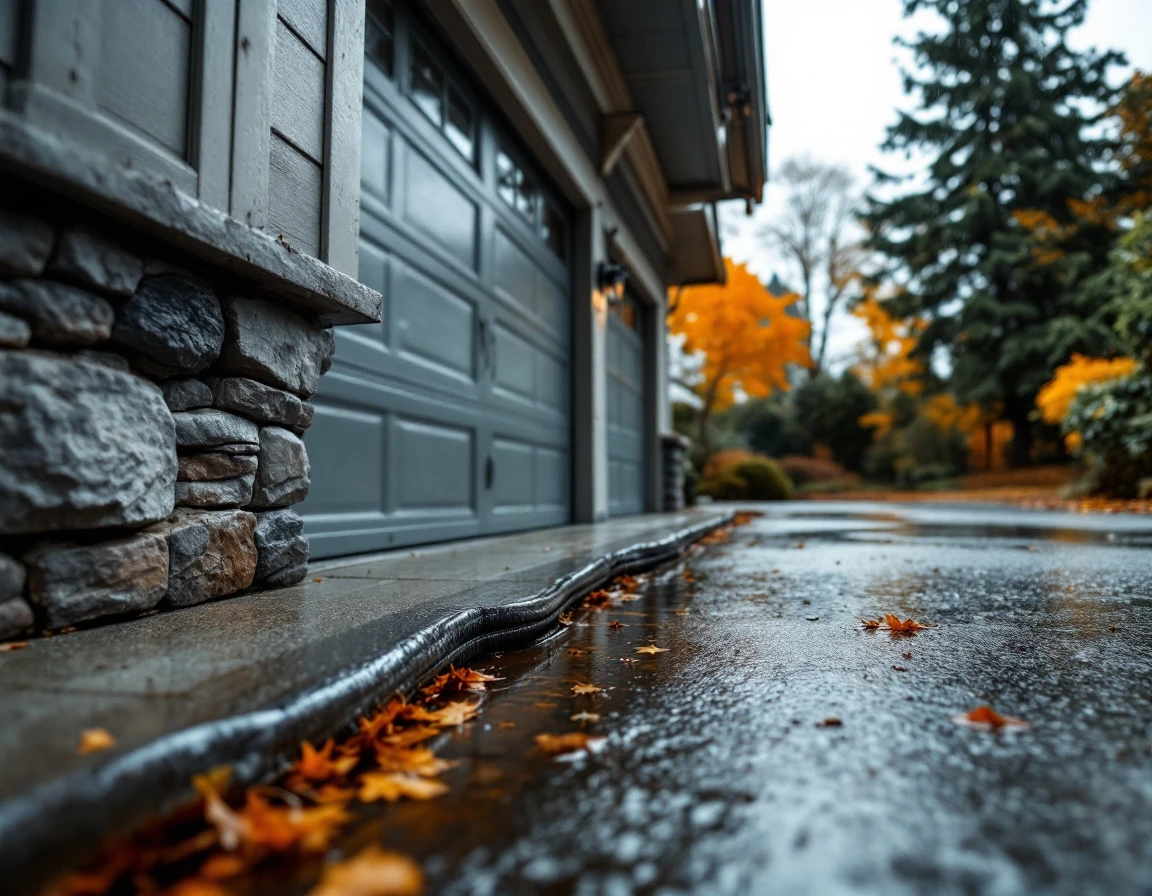
Before the September rains arrive, walk around your garage door and examine every point where rubber meets metal or concrete. Start at the bottom seal—the rubber strip that runs along the base of your door. Slide a pencil horizontally under the seal while the door is closed. If the pencil fits through easily, gaps are letting water in, and it’s time for a replacement.
Next, check the side jambs where the door edges meet the frame. Run your hand along these vertical seals, feeling for hard, brittle spots or visible cracks. Healthy weatherstripping should feel pliable and spring back when you press it. If it stays compressed or crumbles under your fingers, it’s lost its ability to block water.
Don’t skip the top header—the seal where the door meets the frame at the top. Close your door and look for light streaming through. Any visible daylight means water will find its way in during a downpour. Stand inside your garage during a light rain and watch for drips or wet spots appearing along these transition points.
Finally, examine the corners where different seal sections meet. These junctions are prime failure points where gaps develop as materials age and shift. Look for separation, missing chunks, or areas where the sealant has pulled away from the frame. These small openings become water highways during Portland’s heavy autumn storms, so catching them now saves you from dealing with puddles and damage later.
Repair or Replace Seals
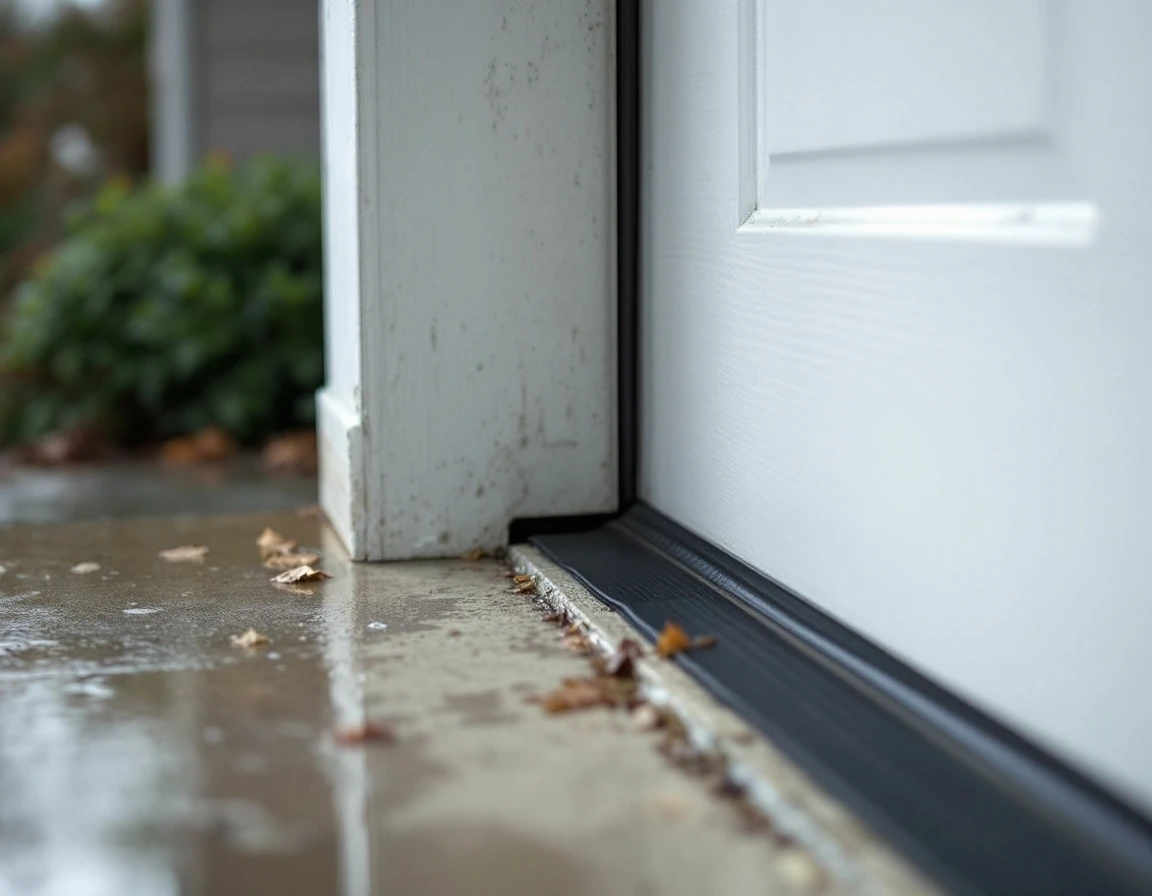
Once you’ve identified damage, should you tackle the fix yourself or call in a professional? Minor gaps and hardened seals are perfect DIY projects. Pick up silicone sealant from your local hardware store and caulk small cracks along the frame. Bottom door seal strips wear out quickly—these peel-and-stick replacements take just minutes to install and cost a fraction of professional service.
Budget $50 to $200 for basic seal replacement using hardware store materials like weatherstripping tape, caulk, and door sweeps. Most homeowners complete these repairs in an afternoon with no special tools required.
Larger structural issues tell a different story. If you spot separation between the frame and wall, damaged jambs, or gaps wider than a quarter-inch, call Garage Harmony for a professional inspection. These problems often hide deeper moisture damage that DIY patches can’t address.
Complete repairs now while the weather stays comfortable—October brings heavier rainfall that makes outdoor work miserable and lets existing leaks worsen daily.
Clear and Inspect Garage Drainage: Garage Drainage Preparation Portland Rain
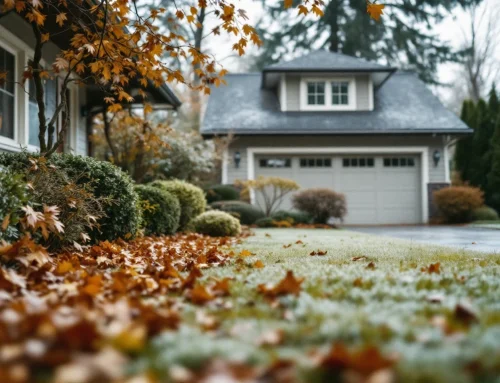
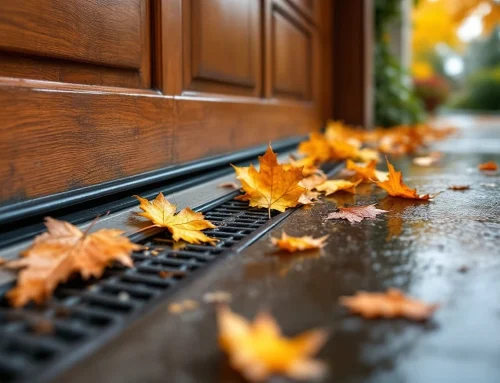
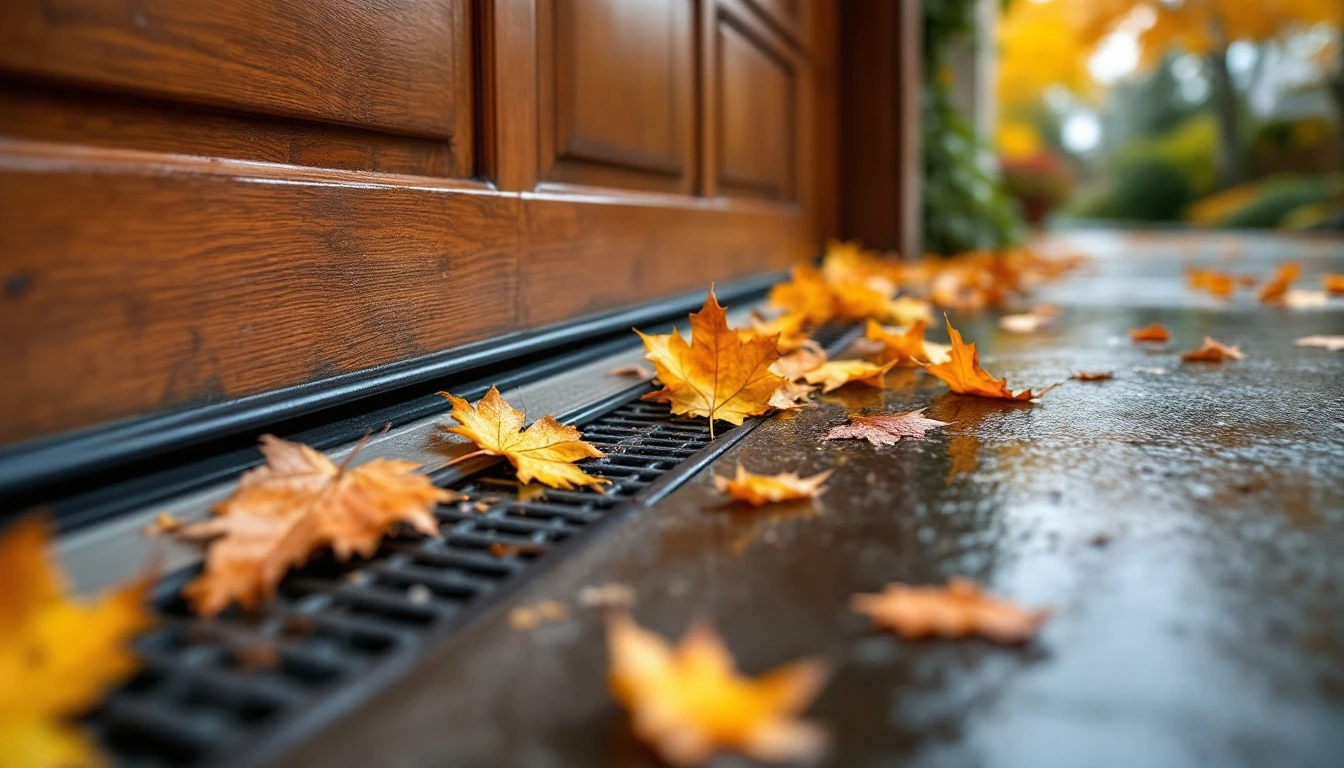
Water doesn’t just enter through compromised door seals—it pools around and beneath your garage when drainage systems become blocked. Before Portland’s September leaf fall accelerates, take time to clear gutters, downspouts, and floor drains of accumulated leaves, dirt, and debris. Oregon’s autumn foliage is beautiful, but heavy leaf drop clogs drainage paths fast, creating standing water that threatens your foundation.
Start by removing debris from gutters and positioning downspouts to direct water at least six feet away from your garage structure. Check any floor drains inside the garage; these often collect sawdust, dirt, and leaves that form stubborn blockages. If your garage includes a sump pump, test its operation now rather than discovering a malfunction during October’s peak rainfall.
Want to verify your drainage works properly? Pour several gallons of water near your garage foundation and watch where it flows. Does it move away from the structure, or does it pool against walls and seep toward the garage interior? Water that lingers signals a drainage problem that needs correction before the rainy season intensifies.
Proper drainage forms the second critical layer of protection alongside seal repair. Even perfectly maintained weatherstripping can’t prevent water damage if drainage failures send water pooling against your garage foundation. Address both elements this September for complete protection through Portland’s wet months ahead.
Drainage Maintenance Tasks
Complete the following drainage maintenance tasks to prepare your garage for Portland’s rainy season:
- Gutters—Look for leaf accumulation, bird nests, or sections pulling away from the fascia. Run water through with a hose—if it pools or overflows instead of flowing freely, you’ve found a problem. Clean out debris now before September leaf fall makes the job harder.
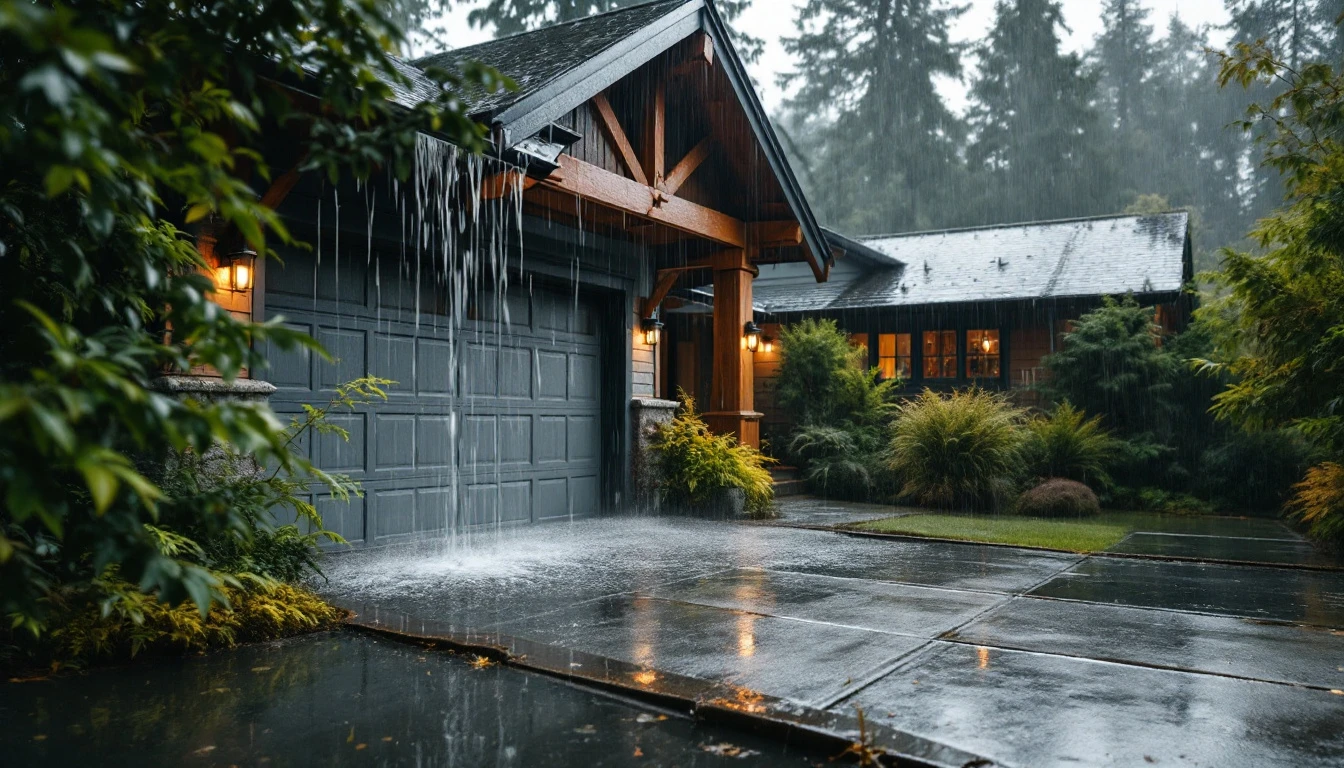
- Downspouts—Water should exit at least four to six feet from your foundation. If downspouts dump water right at the base of your garage, you’re inviting pooling and seepage. Add downspout extensions or redirect the flow—this simple fix prevents water from working its way under your door seal.
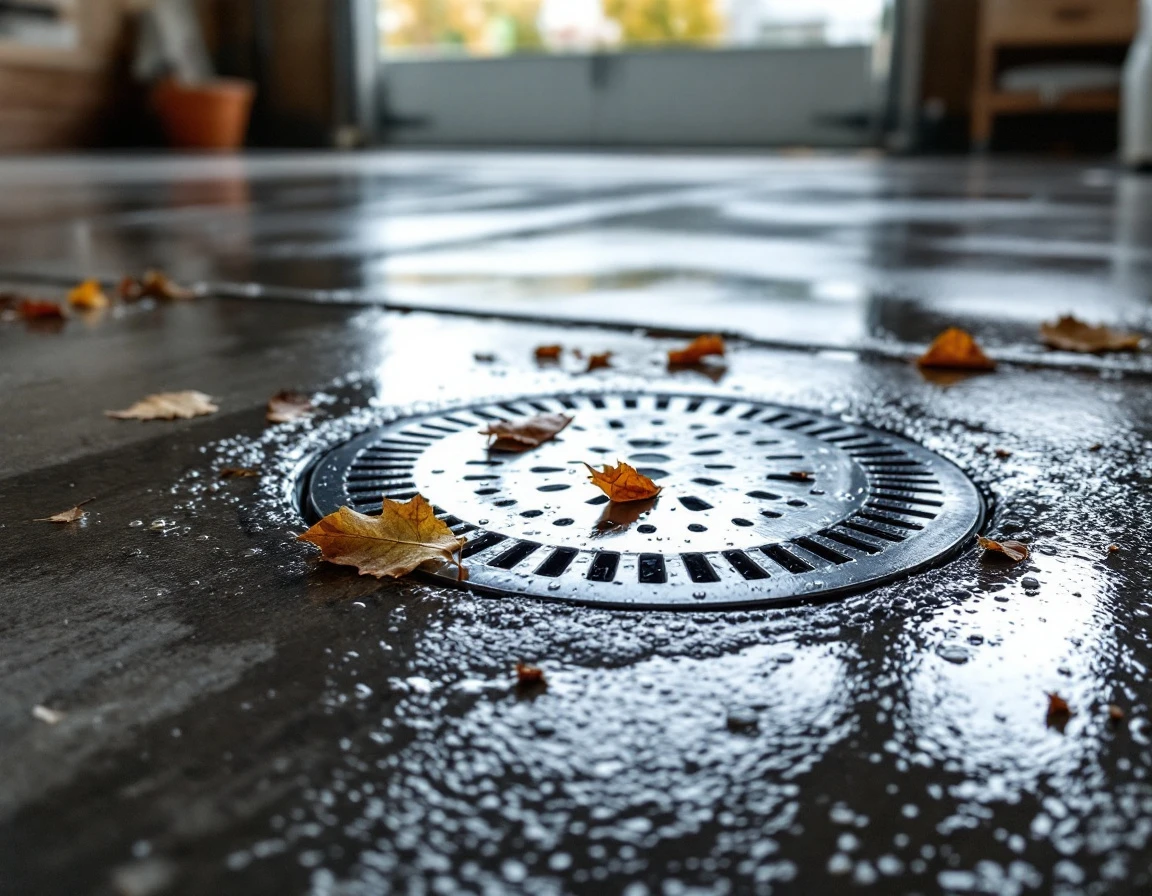
- Floor drains—Test your floor drains by pouring a bucket of water down each one. Water should disappear quickly. If it drains slowly or backs up, clear out sediment buildup or call a professional for deeper clogs.
- Foundation slope—Assess your foundation slope. Concrete should angle away from your garage door and threshold. Standing water after rain means you need to regrade or add drainage solutions before October’s storms arrive.
Supplies Needed and Timeline
Basic garage sealing and winterizing garage door seals Portland style is affordable DIY territory. You’ll need weatherstripping tape, a tube or two of silicone caulk, and a door sweep—most homeowners spend well under $100 on materials for standard repairs. Check your garage for tools you probably already own: a caulk gun, utility knife, shop towels, and safety glasses.
Here’s where timing becomes critical. September is your window of opportunity. October rains arrive with force, and once they start, accessing wet windows and doors becomes difficult. Worse, emergency repairs during peak storm season cost more and happen under pressure. Prioritize this weekend or next week to get ahead of the weather.
When should you call a professional? If your inspection revealed frame separation, gaps wider than a quarter-inch, or signs of previous water damage like staining or soft wood, contact Garage Harmony for an expert assessment. Knowing what you can fix yourself and what requires professional help protects your investment and prevents small problems from becoming expensive emergencies.