Why Worn Weather Seals Matter
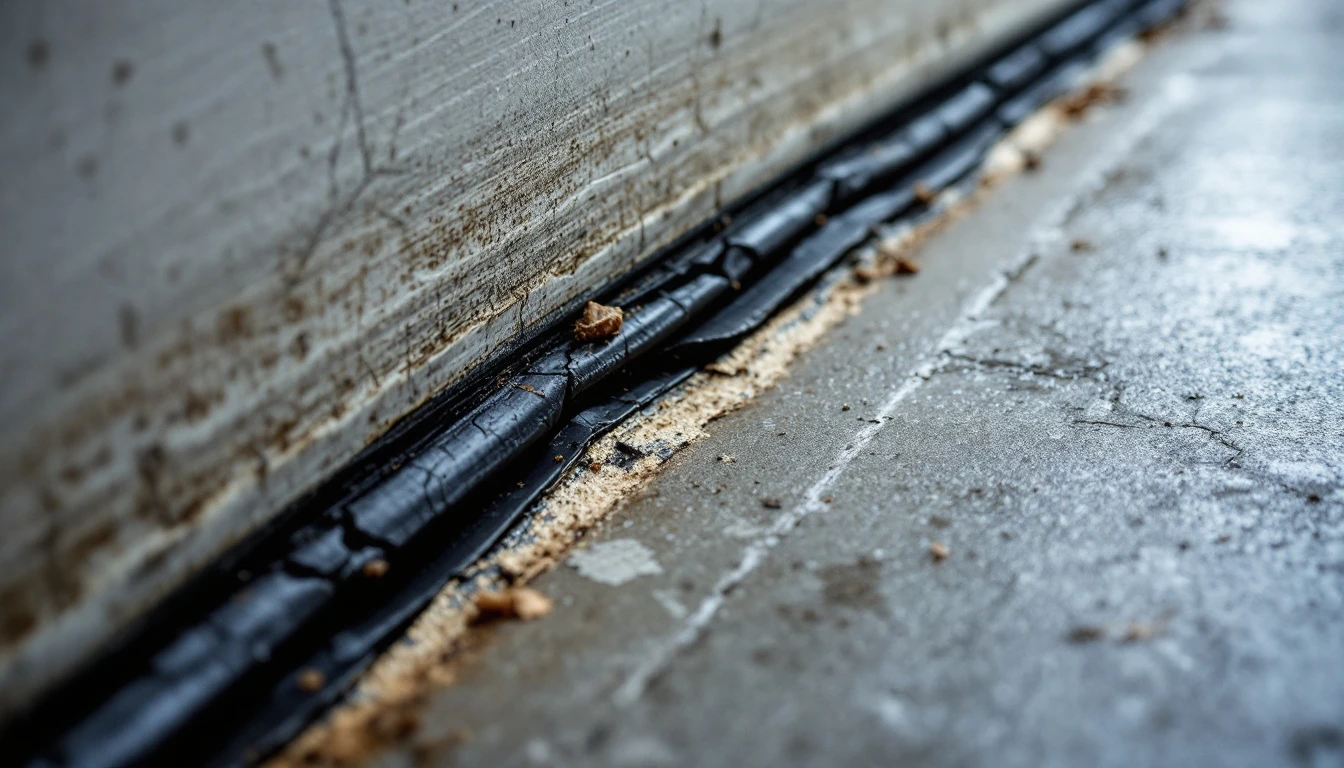
What happens when the weather seals on your garage door start to crack and deteriorate? For Portland homeowners, the consequences go far beyond a drafty garage. The Pacific Northwest climate puts garage door seals through their paces, and when they fail, you’re facing three major threats to your home and wallet. The solution often involves learning how to replace weather seals before problems escalate.
First, water infiltration becomes a costly nightmare. Portland’s fall rainy season doesn’t mess around—persistent moisture finds every gap and crack in failing seals. Once water gets in, you’re looking at structural damage to framing, ruined drywall, and the perfect breeding ground for mold. Repair bills climb into the thousands when what started as a worn rubber strip turns into rotted wood and remediation work.
Second, pests see deteriorated seals as welcome mats. Rodents and insects actively seek warm, dry spaces as temperatures drop. A gap under your garage door or along the sides becomes a highway for mice, spiders, and other unwelcome guests looking to escape Portland’s wet fall weather.
Third, energy loss hits your heating bills hard. Every gap in your weather sealing lets conditioned air escape while cold, damp air rushes in. Your heating system works overtime compensating for the loss. And you’re paying for it month after month.
September offers the perfect window for action. The rainy season is approaching, making now the ideal time to inspect and replace failing seals before water and pests become serious problems.
Where Garage Door Weather Seal Replacement Matters Most
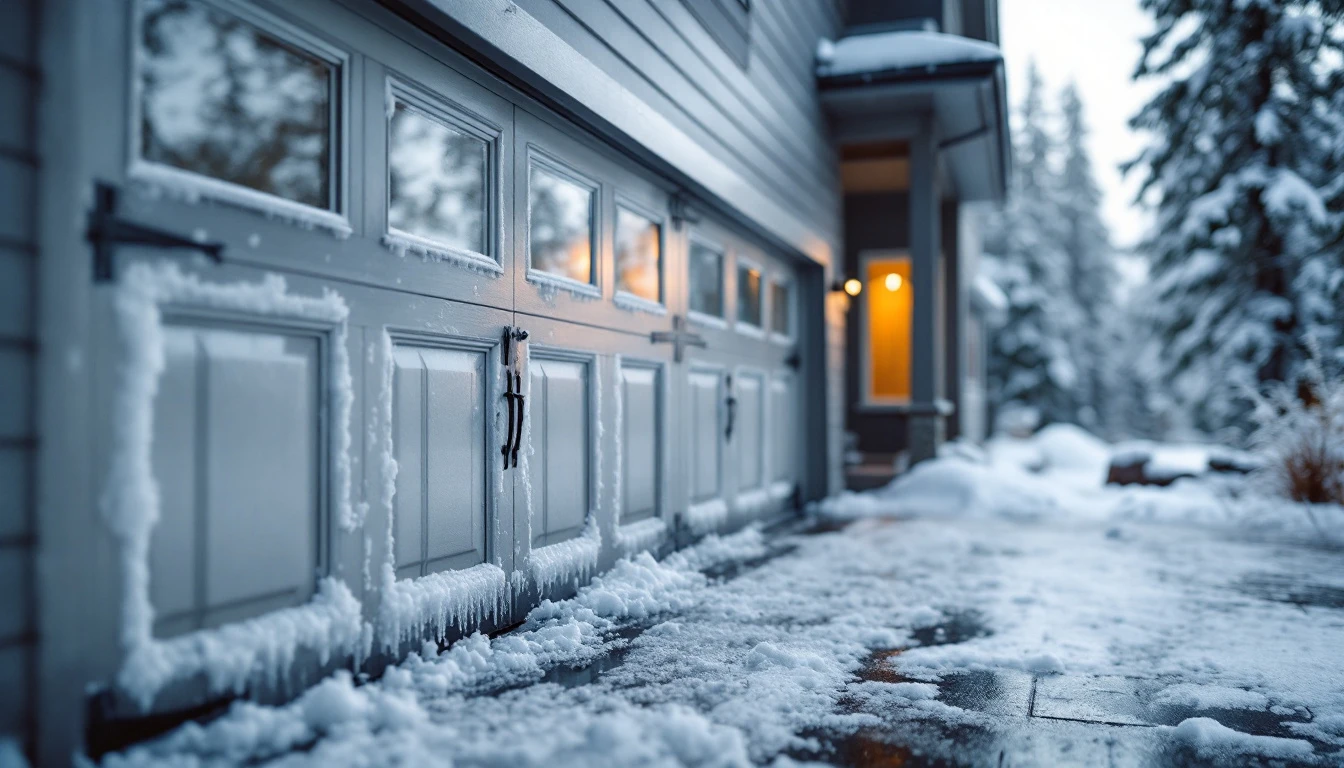
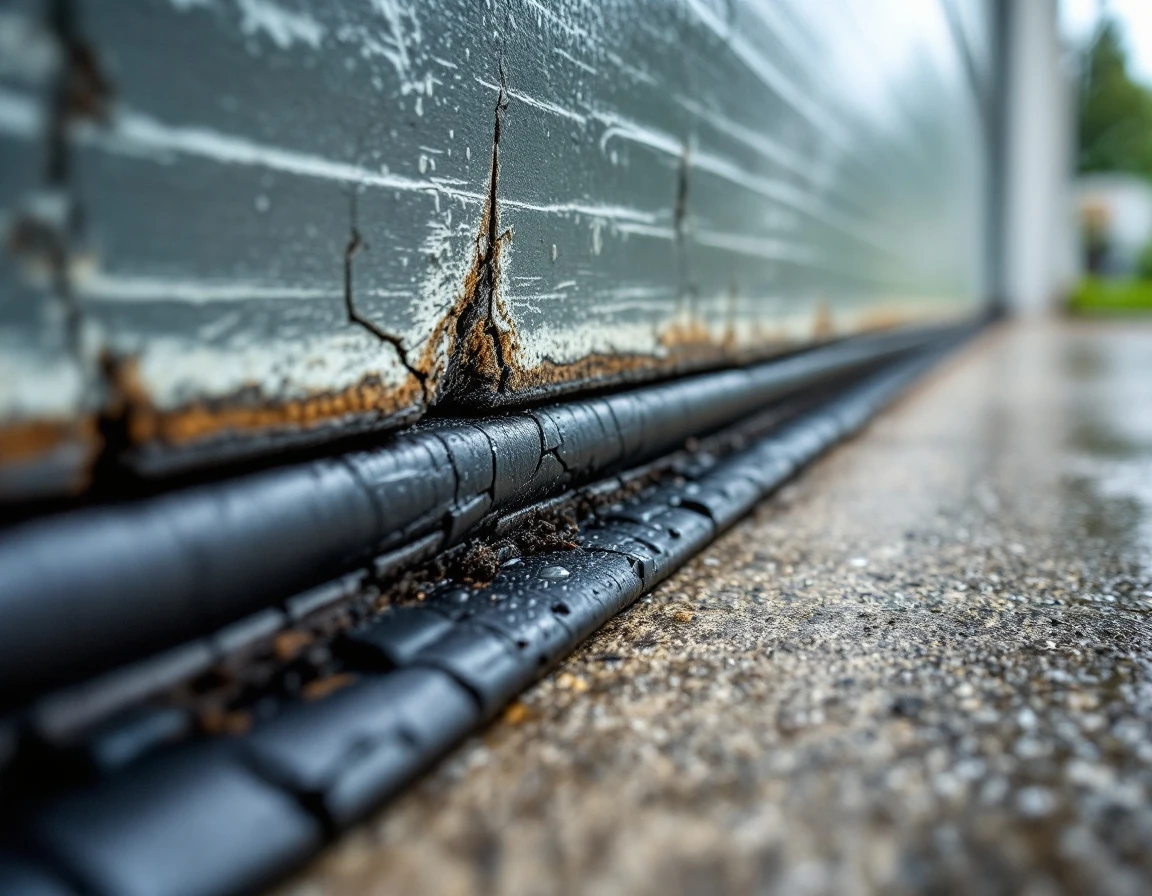
Portland’s unique climate—wet winters punctuated by occasional freezes followed by rapid thawing—creates a perfect storm for weather seal deterioration. This freeze-thaw cycling causes rubber to expand and contract repeatedly, accelerating cracking and brittleness far faster than in regions with stable temperatures. Understanding where seals fail most often helps you target your inspection and replacement efforts.
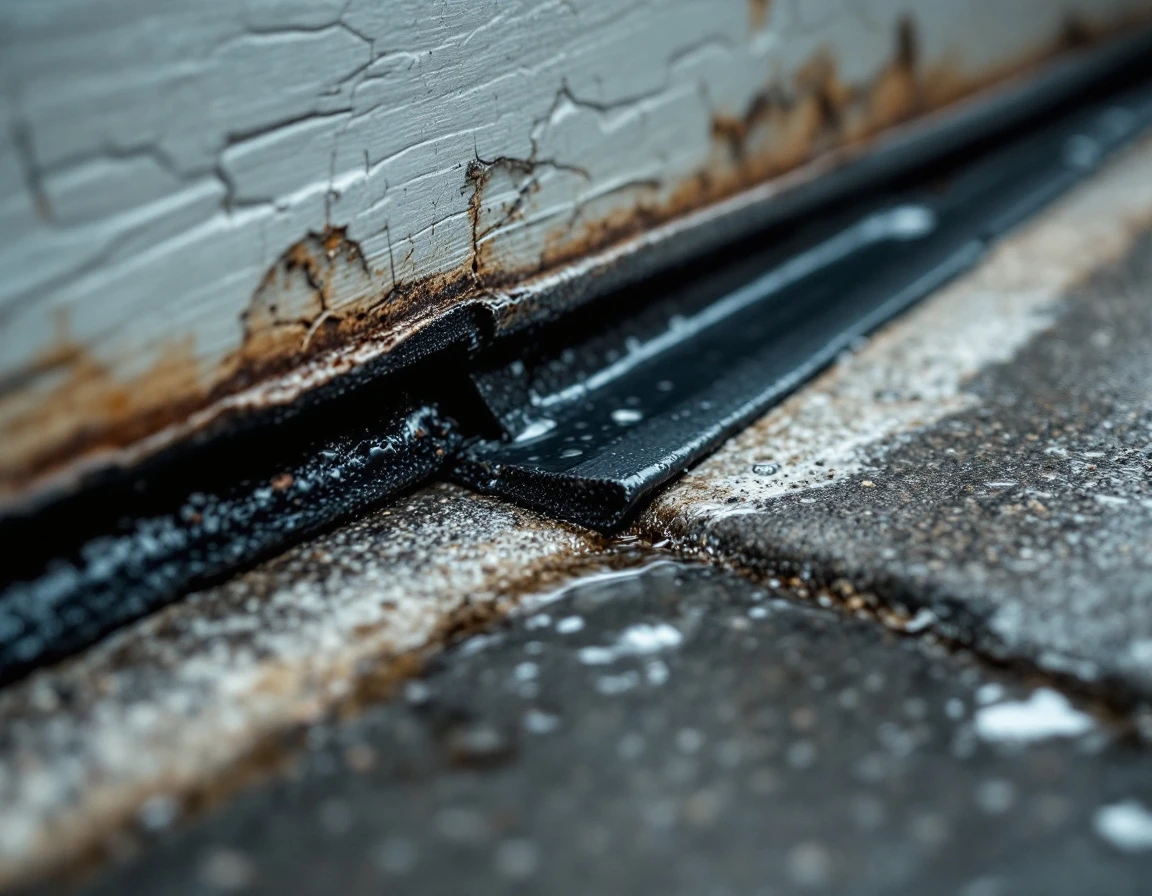
- Bottom seal. Takes the hardest beating. It sits directly on concrete, absorbing ground water runoff, debris, and constant compression from the door’s weight. Look for visible gaps between the seal and the floor when the door is closed, or check for water stains on your garage floor just inside the door—clear evidence that weather seals letting in rain and other moisture have failed.
- Side seals. Crack from moisture cycling and the repeated stress of the door moving up and down. Run your hand along the vertical edges where the door meets the frame. Do you feel hardened, crumbly rubber? That’s a sign the seal has lost its flexibility and can no longer block drafts or water.
- Top seals. Often gap as the door frame settles over time, allowing cold drafts and rain splatter into your garage. Discoloration or visible light around the top indicates replacement is needed. Don’t forget threshold seals around pedestrian doors—these require inspection too.
DIY Replacement vs Professional Cost
What’s the real price difference between replacing garage door weather seals yourself and hiring a contractor? For most Portland homeowners, DIY replacement costs between $40 and $150 per seal. Depending on material quality. That includes EPDM or silicone rubber seals rated for the Pacific Northwest’s freeze-thaw cycles, the adhesive needed to bond them, and any basic tools you don’t already own.
Professional installation runs $300 to $800 per seal when you factor in labor and contractor markup. The higher cost doesn’t mean better materials—you’re primarily paying for convenience and expertise. However, DIY doesn’t require specialty equipment. A scraper, utility knife, and the right adhesive handle most jobs in one to two hours per seal. Understanding the weather seal replacement cost breakdown helps you make the right choice for your budget.
Material quality matters more than price in Portland’s wet climate. Cheap rubber seals harden and crack after just two to three years of exposure to rain and temperature swings. High-quality EPDM or silicone-based seals rated for freeze-thaw conditions last five to seven years, making them worth the upfront investment even if they cost slightly more.
When to Hire a Pro
Some situations call for professional help. If your existing seals are bonded with construction adhesive that requires acetone or aggressive removal, or if you’ve discovered damage to the door frame itself during inspection, contact a contractor. These scenarios involve structural repairs beyond basic seal replacement.
Five-Step Replacement Process
Ready to tackle this project yourself? The replacement process is simpler than most homeowners expect, requiring only basic hand tools and about two hours of your time. Follow these five steps to install a weather seal that will protect your garage through Portland’s wet fall and winter months. Learning how to replace weather stripping properly means your work lasts for years.
- Remove the Old Seal. Start on a warm afternoon when the sun has heated your garage door. Use a plastic or wood scraper to gently pry away the old seal from the bottom or side channel. Heat softens the adhesive, making removal much easier than on a cold morning. Work slowly to avoid gouging the metal or wood surface beneath.
- Clean the Surface Thoroughly. Wipe down the channel with a clean rag and mild solvent like rubbing alcohol or mineral spirits. Remove every trace of old adhesive and residue. This step determines how well your new seal will bond, so don’t rush it.
- Select the Right Replacement Seal. Choose foam, rubber, or vinyl seal rated for exterior use in Oregon. Look for products labeled for freeze-thaw resistance—Portland’s fluctuating winter temperatures demand materials that won’t crack when temperatures drop overnight and rise during the day.
- Apply Adhesive and Install. Apply a thin bead of polyurethane or silicone-based construction adhesive along the channel. Avoid using caulk, which lacks the holding power needed for moving garage doors. Press the new seal firmly into place, working in twelve-inch sections to maintain even pressure and alignment.
- Allow Proper Cure Time. Let the adhesive cure for a full twenty-four hours before operating your garage door. Opening the door too soon can shift the seal out of position, creating gaps that defeat the entire purpose of your work.
Seal Materials for Pacific Northwest
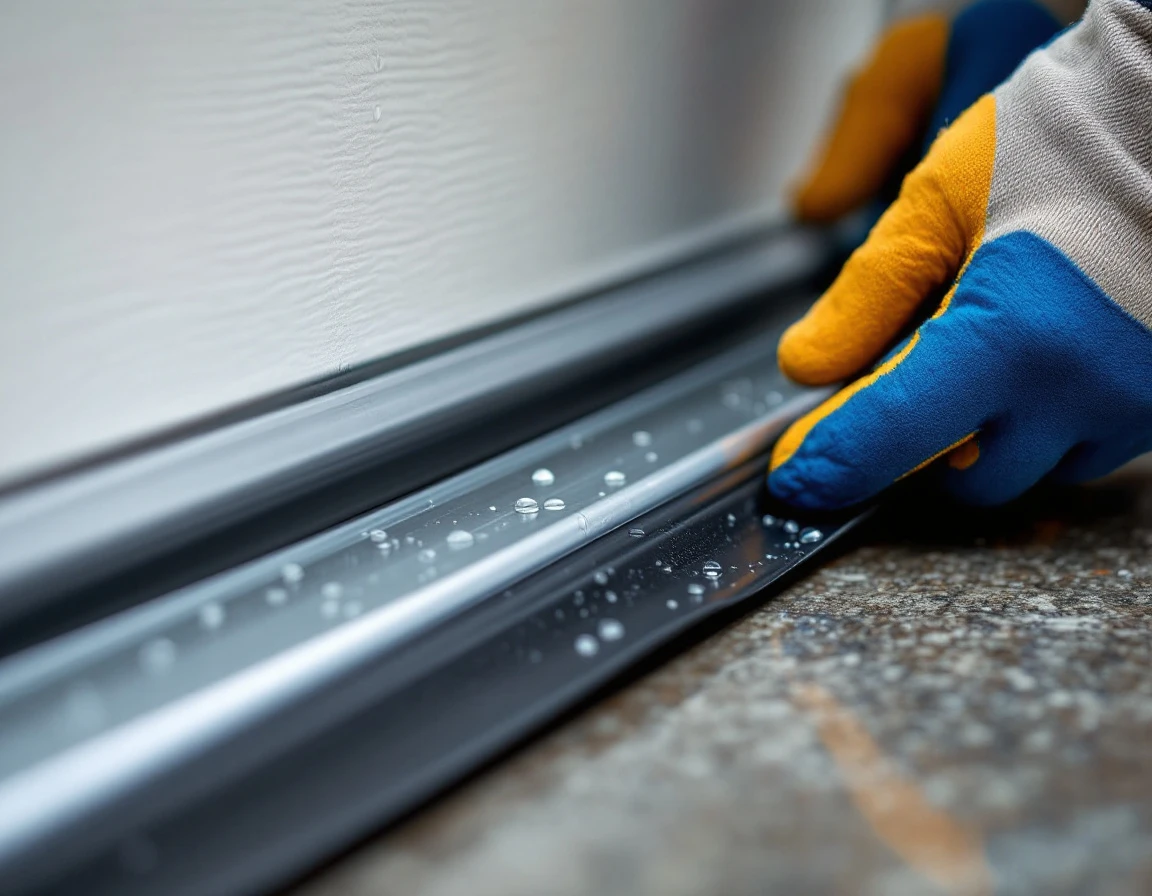
Which seal material actually survives Portland’s damp winters and summer sun exposure? EPDM rubber (ethylene propylene diene monomer) is the gold standard for Pacific Northwest garages because it resists ozone, UV rays, and repeated freeze-thaw cycles without cracking or losing elasticity. Unlike cheaper alternatives, EPDM maintains its weatherproofing performance through years of wet winters. For worn weather seals in Portland, EPDM replacement delivers superior longevity.
Silicone-based seals offer excellent flexibility and moisture resistance, making them a premium choice for side and top seal locations where doors bend and flex during operation. The tradeoff? Silicone costs more upfront but delivers superior cold-weather performance.
Avoid cheap foam or vinyl seals that promise easy installation but harden within two to three years in Portland’s constant dampness. Once hardened, these materials lose their ability to block water and pests—defeating the entire purpose of replacement.
Match your material to the location: install heavy-duty EPDM on bottom seals where abrasion and water exposure are highest, then use quality silicone for side and top positions where flexibility matters most. This strategic pairing gives you durability where you need it without overspending on premium materials everywhere.
Common Mistakes and Troubleshooting
Even the best materials fail if you skip proper preparation or rush the installation. The most common error? Leaving old adhesive residue or dirt on the door frame. That grime prevents the new seal from bonding correctly, leading to premature failure within weeks instead of years.
Second pitfall: choosing the wrong seal profile or width. Weather seals come in different sizes to match various door frames and gap dimensions. A seal that’s too narrow won’t compress properly; one that’s too wide creates drag and wears quickly.
Portland’s cool fall temperatures present a third challenge. When you install seals in September at 50–55°F, polyurethane adhesives need 48 hours or more to cure fully—not the 24 hours listed on the tube. Applying adhesive in damp, cold conditions weakens the bond before it sets.
Finally, testing the door before the adhesive cures completely shifts the seal out of alignment. Wait the full cure time, even if it feels secure.
Quick troubleshooting: If water still seeps in after installation, check for misaligned seal positioning. If the seal pulls away from the frame, clean the surface thoroughly and reapply fresh adhesive.
Next Steps for Fall Preparation
September represents your final window before Portland’s consistently heavy rains begin in October. Replacing worn weather seals now prevents water damage and pest infiltration during the wettest months. Set aside an afternoon this week to inspect and replace seals that show cracking, compression, or separation—the investment of less than two hours protects your garage through winter.
While you’re replacing seals, take a few minutes to inspect door balance, tracks, and the frame itself. Pull the emergency release and manually lift the door halfway—it should stay in place without support. Check tracks for alignment and look carefully at the frame for warping, rot, or damage. If seals are your only concern, DIY replacement is ideal. If you discover frame issues, warped wood, or significant structural damage, professional intervention is warranted.
Plan an annual fall maintenance schedule: inspect all seals in early September each year, replace any that show wear. And check again in November after the first heavy rain cycle. This routine catches problems before they escalate. If you’ve identified issues beyond DIY scope during your inspection, contact Garage Harmony for a professional assessment. Acting now means dry floors, lower energy bills, and pest-free storage all winter long.