

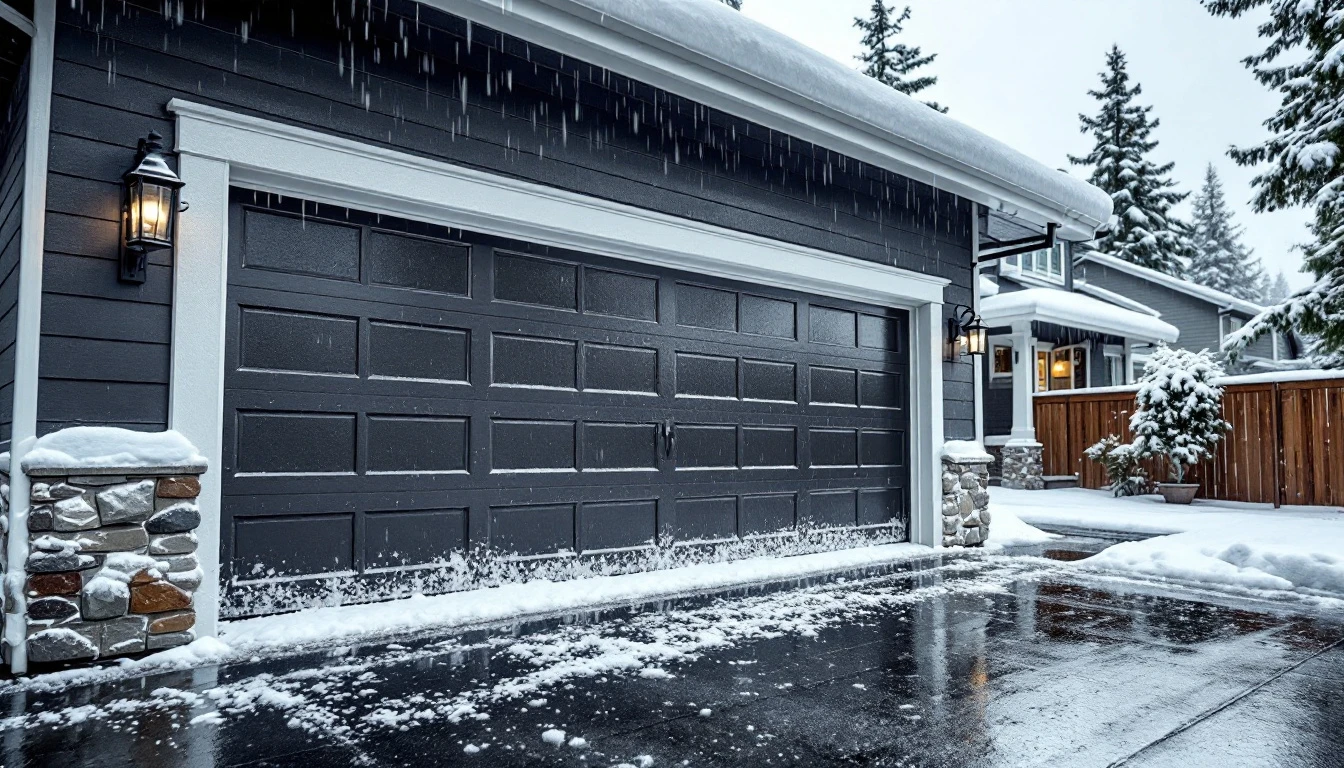
PNW Freeze-Thaw Cycle Impact: Protecting Your Garage Door from Winter Weather Damage in Oregon
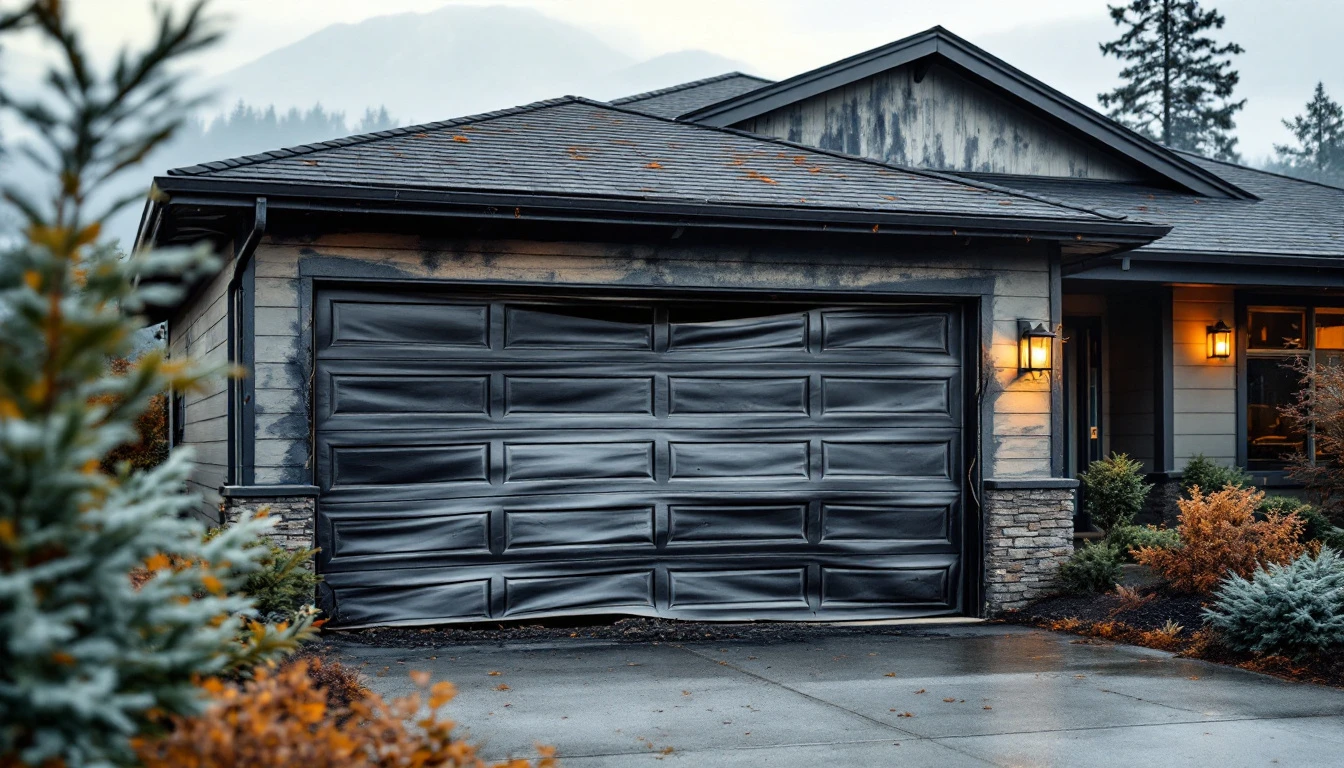
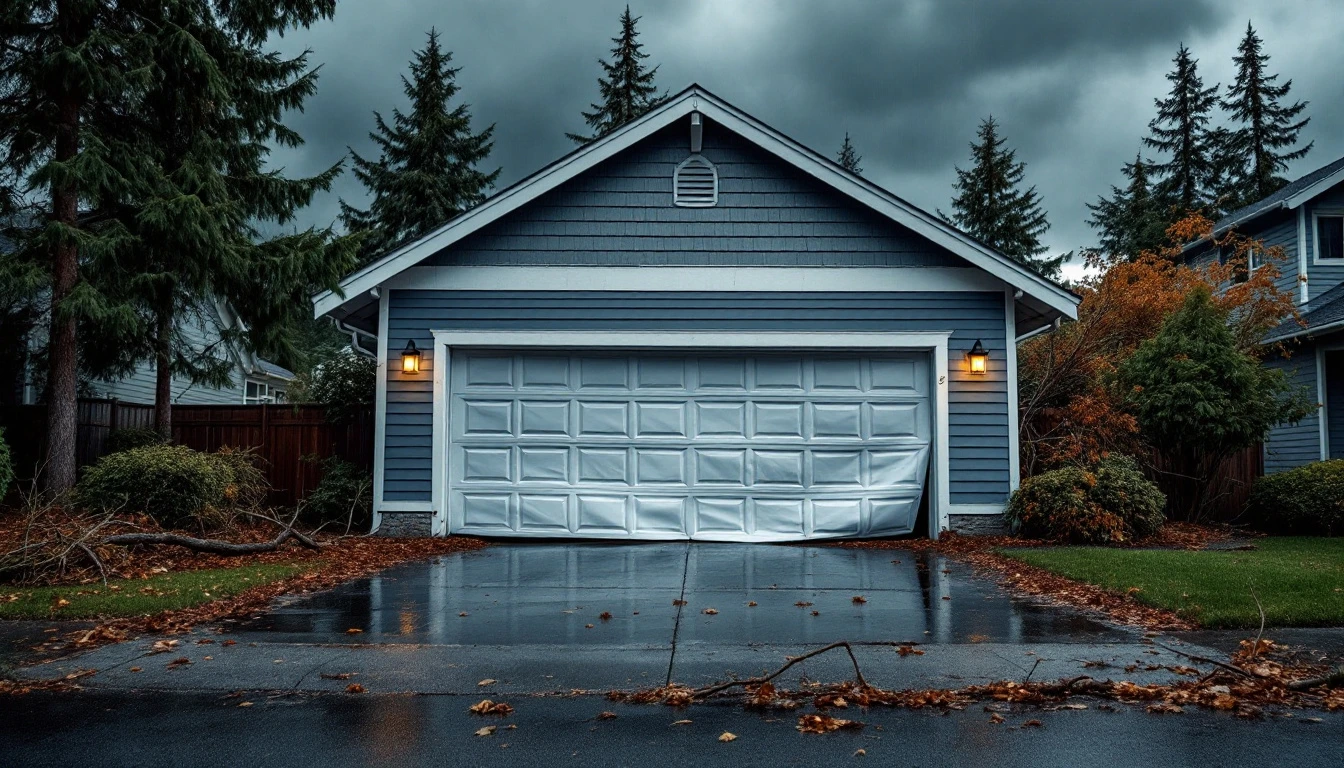
Oregon’s winter weather creates a perfect storm for garage door damage. Unlike regions with consistently cold temperatures, the Pacific Northwest experiences repeated freeze-thaw cycles that push metal components through endless expansion and contraction. When temperatures swing above and below freezing, springs, tracks, and hinges weaken unpredictably. This garage door winter weather damage Oregon homeowners face requires targeted prevention before the season arrives.
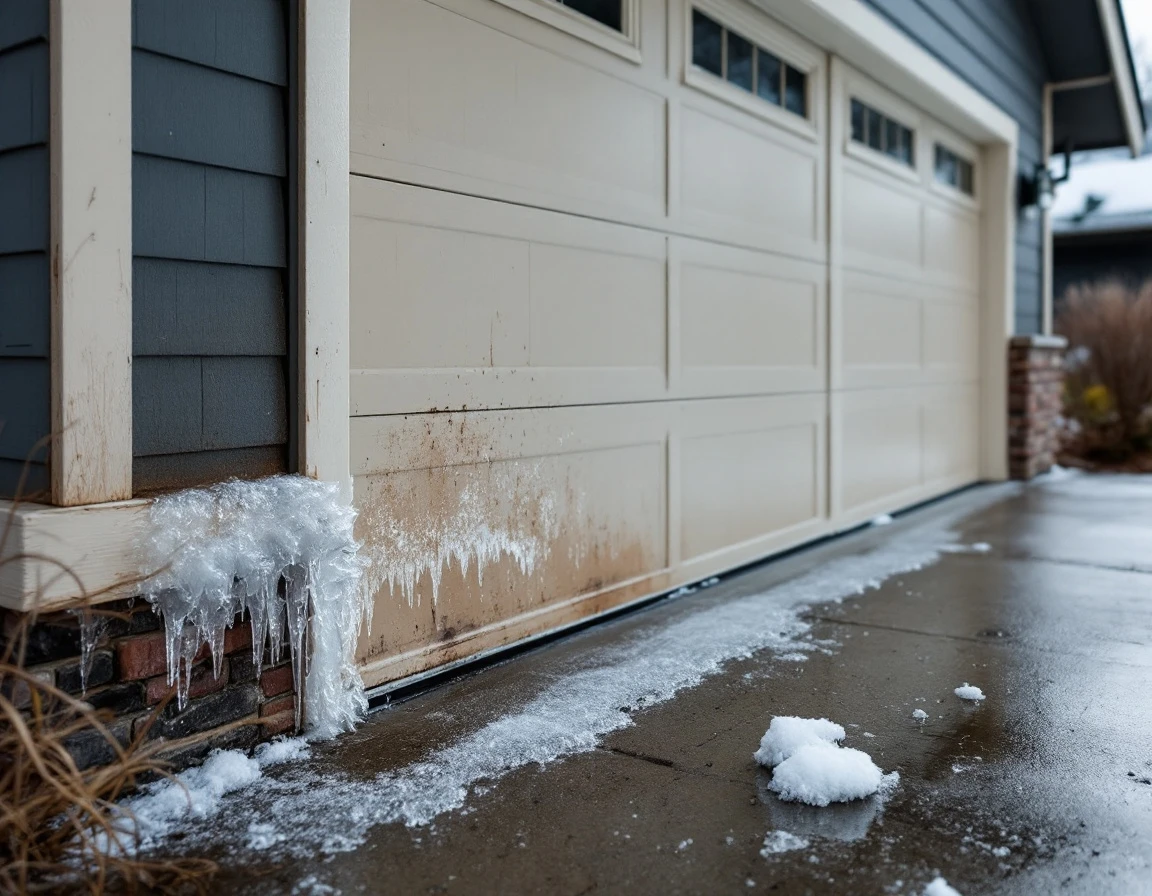
Wet winters compound the problem. Moisture infiltrates door seals, spring systems, and track assemblies, then freezes and expands overnight. This combination accelerates wear patterns that homeowners in drier climates never face. Skip preventive maintenance before October, and you’re inviting compound damage that demands professional repair work to fully restore.
Here’s valuable news: four targeted September tasks can extend your garage door’s lifespan by five or more years. When you address weather-specific vulnerabilities before the storm season arrives, you protect your investment and avoid emergency repairs during freezing conditions.
Four Essential September Maintenance Tasks for Winter Storm Garage Door Protection
“September offers a narrow window to protect your garage door before fall storms arrive. These four tasks take just a few hours to complete with materials you can source affordably, yet they prevent the most common freeze-thaw damage that leads to expensive repairs.”
Task 1: Inspect and Replace Weatherstripping and Seals
Check the rubber seal along your door’s bottom and the weatherstripping around the frame. Look for cracks, brittleness, or gaps where water could enter. Replace worn seals now—they’re an affordable fix that installs quickly. Why September? New seals need time to compress and settle before October’s heavy rains test their performance.
Task 2: Clean Tracks and Remove Debris
Use a shop vacuum and damp cloth to remove leaves, dirt, and grime from both tracks. Pay special attention to drainage holes at the track’s base. Blocked tracks trap water that freezes overnight, warping the metal and jamming rollers. This 20-minute task prevents one of the most common winter failures our team sees.
Task 3: Lubricate Moving Parts with Cold-Weather Products
Apply silicone-based or lithium grease spray to springs, hinges, and rollers—never WD-40, which gums up in cold temperatures. Use products rated for temperatures below 20°F. This routine maintenance takes just minutes and keeps parts moving smoothly when metal contracts in freezing weather.
Task 4: Test Balance and Alignment
Disconnect the opener and manually lift your door halfway. It should stay in place without drifting. If it drops or rises, your springs may be wearing unevenly—a problem that worsens during freeze-thaw cycles. Adjusting balance now catches issues before winter stress turns them into broken springs or bent tracks. If your door fails this test, contact a professional for spring adjustment before the season changes.
Weatherstripping Replacement Guide
Inspect your garage door weatherstripping by closing the door and looking for visible cracks, light streaming through gaps, or water stains on the interior panels. These signs indicate failed seals that allow moisture into door panels and insulation, leading to rust and wood rot that compounds over winter. Cracked or missing seals create an open invitation for Oregon’s relentless rain to damage your door from the inside out.
Choose EPDM rubber or silicone seals rated for temperatures below 32°F to withstand Pacific Northwest freeze-thaw cycles. Standard vinyl seals crack when temperatures drop, but EPDM and silicone remain flexible through winter temperature swings. Most replacement kits cost under $40 and include bottom seals, side seals, and stop molding weatherstripping.
Remove old weatherstripping by pulling it from the retaining channel, clean the track with a wire brush, then slide new material into place. This preventive task takes 30-45 minutes and protects against moisture damage that would otherwise require expensive panel replacement down the road.
Track Cleaning and Lubrication
Your garage door tracks collect fall leaves and debris that trap moisture against the metal, creating the perfect conditions for rust and freeze damage during Oregon’s wet winter months. Start by vacuuming out all debris from both tracks, then wipe them down with a clean cloth to remove any remaining dirt or moisture.
Here’s where many homeowners make a costly mistake: oil-based lubricants thicken in cold weather and actually trap moisture. Accelerating corrosion. Switch to silicone-based spray lubricants that maintain flexibility even when temperatures drop. Apply a thin, even coat to both tracks after cleaning.
Weekly track clearing during October takes just five minutes but protects against mid-winter binding and misalignment that freeze-thaw cycles make worse. A silicone product applied now prevents costly spring repairs from damaged rollers and bent tracks.
When to Call a Professional
How do you know when a task exceeds DIY territory? If your garage door won’t close smoothly, hesitates during operation, or makes grinding sounds, stop immediately and call for help. Springs showing rust, deep corrosion, or visible damage require professional attention—never attempt spring tension adjustments yourself. As garage door springs hold extreme force that can cause serious injury.
Are your sensors unresponsive or is your opener acting erratic in September? These issues signal potential failure when temperatures drop in December, leaving you stranded during winter storms. Professional baseline inspections cost between $50 and $75 and often identify problems before they escalate into emergency repairs costing thousands.
Panel damage or structural concerns also demand expert evaluation before winter stress compounds the problem. Finding qualified Oregon specialists is simple—look for licensed technicians with freeze-thaw climate experience who can assess your door’s readiness for the Pacific Northwest’s wet season ahead.
Post-Maintenance Checklist and Timeline
Complete all four maintenance tasks by the end of September to stay ahead of October storm delays. Document the condition of your weatherstripping, tracks, and door balance with dated photos—this creates a winter baseline for insurance claims if unexpected damage occurs during freeze-thaw cycles.
Plan weekly track inspections throughout October as falling leaves and debris accumulate in your system. These quick five-minute checks catch problems before moisture turns debris into rust and corrosion. If any September task revealed spring damage, opener hesitation, or structural concerns beyond your DIY scope, schedule a professional inspection now rather than waiting for a January emergency.
Following this timeline prevents the expensive damage scenario outlined at the start and extends your garage door’s working life by years.
Contact us today! Our team at Garage Harmony specializes in pre-winter inspections that catch problems early.

Leave A Comment