Riverside Humidity & Weatherstripping Repair Kelso
Cowlitz River moisture accelerates weatherstripping deterioration in West Kelso and Catlin garages, making weatherstripping repair Kelso a priority for homeowners. Failed seals create gaps that invite rust, mold, and energy loss into aging structures.
Kelso’s Confluence Location Creates Persistent Moisture That Accelerates Seal Deterioration
West Kelso and Catlin sit at the confluence of the Cowlitz and Columbia Rivers, creating a microclimate where moisture lingers year-round. This persistent humidity penetrates garage weatherstripping faster than in drier inland areas, breaking down rubber compounds and vinyl seals through continuous expansion and contraction cycles. Water vapor infiltrates microscopic cracks, freezing during winter nights and accelerating material breakdown.
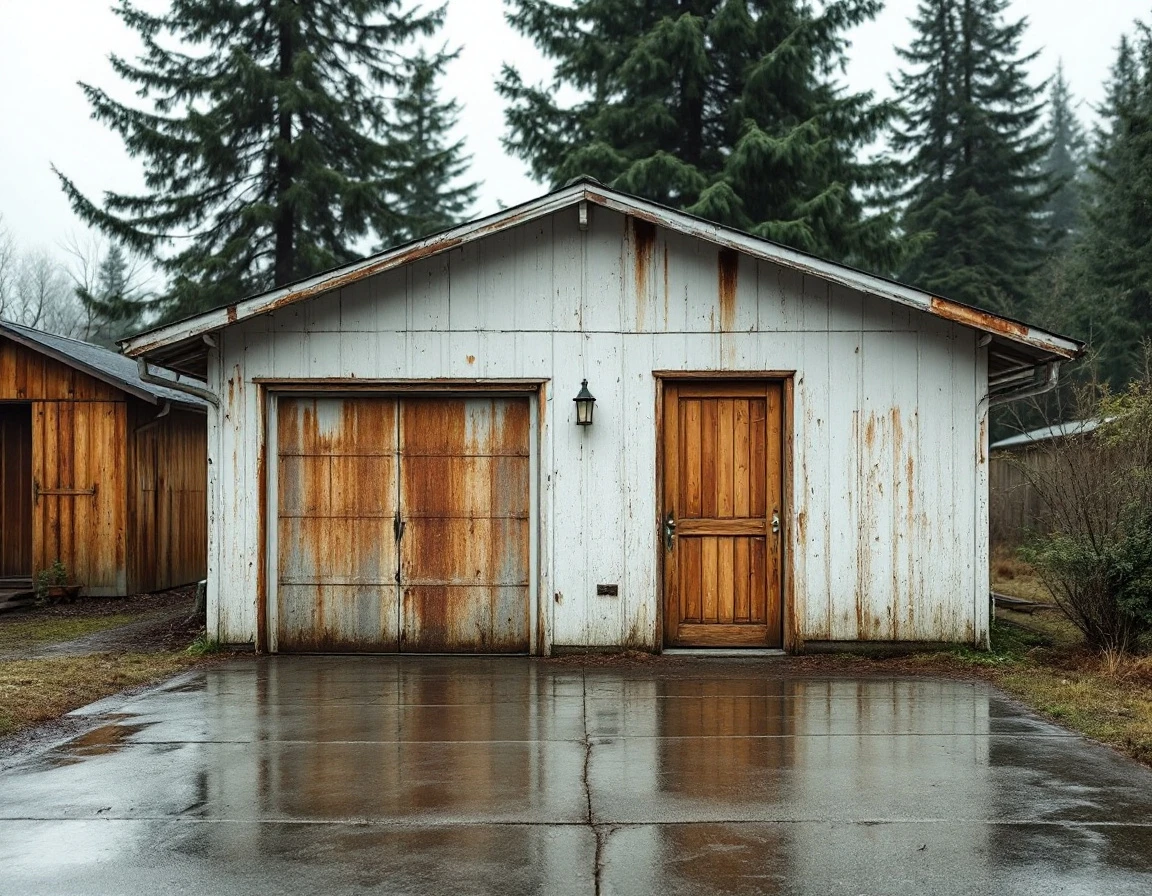
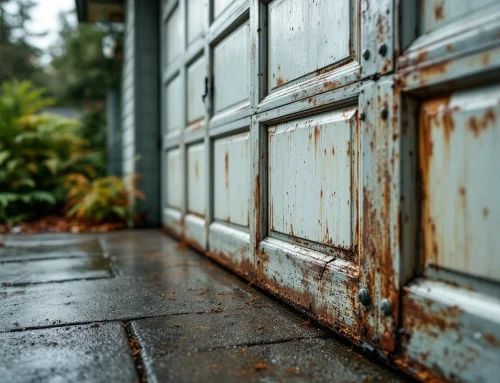
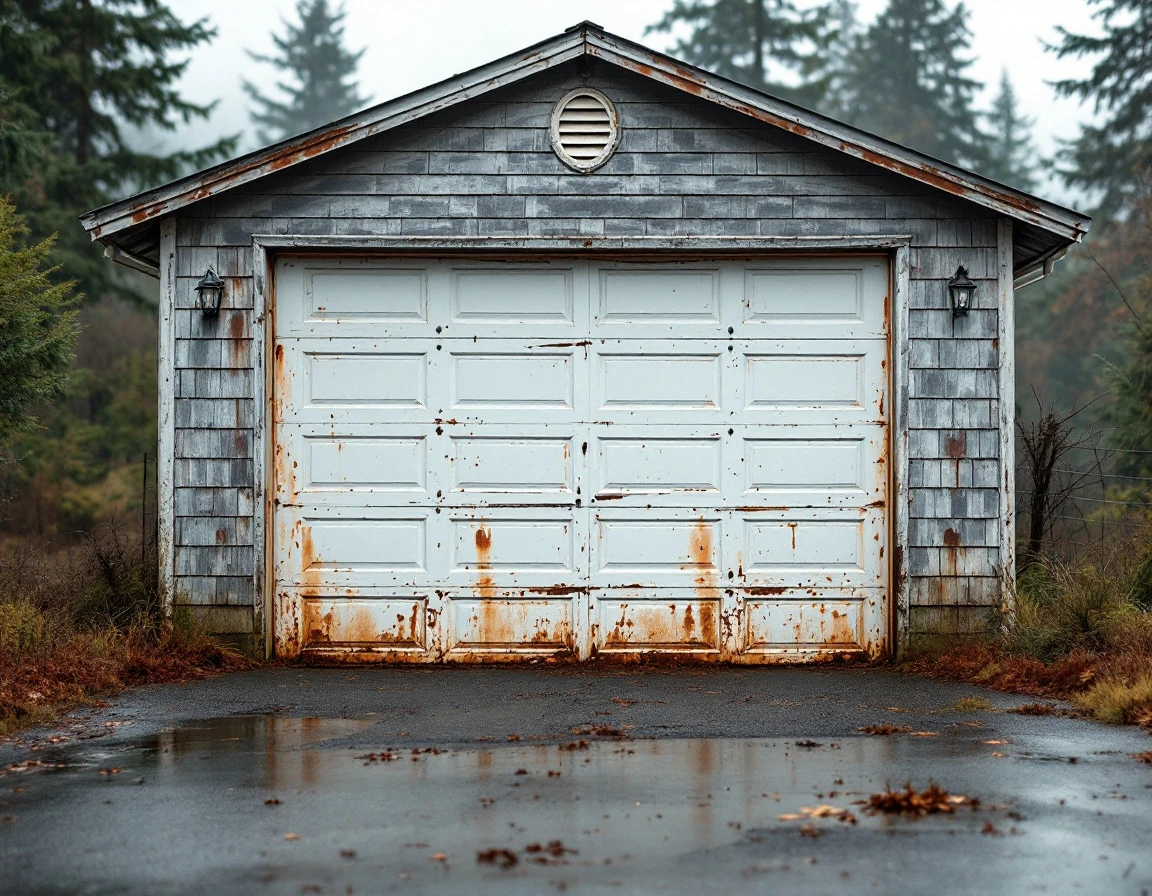
Garages built during the 1940s–1960s construction boom used materials particularly vulnerable to this climate pattern. Original door frames often featured untreated wood that absorbs moisture like a sponge, while early steel components lacked modern corrosion-resistant coatings. The combination of riverside humidity and these aging materials creates the perfect environment for rust formation along door tracks and mold growth in wooden trim pieces, especially in detached garages with limited air circulation.
Summer peak humidity intensifies existing garage weatherstripping deterioration Kelso
When June arrives, the combination of warmer temperatures and Cowlitz River moisture creates a perfect storm for garage damage. Summer humidity doesn’t just maintain existing problems—it actively accelerates rust spread on metal components and feeds mold growth in cracked weatherstripping.
West Kelso and Catlin garages with already-compromised seals face rapid deterioration during these months.
Deterioration Checklist for 1940s–1960s Garages
Walking through your garage with a flashlight and notepad can reveal exactly where moisture has taken hold. The deterioration pattern in West Kelso and Catlin garages follows a predictable sequence that starts small but compounds quickly in riverside humidity.
Stage 1: Seal Drying and Compression Loss. Check your weatherstripping by pressing it with your thumb. Fresh rubber bounces back immediately, but dried-out seals stay compressed or feel brittle. Look for gaps between the door bottom and the floor when the door is closed—even a quarter-inch space allows moisture infiltration.
Stage 2: Cracking and Permanent Gaps. Examine seals for visible cracks, especially at corners where the door bends most. Run your hand along the perimeter while someone stands outside—any air movement you feel during June indicates failed seals that will worsen when fall rains return.
Stage 3: Water Infiltration Evidence. Inspect interior wood framing at floor level for dark water stains or soft spots. Check concrete floors near the door for standing water after rain. A musty odor when you open the garage in the morning signals persistent moisture that seals should be blocking.
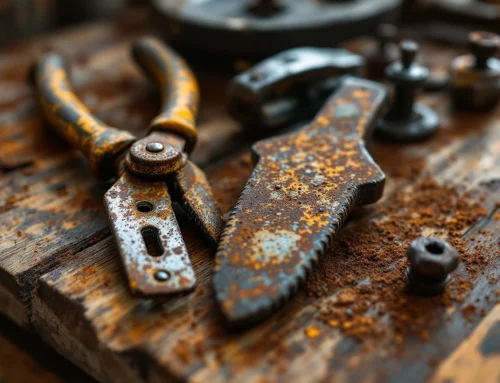
Stage 4: Rust Development. Orange rust blooms appear first on exposed metal—door hinges, track hardware, and the bottom panel edges. This rust indicates water has been entering for weeks or months. Fresh rust wipes away easily but leaves pitting that accelerates future corrosion.
Stage 5: Mold Growth. White or black mold on rubber seals, door panels, or stored items represents advanced deterioration. Once mold establishes itself, replacing weatherstripping alone may not solve the problem—wooden door sections or framing might need treatment or replacement.
DIY Weatherstripping Replacement Steps
June offers ideal conditions for weatherstripping replacement in West Kelso and Catlin—dry enough for adhesives to cure properly, yet early enough to beat the moisture damage that intensifies through late summer. If your garage shows early-stage deterioration (minor cracking or compression loss without rust or mold), a DIY replacement can restore protection for $50–$150 in materials and 3–4 hours of work.
Selecting Compatible Materials for Older Frames
Garages built in the 1940s–1960s often feature non-standard door heights and frame depths that won’t accept modern bulb seals. Measure the channel depth where your old seal sits—most vintage frames accommodate ¼-inch to ⅜-inch seal thickness. Foam tape works well for top and side jambs where compression is minimal, costing $8–$12 per roll. Rubber D-strip suits bottom seals that compress against concrete, running $25–$40 for an 18-foot length. Silicone seals resist moisture better than foam but cost more ($45–$60) and require precise installation on smooth substrates.
Removal and Substrate Preparation
Start by photographing how the old seal mounts—this helps with reinstallation orientation. Use a putty knife to gently pry out nailed or stapled seals from wood frames, working slowly to avoid splintering vintage lumber. For adhesive-mounted seals on metal frames, warm the joint with a hair dryer for 30 seconds, then pull steadily. Clean the channel with denatured alcohol on a cloth, removing all old adhesive residue and mildew.
Measure each section separately—frames may have settled unevenly over decades. Cut seals 1 inch longer than needed, then trim to exact fit during installation. Apply new seals starting at the top jamb, pressing firmly into channels without stretching. Bottom seals should compress ¼ inch when the door closes—more compression blocks airflow adjustment, while less allows water entry.
This approach works best when wood substrates remain solid and metal shows no surface rust. If you encounter spongy wood or flaking metal during removal, professional assessment prevents wasting materials on frames that need structural repair first.
When to Hire Professional Sealing
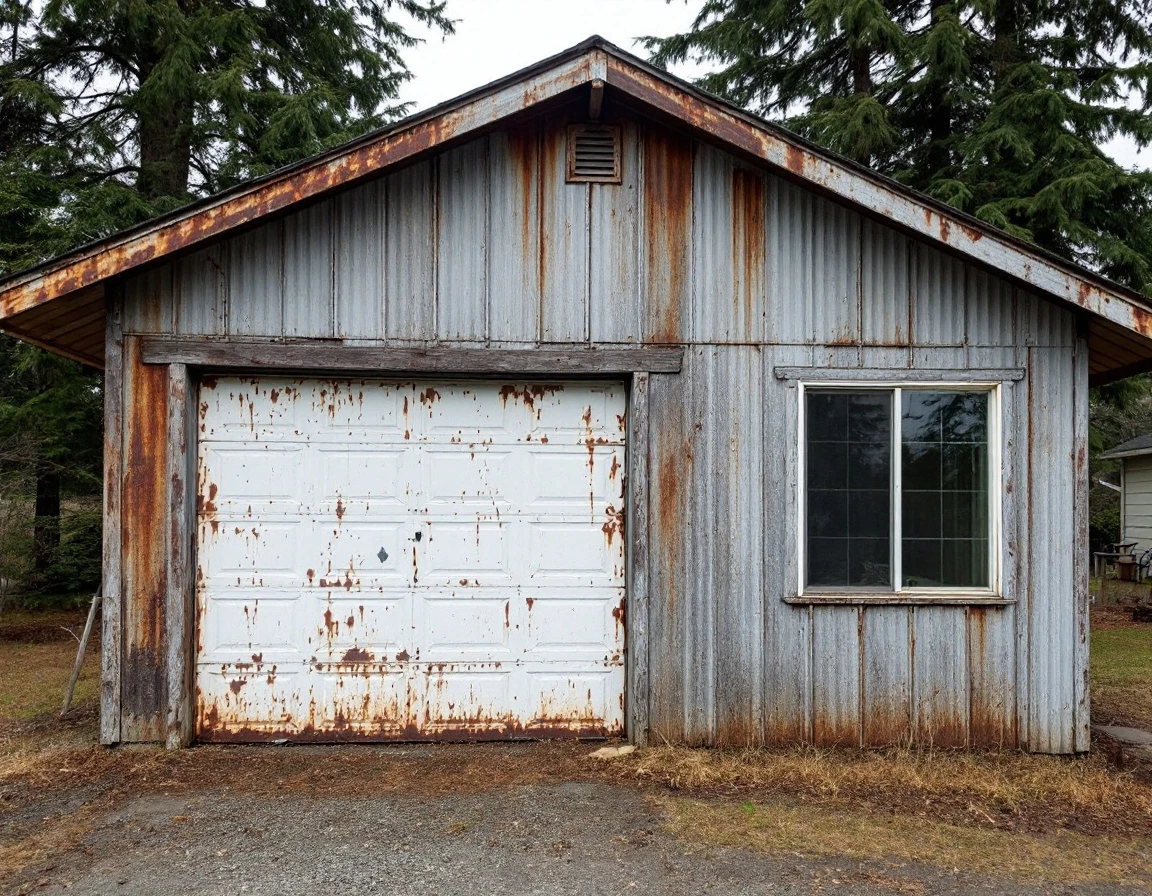
Most weatherstripping replacement falls within DIY capability, but three deterioration patterns demand professional intervention. Advanced rust that extends beyond surface spots into structural components—especially common in West Kelso’s 1940s–1960s garages—requires specialty corrosion-resistant materials and reinforcement techniques that standard hardware store products cannot address. Active mold growth indicates moisture intrusion severe enough to compromise framing or insulation, requiring remediation protocols beyond simple seal replacement. Severe seal compression loss where rubber has hardened into brittle strips signals failed adhesives and substrate damage that DIY installation cannot properly repair.
Attached garages present a special case. Because these structures share walls with living spaces, improperly sealed doors allow moisture migration that damages interior drywall, promotes mold growth inside the home, and creates air quality concerns. In Catlin’s riverside climate, this moisture pathway accelerates when humidity peaks. Professional installation for moisture damage garage sealing West Kelso homes prevents this risk through continuous compression, proper threshold integration, and vapor barrier alignment that protects both the garage and adjacent rooms.
Energy loss adds financial urgency. Poor seals waste cooling costs throughout summer by allowing humid air infiltration that forces HVAC systems to work harder removing moisture. June scheduling prevents this waste before peak heat arrives and avoids the humidity season when moisture damage accelerates fastest.
Professional sealing protects standard two-car garage doors from weathering, with costs varying based on door size and substrate condition. This preventive approach avoids the need for costly structural repairs caused by advanced rust or mold damage. Contact Garage Harmony to assess whether your garage needs professional sealing or if DIY replacement will adequately address your weatherstripping deterioration.
Cost-Benefit: Repair Now vs. Deferred
What does weatherstripping repair cost in West Kelso, and what happens if you wait? The numbers tell a clear story: addressing deteriorated seals in June costs between $150 and $500 for a DIY project, or $400 to $900 for professional installation. Compare that to deferred costs when moisture damage spreads—rust removal and metal component replacement run $2,000 to $5,000 or more, while mold remediation and structural wood repair can push totals even higher.
Delayed repair creates a cascade effect in riverside garages. Water infiltration from failed weatherstripping doesn’t stay contained—it migrates into wall cavities, ceiling joints, and floor substrates. What starts as a routine seal replacement in June becomes a complex remediation project by fall when mold colonies establish themselves in drywall or when rust compromises door tracks and hardware beyond simple surface treatment.
The energy payback adds another layer to this calculation. Properly sealed garage doors reduce summer cooling costs by creating an effective thermal barrier between hot outdoor air and temperature-controlled spaces. For attached garages in West Kelso’s 1940s–1960s homes, this translates to measurable reductions in air conditioning expenses. The repair investment typically pays for itself within two to three cooling seasons through lower utility bills.
June weatherstripping repair represents the lowest-risk, highest-return investment for protecting vintage riverside garages. You’re spending hundreds to prevent thousands, timing the work before summer humidity accelerates existing damage, and capturing immediate energy savings. Contact us today for a professional assessment that identifies exactly what your garage needs—and what it will cost if you wait.