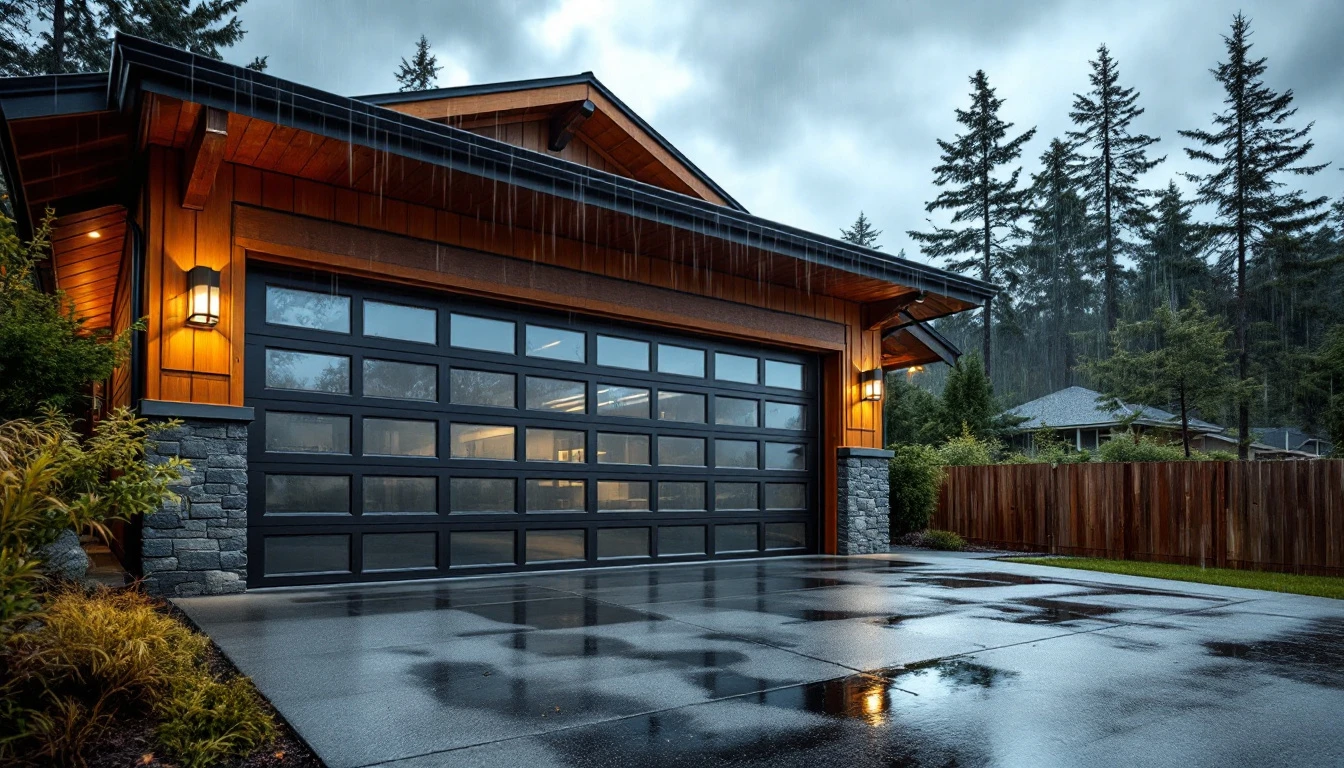
Why Spring Garage Door Maintenance Matters in Portland
Portland’s climate puts unique stress on garage door systems during the transition from winter to summer. Spring garage door maintenance Portland homeowners perform now prevents the freeze-thaw cycles that strain metal components, causing springs to fatigue and weather seals to crack. When morning temperatures hover around freezing before climbing into the 50s by afternoon, your garage door expands and contracts repeatedly, wearing out hardware faster than in more stable climates.
Winter’s wet conditions leave moisture trapped in tracks, rollers, and hinges. Once summer heat arrives and you’re opening the door multiple times daily for weekend projects and family activities, these compromised components face their biggest test. Small rust spots become binding tracks. Slightly weakened springs snap under increased use. The result? Emergency repairs that drain your budget when preventable issues go unaddressed.
Spring maintenance creates a critical window to catch these problems early. Investing 2-3 hours and $50 to $150 in preventive tasks now means your garage door handles summer’s heat and heavy usage without failure. Five low-cost maintenance tasks—inspecting springs, lubricating moving parts, checking weather seals, testing the opener’s auto-reverse, and tightening hardware—address the exact vulnerabilities Portland’s wet winters create.
Think of spring maintenance as insurance against summer breakdowns.
Five Essential Spring Maintenance Tasks
Portland homeowners can complete these five maintenance tasks in under two hours, preventing most summer garage door failures before they happen. Each task takes 15-30 minutes and requires only basic tools you likely already own.
Task 1: Visual Inspection of Springs, Cables, and Rollers
Start by examining your torsion springs (the horizontal bar above the door) and extension springs (the springs along the tracks) for rust, gaps, or stretching. Look for frayed cables near the bottom corners of the door and check that rollers spin freely without wobbling. Warning signs that require professional help include uneven door descent, sagging cables, or springs with visible gaps between coils.
What success looks like: Springs should have uniform coil spacing, cables should be tightly wound without frays, and rollers should rotate smoothly. This inspection is a critical control point for identifying potential failures before they cause door malfunctions.
Task 2: Lubrication of Moving Parts
Apply garage door lubricant (not WD-40, which attracts dirt) to hinges, roller stems, tracks, and the torsion spring shaft. Use a tape measure to mark 12-inch intervals along the spring shaft for even application. Wipe away excess lubricant to prevent debris accumulation during Portland’s dry summer months.
What success looks like: The door should operate quietly without grinding or squeaking sounds. Proper lubrication reduces friction that accelerates wear on metal components exposed to our region’s wide temperature swings.
Task 3: Door Balance Test and Gap Alignment
Disconnect the opener by pulling the red release cord, then manually lift the door halfway. A balanced door stays in place when released. Check gaps along all four sides using your tape measure—gaps larger than a quarter-inch indicate seal problems or track misalignment. Doors that drift down more than six inches are unbalanced and need spring adjustment by a professional.
What success looks like: The door holds position at any point between open and closed, with consistent gaps around the perimeter.
Task 4: Weatherstripping and Seal Inspection
Examine the rubber seal along the door bottom and weatherstripping around the frame for cracks, compression, or gaps. Replace any section that feels brittle or shows visible damage—hardware stores stock affordable replacement seals in standard sizes. This task prevents moisture intrusion that causes rust during our rainy fall and winter seasons.
What success looks like: Seals should be flexible, create continuous contact when the door closes, and show no daylight gaps.
Task 5: Opener Function Test and Safety Sensor Verification
Test the auto-reverse by placing a roll of paper towels in the door’s path. The door should reverse immediately upon contact. Clean sensor lenses with a soft cloth and verify the indicator lights are solid (not blinking). Check that sensors are aligned by measuring their height—both should sit exactly four to six inches above the garage floor.
What success looks like: The door reverses within one second of obstruction contact, and sensors maintain alignment without frequent adjustments. This test takes five minutes but prevents property damage and injury.
Spring Inspection Task 1: Check Springs, Cables
Start by visually inspecting the torsion spring mounted above your garage door opening and the extension springs running along both side tracks. Healthy springs show even coil spacing and consistent color, while damaged springs display rust patterns, visible gaps between coils, or deformation. Look for separation or stretching that indicates metal fatigue.
Next, examine the cables connecting your springs to the door. Fraying along cable edges, separation of wire strands, or visible kinks signal stress damage that can lead to sudden failure. Check the rollers for flat spots, excessive wear, or misalignment within the tracks—these issues create friction that strains the entire lifting system.
Never touch springs or cables under tension. These components store hundreds of pounds of force and require professional tools for safe handling.
Use your flashlight and smartphone to document any damage you spot. If you see rust, gaps, fraying, or deformation, contact a professional before operating your door—spring failures cause serious injuries and property damage.
Spring Inspection Task 2: Lubrication and Track
For Portland’s wet climate, proper lubrication is your defense against squeaking, binding, and premature wear. This 20-minute, $10-15 maintenance task extends component life by 2-3 years and prevents summer failures. The key? Use silicone-based lubricant or white lithium grease—never WD-40—because silicone won’t trap Portland’s persistent moisture inside moving parts.
Apply lubricant to four critical points: hinges where door sections connect, rollers that travel up and down the track, track rails themselves, and spring mechanisms. Test door movement before and after—smooth, silent operation is your success indicator. If you hear grinding or squeaking after lubrication, inspect further.
While lubricating rollers, check your tracks with a simple ruler or straightedge. Hold it along the track rail and look for gaps or bends that create binding. Clean any debris from tracks with a dry cloth before applying lubricant. Properly lubricated rollers should descend smoothly without noise, reducing stress on your opener motor and preventing costly summer breakdowns.
Spring Inspection Task 3: Door Balance
This 10-minute test reveals spring health and door alignment issues before they become summer emergencies. Start by closing your door completely and measuring the gaps between the door and frame at the top, middle, and bottom with a tape measure. Equal gaps at all three points indicate proper alignment.
Next, disconnect your opener using the manual release handle and hand-raise the door to waist height, then hip height, then shoulder height. A properly balanced door should stay put at each position without assistance. If your door sags partway down or requires effort to lift, your springs are weakening.
Uneven gaps signal misalignment. A door that won’t hold position indicates spring wear. Both conditions strain your opener motor and accelerate failure during Portland’s warm months when you’re opening and closing the door frequently. Any imbalance requires professional spring adjustment—these high-tension components demand expert handling.
Weatherstripping and Sensor Checks
Portland’s spring rains make weatherstripping inspection part of your garage door seasonal maintenance Portland homeowners need before summer heat arrives. Walk around your garage door frame and examine the rubber seals along all edges—look for cracks, gaps, or sections where the material has become brittle and pulled away from the frame. Pay special attention to the bottom seal (the rubber strip that contacts the floor when the door closes), as this takes the most abuse from moisture and debris.
Test your safety sensors next. These photoelectric eyes sit about six inches above the floor on each side of the door opening. While lowering the door, place your hand in the beam path—the door should reverse immediately. If there’s any delay or the door continues closing, stop using it and call for professional repair.
Failing weatherstripping allows moisture into your garage during spring rains, creating conditions that accelerate rust on springs, cables, and tracks when summer heat arrives. Replacement costs $50-150 for DIY installation or $100-200 for professional service—minimal compared to the $400+ you’ll spend repairing corroded components or replacing a moisture-damaged motor. Think of intact seals as your first line of defense against Portland’s wet climate.
DIY vs Professional: When to Call an Expert
Some maintenance tasks you can tackle yourself, while others require professional expertise.
- DIY-safe tasks: visual inspections, lubricating moving parts, testing door alignment, and replacing weatherstripping. These projects cost $50-150 in materials and take 3-4 hours total, making them accessible to most homeowners with basic tools.
- Professional-only work: spring adjustment, cable repair, and motor testing. These tasks require specialized certifications and safety equipment because of the extreme tension in spring systems. Springs store enough force to cause serious injury or death if handled improperly. Professional service costs $150-400 and provides peace of mind that comes from certified expertise.
Call a professional immediately if you notice broken springs, sagging cables, uneven door movement, or inoperative sensors. These red flags indicate safety hazards that demand expert attention. A professional spring inspection costs $100-150 and serves as insurance against breakdown. Compare that modest investment to $800-1,500 for emergency repairs when summer heat arrives and demand peaks.
Portland-area service providers can diagnose spring issues before they become emergencies. Scheduling a pre-summer inspection when technicians have availability saves money compared to calling for help in July when your door fails during a heat wave. Contact us today to schedule your spring maintenance inspection.
Spring Maintenance Checklist for Portland
Combine all these maintenance steps into a two-week action plan for late April through early May, when Portland’s spring weather provides the ideal window before summer heat arrives. Start with the visual inspection of springs and cables, then move through lubrication, balance testing, weatherstripping checks, and sensor verification. Each task builds on the previous one, creating a complete picture of your garage door’s health.
As you complete each inspection, document your findings with smartphone photos and written notes. If your door balance test reveals uneven gaps larger than half an inch, or if you spot rust patterns on springs or frayed cable strands, these photos become valuable references when scheduling professional service. Technicians can assess urgency and arrive prepared with the right parts.
Schedule professional inspection immediately if any red flags appear during your DIY maintenance. How to maintain garage door spring systems remains cost-effective when you address issues early, but waiting until July when your door fails during a heat wave means paying premium emergency rates and enduring longer wait times.
Even if your inspection reveals no issues, consider booking routine professional service now for summer peace of mind. Contact us today to schedule your spring garage door inspection.