Ice Buildup Damage & Repair Costs for Central Oregon Garage Doors
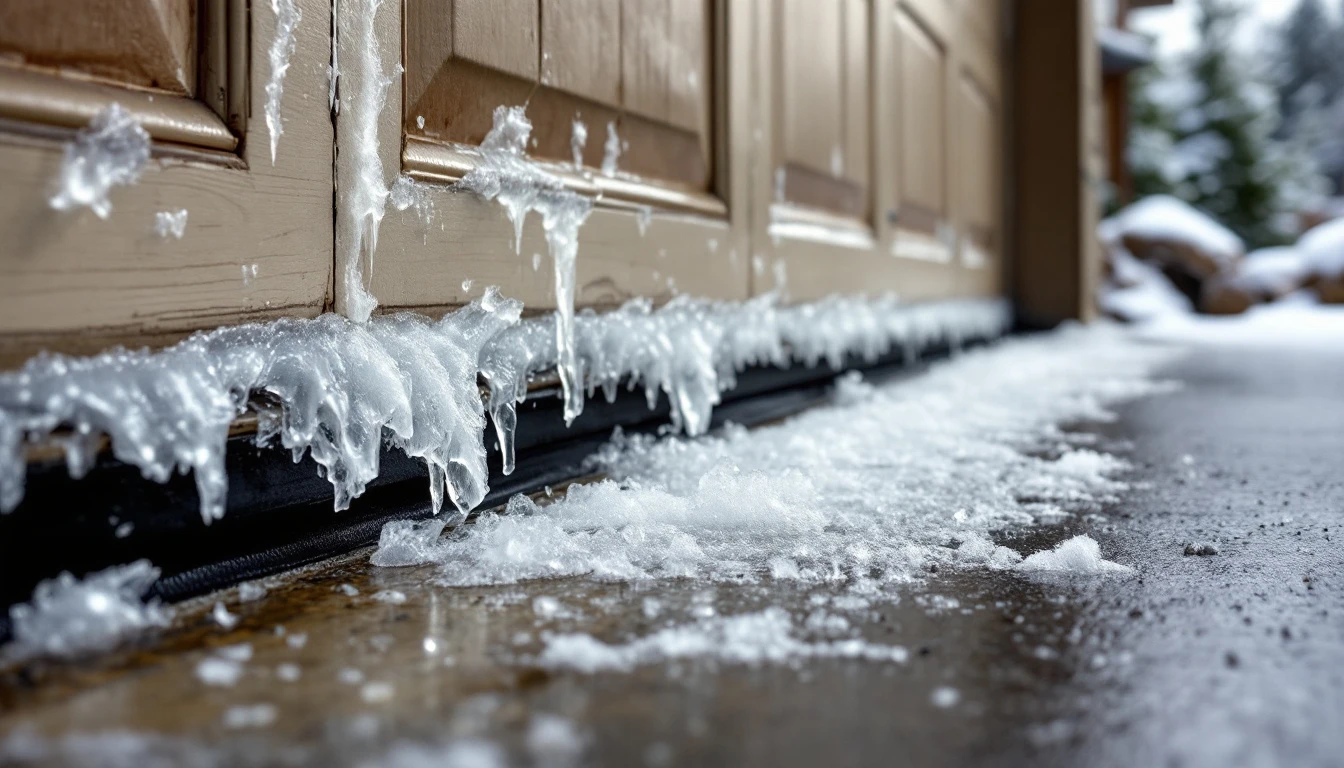
Central Oregon’s freeze-thaw cycles create a destructive pattern that silently attacks your garage door throughout winter, causing garage door ice damage that can be costly to repair. When temperatures drop below freezing at night and rise during the day, water seeps into the smallest gaps around panels and weatherstripping. That water freezes, expands with tremendous force, and cracks aluminum or steel panels. Repeated cycles rupture rubber seals and push weatherstripping away from its mounting surface.
Once seals fail, the real damage begins. Water infiltrates the door’s interior structure, where it causes rust on metal components and deterioration of insulation materials. The compromised weatherstripping allows moisture to reach the door’s steel frame, leading to corrosion that weakens structural integrity. What started as a hairline crack in a bottom panel can evolve into warped sections that refuse to close properly.
How much does this damage cost to fix? Repair bills range from $800 to $3,000 depending on severity. Replacing a single damaged panel runs $800 to $1,200. Complete bottom seal replacement costs $400 to $600. If freeze damage extends to the door’s structural frame or requires multiple panel replacements, you’re looking at $2,000 to $3,000.
The alternative? Prevention costs just $50 to $200 in materials and takes three to four hours of DIY effort. That’s a fraction of repair costs, making winterization one of the smartest investments Central Oregon homeowners can make before November’s hard freeze arrives.
Pre-Freeze Weatherstripping Inspection
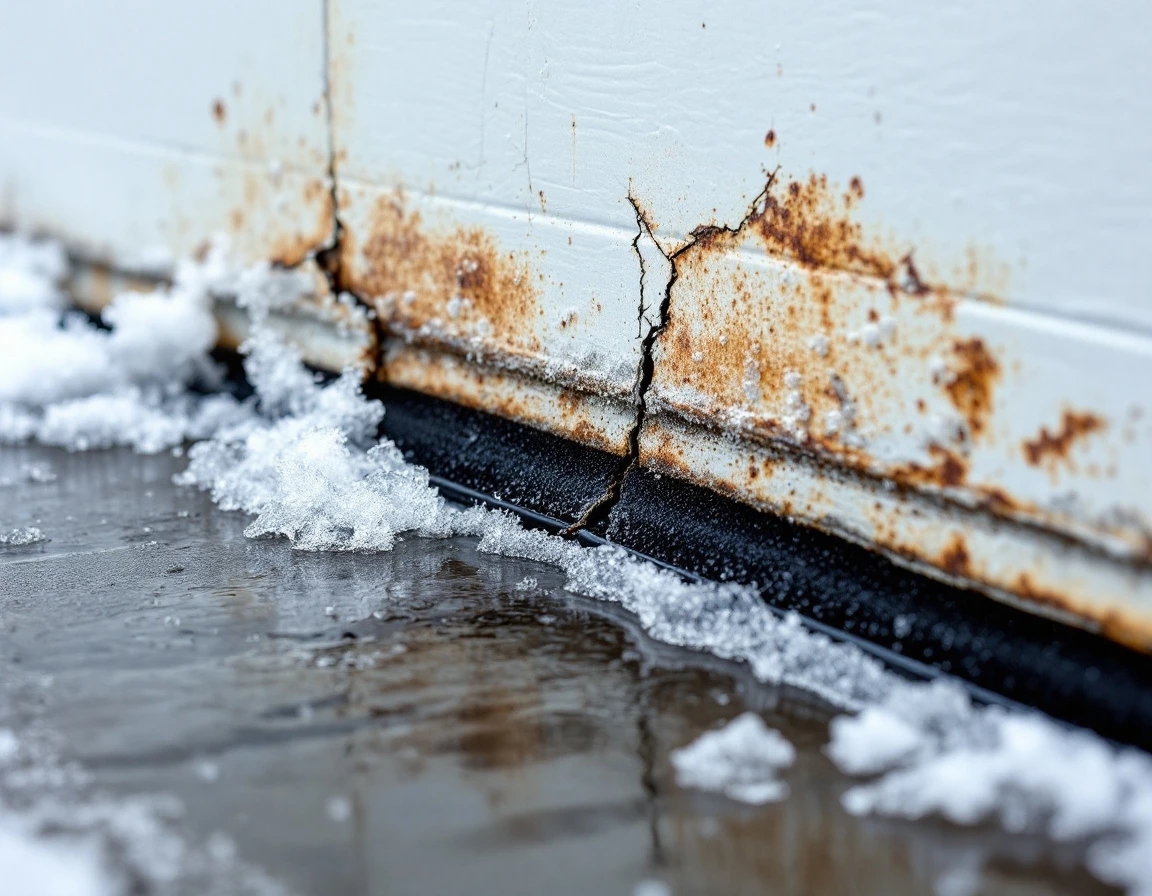
Your garage door weatherstripping acts as the first line of defense against water infiltration, but Central Oregon’s extreme temperature swings take a serious toll on these rubber and silicone seals. When temperatures plummet from 60°F during the day to 15°F at night, seals contract, crack, and pull away from the door frame. Those gaps might seem minor now, but once meltwater seeps in during the day and refreezes overnight, you’re looking at panel damage from ice formation garage door weatherstripping and costly repairs.
A thorough weatherstripping inspection takes just 15 minutes and can save you hundreds of dollars. October is your ideal window to complete this task—before the first hard freeze locks in any existing problems.
Step-by-Step Inspection Checklist
Start at the bottom seal where your garage door meets the floor. Run your hand along the entire length, feeling for hardened rubber that’s lost its flexibility. Next, check for visible gaps between the seal and the door—even a quarter-inch opening allows meltwater to penetrate. Look for cracks, tears, or sections where the weatherstripping has separated completely from its mounting track.
Move to the sides and top of the door frame. Inspect the vertical seals for discoloration, which indicates UV damage and brittleness. Press firmly on the rubber strips—healthy weatherstripping should compress and bounce back. If it stays compressed or feels stiff, it’s time for replacement.
Choosing and Installing Replacement Materials
Not all weatherstripping handles Central Oregon winters equally well. Skip the basic vinyl strips—they’ll crack by January. Instead, opt for heavy-duty silicone or EPDM rubber strips specifically rated for extreme temperature fluctuations. These materials maintain flexibility down to -40°F and resist the UV exposure that’s intense at our elevation.
You can find quality replacement weatherstripping at hardware stores throughout Bend, or visit specialized garage door supply shops for commercial-grade options. When you install new strips, clean the mounting surface thoroughly and apply them on a day when temperatures stay above 50°F—the adhesive needs warmth to bond properly.
Complete this task before November’s first freeze arrives. Once temperatures drop and stay low, you’ll miss your chance to prevent water from finding those vulnerable gaps and causing the very damage you’re trying to avoid.
Inspection Checklist & Red Flags
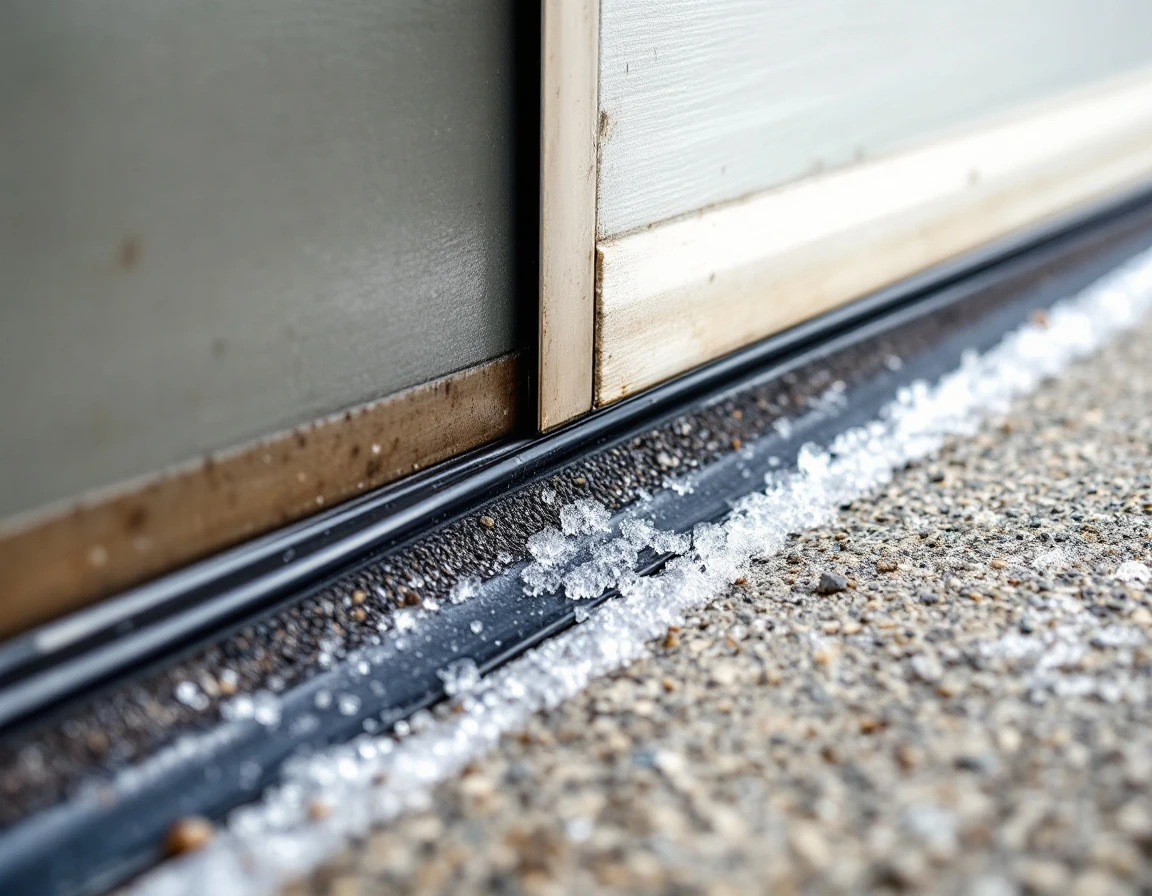
Where does ice actually attack your garage door? Start at the bottom corners where the vertical and horizontal seals meet. Water pools here first, freezing overnight when temperatures drop. Run your hand along the threshold—any gap wider than a credit card lets moisture in.
Next, inspect the side seals along both vertical tracks. Check for visible cracks, hardening, or dark spots that signal mold growth. These zones face the coldest air and freeze before the rest of the door. Test seal flexibility by bending a section gently—brittle rubber that doesn’t spring back will fail during the first freeze.
Finally, examine threshold gaps where the door meets the floor. Uneven concrete or worn bottom seals create entry points for snowmelt. Mark problem areas with tape so you know exactly where to focus your weatherstripping replacement before November arrives.
Material & Installation Timing
Ready to prevent ice damage garage door problems? Start with the right materials. Silicone weatherstripping outperforms standard rubber in Central Oregon’s extreme cold because it stays flexible when temperatures plunge below freezing, while rubber turns brittle and cracks. Look for silicone or EPDM rubber seals at local Bend suppliers like Parr Lumber or The Home Depot.
Timing matters as much as material choice. Install weatherstripping only when conditions are dry and temperatures stay above 50°F—adhesives won’t bond properly in cold, damp weather. That means you need to finish by late October, before Central Oregon’s first freeze arrives. The clock is ticking.
Budget $50–$100 for materials and plan for a 1–2 hour installation. Your shopping list: silicone bottom seal, side weatherstripping, threshold seal, adhesive cleaner, and utility knife. Install this weekend before the freeze locks you out of prevention mode and into expensive repair territory.
Drainage Clearance & Water Flow
Central Oregon’s freeze-thaw cycles create a hidden danger for your garage door: meltwater that pools and refreezes at the threshold. During the day, temperatures climb enough to melt snow and ice on your roof and driveway. That runoff flows downhill, seeking the lowest point—often right at your garage door base. When nighttime temperatures plunge, that pooled water freezes solid, expanding into the seal gaps you just inspected and causing garage door bottom freezing damage and cracking against the bottom panel.
Blocked drainage channels trap this meltwater exactly where you don’t want it. Leaves, pine needles, and debris accumulate in the threshold channel and side gutters throughout fall, creating dams that hold water against the door. Ice dams from clogged gutters above the garage send sheets of water cascading down the door face, pooling at the base instead of draining away.
Key drainage tasks to complete before winter:
- Clear all debris from the threshold area—that metal or concrete channel directly beneath the door
- Remove leaves, dirt, and any ice buildup from the side channels that run along the door frame
- Check your garage gutters and downspouts for blockages that redirect water toward the door
- Break up ice dams carefully if they’ve already formed to restore proper drainage
Water needs an escape route. The ground around your garage should slope away from the door, directing runoff at least three to four feet from the threshold before it can pool and refreeze. If your driveway slopes toward the door, consider adding a shallow drainage channel or adjusting the grade to redirect flow.
Complete this drainage clearance in October, before the first hard freeze. Then monitor throughout winter during thaw cycles. After each warm spell, check that water is flowing away from the door rather than collecting at the base. This simple habit prevents the costly panel damage and seal failures that ice accumulation causes.
Panel Protection & Preventive Measures
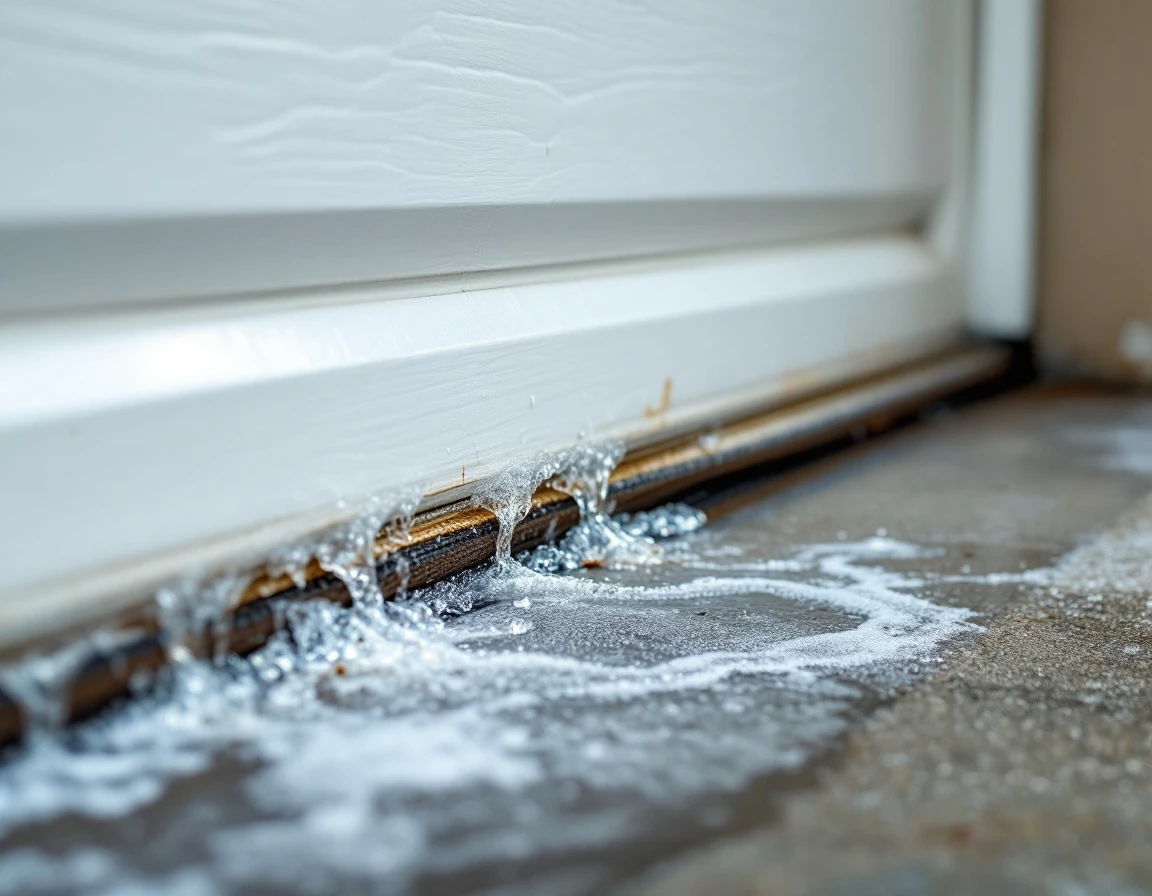
After addressing weatherstripping and drainage, the final winterization step targets your garage door panels themselves. Central Oregon’s freeze-thaw cycles create a hidden threat: once water seeps into micro-cracks in steel or composite panels, each freeze expands the damage exponentially. What starts as a hairline fracture in October can become a panel-spanning crack by February, forcing expensive repairs from frost damage garage door panels.
Start by inspecting all panel surfaces for existing cracks, especially along edges, corners, and seams where two panels meet. These vulnerable zones experience the most stress during temperature swings. Seal any visible cracks immediately using weatherproof silicone sealant rated for exterior metal or composite surfaces. Apply the sealant on a dry day above 50°F, pressing it deep into the crack to prevent water infiltration before the first freeze.
Next, apply protective coatings to bare metal edges and corners where the factory finish has worn away. Exposed steel corrodes quickly when exposed to moisture and salt from winter roads. A rust-inhibiting spray or paint creates a barrier that stops oxidation and prevents water from finding entry points into the panel structure.
For garages facing north or in high-exposure areas, consider installing a thermal break or ice guard at the door bottom. These rubber or vinyl barriers create an additional buffer between the cold ground and your door, reducing freeze points. In extreme-freeze zones, heated door mats or added insulation panels provide active protection against ice formation.
These three winterization steps—weatherstripping, drainage clearance, and panel protection—work together as a complete defense system. Each addresses ice damage at a different stage: preventing water entry, directing away excess moisture, and protecting surfaces from freeze expansion.
Should you tackle this yourself or call in professionals? If you’re comfortable with basic home maintenance and have a free afternoon, the DIY route saves money. For complex damage or multi-panel issues, contact Garage Harmony for expert assessment and repair.
When to Call a Professional
Prevention works when your garage door is still intact. If your panels already show deep cracks, rust spots, or visible water stains inside the garage, the three winterization steps won’t reverse that damage. DIY weatherstripping and drainage work protect healthy components—they don’t restore compromised ones.
Extensive water damage or rust requires professional panel replacement, typically running $400 to $800 per panel. If you’re seeing separation between seal and door frame, or if panels bow when touched, you’re past the prevention stage. Professional winterization services include thermal imaging to identify hidden water intrusion paths that visual inspections miss.
Schedule inspections in September to catch damage before freeze season. Homeowners who act now with the three DIY steps—weatherstripping replacement, drainage clearance, and panel protection—avoid the $800 to $3,000 repair bill that comes after November’s freeze takes hold. Those with existing damage should contact a professional before the first hard freeze, not after ice has expanded the problem.
Ready to protect your investment? If your door shows no damage, proceed with the three winterization steps yourself. If you’ve spotted warning signs, contact Garage Harmony today for an inspection to address Oregon winter garage door problems before they escalate.