Kelso Garage Door Rust Moisture Challenge and Older Garages
Kelso’s detached garages from the 1940s-1960s face persistent moisture threats from the region’s 40-50 inches of annual rainfall and high humidity levels. Understanding how Kelso garage door rust moisture problems develop is the first step toward protecting your investment from corrosion damage.
Kelso’s 40-50 inches annual rainfall + Cowlitz River proximity create persistent humidity
Kelso receives 40-50 inches of rain annually, with the Cowlitz River adding constant atmospheric moisture to an already wet climate. This persistent humidity settles into unheated garage spaces, condensing on metal components overnight and accelerating rust formation. The combination of rainfall and Cowlitz River humidity creates conditions where garage door rust develops rapidly on exposed hardware.
The 1940s-1960s detached single-car garages common throughout Kelso were built without vapor barriers or modern moisture management systems. These older structures allow humid air to penetrate freely, creating ideal conditions for corrosion on springs, hinges, and tracks—especially during spring when temperatures fluctuate between freezing nights and mild afternoons.
Steel frames, springs, and hardware corrode
Kelso’s 40-50 inches of annual rainfall and persistent humidity create the perfect conditions for rust prevention garage door frames to fail without protection. Steel frames, springs, and hardware oxidize faster here than in drier climates, with moisture penetrating into fastener threads and spring coils.
An early spring inspection in March gives you a critical window to catch rust before the wet season accelerates damage. Look for surface rust on springs, flaking paint on steel frames, and corroded bolts before April humidity peaks.
Catching corrosion early means simple treatments work—waiting until summer often means expensive replacements.
Early Rust Identification on Steel Components
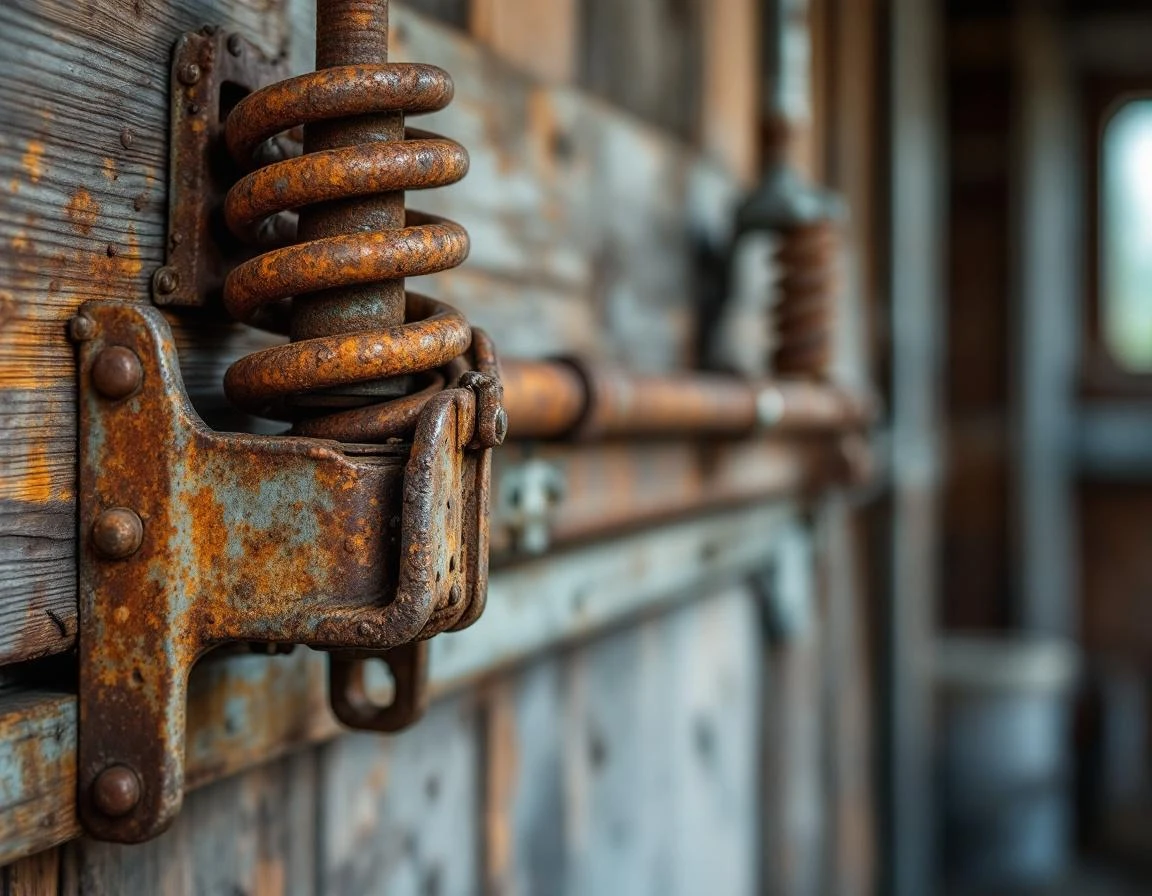
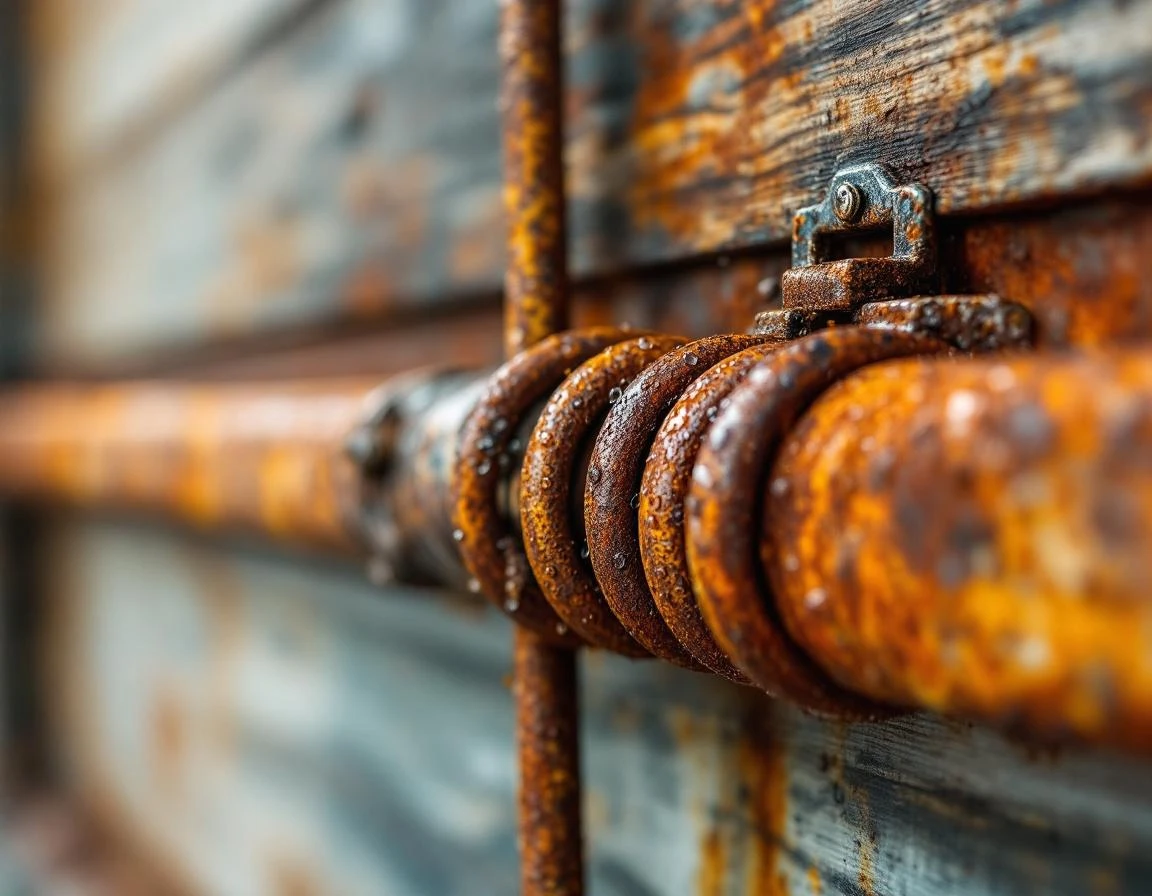
Catching rust early can save you thousands of dollars in replacement costs. Surface rust appears first as light orange or reddish-brown discoloration on steel components—the kind you can often brush away with a wire brush. Left unchecked, that surface rust advances to pitting, where small pock-marked holes form in the metal. Deep structural corrosion comes next, weakening the steel until components crack or break under normal operating loads.
Focus your spring inspection on moisture collection points. Examine frame corners where water pools during Kelso’s heavy rain months. Check torsion spring attachment points and the brackets that hold them—these areas trap moisture and corrode quickly. Look closely at hardware bolts, especially where metal meets metal. Inspect gasketing on garage door frames and weatherstripping gaps along door edges where water seeps through.
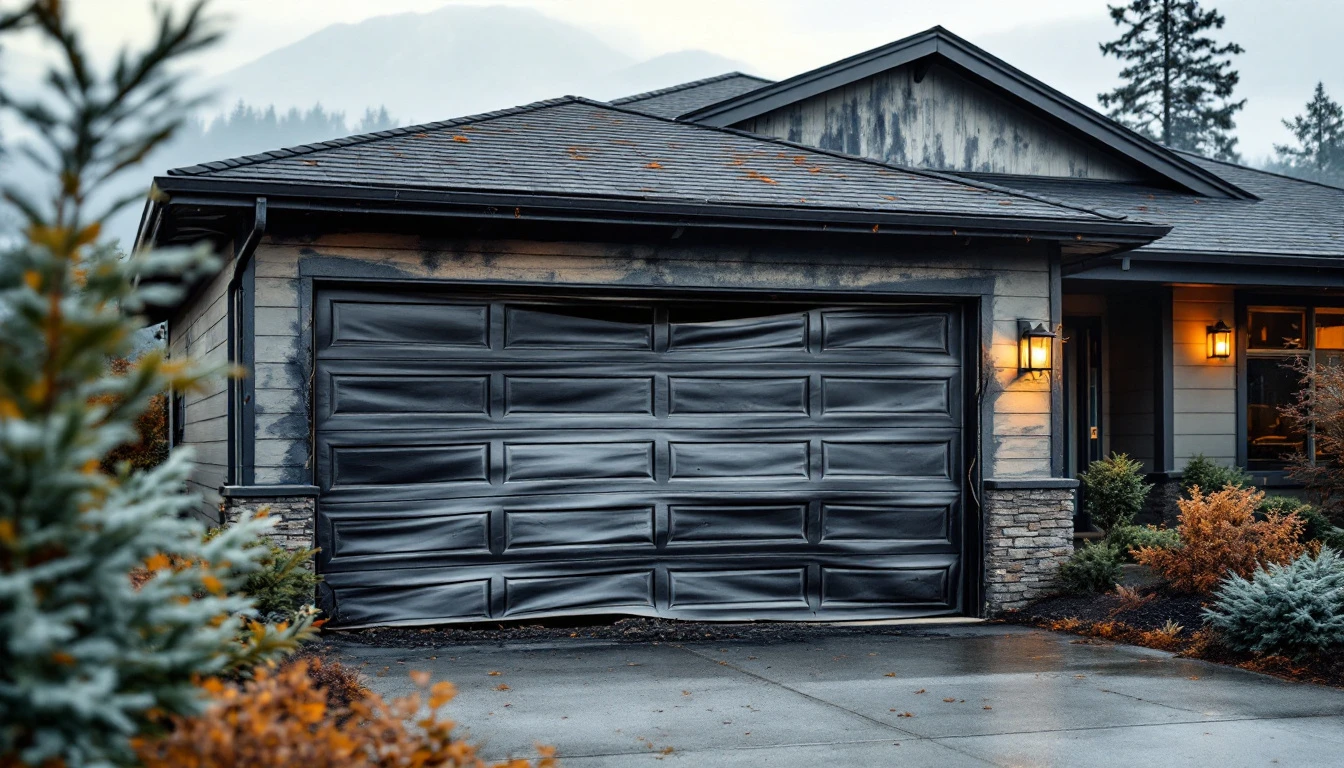
For wooden or composite panels, watch for dark staining or soft spots that indicate water absorption. Mold appears as black or green patches, while wood rot shows as crumbly, discolored material. These moisture damage indicators often appear before steel components show visible corrosion. In humid climates like Kelso, mold wood rot garage door panels develop when moisture penetrates the door structure without proper sealing.
How do you know when to call a professional? Surface rust with intact metal requires only cleaning and coating. But if you spot pitting deeper than the thickness of a dime, or if springs show any rust at stress points, contact a professional immediately. Corroded springs can fail catastrophically without warning.
Three Essential Spring Protection Tasks
Before Kelso’s heavy April rains arrive, complete these three protection tasks by March 31 to shield your garage door system from moisture damage. Each task addresses a specific vulnerability in older detached garages, and together they create a defensive barrier against the region’s 40-50 inches of annual rainfall.
Task 1: Apply Rust-Inhibiting Primer to Exposed Steel
Clean any surface rust from springs, tracks, and hinges using a wire brush, then apply a zinc-rich primer like Rust-Oleum 7769 Professional High Performance Primer. This product contains zinc particles that act as sacrificial anodes—they corrode instead of your steel components when moisture penetrates. Apply two coats to bare metal spots, allowing 24 hours between coats. Total time: 3-4 hours over two days. Cost: $80-120 in materials versus $1,500+ for spring replacement later.
Task 2: Replace Weatherstripping and Seal Frame Gaps
Install EPDM rubber weatherstripping along door bottom and sides—this synthetic rubber resists mold growth in humid conditions better than vinyl. Use polyurethane caulk (not silicone) to seal gaps between door frame and wall where water seeps through. Time required: 2-3 hours. Materials cost $60-90. This prevents the water ingress that causes wood rot in frame lumber common to 1940s-1960s Kelso garages.
Task 3: Lubricate Moving Parts with Moisture-Resistant Product
Apply lithium-based grease (not WD-40) to springs, hinges, and roller bearings. Lithium grease contains water-repelling additives that maintain protection through wet months, while petroleum-based lubricants can trap moisture and wash away. Time needed: 30-45 minutes. Cost: $15-25. This single application protects through October.
DIY vs. Professional Service Decision Points
Understanding when you can safely handle rust issues yourself versus when to call a garage door professional helps protect both your budget and your safety. Surface-level tasks like cleaning rust stains, replacing weatherstripping, and applying protective coatings fall squarely in DIY territory. Most Kelso homeowners can tackle these projects with basic tools and affordable materials, investing a weekend afternoon to prevent future corrosion.
However, certain conditions demand professional expertise. Torsion spring rust, structural frame corrosion, or mold growth inside door panels require trained technicians with specialized equipment. Springs store extreme tension—attempting repairs without proper tools and knowledge creates serious injury risks. Deep pitting that weakens the door frame or track brackets threatens structural integrity, potentially causing catastrophic failure during operation.
Consider the cost comparison: a professional inspection provides essential baseline information about your door’s condition, while addressing identified issues ranges from minor adjustments to major component replacement depending on severity.
That investment prevents the far costlier expense of replacing an entire door system after a spring fails or corroded components collapse.
If you spot deep rust creating visible holes in metal components, mold indicating water intrusion behind panels, or any spring showing surface corrosion, schedule a professional assessment immediately. Think of it as protecting your investment—catching these issues early through expert evaluation costs far less than emergency repairs after structural failure.
March Inspection Checklist for Older Detached Garages
Set aside 15-20 minutes on a dry March morning to inspect your garage door before Kelso’s heaviest rain arrives in late March and April. This timing matters because catching rust, moisture intrusion, or hardware wear now prevents damage that compounds rapidly once spring humidity peaks. Start your inspection at the bottom corners of the door frame where water accumulates.
During your inspection, focus on these key areas:
- Frame corners and bottom edge: Look for orange or brown discoloration spreading from edges, small pits forming in the metal surface, or areas that feel soft when pressed with a gloved finger. These signs indicate active corrosion eating through protective coatings. Surface rust needs treatment within weeks—structural pitting requires immediate professional evaluation.
- Springs and hardware: Manually raise and lower the door a few inches while listening carefully. Binding sounds, grinding noises, or visible rust flakes falling from springs mean the hardware has deteriorated beyond safe DIY repair. Springs store tremendous tension and should only be handled by professionals once corrosion appears.
- Weatherstripping condition: Close the door completely and look for daylight gaps or water stains on the interior frame below the door edges. Failed weatherstripping allows moisture inside, rotting wooden panels and corroding interior hardware. In humid climate garage door maintenance, weatherstripping condition directly impacts how quickly mold and rust develop.
- Wooden or composite panels: Examine seams between panels and the bottom edge for dark spots, soft wood when pressed, or peeling paint. These indicate moisture has penetrated the door structure and will worsen through the wet season without intervention.