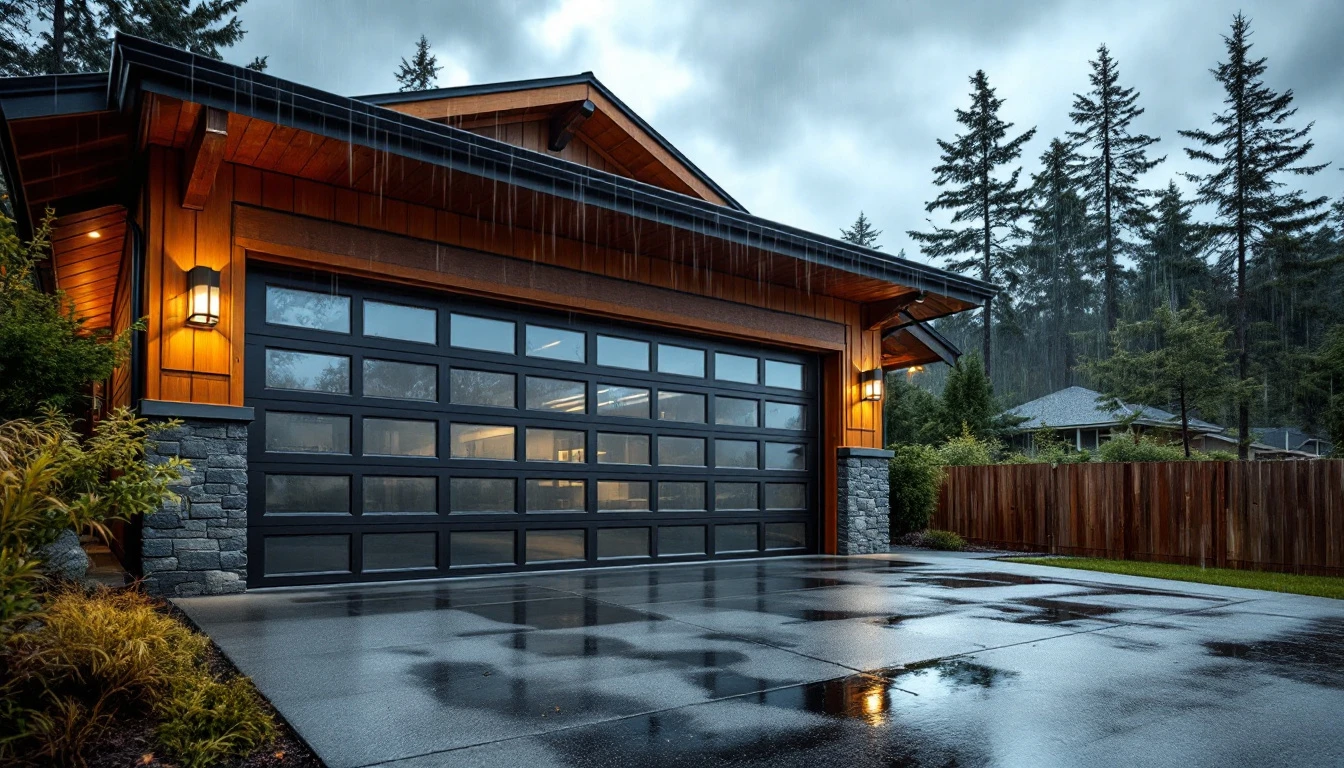
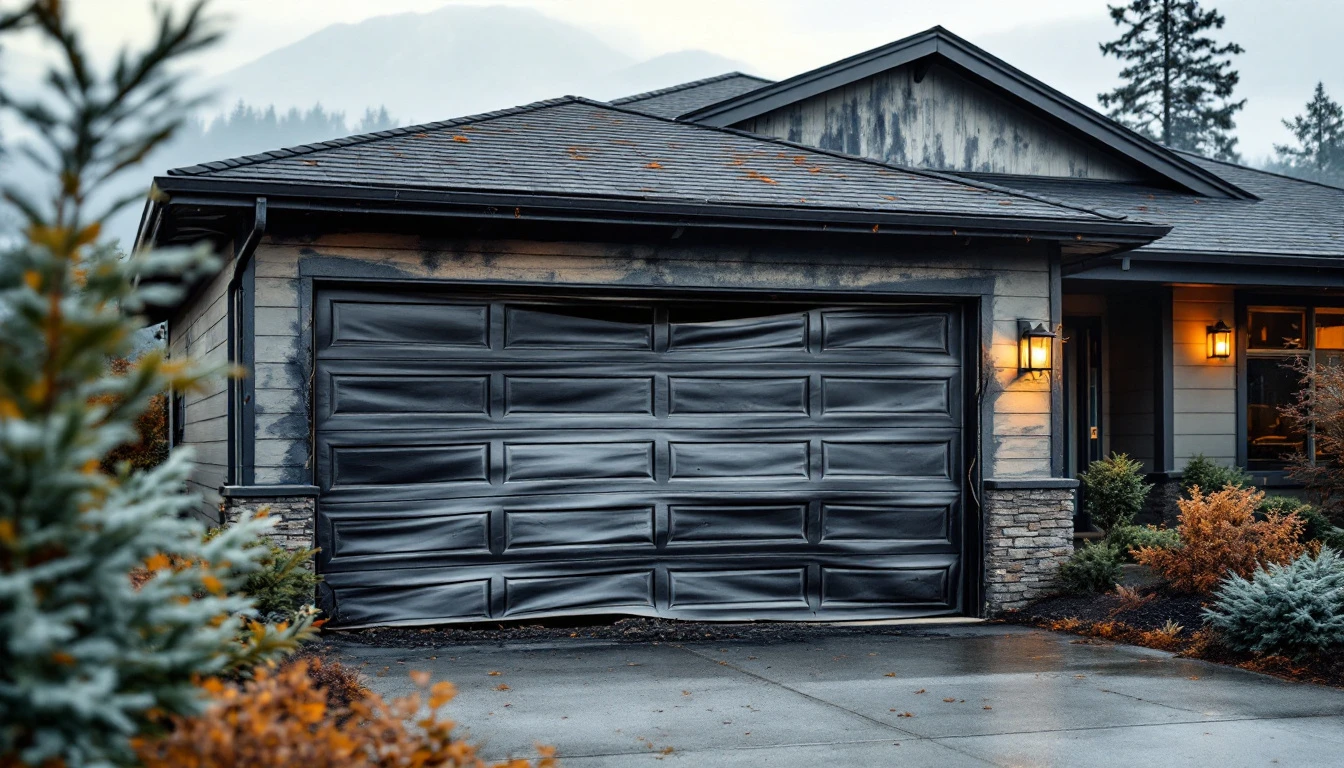
Winter Damage to Portland Doors
Portland’s wet, freeze-thaw winters create specific challenges for garage door systems that many homeowners discover too late. A thorough garage door inspection after winter helps you identify damage before it becomes costly. When February storms bring ice and then temperatures climb back into the 40s, the expansion and contraction cycle stresses every component of your door.
Metal parts are particularly vulnerable. Rollers, hinges, and track hardware exposed to our persistent rain develop rust and corrosion that causes binding and grinding noises. The salt spray carried inland from the coast accelerates this deterioration, especially on homes near Highway 26 or I-5 where road treatment chemicals settle on door surfaces.
Temperature swings between freezing nights and milder afternoons stress your garage door springs, causing them to lose tension and throw off the door’s balance. Wooden panels absorb moisture during extended rainy periods, leading to warping that prevents proper sealing. Weatherstripping becomes brittle from freeze-thaw cycles and pulls away from door edges.
Ice buildup in tracks during January cold snaps blocks smooth operation, while moisture penetration into opener mechanisms can cause electrical issues just when you need reliable access most. Inspecting these systems in early March—before spring’s busy season arrives—lets you address problems before they become emergency repairs.
Five Essential Spring Inspection Tasks for Your Garage Door
Ready to give your garage door a thorough spring checkup? These five tasks for your spring garage door maintenance follow a logical sequence from top to bottom, inside to out. Grab a flashlight and set aside about 30 minutes to work through this checklist.
Task 1: Check Springs for Rust, Visible Damage, and Balance Loss
Start with the torsion springs mounted above your garage door or the extension springs running along the tracks. Look for rust spots, gaps in the coils, or visible stretching. Portland’s wet winters accelerate rust formation on uncoated springs. A properly functioning spring system should keep your door balanced—disconnect the opener and manually lift the door halfway. Does it stay in place? If it drops or shoots upward, your springs have lost tension. This is a professional repair situation—never attempt to adjust or replace torsion springs yourself, as they hold enormous force and worn springs are more likely to fail during colder months.
Task 2: Inspect Tracks for Ice, Debris, Rust, and Alignment
Run your eyes along both vertical tracks from floor to ceiling. Clear out any leaves, dirt, or ice chunks that accumulated during winter storms. Check for rust spots where moisture pooled, and look for dents or bends that could catch the rollers. Use a level to verify the tracks are plumb—if they’ve shifted more than a quarter inch out of alignment, call a professional to realign them before they damage your rollers or cause the door to bind.
Task 3: Test Door Balance and Smooth Opening/Closing Motion
With the opener disconnected, lift your door manually. It should glide smoothly without jerking or sticking. Listen for grinding sounds or scraping noises that indicate worn rollers or track problems. A balanced door requires minimal effort to lift and should open without resistance. If you notice significant friction or the door feels heavy, your springs may need professional adjustment. This garage door tune-up Portland homeowners often overlook can save time and money.
Task 4: Examine Weatherstripping, Seals, and Panel Condition
Check the rubber seal along the bottom edge—Portland’s wet weather degrades this quickly. Look for cracks, tears, or sections that have pulled away from the door. Inspect panel seams for water damage, peeling paint, or rot on wooden doors. Replace weatherstripping if you can see daylight underneath the closed door.
Task 5: Test Opener, Sensors, and Safety Reverse Function
Reconnect your opener and test the safety sensors by placing a roll of paper towels in the door’s path. The door should reverse immediately when it contacts the object. Clean sensor lenses with a soft cloth and verify both indicator lights are solid, not blinking. If the door doesn’t reverse or the sensors frequently misalign, contact our team for a safety inspection.
DIY vs Professional Repair Decision
When your winter damage garage door inspection reveals problems, knowing which tasks are safe to handle yourself versus which require professional help protects both your safety and your wallet.
Spring damage always requires professional service—never DIY. Garage door springs store enough tension to cause serious injury or death if mishandled during replacement.
Track misalignment and opener issues also require trained technicians with specialized tools to keep precision and safety.
However, some maintenance tasks are perfect for homeowners. You can safely replace worn weatherstripping along the bottom of your door, clean rust from hinges with a wire brush and lubricant, and wipe down tracks to remove debris. What about that balance test failure you discovered? That’s your signal to call Garage Harmony—a door that won’t stay halfway open indicates spring tension problems that need professional evaluation and adjustment. When in doubt, reach out to our team for guidance on whether your specific issue needs expert attention.
Tools and Materials Needed
Before you begin your post-winter inspection, gather these items for your garage door maintenance checklist spring—most under $30 at your local hardware store. For inspection tasks, you’ll need the following:
- A bright LED flashlight to spot rust and debris in dark tracks
- A measuring tape to verify track alignment
- A carpenter’s level to check door balance
- A basic screwdriver set for tightening loose hardware
If you discover rust during your inspection, have a wire brush ($5-8) ready for surface cleaning, along with white vinegar for rust removal and penetrating oil ($6-10) to free stuck rollers. For weatherstripping repairs, pick up exterior-grade caulk ($4-7), weatherproof sealant. And replacement gasket strips sized to your door.
Don’t forget safety items:
- Work gloves protect your hands from sharp metal edges
- Safety glasses prevent debris from entering your eyes during cleaning
- A sturdy step ladder gives you safe access to upper tracks and springs
March Timeline and Next Steps for Preparing Garage Door for Spring
March is your window to act before Portland’s spring weather complicates repairs. April brings heavier rain that can worsen track rust and seal damage you discovered during inspection. More importantly, the busy spring and summer season means professional garage door companies face longer wait times—what takes two days to schedule in March might take two weeks in June.
If your garage door service Portland metro professionals need to address damaged springs, misaligned tracks, or opener problems, schedule professional repairs immediately. Don’t wait for complete failure, which always happens at the worst possible moment. For parts replacement, order now to avoid delays as inspecting your garage doors after winter lets you spot and fix minor problems before they escalate into extensive and costly repairs.
Take photos of any damage you found during inspection. These images serve double duty: they provide your service technician with advance information for accurate quotes, and they document conditions for insurance claims if weather causes additional damage before repairs happen. Contact us today to get your garage door spring-ready before the rush.