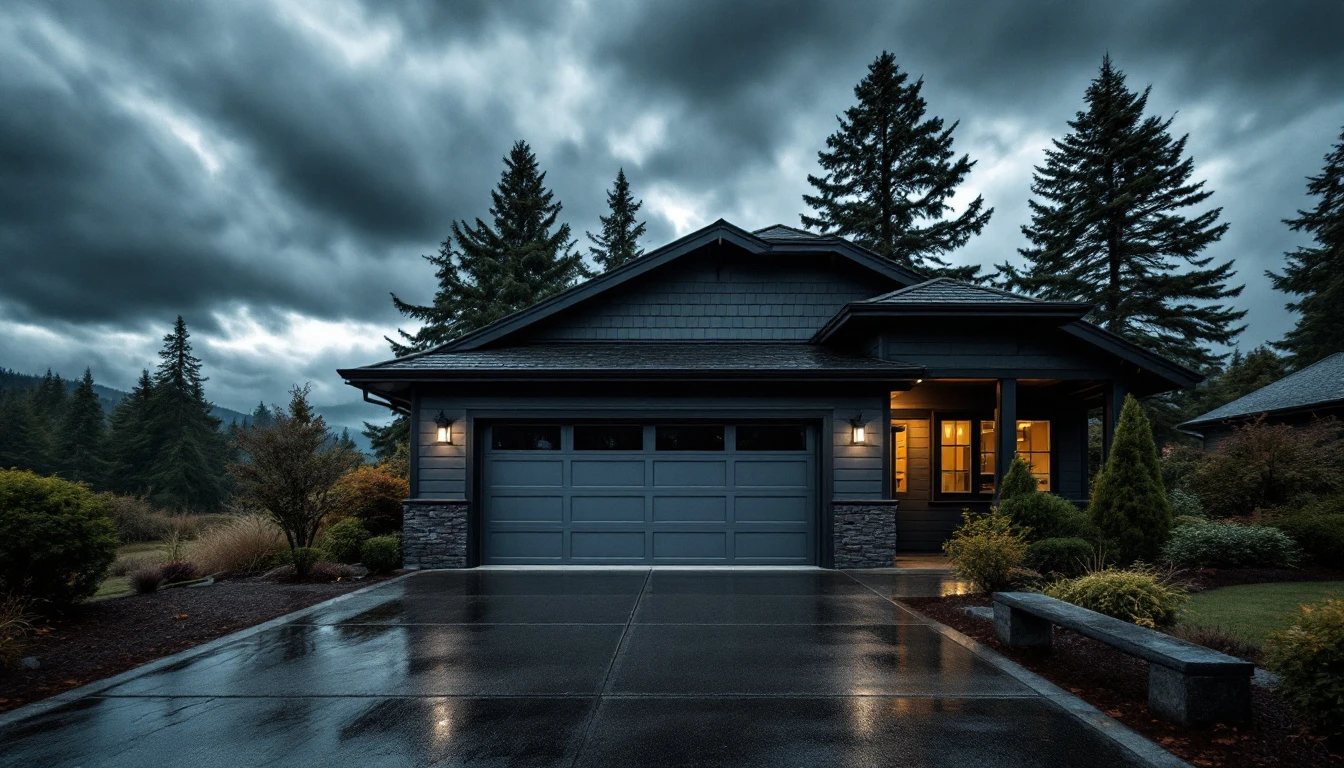
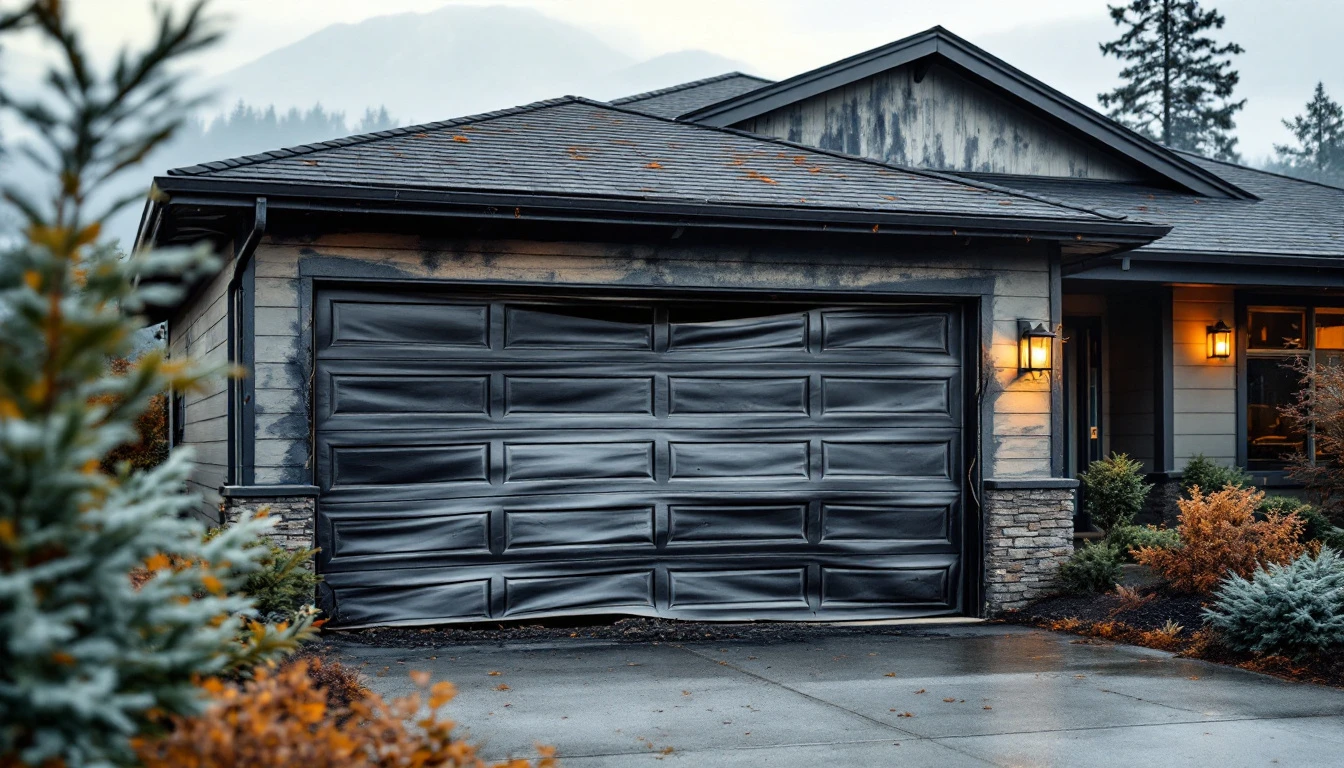
How Rain and Storms Damage Garage Doors
Spring storms threaten your garage door through three distinct mechanisms, making garage door storm damage prevention essential before peak weather arrives. Water infiltration is the most insidious—when weatherstripping wears down or gaps develop, moisture seeps into the door system and attacks metal components. Springs, cables, and rollers begin rusting from the inside out, weakening structural integrity before you notice visible damage.
Wind pressure during storms creates force against panels that can warp wood or dent metal surfaces. The same gusts push doors off their tracks or bend the tracks themselves, causing misalignment that prevents smooth operation. These structural stresses compound over time, turning minor issues into major failures.
The timing matters. March and April bring peak precipitation across the Pacific Northwest, making this the critical window when damage risk spikes. Understanding these vulnerabilities explains why pre-season preparation protects your investment—catching early signs of rust, warping, or misalignment prevents emergency repairs when storms hit hardest.
Four Critical Pre-Season Maintenance Checks
Ready to protect your garage door investment before spring storms arrive? This four-point inspection takes less than 90 minutes and directly addresses the water infiltration, rust, and structural stress we just discussed. Grab a flashlight, a step ladder, and let’s walk through each check.
-
1. Weatherstripping Inspection (20 minutes)
Run your hand along the rubber seal at the bottom of your door and around the perimeter. You’re looking for cracks, hardening, or areas where the material has compressed and lost its bounce. Press the seal firmly—does it spring back? If water can slip through these gaps during heavy rain, it reaches metal components and begins the corrosion process.
-
2. Hardware Corrosion Assessment (25 minutes)
Examine your springs, cables, hinges, and rollers for orange or white powdery deposits. These rust spots indicate moisture exposure. Pay special attention to the bottom panel hardware and any metal that sits close to the floor where water pools. Even surface rust weakens metal over time, making components more likely to fail during high-stress events like windstorms.
-
3. Track Alignment and Cleaning (30 minutes)
Look down the length of each track from multiple angles. Do both tracks run parallel? Check for debris, dirt buildup, or standing water in the channels. A level held against the track reveals misalignment that creates friction and prevents smooth operation during emergency situations when you need your door to function reliably.
-
4. Safety System Test (15 minutes)
Place a rolled towel under your closing door. Does it reverse immediately when it makes contact? Test your photoelectric sensors by breaking the beam with your hand. These safety features prevent injuries and also indicate whether your opener’s electronic components have suffered moisture damage that could cause complete failure.
Weatherstripping Replacement and Sealing
Inspect the rubber weatherstripping along the bottom and sides of your garage door for signs of compression, cracking, or brittleness. Gaps larger than 1/8 inch allow water entry and pest infiltration. Creating the pathway for the water damage and rust formation we discussed earlier. Compressed or brittle weatherstripping loses effectiveness immediately, no matter how good it looked when first installed.
Replacing weatherstripping takes 20-30 minutes with basic tools. A utility knife, measuring tape, and screwdriver. Remove the old seal by pulling it from its track, measure the door width, cut new weatherstripping to length, and slide it into the existing channel. Most hardware stores carry universal weatherstripping for $15-30 per door. Schedule this task before March rains arrive to protect against spring storm infiltration.
Spring and Cable Inspection for Rust
Check your springs and cables for rust spots—these indicate water has penetrated through worn weatherstripping and compromised your system. Early-stage rust appears as light orange discoloration, while advanced corrosion shows flaking metal and pitting. This isn’t a DIY fix: springs hold extreme tension that can cause serious injury if handled improperly.
If you spot any visible rust, stop and call a professional immediately. This marks the clear boundary between homeowner maintenance and expert territory. A professional inspection provides peace of mind and prevents costly emergency repairs when springs fail without warning.
Schedule your inspection by mid-March, before April’s storm season peaks and puts additional stress on already-weakened components.
Track Alignment and Debris Removal for Storm Readiness
Misaligned tracks create uneven pressure distribution across your garage door, and when storm winds push against the panels, this imbalance can cause binding, jerking, or complete failure. During heavy rain, debris like leaves, dirt, and water residue accumulates in track channels, preventing smooth roller movement and trapping moisture that accelerates corrosion.
Start your inspection by visually checking the gap between each roller and the track edge—it should be consistent along the entire length. Listen for grinding or binding sounds when operating the door manually. Run your finger along the inside of each track to identify debris pockets.
Cleaning takes 15-25 minutes: use a damp cloth to remove debris, then wipe tracks dry. Check for gaps wider than 1/4 inch between track and wall brackets—these indicate loosening that requires professional adjustment. A properly aligned door operates smoothly under wind pressure. While misaligned tracks create dangerous failure points during March and April storms.
Warning Signs That Require Professional Service
Some garage door issues cross the line from homeowner maintenance into professional territory. Knowing the difference protects you from safety hazards and prevents emergency repair bills when storm season arrives.
Call a professional immediately if you notice: Visible rust on springs, cables, or hardware—these components operate under extreme tension and can fail catastrophically. A door that operates unevenly, binds, or refuses to close fully despite clean tracks indicates alignment or balance issues that require specialized tools. Opener systems that reverse frequently or fail sensor testing point to electrical problems or safety mechanism failures.
Structural damage to panels, severe track misalignment, or water pooling inside your garage all demand expert assessment. Attempting DIY repairs on springs voids manufacturer warranties and creates genuine danger—these components store enough energy to cause serious injury.
Schedule any needed professional work by mid-to-late March. Waiting until April’s peak storm season means competing for emergency appointments at premium prices. Professional inspections typically take 30-45 minutes and include safety testing that identifies problems before they become failures.
Action Plan: Prepare Before Spring Peak
You’ve identified the risks and completed your inspection—now it’s time to act before April storms arrive. Set aside two weeks to complete your storm preparation. During Week 1, perform all four maintenance checks outlined in this guide: inspect weatherstripping, examine hardware for rust, clean and align tracks, and test safety systems. Document any issues with photos for insurance purposes.
If you discovered any warning signs during your inspection—rust on springs or cables, operational hesitations, safety system failures, or track damage—schedule a professional inspection during Week 2. Mid-March appointments are still available, but April’s storm season brings emergency calls that fill calendars quickly and cost more.
Complete these steps now, and you’ll avoid the scenario we started with: emergency repairs during a spring downpour. Your garage door storm damage prevention plan is within reach—contact us today to schedule your professional inspection and confirm your door is storm-ready before precipitation increases.