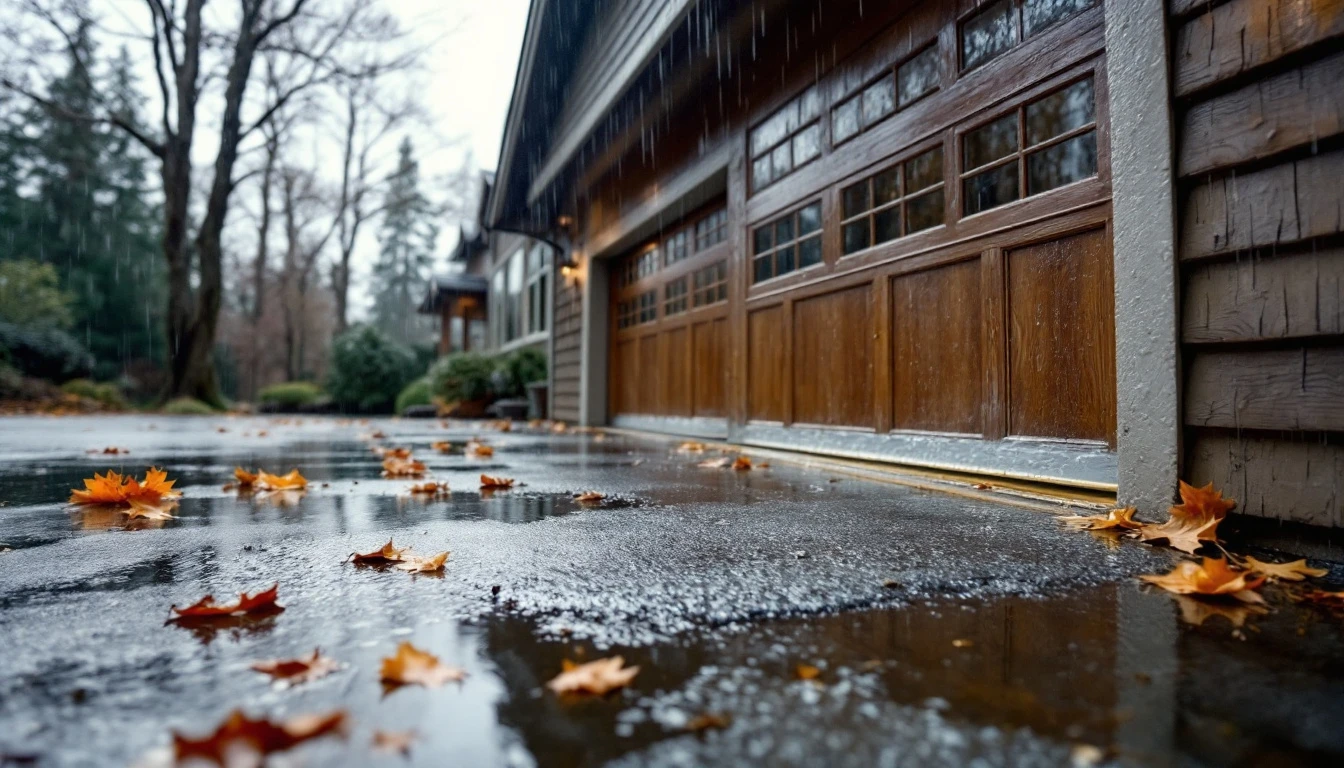
November Rain Threat to Oregon Garages: Weatherstripping Inspection Guide
November marks the beginning of the Pacific Northwest’s wettest season, and your garage door is about to face its biggest test of the year. Oregon and Southwest Washington experience peak precipitation from November through March, with 5 to 8 inches typical in November alone. Most homeowners don’t realize their weatherstripping has failed until water has already invaded their garage.
Preparing your garage door weatherstripping in November Oregon is essential—this narrow window before sustained storms arrive offers your best chance to prevent costly water damage.
Your garage door represents the largest moving opening in your home, making it the primary entry point for rain when seals deteriorate. Water infiltration doesn’t just create puddles—it leads to structural damage, mold remediation costs, and vehicle corrosion that can total $2,000 to $5,000 in repairs. ? A quick inspection now, before the heaviest rains arrive, can prevent these expensive problems entirely.
Why November Is Your Last Action Window
October and early November offer the last dry weeks before sustained wet weather arrives mid-November in the Pacific Northwest. This narrow window gives you time to inspect weatherstripping, test door seals, and complete any replacements without working in the rain. Once storms begin, water pooling around your garage becomes an immediate problem rather than a preventable one.
Professional servicers experience peak demand from mid-November onward as homeowners scramble to fix leaks already causing damage. Scheduling your inspection and replacement now means faster turnaround times and standard pricing. Waiting until water is actively seeping in adds urgency fees and longer wait times as contractors prioritize emergencies.
Testing and replacement in dry conditions prevents mud, moisture, and rushed decision-making during storms. You can take your time evaluating seal quality and choosing the right weatherstripping materials when you’re not fighting standing water or scheduling around the next downpour.
One-Hour Weatherstripping Inspection
Homeowners can perform a complete visual inspection and functional test in under one hour with basic tools—a flashlight, a notepad, and a few minutes of focused attention on each zone. This quick check can reveal damage before the first November storm turns a small gap into a flooded garage floor.
Start by identifying all five weatherstripping zones:
- the bottom seal (runs along the garage door base)
- side rails (vertical strips on each edge)
- top header (horizontal seal across the top)
- threshold gasket (floor-mounted seal)
- interior sweep (optional secondary barrier)
Inspect each zone individually, looking for cracks, gaps, compression loss, mold, and water stains. Weatherstripping is one of the simplest ways to protect your garage from drafts, pests, and water damage. And weatherstripping that’s cracked, brittle, or pulling away from its mounting channel requires immediate replacement. Discoloration and mold indicate ongoing moisture intrusion.
Use this simple decision tree: If you see visible gaps when the door is closed, crumbling rubber, or water stains on the concrete beneath any seal, you’ve got a fail that needs replacement. If the material looks intact but dusty or dirty, cleaning may restore function. Can you slide a business card under the bottom seal when the door is closed? That’s a replacement indicator. Still unsure after your inspection? Contact us today for a professional assessment before the next storm arrives.
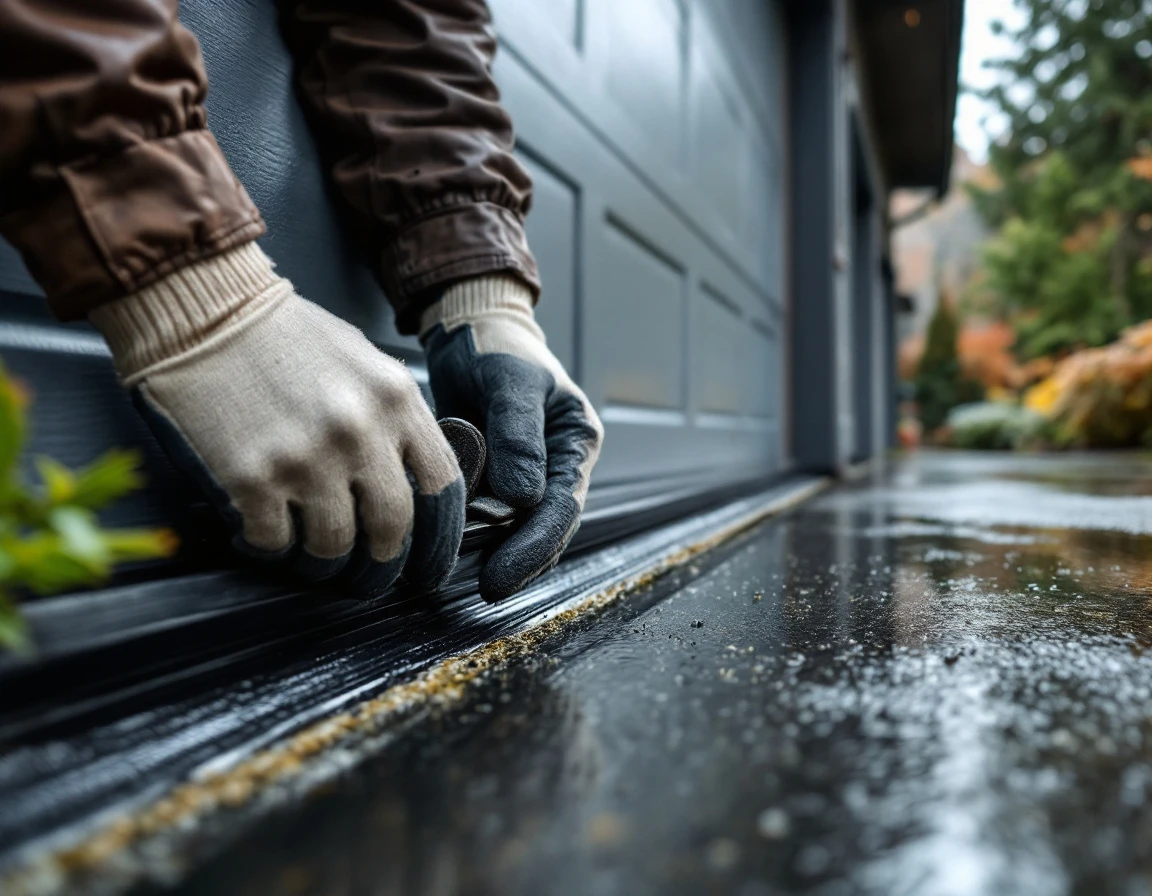
Bottom Seal and Side Rail Seals
The bottom seal bears the most water pressure and is the first component to fail in Pacific Northwest garages. Check for compression loss—the rubber should spring back when pressed—and look for separation from the door frame or visible cracking along its length. If your door’s bottom seal is cracked or missing, spring rain can find its way inside the garage. If you see water stains on the garage floor near the door, the bottom seal has already failed.
Side rails prevent wind-driven rain from entering around panel edges and must compress evenly when the door closes. Run your hand along each side while the door is down. Do you feel gaps or notice asymmetrical compression where one section presses harder than another? These zones fail first because they endure constant flexing during every door cycle.
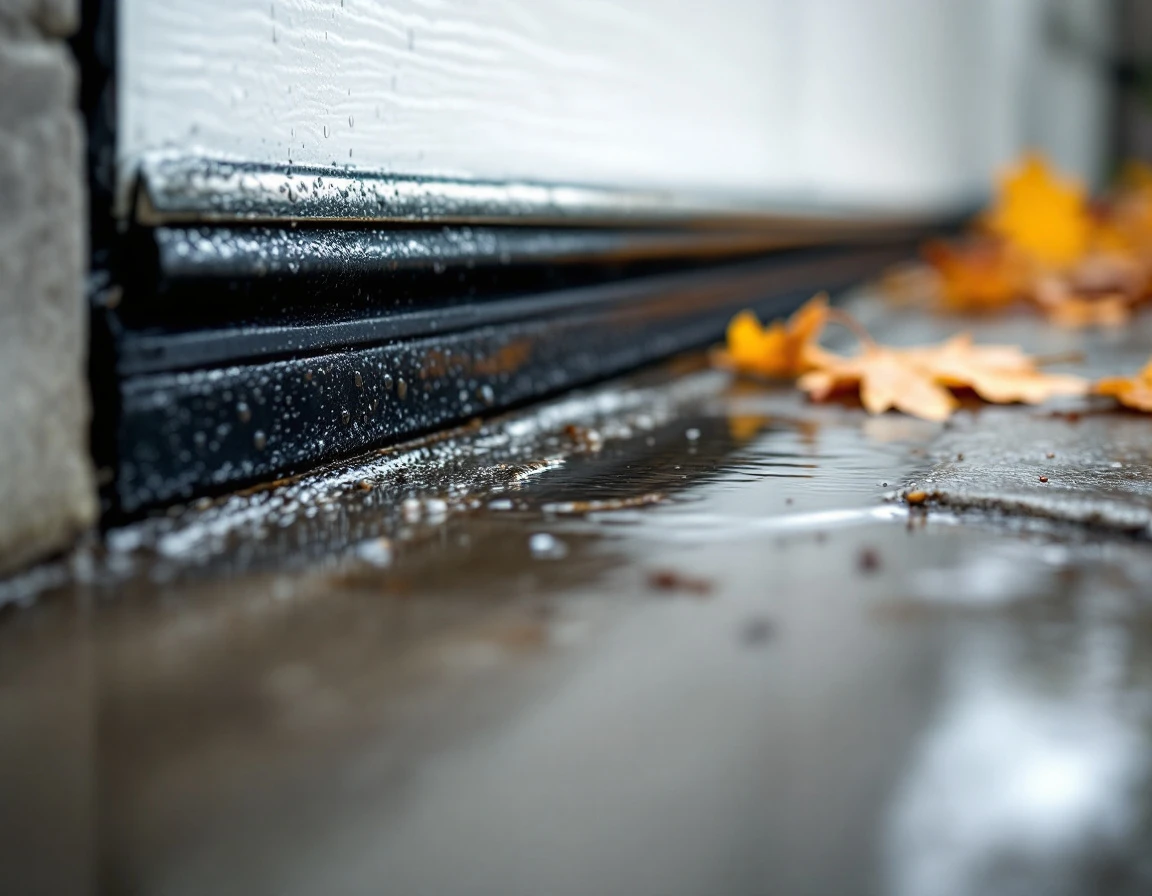
Top Header and Interior Sweep Zones
The top header seal runs horizontally across the door’s upper edge, channeling rainwater away from the panel surface before it can pool or seep into the jamb. When this seal degrades, water accumulates on the door itself, eventually finding its way into the header assembly. Look for sagging rubber, visible gaps between the seal and door, or water stains on the garage ceiling near the header—clear signs of failure.
Inside your garage, the interior sweep or brush strip provides a final barrier against wind-driven rain that slips past the exterior seals. This component catches water that penetrates the door gap during Pacific Northwest storms, preventing it from spreading across your garage floor. Inspect the brush fibers or rubber blade for matting, missing sections, or hardening that compromises contact with the floor.
DIY vs Professional Replacement
Should you replace weatherstripping yourself or call a professional? The answer depends on your door type, timeline, and skill level. DIY replacement costs $50–$200 in materials and takes 2–4 hours for a homeowner comfortable with basic tools. Professional replacement runs $300–$600 but includes diagnostic testing, installation, and warranty protection against premature failure.
DIY makes sense if you’re replacing standard rubber or silicone seals on single-panel doors with simple track systems. Complex assemblies—multi-panel insulated doors, doors with weatherstripping integrated into panel edges, or commercial-grade systems—warrant professional service. Professionals bring climate-specific material selection, performance verification, and the experience to spot underlying issues like track misalignment that affect seal contact.
If your inspection happens mid-November and rain is already arriving, time pressure favors professional service. Contact Garage Harmony to schedule same-week replacement and testing. Protecting your garage before the next storm system moves through.
November Action Timeline
Week 1 of November: Schedule your inspection this week and order replacement materials immediately if you identify any worn seals. Most garage door suppliers carry PVC, EPDM rubber, and vinyl seals in stock, but specialty sizes may require a few days for delivery. If you’re calling a professional, early November appointments are still available without rush fees.
Week 2 of November: Complete your DIY replacement or confirm your professional appointment before the mid-November contractor surge begins. This is your last window for working in dry conditions before Pacific Northwest rain patterns shift. Test your new weatherstripping with a garden hose to verify proper sealing.
Week 3+ of November: Rain arrives in earnest across Oregon and Southwest Washington, making outdoor work difficult and testing conditions unreliable. Inspect the weatherstripping along the top, bottom, and sides of the door for cracks, gaps, or visible wear before sustained wet weather settles in.
Your garage door maintenance November rain readiness should be complete before sustained wet weather settles in.
Ready to protect your garage? Contact us today for expert weatherstripping service!