Winterization Checklist Before First Freeze: Freeze Risk and Cost Prevention
Portland metro homeowners face a predictable threat: temperatures drop below freezing between October and March, with the first freeze typically arriving mid-November. This narrow window creates urgency for garage winterization, as attached and detached garages house utilities, vehicles, and tools that are vulnerable to cold damage. A solid winterization checklist before first freeze prevents damage and emergency repairs. When you skip October preparation, you’re gambling with expensive consequences.
What happens when a garage isn’t ready for winter? Frozen pipes burst and flood your space. Weatherstripping deteriorates, allowing moisture to seep in and freeze door mechanisms. Garage doors become inoperable overnight, trapping vehicles inside or leaving your home exposed. These cascade failures don’t just inconvenience you—they trigger emergency repair costs that can quickly strain your budget and demand immediate professional attention.
The solution is simple: a targeted winterization checklist completed in just 3-4 hours during October. Proactive work now protects pipes from freezing, preserves door seals before cold weather hardens them, and maintains garage functionality throughout winter. Instead of paying premium rates for emergency service calls in freezing conditions. You invest a single afternoon to prevent problems before they start.
Essential Supplies Checklist for Garage Winterization
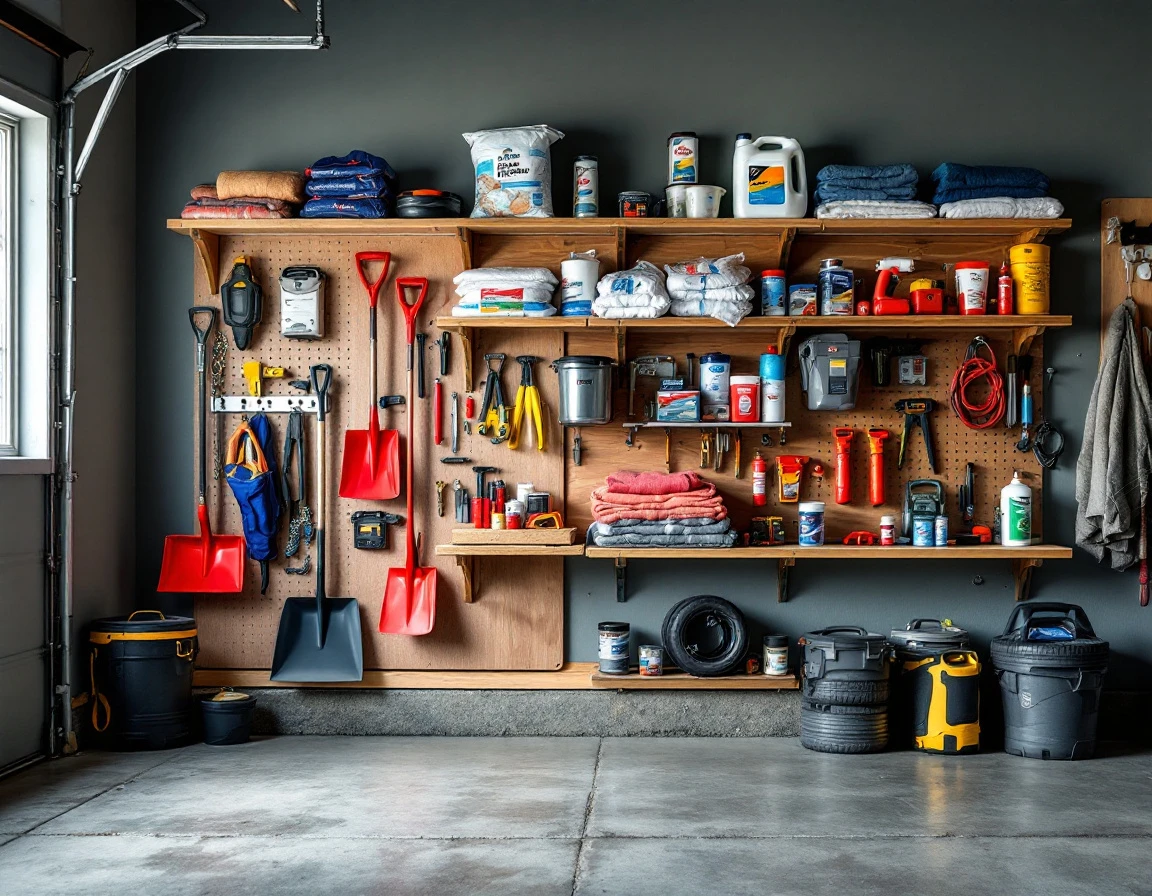
Before Portland’s first freeze arrives, gather the supplies you’ll need to protect your garage and avoid emergency repairs. Start with foam pipe insulation sleeves ($10–$15 for a six-foot pack) to wrap exposed water lines—these prevent pipes from bursting when temperatures drop below freezing. Pick up weatherstripping tape ($8–$12 per roll) to seal gaps around garage doors and block cold air infiltration that drives up heating costs.
You’ll also need silicone-based caulk ($5–$8 per tube) rated for freeze-thaw cycles, which stays flexible in Portland’s wet, cold conditions. Add a can of garage door lubricant ($6–$10) formulated for low temperatures to keep moving parts operating smoothly. Round out your toolkit with a caulking gun, utility knife, and measuring tape if you don’t already own them.
- Foam pipe insulation sleeves ($10–$15 for a six-foot pack)
- Weatherstripping tape ($8–$12 per roll)
- Silicone-based caulk ($5–$8 per tube)
- Garage door lubricant ($6–$10)
- Caulking gun, utility knife, and measuring tape
Most hardware stores and home centers in the Portland area stock these freeze-tolerant products. Expect to spend $50–$100 total—a modest investment compared to $1,000+ emergency callout fees for burst pipes or frozen door mechanisms.
Preparing now with this winter garage maintenance checklist means you’re ready to winterize the moment forecasts predict freezing temps.
Pipe and Plumbing Protection
Exposed garage pipes are your highest freeze risk. Water lines and drain lines running along exterior walls, near garage doors, or through unheated spaces can freeze solid within hours once temperatures drop below 32°F. When water freezes, it expands—creating pressure that ruptures pipes and causes interior flooding that can cost thousands to repair.
You have two main protection methods. Foam pipe insulation sleeves are the simplest DIY option, costing just $1–$3 per 6-foot section. Split the foam tube lengthwise, slide it over the exposed pipe, and seal the seam with waterproof tape or zip ties. Focus on pipes along exterior walls first, then work through any lines near overhead doors or uninsulated ceiling areas.
Heat tape provides active protection for pipes in particularly vulnerable spots. Wrap the heating element around the pipe following manufacturer spacing guidelines (typically one wrap per foot), secure with electrical tape, then cover with foam insulation for efficiency. Plug into a thermostat-controlled outlet so it activates only when temperatures approach freezing.
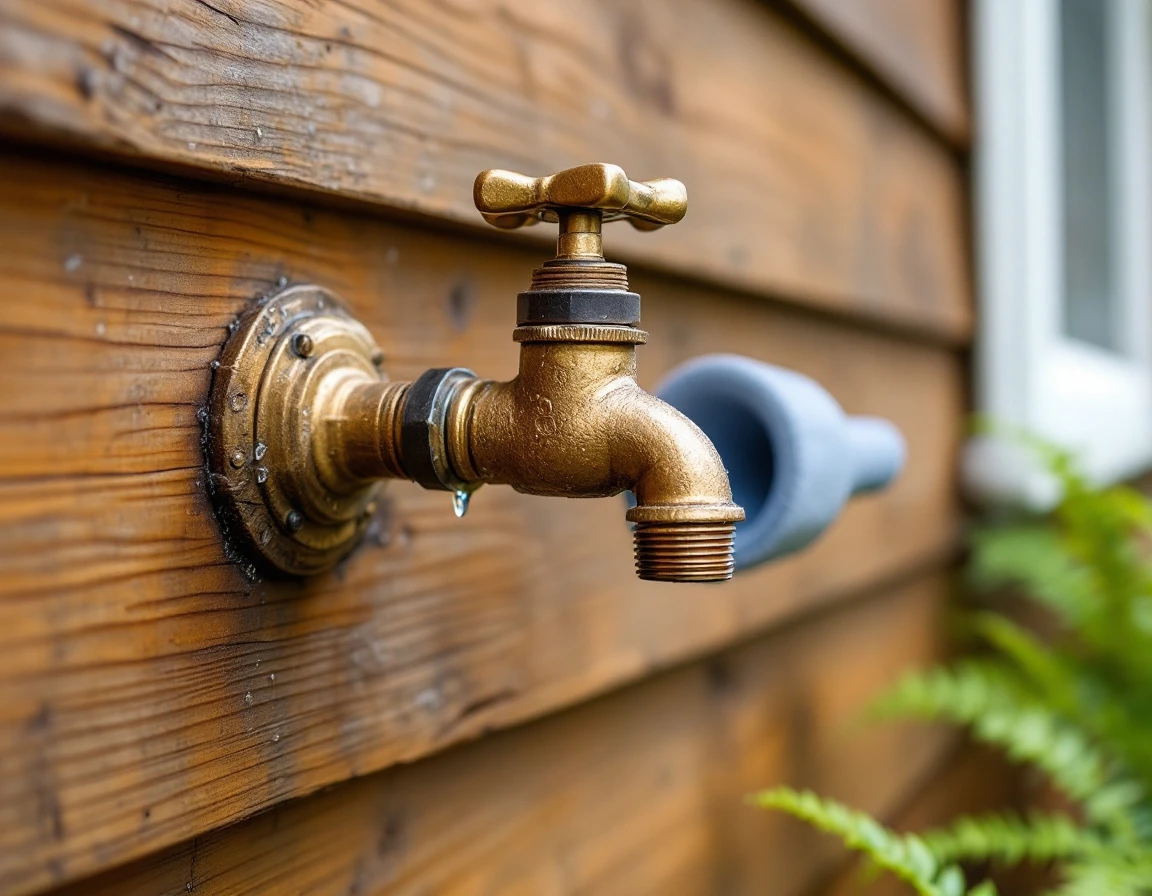
Detached garages need extra attention when you prepare garage for winter freeze. If you don’t use water in your detached garage during winter, shut off the supply line at the main valve and drain all lines completely. Disconnect garden hoses, drain outdoor faucets, and install insulated faucet covers—freezing outdoor fixtures account for many winter emergency calls.
Protecting your pipes prevents the costliest winter damage. For more winter preparation guidance, check out our garage door winter care tips.
Weatherstripping and Seal Gaps
Weatherstripping around your garage door and perimeter gaps accounts for roughly a third of heat loss in uninsulated or partially insulated garages. Damaged seals allow cold air infiltration that raises heating costs and creates freeze risk for interior pipes and equipment. Portland’s damp cold air accelerates deterioration—UV exposure, temperature swings, and moisture cause rubber gaskets to crack, adhesive-backed strips to peel, and door sweeps to lose flexibility.
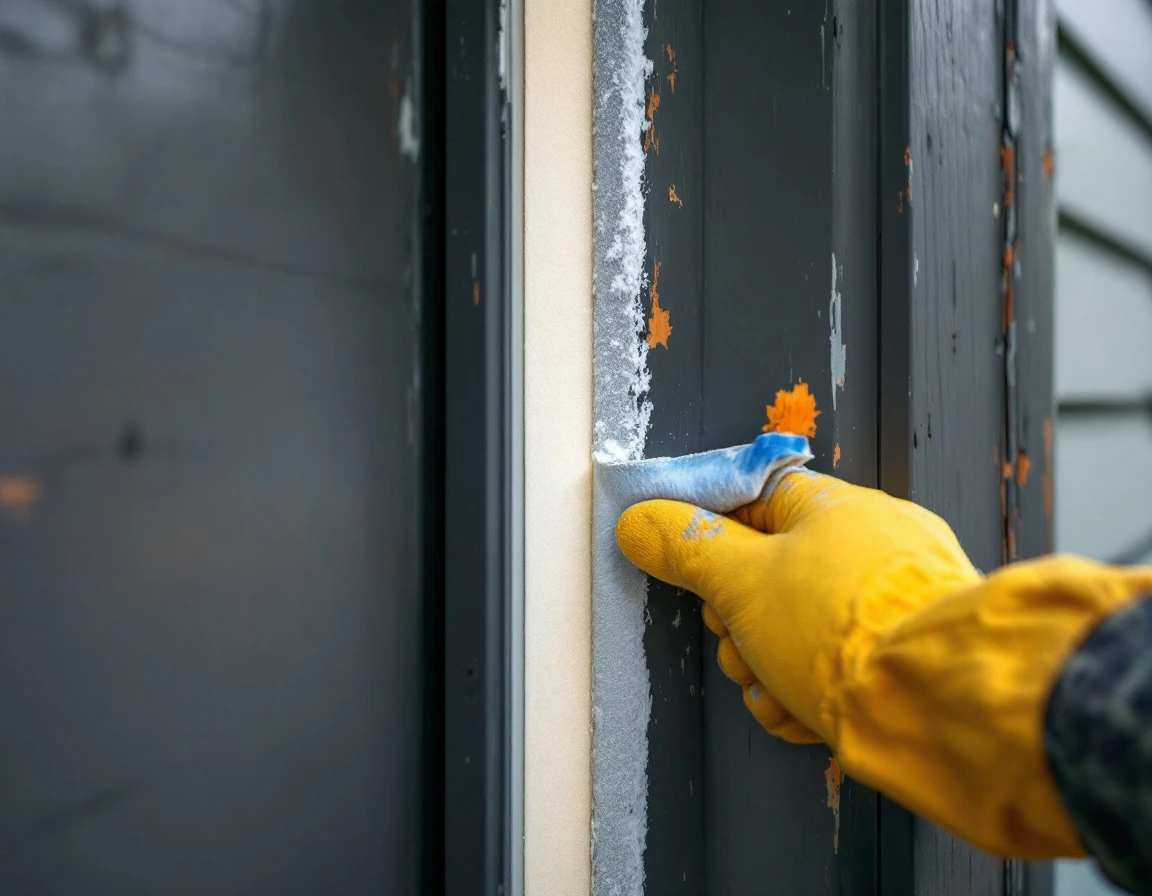
Inspect your seals by closing the door and looking for visible light gaps along the jambs, header, and threshold. Run your hand around the perimeter to feel for drafts, and press on rubber gaskets to check if they’re still pliable or have become brittle. If you find cracks, peeling strips, or air leaks, replacement is a quick DIY task that won’t strain your budget.
Remove old weatherstripping, clean away adhesive residue with rubbing alcohol, then apply new adhesive-backed gaskets along door jambs or nail down a new bottom sweep. Choose products rated for Oregon conditions—water-resistant materials rated to -40°F work well.
This 30-minute October task prevents heat loss and interior freeze risk, avoiding emergency seal or door failures when December temperatures drop.
For more guidance, see our weatherproofing tips.
Garage Door Hardware Maintenance
Your garage door is a mechanical system with dozens of moving parts, and Portland’s freeze conditions can shut it down completely without proper maintenance. When temperatures drop, standard lubricants thicken into sticky gel, metal components contract and bind, and springs become brittle. The result? A door that won’t open when you need to leave for work or respond to an emergency.
Before the first freeze, apply winter-grade garage door lubricant to all moving parts. Work methodically: coat the top and bottom tracks, each roller, all hinges, and spring mounting points. Avoid WD-40, which attracts dirt and grime that worsen binding. Specialized garage door lubricants stay fluid in cold temperatures and protect metal from moisture.
After lubricating, test your door’s operation. Open and close it slowly, listening for grinding sounds or feeling resistance. Watch for uneven movement that signals binding or misalignment. If you notice problems, stop and inspect for ice buildup or mechanical issues.
This 15-minute DIY task prevents stuck doors that trap vehicles during emergencies or morning commutes. If your door doesn’t operate smoothly after lubrication, call a professional before winter arrives. Don’t wait until freezing temperatures force an expensive emergency repair call.
Drainage and Water Clearance
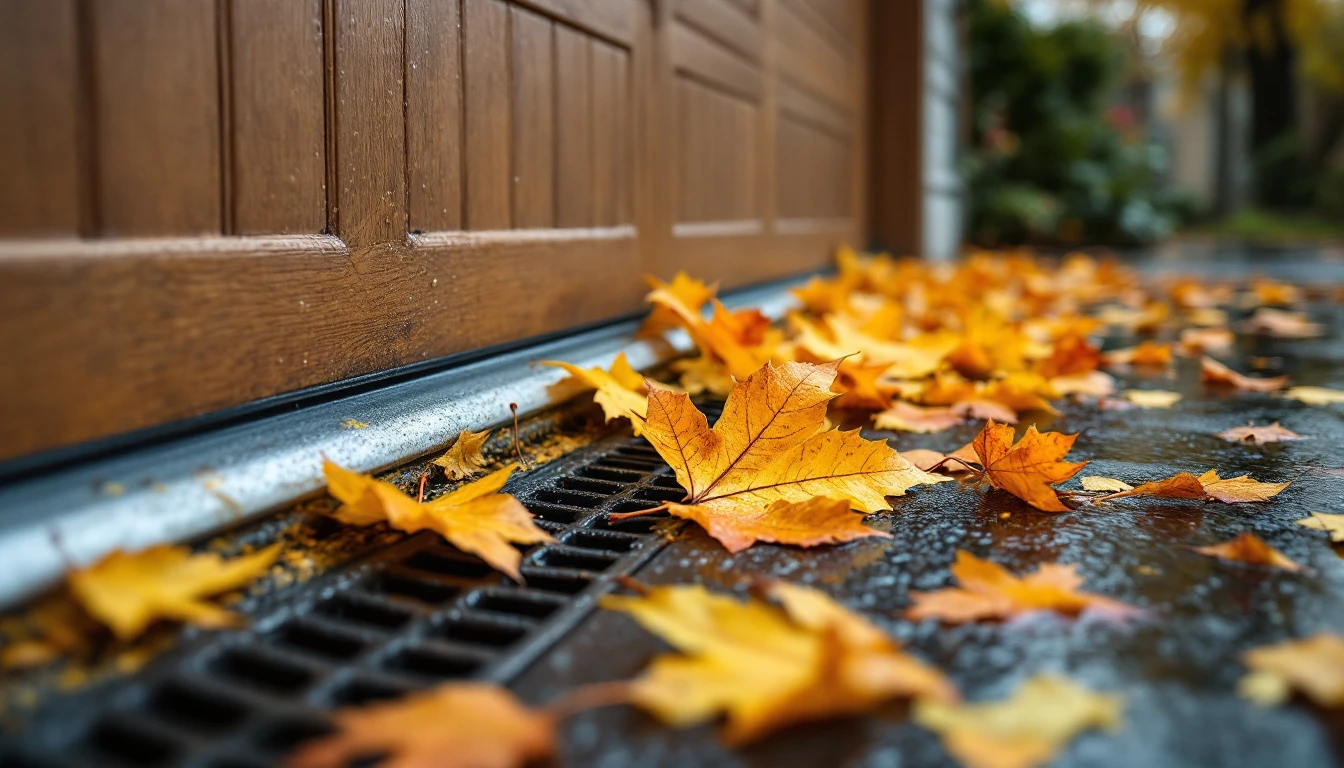
Portland’s wet October rains deliver a hidden threat: water accumulation that transforms into frozen barriers when November temperatures drop. Standing water in or near your garage floor doesn’t just disappear—it freezes into solid ice blocks that prevent door operation, crack concrete, and cause interior damage that leads to emergency repair calls.
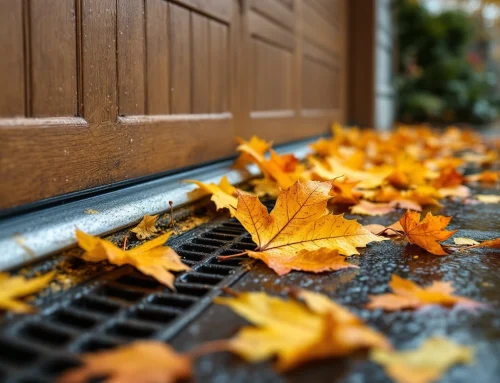
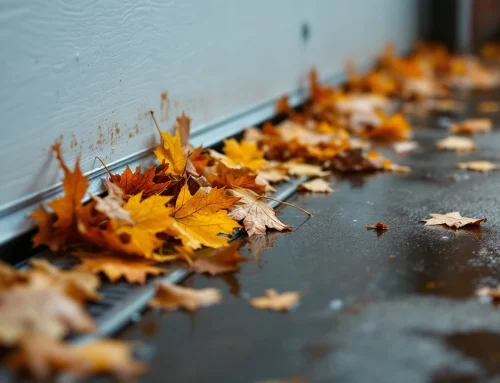
Start by locating your garage floor drain and clearing any blockages using a plumbing snake or compressed air. Clogged drains back up when water freezes, creating ice hazards that spread across the floor and undermine your foundation. Next, clean gutters and downspouts to direct runoff away from the garage perimeter—accumulated leaves and debris create channels that funnel water directly toward your foundation and door threshold.
Check the grading around your garage. Water should slope away from the structure, not pool against walls or door seals. Remove leaves, dirt, and debris from thresholds and door tracks, paying special attention to areas where water tends to collect. When this moisture refreezes, it creates ice dams that seal doors shut and force weatherstripping to fail.
This 30-to-45-minute task prevents foundation damage, door binding, and the cascade failures that turn minor water issues into expensive emergencies. Clear your drainage system now. Before the first freeze arrives.
Professional Inspection Trigger Points
You can handle most winterization tasks yourself—lubrication, weatherstripping replacement, and drainage prep cover about 80% of what your garage needs. But some problems require professional expertise before winter arrives. Spring adjustments, cable repairs, and alignment issues fall squarely in contractor territory.
How do you know when to call for help? Run this quick inspection checklist. Listen carefully as your door moves up and down—grinding or scraping sounds indicate worn rollers or bearings that will fail under cold stress. Inspect cables visually for fraying or rust damage. Test manual operation by disconnecting the opener and lifting the door yourself; it should move smoothly with light effort, stopping at chest height without falling.
Visible spring damage, binding during operation, or weak spring tension all demand professional attention before the first freeze. Small issues worsen rapidly in cold temperatures, turning minor repairs into complete system failures.
Here’s why October matters for scheduling: professional contractors book solid by November. The best time to start winterizing is early fall. Before temperatures drop below freezing. Wait until after the first freeze hits, and you’re looking at two- to three-week waits plus emergency surcharges.
Think of it as risk management—a $200 inspection now prevents $1,500+ emergency replacement costs when your door fails at 6 AM on a January morning.
Need help deciding what level of service you need? Contact us today for a pre-winter garage door assessment.