Garage Drainage Preparation for Oregon’s Rainy Season: Why September Matters in Portland
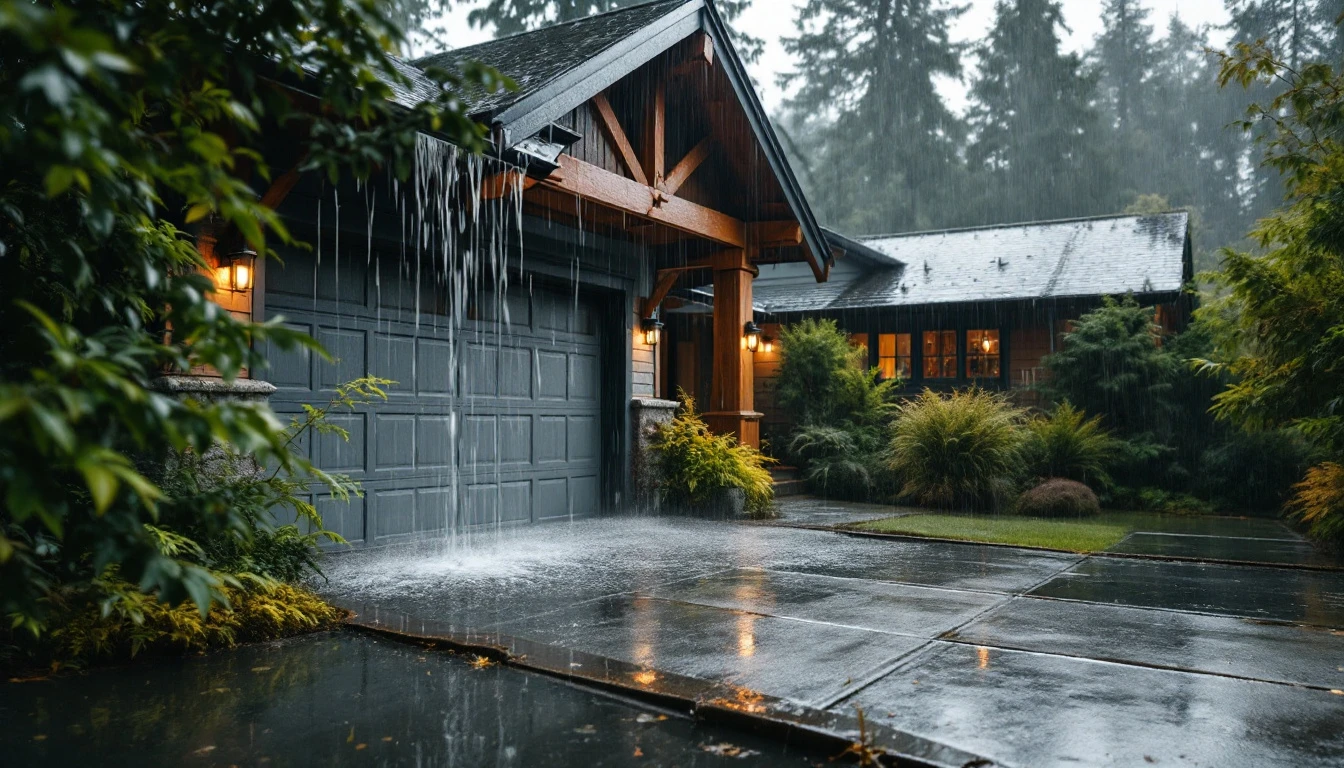
Portland’s rainy season brings more than just gray skies—it delivers over 35 inches of rainfall between October and March, turning unprotected garages into entry points for water damage. When drainage systems fail during this six-month wet window, homeowners face repair bills ranging from $1,000 to $5,000 or more for damaged concrete foundations, ruined stored belongings, and water-logged vehicles. Proper garage drainage preparation for Oregon’s rainy season can prevent these costly problems before they start.
September represents your last reliable dry window before October rains intensify. This timing isn’t arbitrary—garage door seals, threshold barriers, and drainage channels naturally degrade over 12 to 24 months of use. By mid-September, last year’s protective measures may have already developed gaps, cracks, or blockages that will fail spectacularly once heavy autumn storms arrive.
Most water damage is entirely preventable through early-season inspection and maintenance. A single September weekend spent checking seals, clearing drainage paths, and replacing worn weatherstripping can save thousands in emergency repairs later. When October’s first deluge hits, your garage will be ready—not scrambling for last-minute fixes while water pools on your floor.
Think of September as your annual insurance policy against winter water intrusion. The work you do now protects your investment before the rains test every weak point in your garage’s defenses.
Four Critical Garage Seals to Inspect Before Rain Hits Portland
Before October’s rains arrive, take an hour to walk through your garage and inspect these four seal points. Each one plays a specific role in keeping water out, and each fails in predictable ways you can spot with just your eyes and hands.
1. Bottom Seal (Door Sweep)
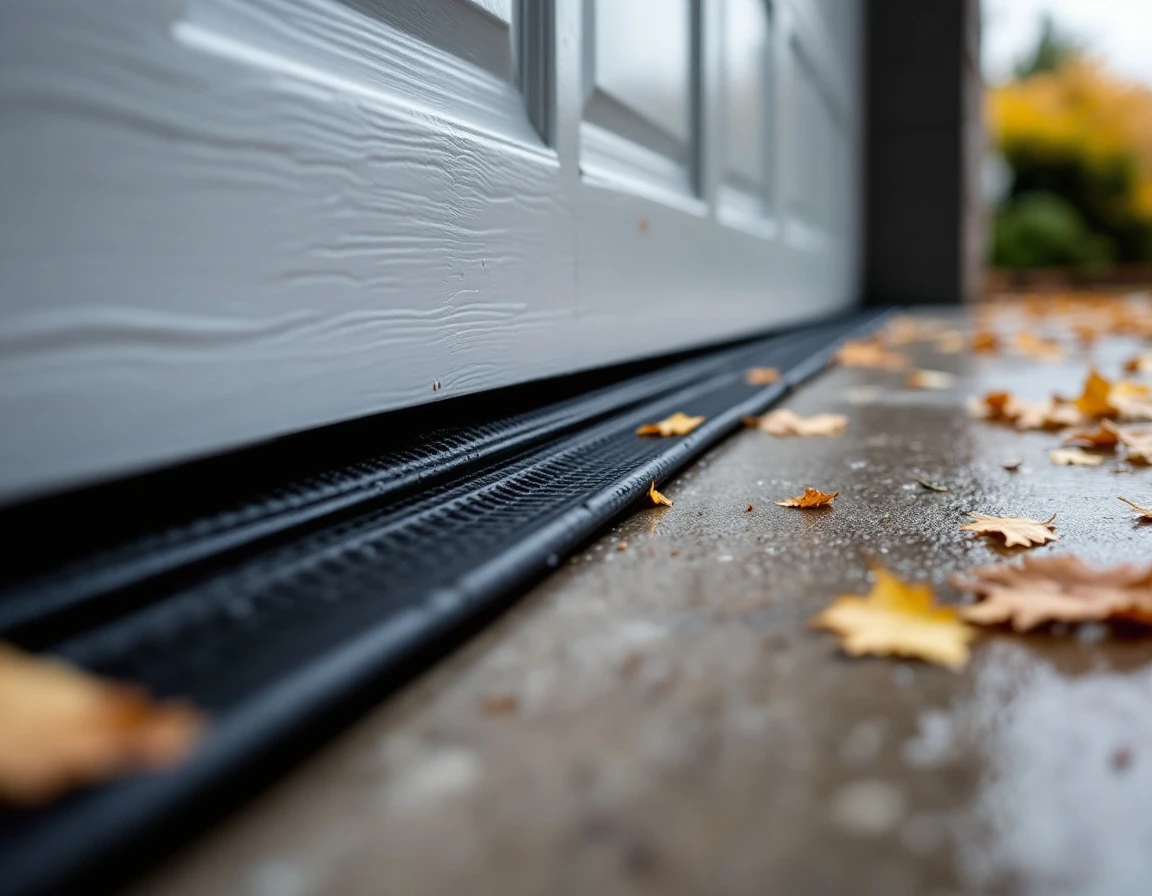
The rubber seal running along the bottom of your garage door takes a beating with every open-close cycle. Look for cracks in the rubber, especially near the center where the door flexes most. Press the seal with your thumb—if it feels hard instead of pliable, it’s lost its ability to compress against the floor and create a watertight barrier.
When this seal fails, water flows directly under your door during heavy rain. You’ll notice pooling just inside the garage after storms, and that standing water can wick into stored items, degrade your floor finish, and create persistent moisture problems.
2. Vertical Side Seals (Jamb Seals)
These weatherstripping pieces run the full height of your door frame on both sides. Walk along each side and check for gaps between the seal and the door edge when the door is closed. Peeling, shrinkage, or missing sections are common—especially in the top third where sun exposure accelerates deterioration.
Wind-driven rain is the problem here. Pacific Northwest storms push water horizontally, and even small gaps let moisture penetrate around your door edges. That water runs down interior walls and can damage drywall, insulation, and anything stored against the wall.
3. Garage-to-House Door Seal
The door connecting your garage to your living space needs weatherstripping just like an exterior door. Run your hand around the entire door frame while a family member shines a flashlight from the other side—light leaks reveal seal failures. Check the door sweep at the bottom for the same hardening and cracking you looked for on the garage door.
This seal protects your home’s interior from water that’s already entered the garage. A failed seal here means water can migrate into your laundry room, mudroom, or hallway, causing damage to finished living spaces where repairs cost more.
4. Foundation Perimeter and Concrete Cracks
Walk the entire perimeter where your garage slab meets the foundation wall. Look for gaps, separation cracks, or areas where the concrete has settled and created low spots. Check corners especially—they’re stress points where cracks often start.
Water pools in these low areas and seeps into the subgrade space beneath your slab. Over time, this undermines your foundation, creates settling problems, and can lead to expensive structural repairs that far exceed the cost of preventive sealing.
Drainage System Maintenance Checklist
Ready to protect your garage from water damage this rainy season? Set aside a weekend in early September to tackle these four essential drainage tasks. Most homeowners can complete this checklist in just a few hours, but the payoff is huge—clogged gutters and poor grading are the most common culprits behind foundation water intrusion that leads to thousands of dollars in repairs.
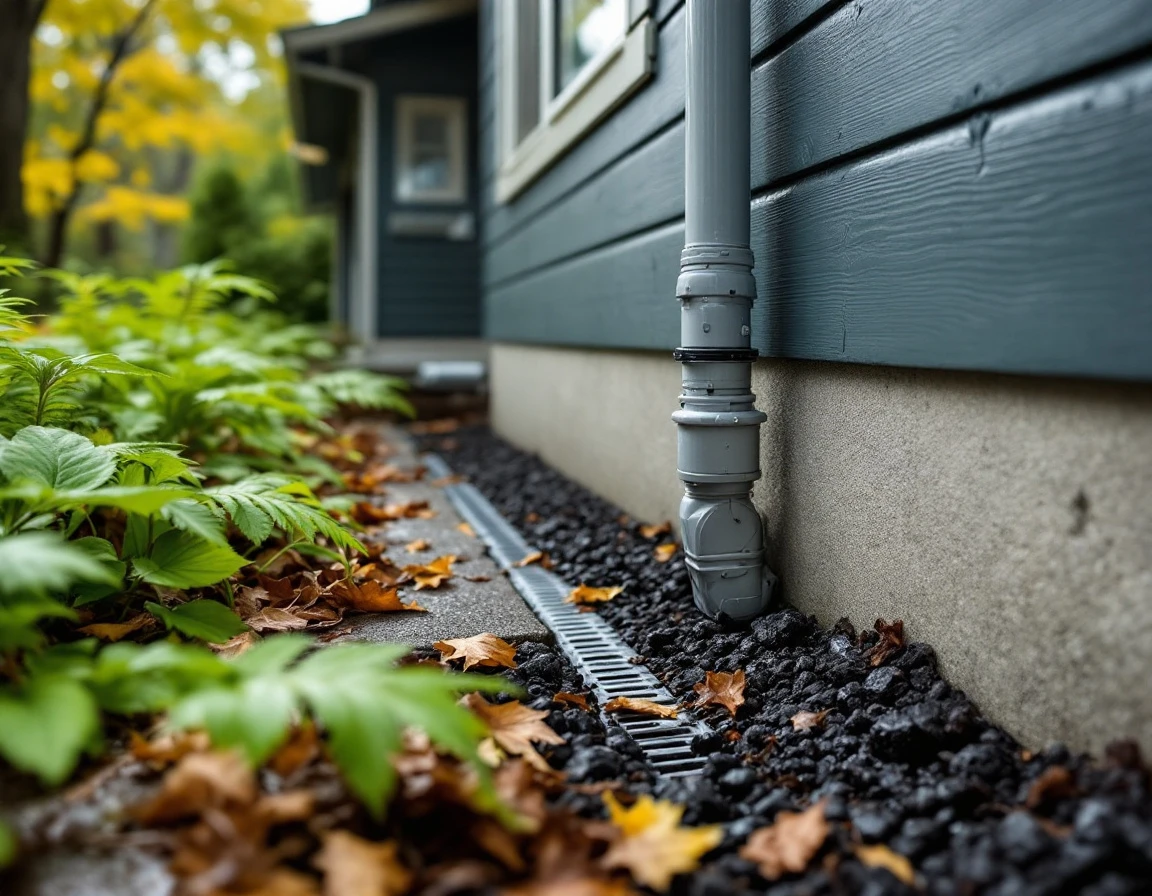
- Clear all gutters, downspouts, and concrete swales around your garage perimeter first. Remove leaves, pine needles, moss, and debris that accumulate over summer. Even a small blockage can cause water to overflow and pool against your foundation during heavy October rains. Pay special attention to downspout outlets—if water can’t exit freely, it backs up into the gutter system.
- Inspect the grading around your garage foundation. Walk the entire perimeter and look for low spots or settled soil. The ground should slope away from your foundation at a minimum of 6 inches over 10 feet of distance. If you see negative grading where soil slopes toward the garage, add topsoil to create proper drainage. This simple fix directs runoff away before it can penetrate foundation cracks.
- Check interior floor drains and your sump pump if your garage has one. Pour a bucket of water down floor drains to verify they flow freely. Test sump pumps by adding water to the basin—the pump should activate automatically and discharge water outside. Replace batteries in battery backup systems now, before you need them.
- Install or adjust splash blocks at every downspout outlet. These angled blocks should direct water at least 4 feet away from your foundation wall. Downspouts that dump water directly at the foundation base create the perfect conditions for water infiltration and structural damage.
Spot Failure Signs in Five Minutes
You don’t need technical expertise to spot the warning signs of seal and drainage failure. A quick five-minute walk-through can reveal problems before the October rains turn minor issues into expensive repairs.
Start with your garage door seals and drainage system preparation. Run your hand along the bottom sweep—does the rubber feel hard, brittle, or cracked instead of flexible? Look for white chalking or fading on the seal surface, which signals UV damage that compromises the waterproof barrier. Check the vertical seals along the door frame edges. Can you see daylight peeking through gaps between the seal and the wall? That’s a direct path for rain to enter.
Next, inspect inside your garage during or shortly after rainfall. Water stains on the concrete floor near the door perimeter indicate active leaks. White mineral deposits—called efflorescence—appear when water seeps through concrete and evaporates, leaving behind salt crystals. Both are clear evidence that your seals have failed.
Finally, walk the exterior foundation perimeter. Standing water that lingers hours after rain, moss growth, or green algae patches all point to drainage problems that funnel water toward your foundation instead of away from it. These visible signs give you time to fix problems before Portland’s rainy season begins in earnest.
DIY Repairs vs Professional
Once you’ve identified seal failures or drainage issues during your September inspection, the next question is simple: Should you tackle the repair yourself or bring in a professional? The answer depends on the complexity of the problem, the tools required, and the long-term reliability you need.
Some garage waterproofing tasks are perfect weekend DIY projects. Replacing a worn door sweep or applying fresh sealant around foundation gaps requires only basic tools and readily available supplies from your local hardware store. Expect to spend between $50 and $150 for materials like weatherstripping, caulk tubes, and basic applicators. These repairs take a few hours and deliver immediate protection against water intrusion.
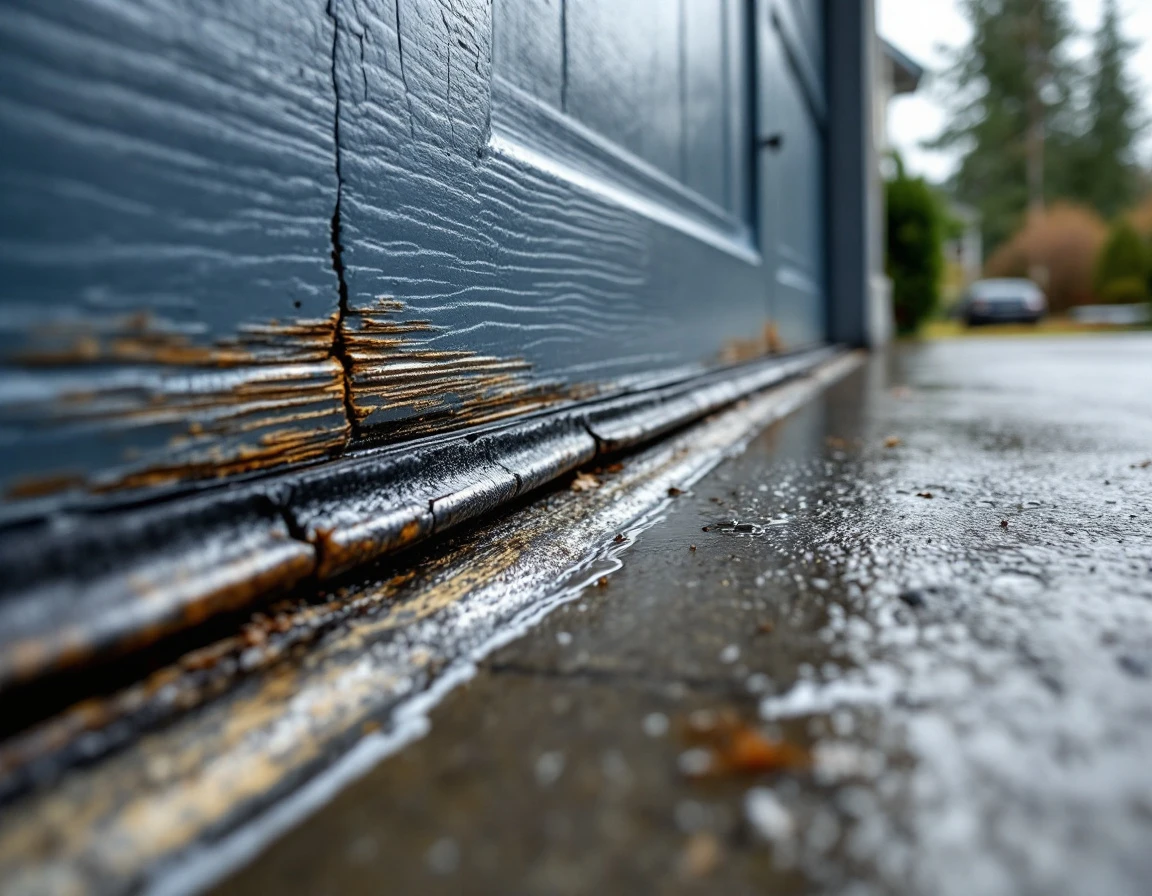
Other problems demand professional expertise. Grading correction around your foundation often requires excavation equipment to establish proper slope away from the garage. Foundation crack repair might need specialty polyurethane or epoxy sealants injected under pressure to create watertight seals that last for years. Professional work in these areas typically costs $300 to $1,000 or more. But the investment pays off through proper diagnosis, correct materials, and warranty-backed results that prevent recurring water damage.
Even if you plan to handle simple repairs yourself, consider hiring a professional inspector first. A thorough inspection runs $100 to $200 and often reveals hidden problems that aren’t visible during a quick walkthrough—subsurface drainage failures, hairline foundation cracks, or compromised seal points behind trim. Professionals also provide warranties on their repair work, giving you recourse if problems resurface.
Here’s where September timing becomes your advantage: scheduling professionals now means you’ll get their attention before the October rush begins. Once the rains start, waterproofing contractors face packed schedules and emergency calls. Book your inspection or complex repairs early in September, complete the work before October arrives, and you’ll avoid both the seasonal rush and the stress of dealing with water damage in real-time.
Supplies and September Action Plan
Ready to protect your garage before October’s rains arrive? Here’s your complete supplies list and timeline to knock out this project in two weekends. Head to Home Depot or Lowe’s for a vinyl or rubber door sweep (M-D Building Products or Frost King brands work well), self-adhesive weatherstripping tape for jamb seals, GE Silicone II or DAP exterior-grade silicone sealant. A basic caulking gun, a wire brush for surface prep, and work gloves.
- Weekend 1 (September 1–3): Complete your five-minute visual inspection and drainage check. Walk your foundation perimeter, examine all door seals, and test floor drains. Take photos of problem areas and make notes.
- Week 2 (September 4–8): Purchase supplies based on your inspection findings. If you identified grading issues or foundation cracks, call Garage Harmony or a foundation specialist now—contractors book up fast as October approaches.
- Weekend 2 (September 9–10): Replace worn door sweeps, apply fresh weatherstripping to jamb seals. And fill perimeter gaps with silicone. Clean gutters and reposition splash blocks while you’re at it.
Set a calendar reminder for September 1 to start this timeline. Prioritize door seals and sealant work first—these deliver the biggest protection payoff. Schedule any professional inspections by September 15 to beat the October rush. Your garage will be rain-ready when the wet season hits.