Why Garage Seals Matter in Portland Rain
October marks the start of Oregon’s six-month rainy season, when heavy downpours and sustained moisture test every vulnerable point in your home’s exterior. For Portland-area homeowners with attached garages, this seasonal shift brings a hidden risk: water infiltration through compromised door seals, worn weatherstripping, and inadequate floor drainage. Addressing seal garage drainage rainy season concerns before October rainfall intensifies can prevent costly water damage throughout the season ahead.
What starts as a small puddle can quickly escalate into foundation damage, toxic mold growth, and repair bills climbing into the thousands. Water seeping beneath garage doors doesn’t just create standing pools—it wicks into drywall, weakens concrete joints, and creates the damp conditions where mold colonies thrive within 24 to 48 hours.
Preventive seal inspection takes just 30 to 60 minutes of your time and typically costs between zero and fifty dollars for DIY fixes. Early October represents your best window to complete these checks before the sustained rainfall begins in earnest. Spending an hour now can prevent emergency calls to foundation repair specialists or mold remediation teams later in the season.
This time-sensitive maintenance opportunity requires minimal investment but delivers protection throughout the entire rainy season ahead.
Three Critical Garage Seals to Inspect
Before Portland’s October rains arrive, focus your inspection on three seal locations that protect your garage from water intrusion. Each plays a distinct role in keeping moisture out of your space.
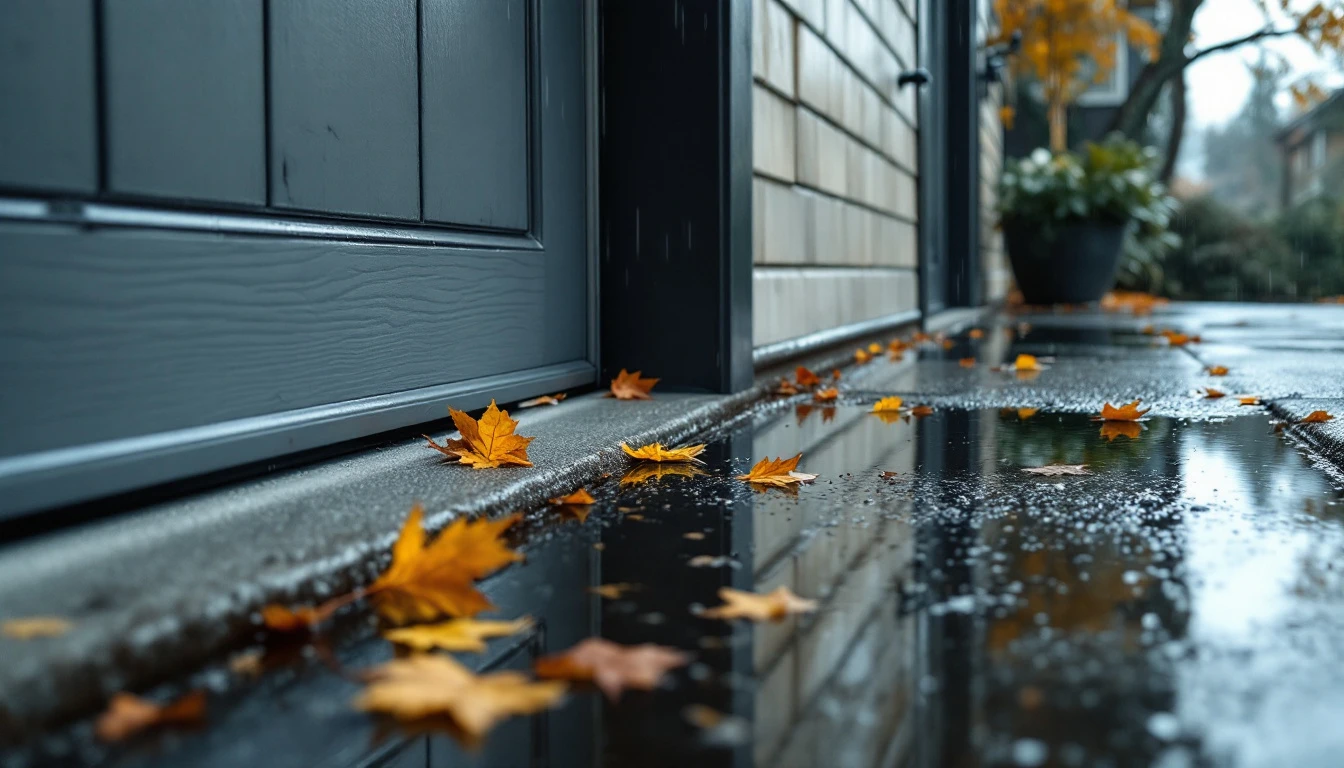
Start with the bottom seal. Also called weatherstripping, which runs along the base of your garage door. This is your first line of defense against water pooling at the threshold. Look for cracked rubber, visible gaps when the door is closed, or sections that have hardened and lost flexibility. If this seal fails, you’ll notice water pooling just inside the door, dark staining on the concrete, or dampness that persists after rain stops.
Next, examine the side and top seals around the door frame. These prevent water from running down exterior walls and seeping into gaps. Check where the seal meets the frame—separation, cracking, or missing sections allow water to work its way inside. Failed perimeter seals often show up as water stains on interior walls near the door frame or damp spots in corners where the door meets the jamb.
Proper seal integrity stops the vast majority of weather-related water infiltration in attached garages. Here’s your decision point: if seals are intact, flexible, and press firmly against the door, move on to cleaning and lubrication. If they’re cracked, hardened, or pulling away from the frame, bottom seal replacement is typically DIY-friendly, while side and top seals may require professional installation for proper fit.
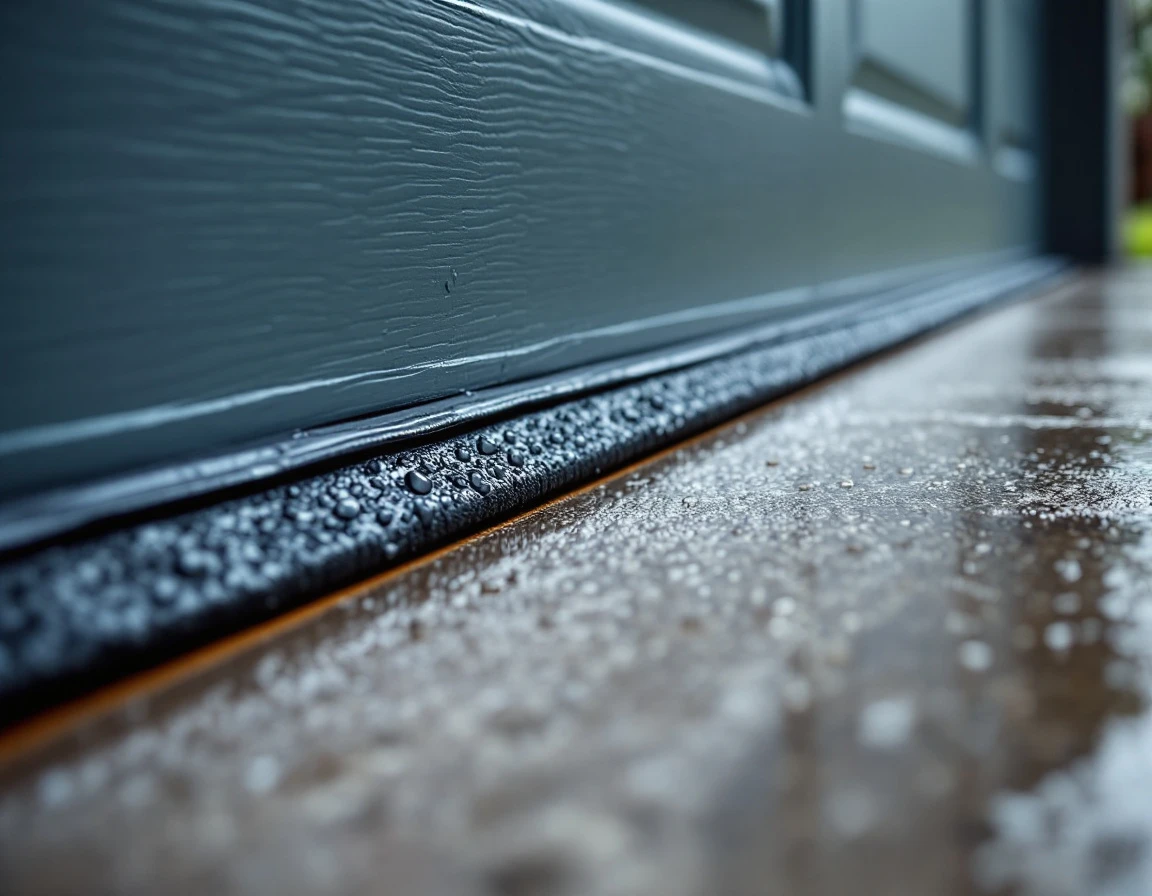
Garage Door Bottom Seal Inspection
The bottom weatherstrip takes the hardest hit during Portland’s October rains. Start by closing your garage door completely, then crouch down and scan the entire length where rubber meets concrete. Look for visible gaps—even a quarter-inch opening invites water inside.
Run your hand along the seal to check for brittleness, cracks, or tears in the rubber. Press down firmly on several spots to test compression—healthy weatherstripping springs back quickly, while worn material stays flattened or crumbles. The rubber seal along the bottom of your garage door is your first barrier against rain. So check the concrete just inside the door for water staining, rust forming along the door’s bottom edge, or puddles after recent rainfall.
If the seal looks intact but dirty, a quick fix involves scrubbing away debris with soap and water, then applying silicone spray to restore flexibility. When you spot cracked, flattened, or missing rubber, replacement becomes necessary. Measure your door width and existing seal profile to order the correct replacement strip. DIY installation costs $30–$80 and rates as moderately easy, while professional installation runs $100–$200.
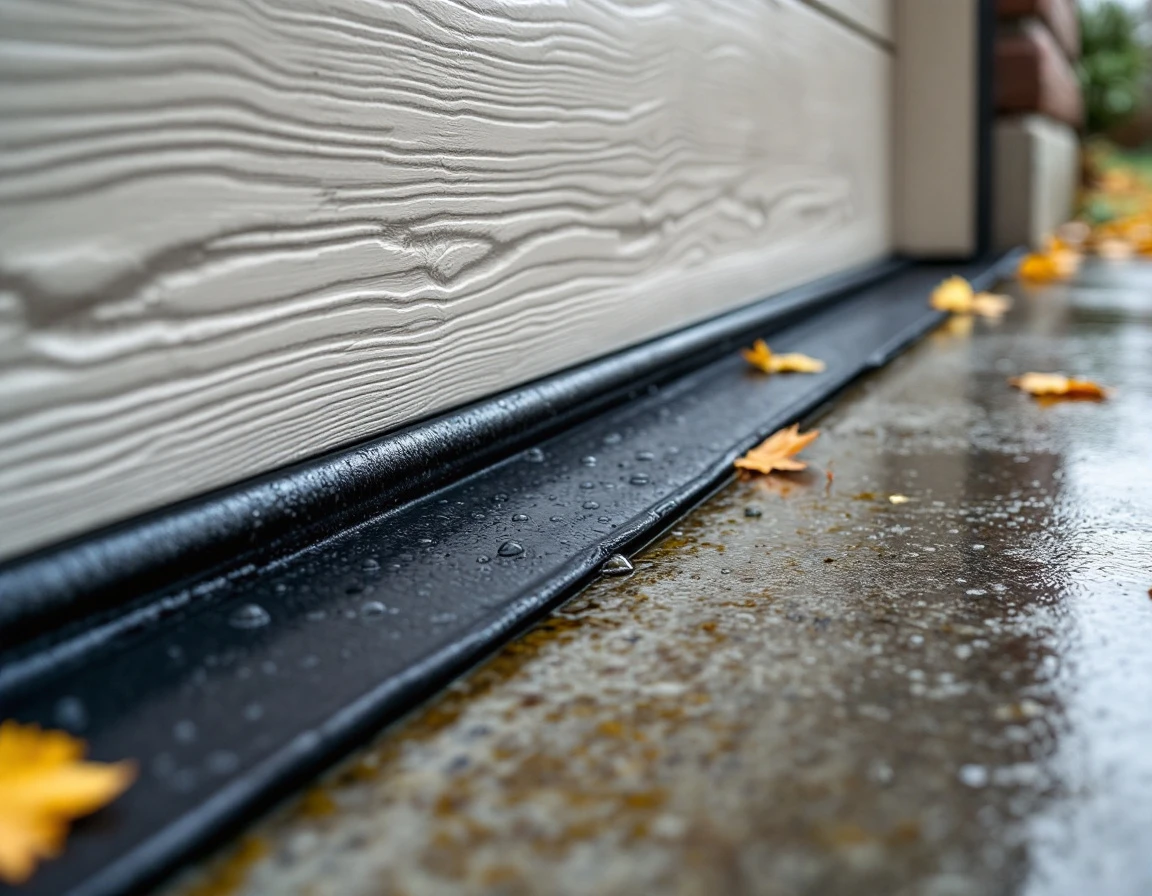
Side and Top Frame Seals
While bottom seals take the brunt of puddle contact, side and top frame seals do the critical work of keeping rainwater from channeling down your garage exterior and sneaking through frame gaps into the wall cavity. These vertical seals run the full height of each side jamb, while the horizontal seal spans the top header—together forming a continuous barrier against wind-driven rain.
What should you look for? Stand inside your garage on a bright day and scan the perimeter where frame meets seal. Gaps wider than 1/8 inch, visible daylight, or cracked caulk are telltale signs that water has an open invitation. Many of these seals rely on caulk to bridge the frame-to-wall connection, and that caulk hardens, shrinks, or pulls away over time.
Recaulking these areas runs under $20 in materials and makes an excellent DIY project. Scrape out failed caulk, clean the surface, and apply fresh exterior-grade sealant. Refresh silicone or PU sealant every 2–3 years to keep joints watertight.
If the weatherstripping itself shows damage, replacement strips are equally simple to install. Minimal gaps and intact caulk? You’re clear to proceed. Large separations warrant a professional look.
Seal Garage Drainage and Clogging Prevention for Rainy Season
Once you’ve checked your door seals, it’s time to shift attention downward. Floor drains and proper grading are often neglected, yet they prevent the water pooling that degrades foundation concrete over time. Portland garages with floor drains need those drains clear and functioning before October; garages without drains must rely on correct concrete grading to keep water moving away from the foundation.
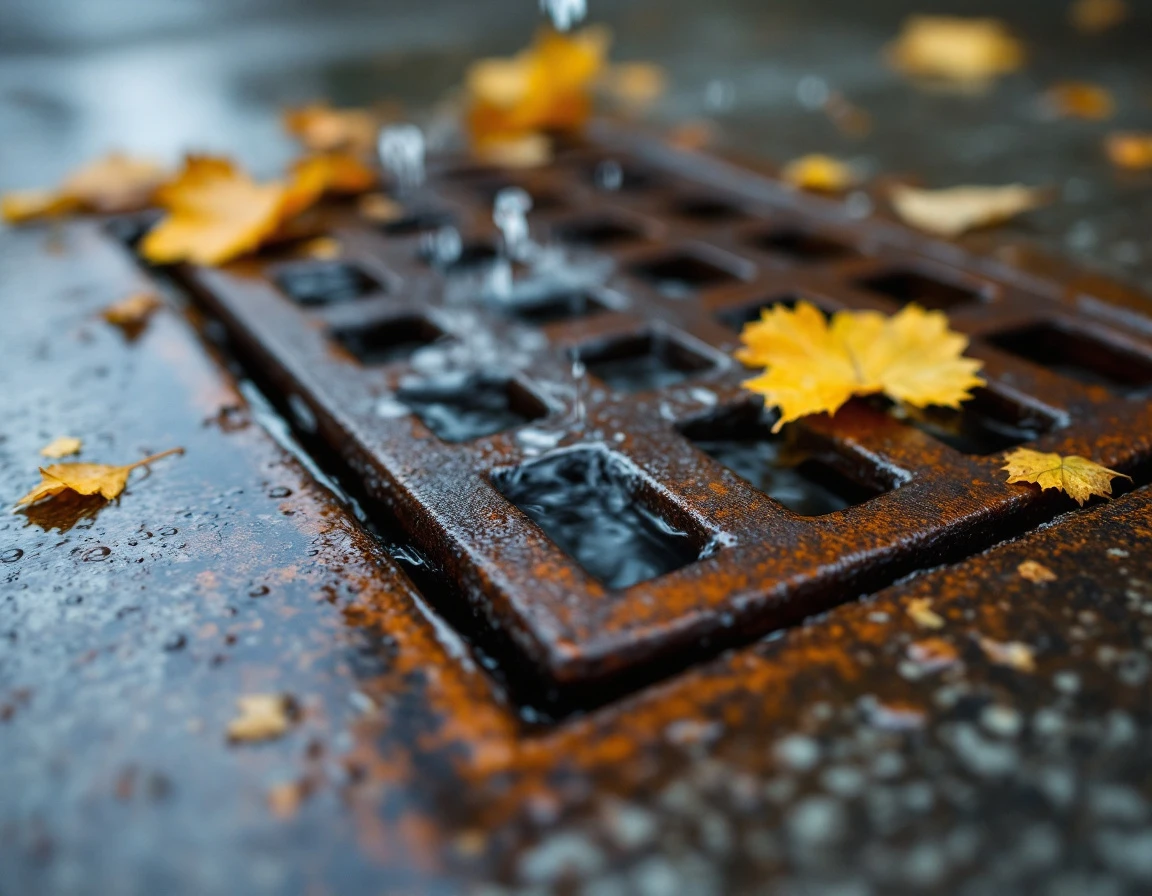
Start your inspection by locating any floor drain—typically found in the center or corner of your garage floor. Check for visible debris like leaves, dirt, or accumulated sediment. Pour a bucket of water down the drain to test flow speed; slow drainage signals a partial blockage. Next, step outside and inspect the grading around your garage perimeter. The ground should slope away from the foundation. Not toward it.
Clearing debris and flushing your drain with a garden hose takes 20–30 minutes and costs under $20 in basic cleaning supplies. But if you notice standing water after rain despite clear drains, you may be facing foundation settling or grading failure—both require professional assessment rather than DIY fixes.
DIY Checklist and When to Call a Pro
Ready to protect your garage before October rains arrive? Here’s your action plan. Set aside 90 minutes to complete all three inspections plus drainage clearance. Gather basic materials like weatherstripping, caulk, and cleaning supplies from your local hardware store—items you likely already have on hand or can pick up affordably.
- Bottom Seal Check: Run your hand along the door base to feel for gaps or brittleness. Pass means the seal is pliable and continuous. Fail means visible cracks or light showing underneath. Quick fix? Clean and lubricate for minor wear (under 1 hour). If the rubber is cracked or torn, replacement is your next step—doable as a DIY project or hire a pro for $100–$300.
- Frame Seals Inspection: Examine caulk lines and weatherstripping on side and top jambs. Pass means intact caulk with no gaps. Fail means cracked caulk or missing weatherstripping. Replace damaged materials with basic tools—most homeowners complete this in under an hour.
- Floor Drainage Test: Clear debris from floor drains and verify exterior grading slopes away from the garage. Pass means water flows freely. Fail means standing water after clearing blockages. A rainy-season-ready garage requires controlled drainage, a sound garage-door seal, and proper slab preparation. If water pools inside your garage, you see interior staining, or notice structural cracks, stop and call a professional. These symptoms indicate foundation damage that requires expert assessment.
If your DIY checklist reveals problems beyond simple maintenance, contact Garage Harmony today for a professional inspection and expert confirmation.