

Portland Freeze Timeline and Risk
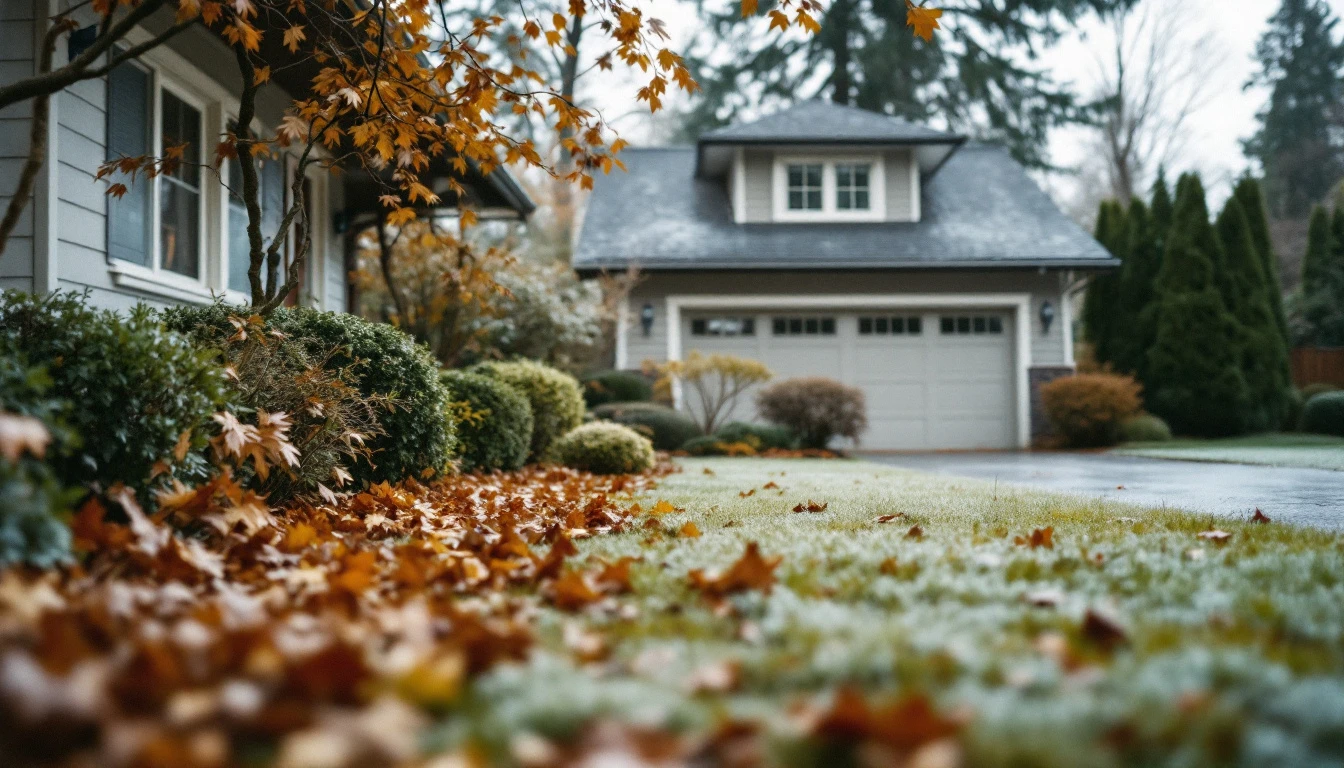
When does winter weather actually threaten your garage? In the Portland metro area, the first freeze typically arrives in late November. With average first frost dates falling around November 10-15. Understanding your winterization checklist before freeze season arrives helps you avoid costly damage. While this might seem like plenty of time, hard freeze conditions—when temperatures drop below 32°F for extended periods—peak from December through February, creating months of potential damage exposure.
What happens to an unprotected garage during these cold snaps? The risks are serious and expensive.
Burst pipes can flood your garage and damage stored belongings. Water lines serving outdoor spigots or utility sinks freeze and crack. Structural damage from ice expansion can compromise walls and foundations. Even your garage door opener’s mechanical components can fail in extreme cold.
That’s why early October is your ideal winterization window. Completing your checklist now gives you comfortable working conditions and avoids the rush when temperatures suddenly drop. The cost difference is dramatic: preventive weatherstripping and pipe insulation might run $100-200, while emergency pipe repairs easily exceed $1,000, plus water damage restoration. Protecting your garage before late November means you’re ready when the first hard freeze arrives.
Critical Winterization Tasks
Ready to protect your garage from freeze damage? This checklist organizes the most important winterization tasks by time commitment. Helping you knock out quick wins first and plan for bigger projects. Each task directly prevents specific freeze-related problems that can cost thousands in repairs.
Quick Wins (Under 30 Minutes Each)
- Inspect and Replace Door Seals: Check the rubber weatherstripping along your garage door bottom and sides for cracks, gaps, or brittleness. This task prevents cold air infiltration and snow entry. Time: 15-20 minutes. Materials: replacement weatherstripping ($15-30). DIY difficulty: Easy. You’ll need a utility knife and measuring tape.
- Test Auto-Reverse Function: Place a 2×4 under your closing door to verify it reverses immediately. Cold weather thickens lubricants and affects sensor performance, potentially creating safety hazards. Time: 5 minutes. Materials: none. Cost: $0. DIY difficulty: Easy.
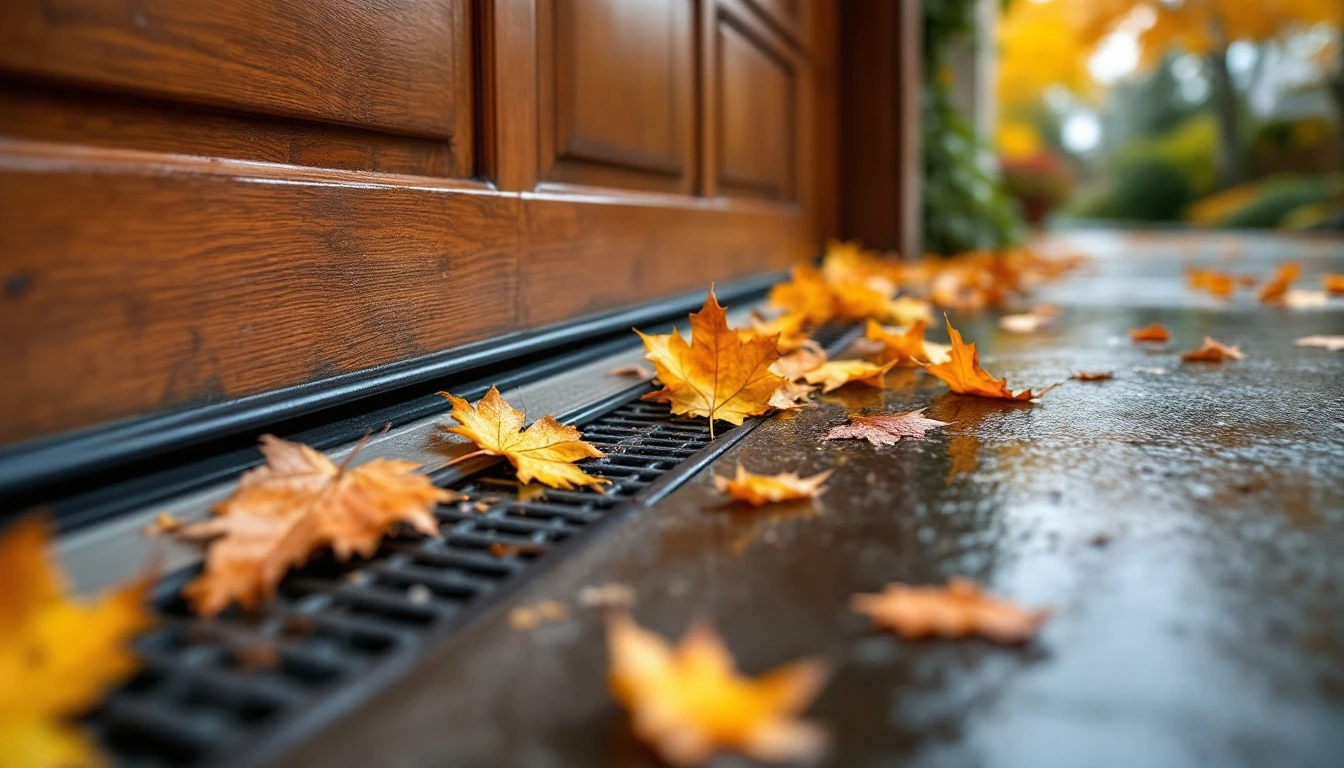
- Clear Drainage Channels: Remove debris from door track weep holes and floor drains. Blocked drainage causes ice dams that freeze doors shut and damage track systems. Time: 10 minutes. Materials: wire brush ($5). DIY difficulty: Easy.
- Insulate Exposed Pipes: Wrap foam pipe insulation around any water lines running through your garage. Prevents burst pipes, the most common freeze damage issue Portland homeowners face. Time: 20 minutes. Materials: foam pipe insulation ($10-20 for 6 feet). DIY difficulty: Easy.
Moderate Projects (30 Minutes to 2 Hours)
- Lubricate Moving Parts: Apply cold-weather lubricant to hinges, rollers, springs, and tracks. Prevents metal contraction issues that cause binding and premature wear when temperatures drop. Time: 30-45 minutes. Materials: garage door lubricant ($8-12). DIY difficulty: Moderate. Requires ladder access.
- Install Threshold Seal: Add a rubber threshold seal where your garage floor meets the door for extra protection against wind-driven rain and snow. Prevents water infiltration and reduces heat loss. Time: 1-2 hours. Materials: threshold seal kit ($25-50). DIY difficulty: Moderate. Requires drill and basic carpentry skills.
- Add Insulation Panels: Attach rigid foam panels or reflective insulation to garage door sections if you have an uninsulated door. Prevents heat loss in attached garages and protects stored items from temperature swings. Time: 2-3 hours. Materials: insulation kit ($50-150). DIY difficulty: Moderate. Double-sided tape or adhesive required.
Professional-Level Work
- Spring Tension Adjustment: Have a professional inspect and adjust torsion spring tension. Cold weather changes metal properties, affecting door balance and increasing opener strain. Time: 30-45 minutes (professional). Cost: $75-125. DIY difficulty: Dangerous—springs under extreme tension can cause serious injury.
- Opener Cold-Weather Testing: Schedule a technician to test opener performance in simulated cold conditions and verify all safety features function properly. Prevents mid-winter breakdowns when you need reliable access most. Time: 45 minutes (professional). Cost: $80-150. DIY difficulty: Requires specialized diagnostic tools.
- Install Heated Threshold Cable: For garages with persistent ice buildup, a professional can install a heating cable along the door threshold. Eliminates frozen-shut doors during ice storms. Time: 2-4 hours (professional). Cost: $200-400 including materials. DIY difficulty: Advanced—requires electrical work.
Which tasks should you tackle first? Start with the quick wins in early November, schedule professional work for mid-November, and complete moderate projects before Thanksgiving. This timeline gives you a two-week buffer before Portland’s typical late-November hard freeze window.

Garage Door Seals and Weatherproofing
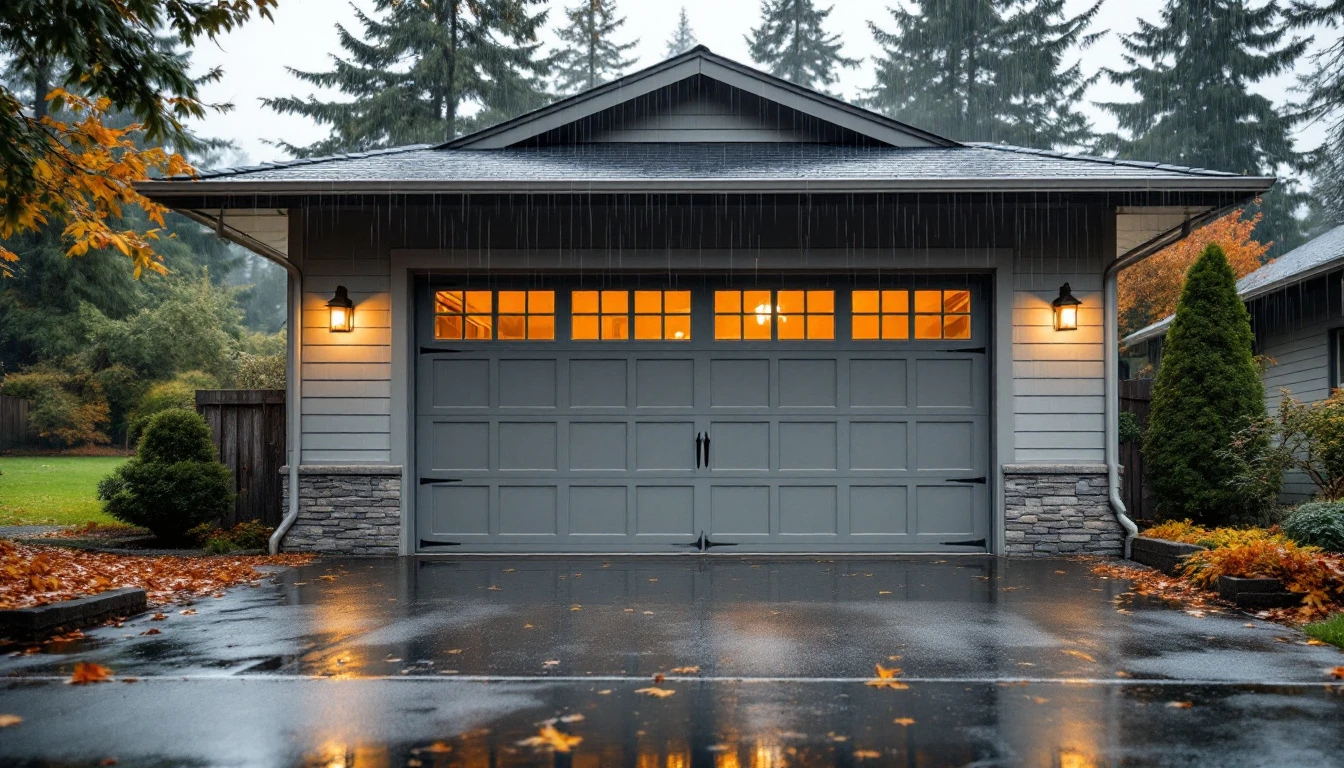
Your garage door is one of the most vulnerable entry points for cold air and water during Portland’s rainy winter months. Weather seals take a beating from moisture, temperature swings, and constant compression every time your door opens and closes. When these seals fail, you’ll notice visible gaps along the door edges, frost buildup on interior walls, or water pooling near the threshold after heavy rain.
Start your inspection at the bottom seal—the rubber strip that meets your garage floor. Run your hand along the entire length checking for cracks, brittleness, or sections that have pulled away from the door. At night, turn off the garage lights and look for light streaming in from outside, which reveals even minor gaps.
Replacement seals cost between $15 and $40 depending on door width, and most homeowners can install them in under an hour using basic tools. Apply weatherstripping tape around the door frame and between panel sections to block air infiltration. Test your work by feeling for air movement along all edges on a breezy evening.
Drain and Moisture Control
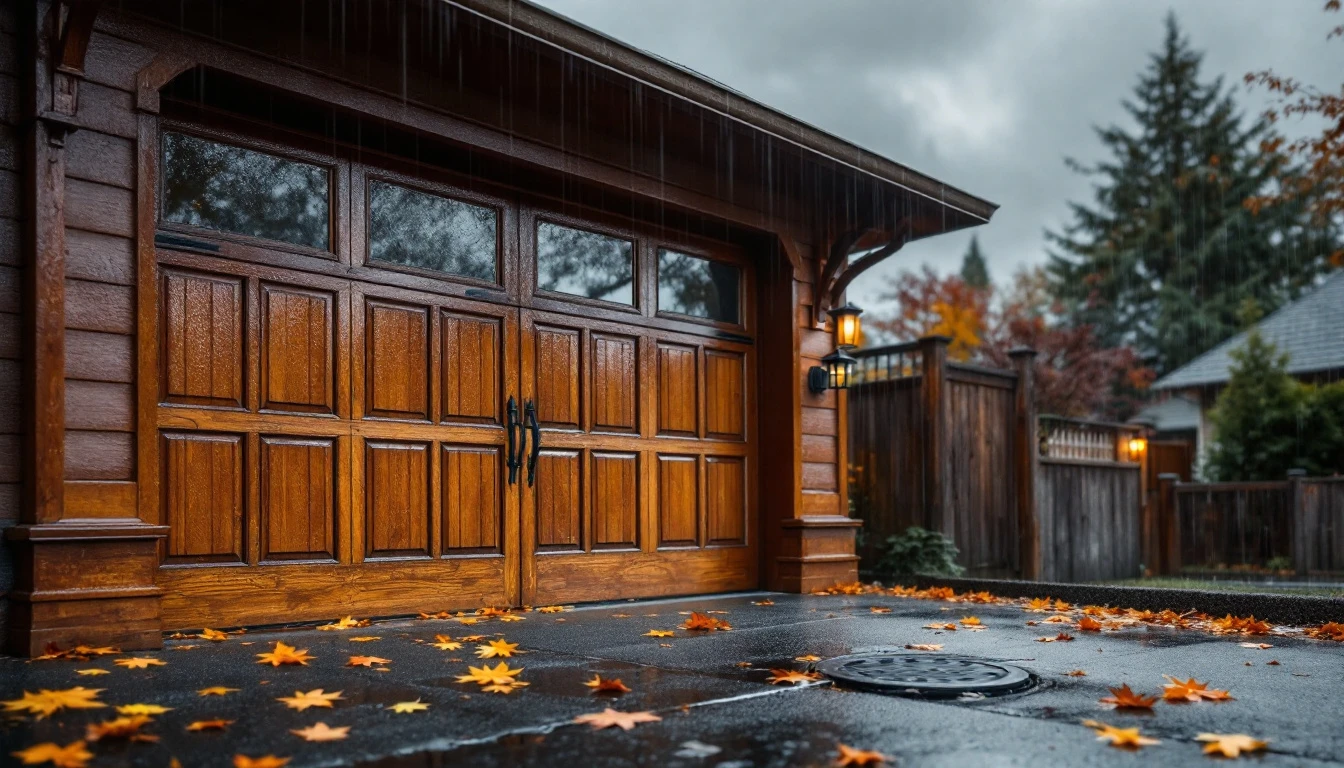
Portland’s fall rains dump leaves and debris into gutters, downspouts, and garage floor drains, creating clogs that redirect water toward your foundation instead of away from it. Standing water near your garage becomes a freeze hazard once temperatures drop. Expanding as it freezes and potentially cracking concrete or seeping into vulnerable areas.
Start by clearing all gutters and downspouts of accumulated leaves and pine needles. Check garage floor drains by pouring a bucket of water down each one—if it drains slowly or backs up, remove the grate and pull out debris by hand or with a wire hook. Walk the perimeter of your garage after a heavy rain to spot pooling water.
Does water collect within three feet of your foundation? If grading slopes toward your garage or water consistently pools near the structure, you’ll need professional grading work or a sump pump installation. These issues go beyond DIY fixes and require proper drainage solutions before winter arrives.
Pipe and Plumbing Protection
Exposed water pipes in unheated garages are among the first casualties when Portland temperatures plunge below freezing. When water freezes inside pipes, it expands and creates pressure that can rupture copper or PVC lines, causing floods that damage drywall, belongings, and even your vehicle.
Start by identifying all water lines running through your garage—check along walls, across ceilings, and near exterior corners where cold air penetrates most easily. Pipes near garage doors or exterior walls face the highest risk. Measure each exposed section to determine how much foam pipe sleeve or heat tape you’ll need.
Foam sleeves slip easily over straight pipe runs and offer an economical insulation option. Heat tape works better for pipes that frequently dip below freezing or feature complex routing with multiple bends. For recessed pipes inside walls or intricate plumbing configurations, consult a licensed plumber—improper heat tape installation can create fire hazards.
Don’t forget exterior hose bibs. Drain them completely and disconnect all hoses before November to prevent ice formation that travels backward into your garage plumbing.
DIY vs. Professional
Most of the winterization tasks covered so far fall within the skillset of an average homeowner. Sealing weather stripping, draining floor drains, wrapping pipes with foam insulation, and cleaning gutters require nothing more than common tools and a few hours of your time. These preventive maintenance tasks offer excellent return on investment without the expense of hiring help.
When should you call in the experts? Structural issues require professional assessment—cracks in your foundation or significant grading problems that funnel water toward your garage need licensed contractors to evaluate and repair. Any plumbing work beyond basic insulation, including pipe rerouting or valve replacement, belongs in a plumber’s hands. Garage door opener malfunctions and electrical weatherproofing tasks like installing heated floor mats or upgrading circuits should always go to licensed technicians.
Here’s the October advantage: scheduling consultations and repairs now means you pay standard service rates instead of emergency pricing during a January freeze. Most Portland-area specialists book up as temperatures drop, so acting early gives you better availability and lower costs.
How do you find reliable professionals? Check licensing through the Oregon Construction Contractors Board, read reviews on multiple platforms, and request detailed written estimates from at least three contractors. Ask specifically about their experience with freeze-related repairs and their response time for emergency calls. Red flags include unlicensed operators, cash-only demands, and pressure tactics.
October Action Plan for Your Winterization Checklist Before Freeze
Ready to protect your garage before Portland’s freeze window hits? Breaking your winterization into a four-week schedule makes the process manageable and guarantees completion before late November’s hard freeze risk arrives.
- Week 1 (Early October): Inspection and Quick Wins. Start with momentum-building tasks that take under an hour. Clear gutters and downspouts, check weather seals for gaps using the nighttime light test, and verify floor drains flow freely. These fast victories build confidence and reveal any major issues that need professional attention later.
- Week 2 (Mid-October): Insulation and Weatherproofing. Tackle insulation projects while temperatures remain comfortable. Install foam sleeves on exposed pipes, replace worn door seals, and add weatherstripping where needed. Schedule professional assessments this week if you identified structural concerns, plumbing complexities, or garage door mechanism issues during Week 1.
- Week 3 (Late October): Address Identified Issues. Complete any repairs flagged during inspection. If you’ve scheduled contractor work, confirm appointments and prepare work areas. This buffer week prevents last-minute scrambling when November weather turns unpredictable.
- Week 4 (Early November): Final Walk-Through. Conduct a complete verification check. Test all seals, confirm drainage systems flow properly, and verify pipe insulation remains secure. Run through your entire checklist one last time.
Starting now puts you ahead of the late-November freeze deadline with time to spare. How to winterize garage before cold weather sets in? Our team at Garage Harmony handles pre-winter garage maintenance checklist completion, professional assessments, complex installations, and any task that falls outside your comfort zone. Contact us today!

Leave A Comment