Why October Weatherproofing Prevents Winter
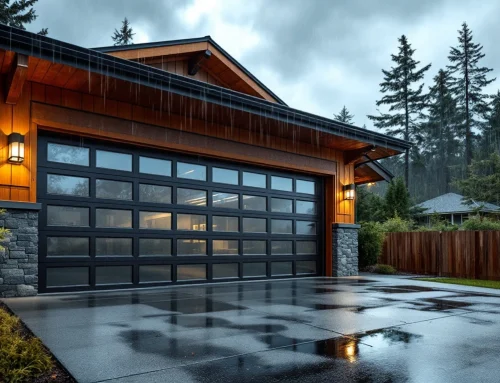
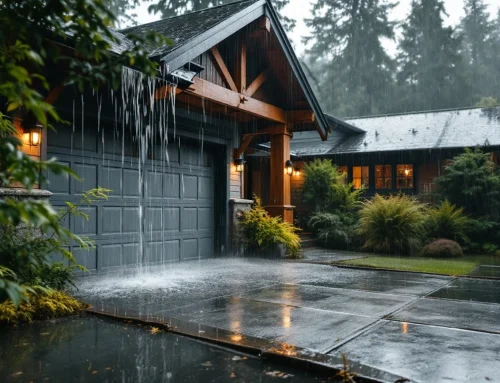
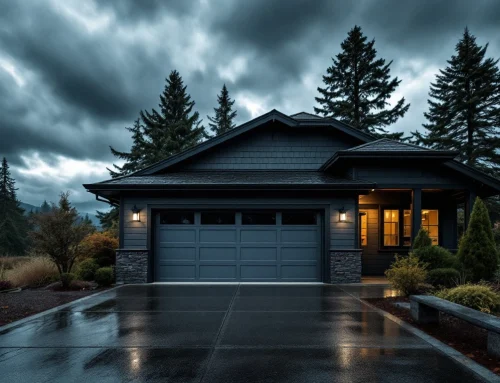
Portland’s rainy season arrives in October and doesn’t let up until spring. Between October and March, the metro area receives more than 8 inches of rain each month, with heavy downpours that test every weak point in your home’s envelope. Your garage door represents one of the largest openings in that envelope, and without proper weatherproofing, it becomes a primary entry point for water intrusion. Learning how to weatherproof garage door systems before winter arrives can save thousands in water damage repairs and protect your home’s structural integrity.
Unsealed garage doors allow water to seep beneath the door, around the sides, and through gaps in the frame. This water doesn’t just create puddles on your garage floor. It damages stored items, promotes mold growth, and can cause rot in wooden structural components. Homeowners who discover water damage after winter storms typically face $500 to $1,500 in emergency repairs for remediation, replacement of damaged belongings, and structural fixes.
The contrast is stark: spending two hours on preventive weatherproofing before October costs a fraction of emergency water damage repairs. Sealing your garage door with proper bottom seals, side weatherstripping, and threshold guards protects vehicles, tools, and stored items throughout six months of relentless Pacific Northwest rain.
Acting now means avoiding the scramble for emergency repairs when winter storms expose vulnerabilities you didn’t know existed.
Four Affordable Weatherproofing Techniques
Your garage door has four primary entry points where water sneaks in during Portland’s rainy months. Sealing these gaps is a quick DIY project using affordable supplies—far less expensive than addressing water damage to drywall, stored belongings, or electrical systems after the fact. Here’s exactly what to seal and why each technique matters in Oregon’s wet climate when you weatherproof garage door openings.
Weather Stripping Replacement
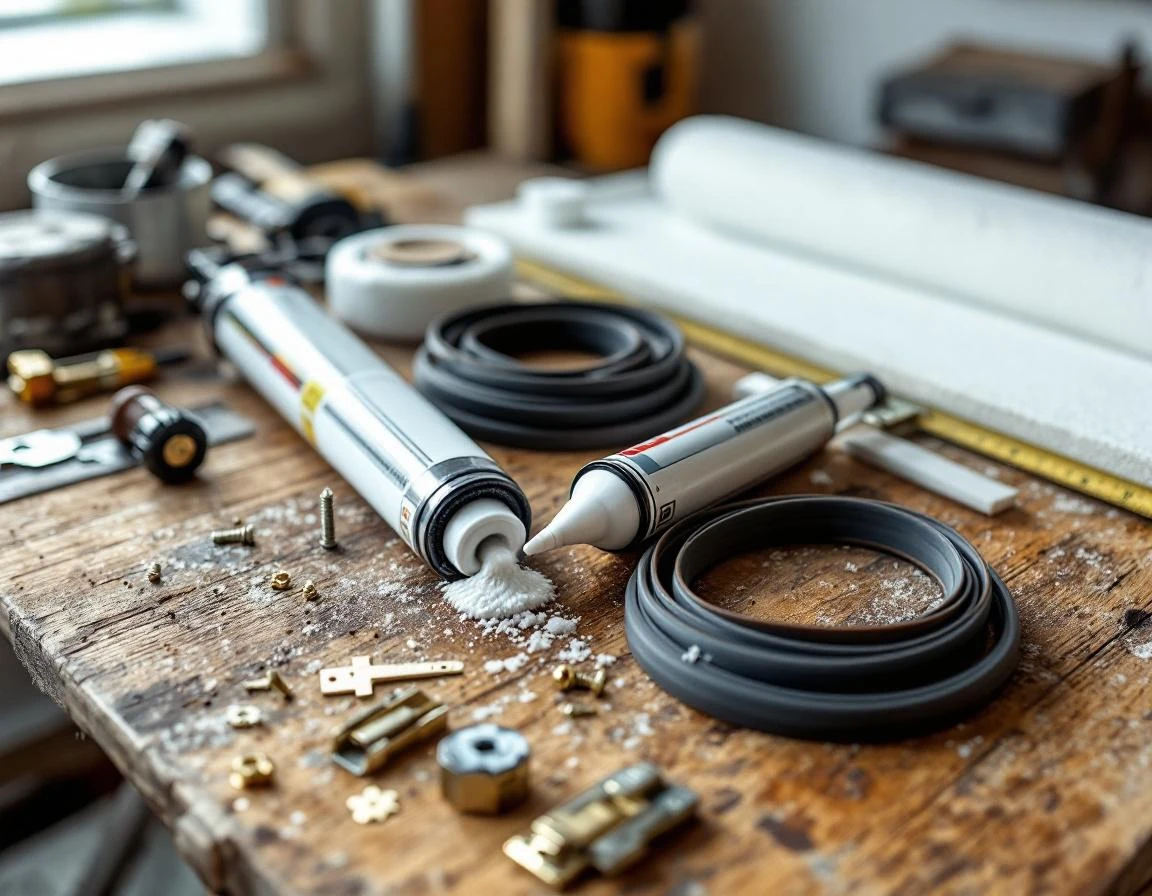
The rubber strip along your door’s bottom edge takes the brunt of Portland’s weather. After a few years, it cracks and compresses, creating gaps that let water pool on your garage floor. Weather stripping costs $15 to $25 and prevents the most common leak source. Before replacement, water seeps under the door during heavy rain. After replacement, the flexible seal conforms to uneven concrete, blocking water completely.
Bottom Threshold Seal Installation
Even perfect weather stripping can’t compensate for an uneven garage floor. A threshold seal fills the gap between your concrete slab and the door. This aluminum or vinyl channel costs $20 to $30 and creates a ramp that directs water away from the door. It’s especially effective for Portland-area homes in Beaverton and Tigard where freeze-thaw cycles create slight floor depressions near the door opening.
Door Jamb Caulking
Wind-driven rain enters through the vertical gaps between your door frame and the surrounding wall. A tube of exterior-grade silicone caulk costs $8 to $12 and seals both sides of the jamb. Before caulking, water runs down the inside wall during storms. After caulking, these side channels stay completely dry.
Hardware Inspection
Rusted hinges, brackets, and roller tracks create small gaps that widen over time. Replacement hardware costs $15 to $25 for basic sets. Check for rust on all metal components—it indicates moisture penetration. Replacing corroded parts now prevents the door from hanging unevenly, which creates new gaps for water entry.
Total investment: $60 to $100.
Compare that to emergency water extraction services, drywall replacement, or mold remediation. These four techniques work together to create a complete moisture barrier before October storms arrive.
Weather Stripping Replacement
Weather stripping is the first defense against Portland’s wet winters, and it’s the easiest upgrade most homeowners can tackle. The rubber or vinyl strips around your garage door degrade quickly in our climate—UV exposure during summer combined with moisture cycling through fall and winter causes cracking, hardening, and gaps that let water seep straight into your garage.
Walk around your closed door and look for light peeking through on all four sides. Press the existing stripping with your finger—if it feels brittle, shows visible cracks, or has pulled away from the door frame, it’s time for replacement. These symptoms mean water is already finding its way inside during heavy rain.
For replacement, measure each side of your door and purchase either adhesive-backed stripping (easiest installation, costs $20–$25 for a standard two-car door) or screw-mounted stripping (more durable, $30–$35). Clean the surface thoroughly with rubbing alcohol, peel away old material completely, and apply new stripping within 30 minutes. The adhesive-backed version works well for most Portland homes, while screw-mounted strips handle wind-exposed locations better.
Bottom Threshold and Jamb Sealing
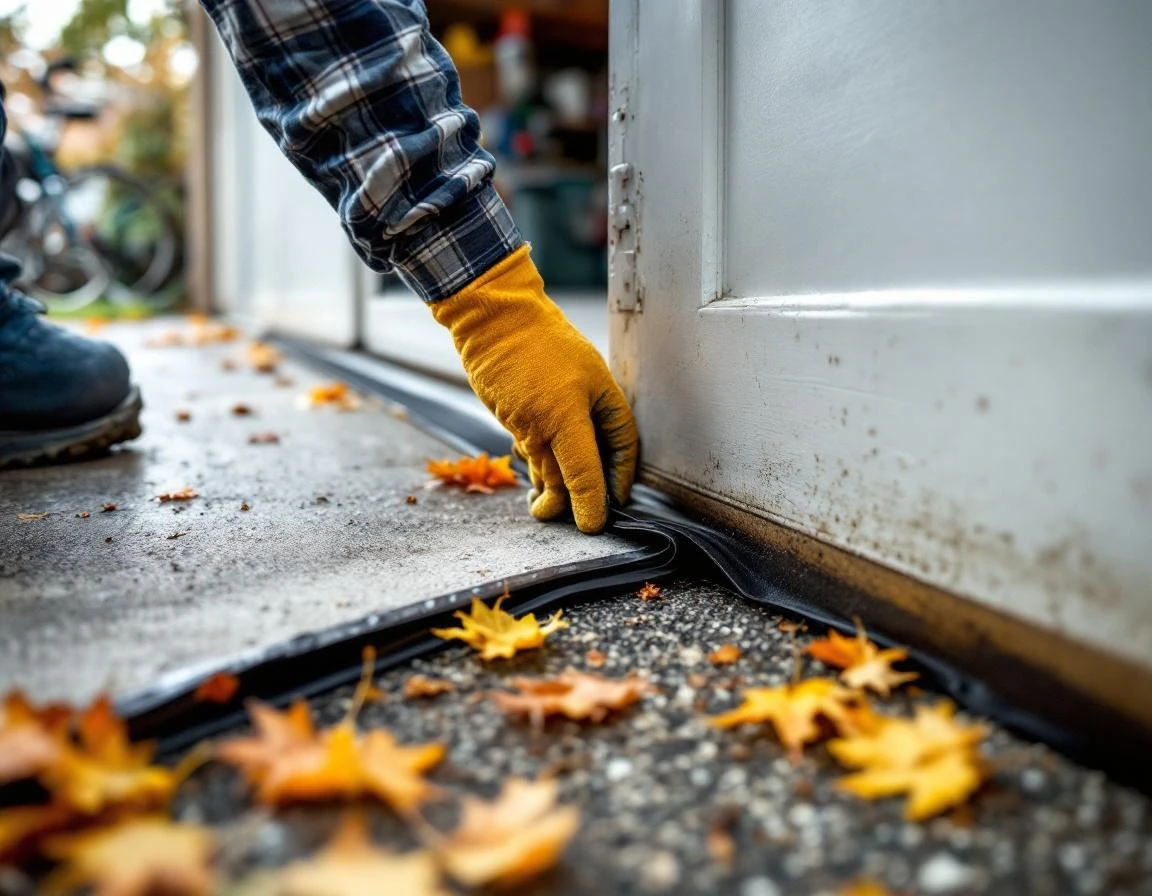
After replacing weather stripping along the top and sides, turn your attention to where rain actually pools: the bottom threshold. In Portland’s October-through-March downpours, water collects at the base of your garage door and seeps underneath when the seal fails. This bottom gap is the second-most common water entry point when you’re working on garage door sealing in Portland Oregon.
You have two proven options. A rubber threshold seal ($25–$40) installs in 20 minutes by adhering directly to your concrete floor, creating a continuous barrier that compresses when the door closes. For smaller gaps or side jambs where the door frame meets the wall, weatherproof caulk ($15–$25) fills cracks permanently. Allow 24 hours for caulk to cure before testing with water.
This threshold-and-jamb approach stops 70% of water leaks and takes under 45 minutes total—addressing the exact spots where Portland homeowners see puddling after heavy rain. For complete guidance on weather-sealing your garage door. Including additional tips for top and side seals, expert resources can help you cover all entry points.
DIY Versus Professional Installation: Decision
Weather stripping replacement and basic caulking are genuinely DIY-friendly projects for most Portland homeowners. If your garage door frame is solid and gaps are minimal, you can tackle these weatherproof garage door tips in a single morning session. The materials are affordable and readily available at any hardware store, and the risk of causing damage is minimal when you follow manufacturer instructions.
However, certain warning signs indicate you need professional attention before attempting DIY weatherproofing.
Call a professional immediately if you notice rotted wood around the door frame, a misaligned or uneven bottom threshold, or gaps exceeding half an inch between the door and jamb.
These structural issues require expertise to diagnose and repair correctly—attempting DIY fixes can worsen the problem and lead to more expensive repairs down the road.
Professional installation includes a full inspection of springs, tracks, and hardware that should happen every two to three years regardless of visible problems. Portland-“…area professionals typically complete a full weatherproofing assessment in one hour for $75–$150, identifying issues you might miss. This investment protects your entire garage door system and prevents the $500+ emergency repairs that result from undetected structural problems. Schedule a professional inspection if you’ve identified any red flags or haven’t had your garage door serviced in the past two years.
Pre-Winter Weatherproofing Checklist
Before October’s rains arrive, walk through this practical checklist to confirm your garage door is ready for Portland’s wet season.
- Inspect all four sides of your door frame—run your hand along the top and sides to feel for gaps, examine the bottom threshold from both inside and outside, and look for cracks where the frame meets your home’s exterior. Missing or damaged weather stripping appears as visible gaps when the door is closed.
- Test your door’s operation by opening and closing it completely. Listen carefully for scraping sounds that indicate misalignment or grinding noises that suggest rust on the tracks or rollers. These sounds often appear after summer heat expansion and signal problems that worsen when winter moisture arrives.
- Check the bottom threshold seal by closing your door and looking for light coming through. On a rainy day, you can place a piece of cardboard underneath to verify water isn’t seeping past the seal.
- Inspect all hardware components—hinges, rollers, and tracks—for rust spots or debris buildup. Clean metal components with WD-40 and wipe away any leaves or dirt that accumulated over summer.
For detailed weatherproofing tips specific to Oregon garage doors. Including insulation considerations, regional experts offer climate-specific guidance. Cold weather can cause metal components to contract and require proper lubrication to maintain smooth operation throughout winter.
Complete these tasks by the end of September to avoid working in wet conditions. If you discover severe rust, major gaps exceeding half an inch, or structural damage during your inspection, schedule a professional evaluation before the rainy season begins. Contact us today for a pre-winter garage door inspection that catches problems before they become emergency repairs.