Central Oregon’s Freeze-Thaw Physics and Redmond Garage Door Spring Damage
Why do garage door springs fail in Redmond so often between February and April? The answer lies in the high desert’s brutal freeze-thaw cycles. Unlike consistently cold climates, Central Oregon experiences 15–40°F temperature swings within a single 24-hour period during winter months. Redmond garage door spring freeze-thaw damage occurs because your springs contract in the freezing overnight hours, then expand during warmer afternoons, then contract again. This repeated metal stress cycle happens dozens of times each season.
Here’s how the damage accumulates: Water seeps into micro-cracks in metal springs and steel panels. When temperatures drop below freezing overnight, that water expands as ice, forcing cracks wider. When daytime sun warms the metal, thawing creates new stress points as the material contracts. High desert aridity compounds this problem—the dry air accelerates corrosion between freeze-thaw events, weakening the metal’s tensile strength with each cycle.
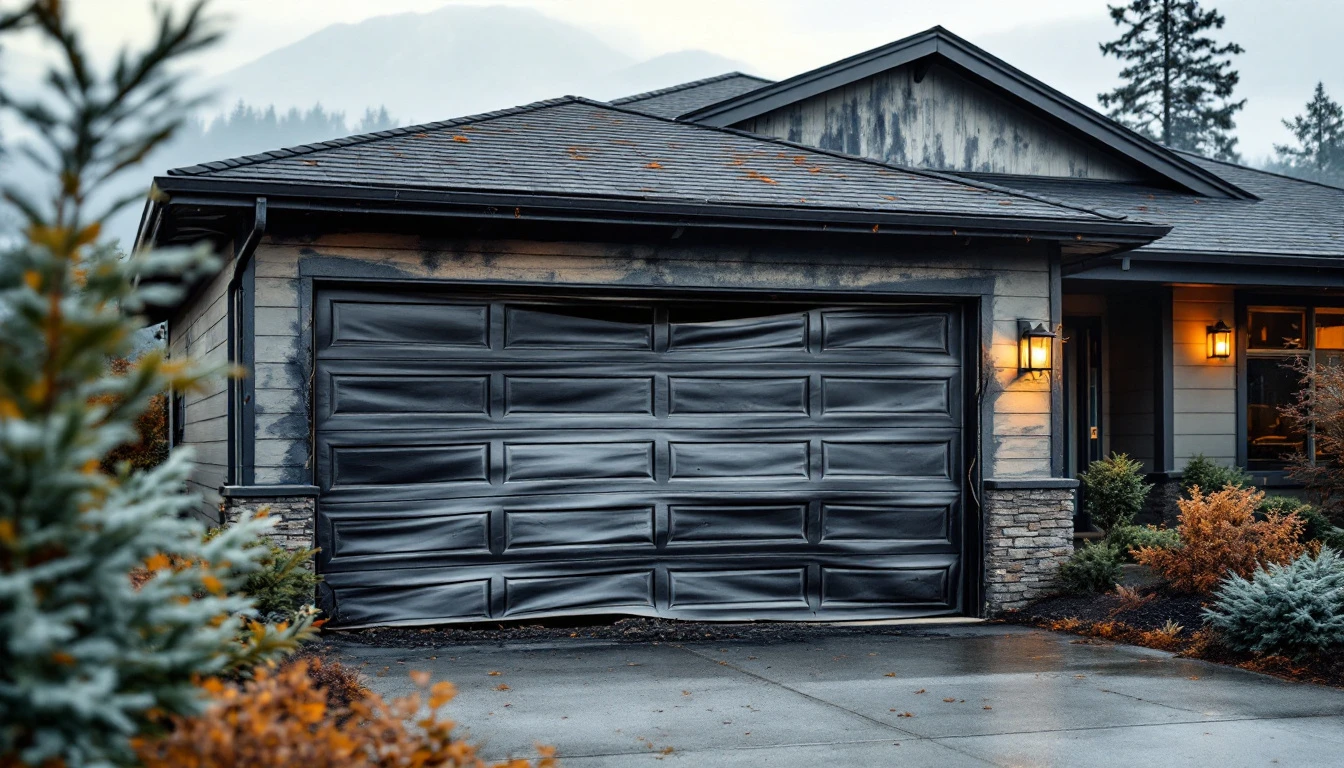
Homes built in the 1950s through 1970s face the greatest risk. These older garage doors were manufactured without modern weatherproofing seals or corrosion-resistant coatings. After enduring 50 or more freeze-thaw cycles in a single winter, the metal simply gives out—often during a mild March morning when you least expect it.
Understanding this physics explains why November preventive maintenance matters. You’re working ahead of the freeze-thaw season, addressing vulnerabilities before the damage begins.
Why Springs Snap Mid-Season: Redmond Garage Door Spring Freeze-Thaw Damage Patterns
Your garage door spring doesn’t gradually weaken over months. Instead, it holds steady through dozens of freeze-thaw cycles until it suddenly snaps on an ordinary January morning. Here’s why that happens: Each time temperatures swing from 15°F overnight to 40°F by afternoon, the metal expands and contracts. This repeated stress creates microscopic fractures in the spring coils that accumulate invisibly over weeks.
Springs rated for 10,000–15,000 cycles under normal conditions fail after just 3–5 Redmond winters instead of the typical 7–10 years they’d last in milder climates. Moisture from snow melt accelerates corrosion. Reducing the spring’s diameter and tensile strength. By mid-January, after 50+ freeze-thaw cycles, the accumulated metal fatigue reaches a critical threshold. The spring appears fine until one normal door operation exceeds that threshold, and it snaps without warning.
When your spring fails, you’re facing more than inconvenience. A broken spring makes your door too heavy to lift manually, potentially trapping your car inside. Panel cracking often follows spring stress as the door’s structural integrity collapses without proper weight distribution. Emergency service calls during winter can run two to three times the cost of planned replacement, plus you’re waiting in cold weather for an available technician.
Pre-November Maintenance Checklist for Central Oregon Winter Garage Door Maintenance
Before Redmond’s first hard freeze arrives, three targeted maintenance tasks can prevent catastrophic mid-season failures. Each task directly addresses how freeze-thaw cycles damage specific components, turning minor issues into emergency repairs.
Task 1: Inspect Springs for Early Corrosion
Look closely at each spring coil for rust streaks, surface pitting, or hairline cracks. These early warning signs indicate that moisture has penetrated the metal’s protective coating. Once water enters these microscopic openings, freezing temperatures expand the metal repeatedly, widening cracks until the spring suddenly snaps. Catching corrosion now—before freeze-thaw cycles amplify the damage—prevents the catastrophic failure that leaves your car trapped inside.
Task 2: Apply Silicone-Based Lubricant
Spray silicone lubricant (not oil) on all hinges, rollers, and springs. Silicone creates a protective barrier that dries completely, preventing moisture from settling into metal joints where it can freeze and expand. Oil-based products trap water droplets, actually accelerating corrosion during freeze-thaw cycles. This simple step reduces friction-induced stress while keeping moisture out of the exact spots where freeze damage begins.
Task 3: Seal Weatherstripping and Bottom Seals
Run your hand along every weatherstrip seam and the bottom seal. Cracked or compressed rubber allows melt-water to seep into panel joints, where it freezes overnight and cracks the panels themselves. Replace any weatherstripping that feels hard, brittle, or leaves gaps when the door closes. These seals are your first defense against water infiltration.
The math is simple: $150–300 in preventive maintenance now versus $500–2,000 for emergency spring replacement after a mid-January failure—plus the cost and inconvenience of being locked out during a snowstorm. November maintenance converts your understanding of freeze-thaw physics into protection that lasts all winter.
Spring Corrosion Patterns in Redmond High Desert Garage Door Panel Cracking
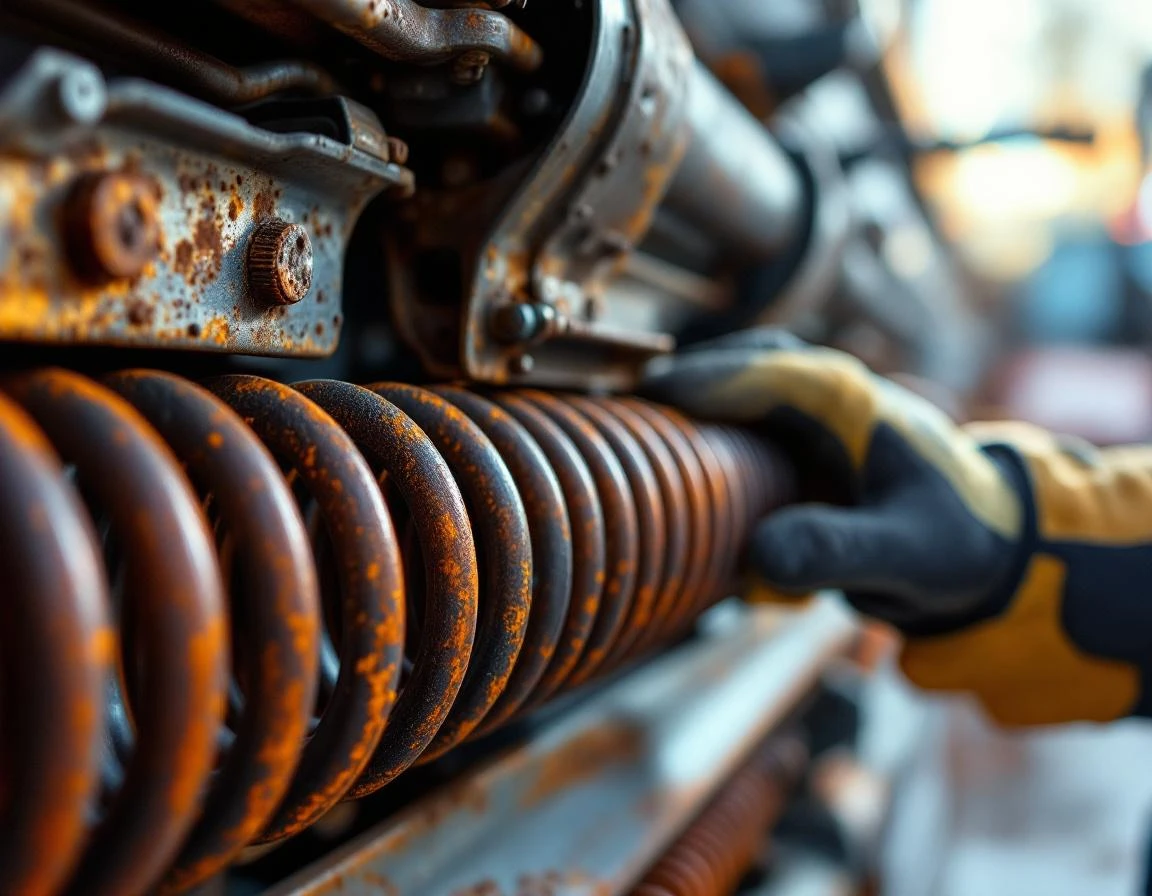
Understanding what spring corrosion looks like helps you catch problems before they escalate. Early-stage corrosion appears as red or brown rust streaks along the spring coils—these indicate water has penetrated the protective oil film. As corrosion advances, you’ll notice white powdery deposits forming on the metal surface, signaling that the degradation process has accelerated.
Here’s a simple inspection method: wipe a clean rag along the entire length of each spring. If the rag collects rust residue, corrosion has already begun eating away at the metal. Even light surface rust creates problems in freeze-thaw conditions by reducing the spring’s fatigue life with each temperature cycle.
Pitting and surface flaking represent advanced corrosion stages that reduce the effective spring diameter, weakening load capacity and making failure imminent. Once water breaches that protective oil film, corrosion accelerates exponentially—moisture trapped in microscopic cracks expands during freezing, creating deeper damage with each cycle. This is precisely what Task 1 of your November maintenance checklist targets, and why completing it before winter freeze-thaw cycles begin protects your investment.
Water Entry Points
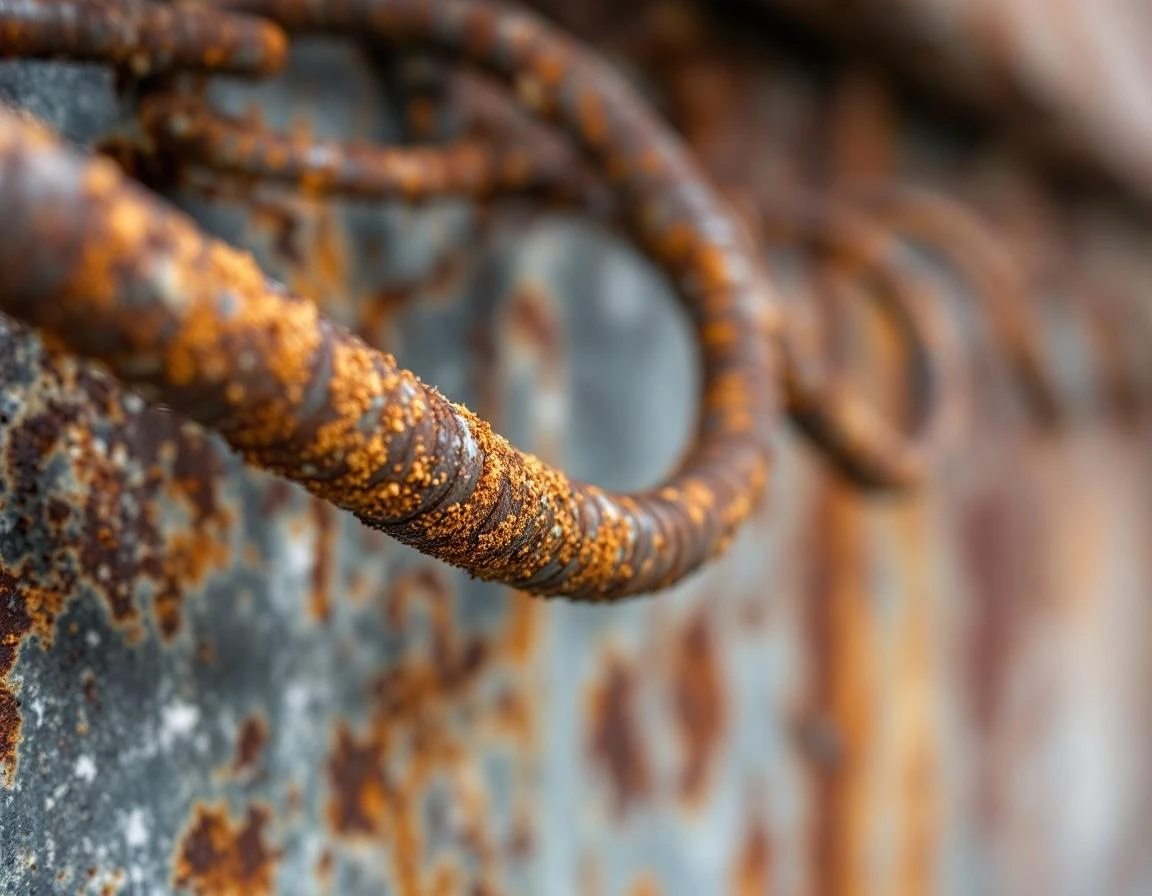
Water infiltrates your garage door through predictable pathways that Redmond’s freeze-thaw cycles exploit. During the day, snow melts on panels warmed by weak winter sun, sending water streaming down panel seams. The water collects in hinge gaps and settles into crevices where it freezes overnight when temperatures plunge back to 15°F. This expansion forces panels apart and accelerates corrosion.
Bottom weatherstripping on 1950s–1970s doors degrades from decades of UV exposure and temperature extremes. Once cracked, these seals allow water to wick upward into panel cavities through capillary action, creating hidden moisture pockets that freeze and thaw repeatedly. Rust on spring anchors signals that water has migrated from panels all the way to the spring assembly—a warning that corrosion is undermining your system’s structural integrity.
The November maintenance checklist directly addresses these entry points. Task 3 replaces degraded weatherstripping to stop upward wicking, while Task 2 applies silicone lubricant that displaces moisture from hinges and seams.
Assessment & Next Steps to Prevent Spring Failure Before Winter Redmond
Now that you’ve inspected your garage door springs and weatherstripping, you need to make a critical decision: can your door survive another Redmond winter, or does it need professional attention before November? The answer depends on what you found during your inspection.
Here’s how to decide by inspection findings:
- If you discovered light surface rust and your weatherstripping remains intact with no visible gaps, you can proceed with the DIY November checklist—apply silicone lubricant and seal any minor gaps
- If you found deep pitting, surface cracks in the spring coils, or missing weatherstripping sections. It’s time to call a professional for an inspection before the first hard freeze
A professional assessment costs $75–150 and provides a clear answer: will your door make it through another freeze-thaw season, or are you headed for a mid-winter failure? That inspection fee is cheap insurance compared to a $500–2,000 emergency replacement when springs snap during a February cold snap and you’re competing with other homeowners for limited repair slots.
Take action before Halloween to get on repair schedules ahead of winter demand. The technicians who inspect doors in October have open calendars; the ones responding to January emergencies charge premium rates and book weeks out. Contact Garage Harmony today to schedule your pre-winter assessment and avoid becoming a February emergency statistic.