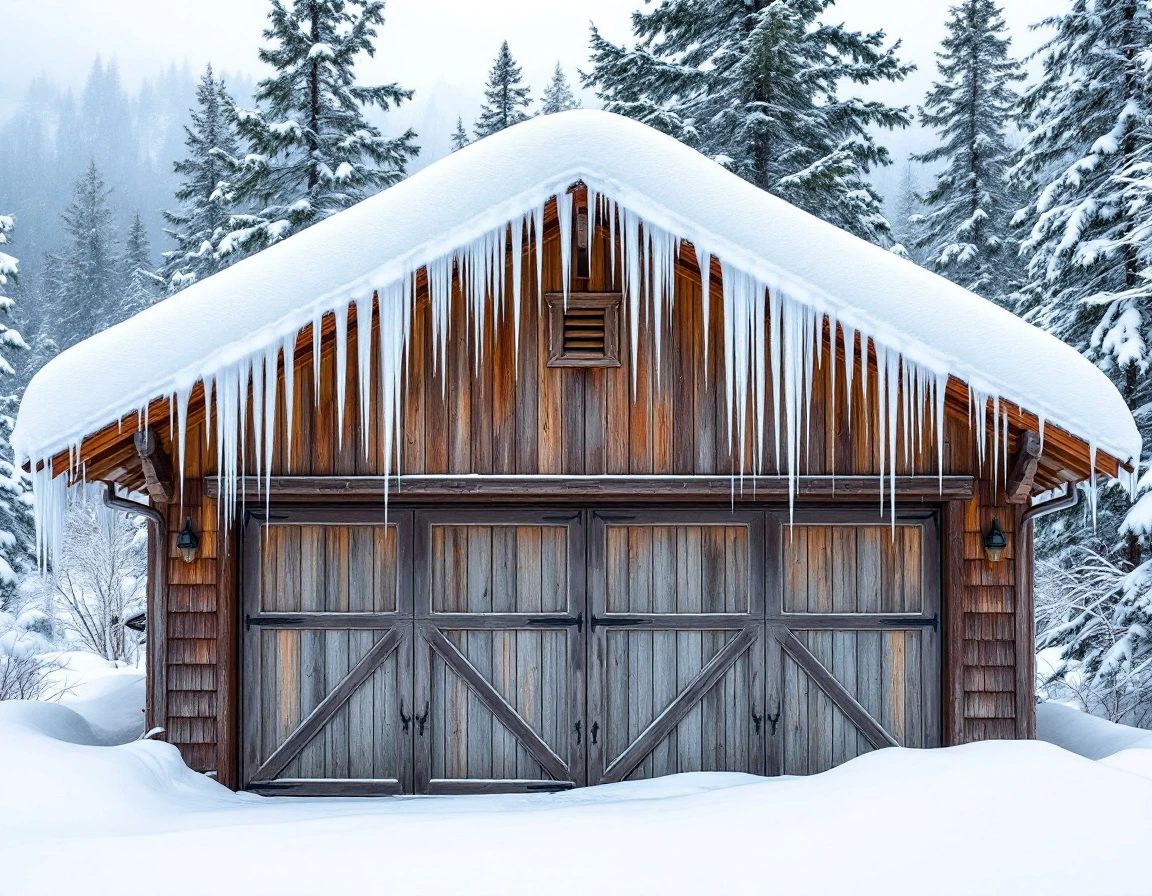
East Winds and Ice Dams in the Gorge
The Columbia Gorge creates brutal winter conditions that punish poorly sealed garages—howling east winds drive freezing air through every gap while ice dams form along rooflines. Proper garage weatherstripping in White Salmon stops wind infiltration before it damages your home and drains your heating budget.
Columbia Gorge east winds reach 40–80 mph
When winter east winds scream through the Columbia Gorge at speeds topping 80 mph, they don’t just rattle windows—they force frigid air through every unsealed gap in your White Salmon garage. These relentless gusts exploit even quarter-inch cracks around doors and frames, turning your garage into a wind tunnel that steals heat from adjacent living spaces.
The same warm air escaping through poor weatherstripping creates another problem: ice dams. Heat leaking from your garage rises into the attic, melting roof snow from below. That meltwater flows to the cold eaves where it refreezes, forming thick ice ridges that trap additional water and threaten damage to soffits and fascia.
Wind infiltration and moisture
While heating fuel costs grab immediate attention, wind infiltration and moisture damage quietly drain far more from your budget over time. A few degrees of extra warmth pales in comparison to structural repairs from years of moisture intrusion. White Salmon’s relentless east winds push cold air through every unsealed gap, while escaping warm air condenses on cold surfaces, encouraging rot and mold.
Whether your garage is detached or attached to your home, the weatherstripping challenges remain identical in White Salmon. Both configurations face the same brutal east winds and moisture exposure that define winter in the Columbia Gorge. The solution?
Proper weatherstripping creates a continuous barrier against both wind and water infiltration.
Weatherstripping Materials for Extreme Cold in Columbia Gorge
Not all weatherstripping materials survive a Columbia Gorge winter. When temperatures drop to 20°F and east winds hammer your garage at 60 mph, material choice determines whether your seals last three months or three years.
Rubber and silicone weatherstripping remain flexible through freeze-thaw cycles that destroy cheaper alternatives. These materials maintain their seal when temperatures swing from below freezing at night to 45°F during the day. Foam and felt weatherstripping, common in big-box stores, compress and crack after one season of White Salmon ice storms. The upfront cost difference is $40–80 for a two-car garage, but rubber and silicone deliver 3–5 years of performance while foam requires annual replacement.
Match the material to the location for best results. The key weatherstripping materials for Columbia Gorge conditions include:
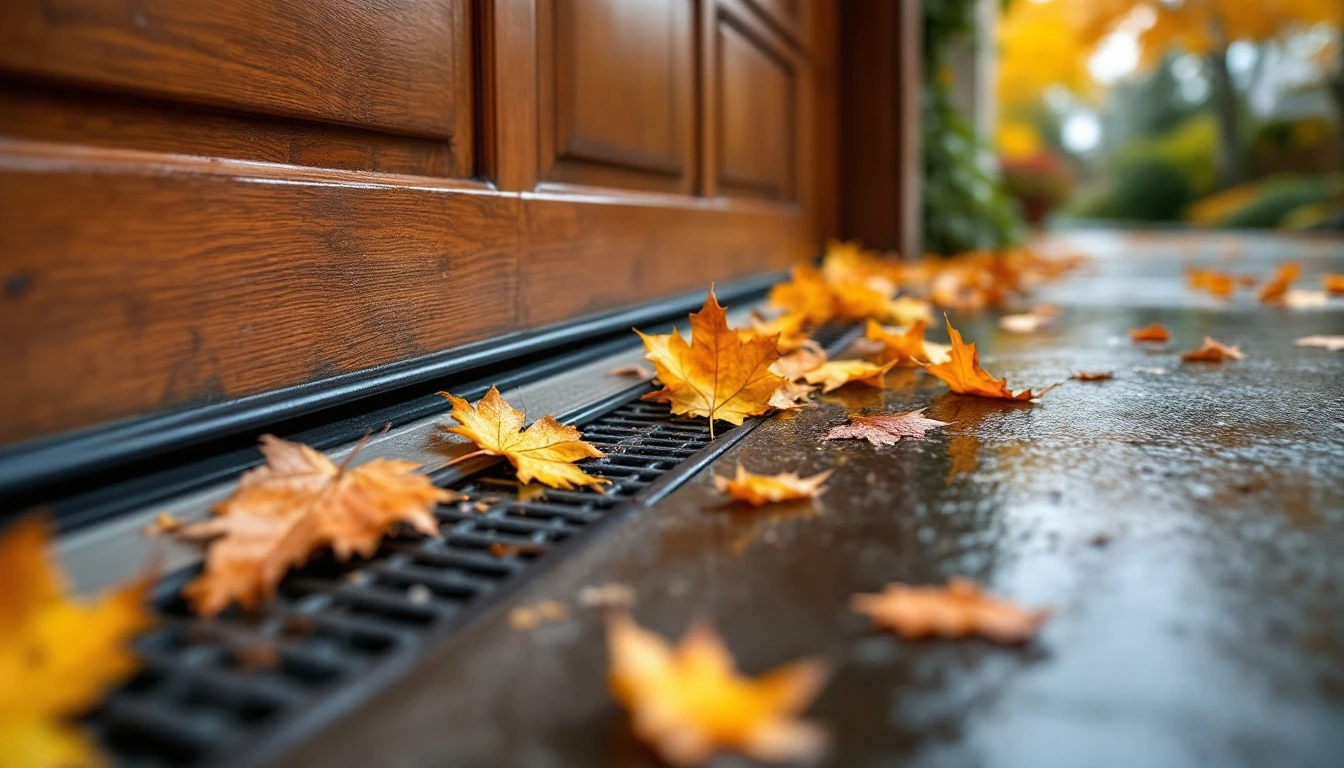
- Vinyl V-strip and bulb seals handle the constant flexing at garage door bottom edges where wind-driven rain and ice accumulate. These profiles compress and rebound thousands of times as your door cycles, maintaining contact even when ice forms.
- High-density closed-cell foam rated to −20°F minimum for garage frame perimeters and side posts. This foam fills irregular gaps in aging lumber without absorbing moisture that would freeze and expand.
Material quality connects directly to heating costs. Proper weatherstripping blocks the wind infiltration that drains heat from your garage during winter months. A modest investment in quality materials pays for itself through reduced propane or electric heating bills. Installation takes one afternoon, and the seals protect your garage through multiple winter seasons instead of requiring emergency replacement when ice storms arrive.
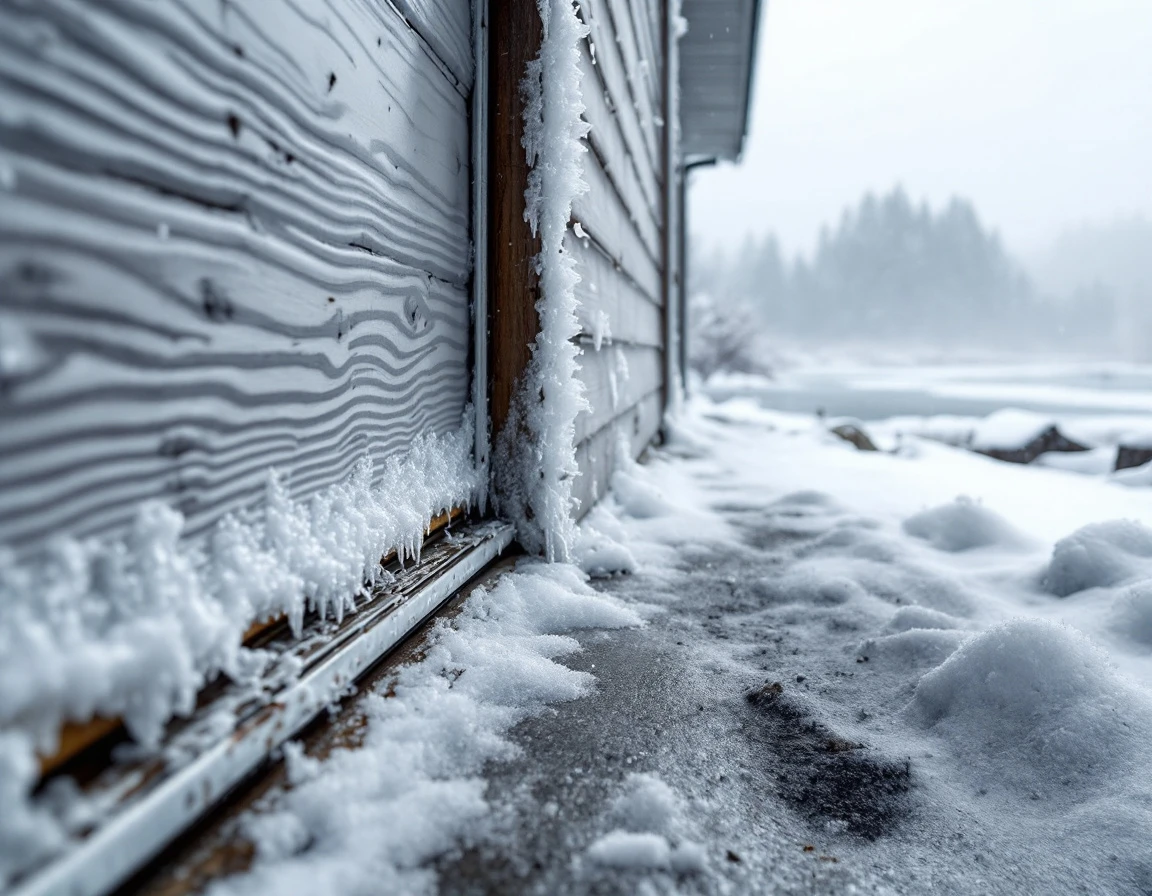
DIY Installation and Sealing Steps
Start by inspecting every potential leak point in your garage door system. Walk around the perimeter and check the bottom edge where the door meets the floor, the side posts where the door panels contact the frame, the header frame at the top, and all door-to-frame contact points along both sides. Look for visible gaps, feel for airflow with your hand, or hold a lit stick of incense near suspected leaks on a windy day—the smoke will dance toward gaps.
Surface preparation matters more in White Salmon’s damp climate than in drier regions. Before applying any adhesive-backed weatherstripping, clean all mounting surfaces with rubbing alcohol or a degreaser to remove dust, oil, and moisture. Let surfaces dry completely—at least two hours in humid conditions. Adhesives fail quickly on dirty or damp surfaces, turning a five-year seal into a one-season disappointment.
For V-strip installation, position the strip flush against the door jamb so it compresses when the door closes. The fold should face inward, creating a seal as the door panel pushes against it. Bulb seals work best centered in the frame groove along the bottom edge—when the door closes, the bulb should compress noticeably without flattening completely. If the seal compresses so much that it loses its shape, the material is too thick and will bind the door.
Tackle larger frame gaps with closed-cell foam caulking rated to −20°F. Apply a continuous bead along the header and side channels, smoothing it before it sets. The final test is simple: your door should meet noticeable resistance during the final six inches of closure without binding or requiring force. You should feel the weatherstripping compress, creating a consistent seal around the entire perimeter.
This resistance tells you the seal is working—and that’s the difference between minimal savings and cutting your heating bills by 15–25% this winter.
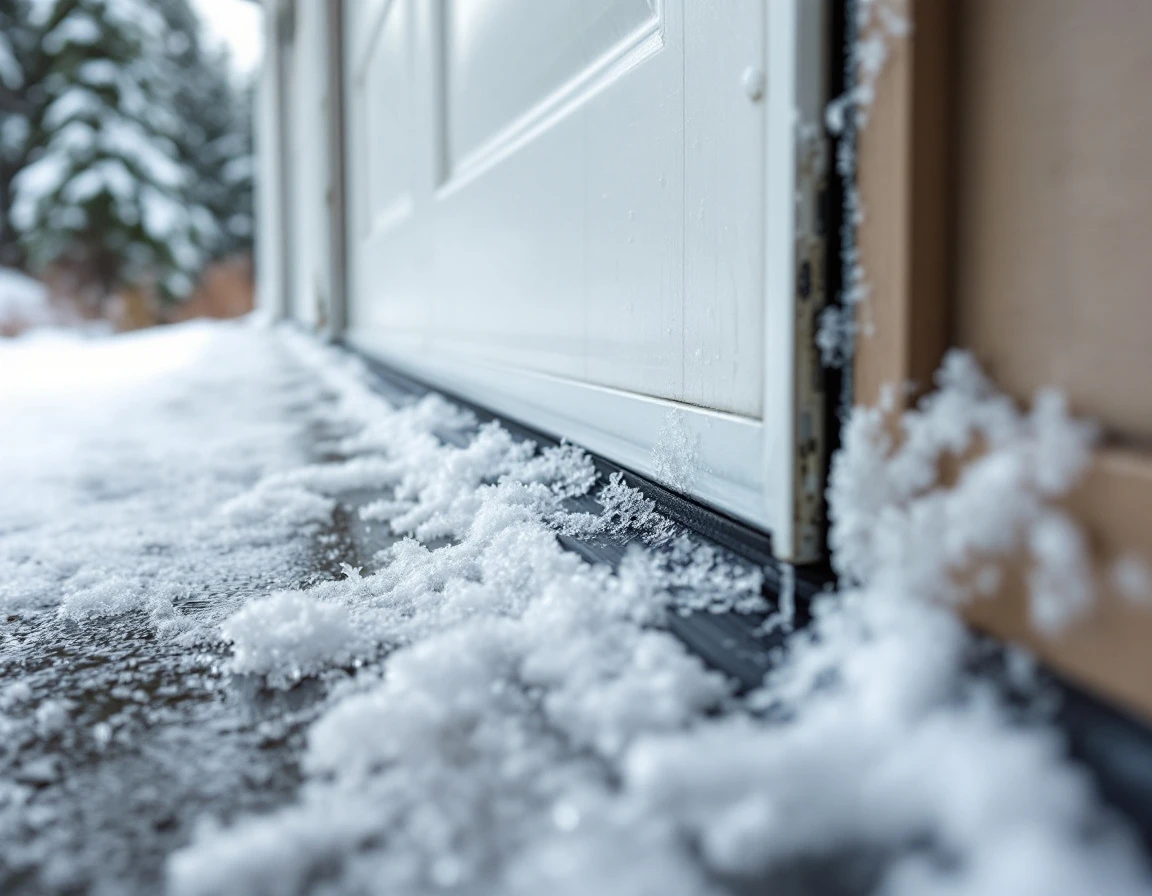
Professional Installation and When to Call
Can you tell the difference between a weatherstripping job and a structural problem? If your garage door frame is warped, panels are damaged, or tracks have shifted out of alignment, no amount of weatherstripping will stop air infiltration. These issues require professional repair before any seal can function properly.
Professional installers bring tools homeowners don’t typically own—particularly thermal imaging cameras that reveal air leaks invisible to the naked eye. During White Salmon’s coldest months, these cameras show exactly where warm air escapes and where brutal east wind protection matters most in your garage envelope. What looks like a solid seal to your eye often appears as a glowing heat signature on thermal imaging, pinpointing gaps you’d never find otherwise.
A complete garage enclosure sealing—covering the door perimeter, frame penetrations, vents, and threshold—costs between $400 and $800 installed in the White Salmon area. That price includes professional-grade materials and the expertise to handle those warped frames or misaligned components that defeat DIY efforts.
Here’s the payback calculation: homeowners who properly seal their garages recover their installation costs through heating savings within the first couple of winters—then continue enjoying those savings season after season. The energy efficiency gains compound year over year, making garage sealing one of the smartest home improvements for immediate and lasting returns.
Garage Harmony offers a free thermal audit to White Salmon homeowners. We’ll identify exactly where your garage is losing heat and provide a clear assessment of whether you need repairs, professional sealing, or both. Contact us today to schedule your complimentary inspection before the next ice storm arrives.
Heating Cost Savings and Damage Prevention ROI
Garages are a notable source of heat loss in White Salmon homes. Proper weatherstripping seals these leaks, delivering noticeable cuts to your heating bills. A typical White Salmon homeowner can expect real savings when weatherstripping reduces the heat escaping through garage doors and walls. Installing weatherstripping in your garage puts money back in your pocket during the winter heating season.
The math becomes even more compelling when you factor in damage prevention. Ice dam repairs run $3,000–$10,000 per incident when you account for roof repairs, gutter replacement, and water damage to insulation and drywall.
Avoiding just one ice dam event pays for professional weatherstripping installation multiple times over.
A $50–$300 DIY weatherstripping project delivers payback within 1–2 winters. Professional installation at $400–$800 pays for itself in 6–18 months when you combine heating savings with avoided emergency repairs.
This isn’t a luxury upgrade—it’s the most cost-effective winter preparation available to Columbia Gorge homeowners. The combination of immediate heating savings and insurance against catastrophic ice dam damage makes weatherstripping a financial no-brainer. Every winter you delay is another season of wasted heating dollars and mounting structural risk.