El Niño Weather Threat to Oregon Garages: Preparing Your Garage Door
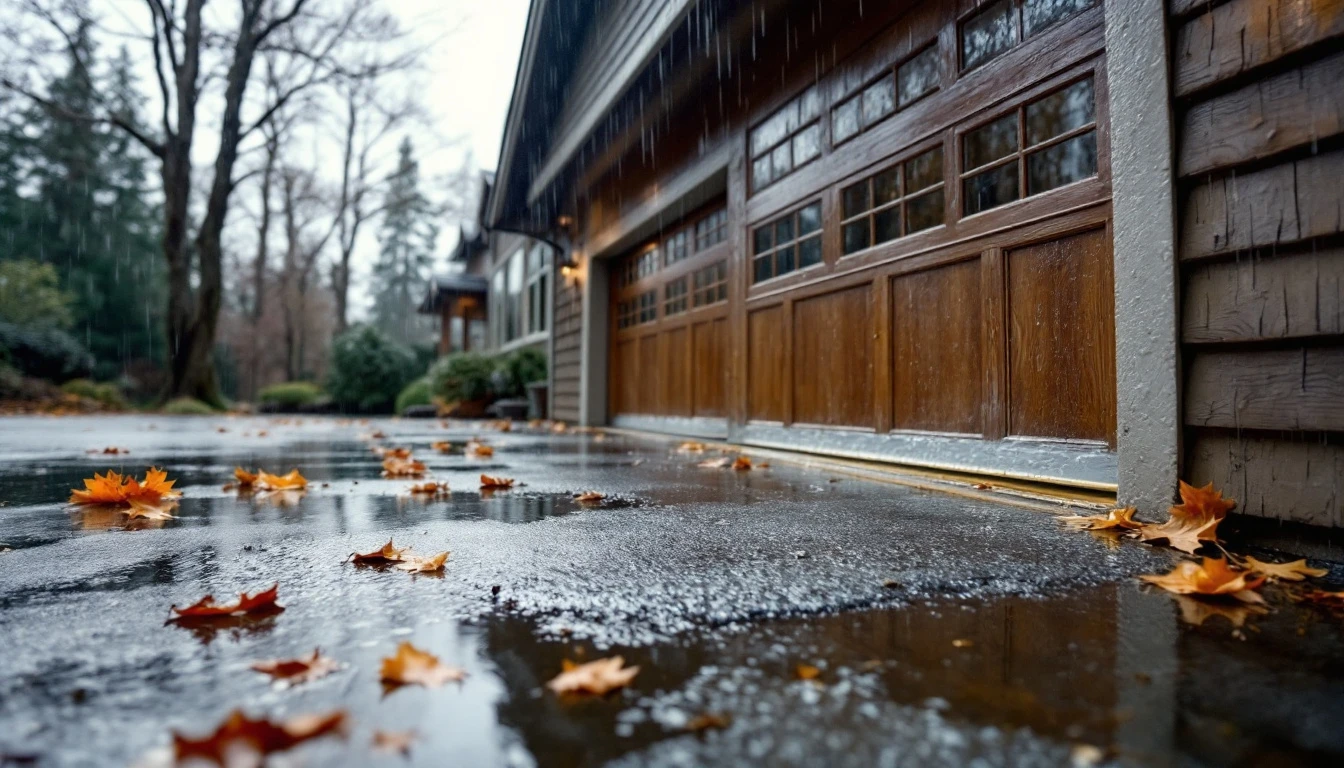
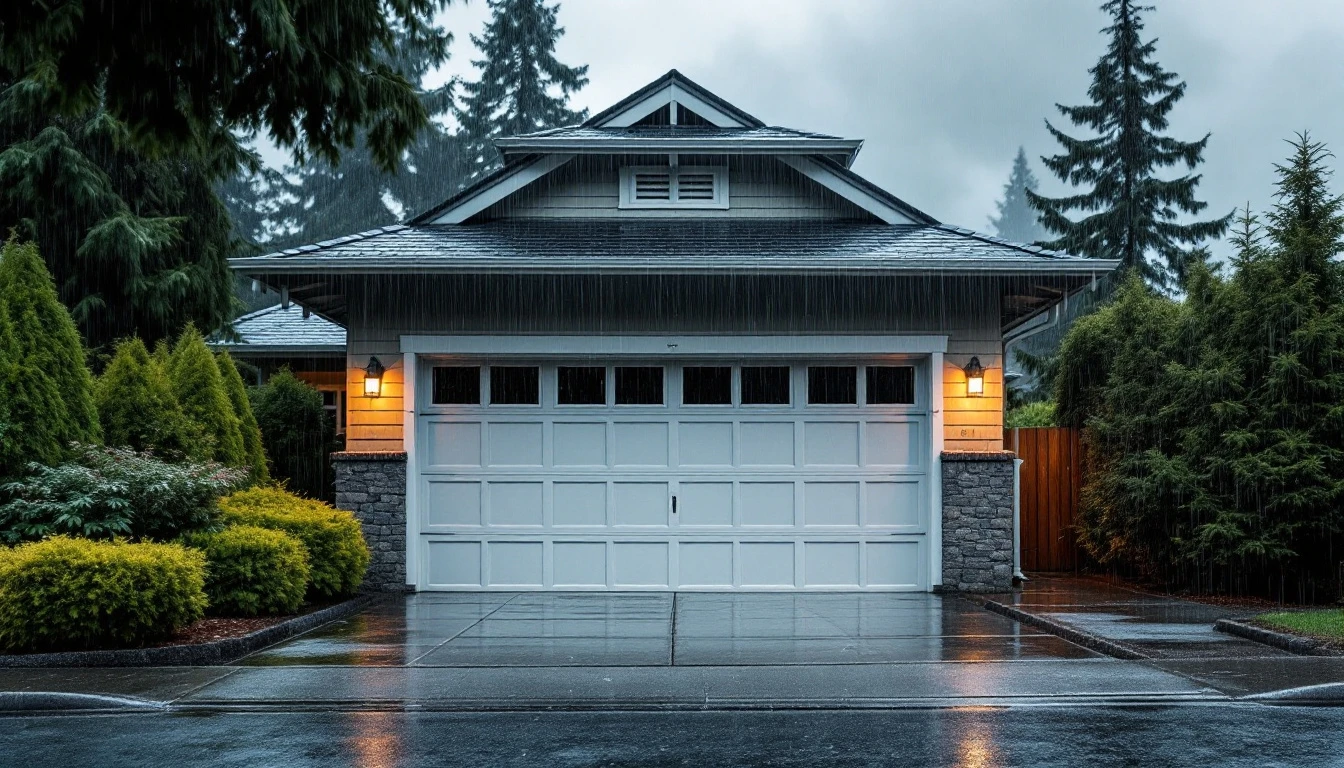
El Niño patterns are forecast to deliver excessive moisture, heavy rainfall, and powerful winds across the Pacific Northwest through winter 2026-2027. This weather system differs from typical Oregon winters by intensifying precipitation events and extending storm duration, creating sustained exposure that tests every weak point in your garage door system. Understanding garage door El Niño weather protection is essential for homeowners preparing for the severe conditions ahead.
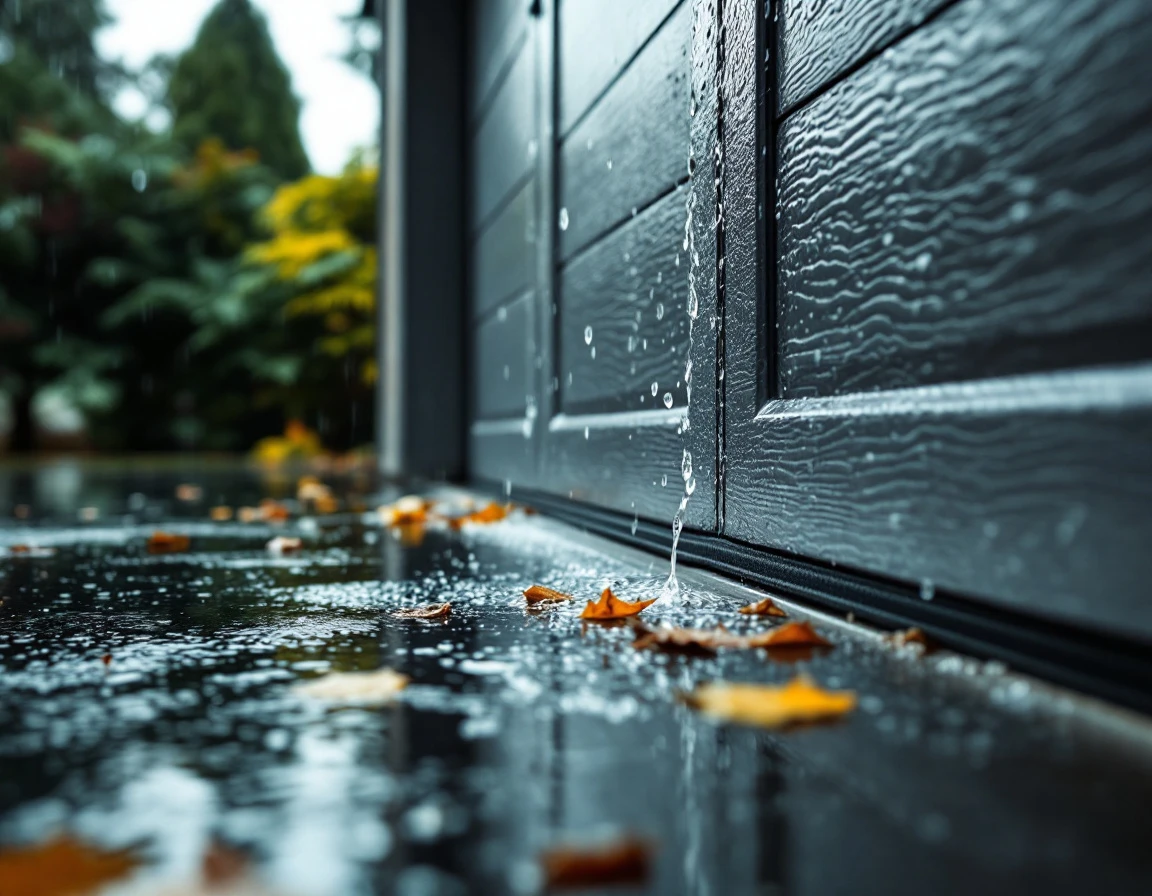
Unprepared garage doors face water intrusion through worn weather stripping, panel joints, and threshold gaps. Heavy rain accelerates rust on metal components, warps wooden panels, and causes opener motors to fail when moisture reaches electrical connections. Repair costs escalate during peak storm season when emergency service rates apply and replacement parts face delivery delays.
November represents your last preparation window. Peak precipitation arrives in December and January when contractors book solid and materials become scarce. Weatherproofing now prevents expensive emergency repairs when storms hit hardest.
Five Essential Weatherproofing Tasks for Garage Door Maintenance El Niño Season
Before El Niño storms arrive, these five tasks create a protective barrier against water intrusion and wind damage. Each takes between one and three hours to complete, with materials costing between fifty and three hundred dollars per task.
- Task 1: Replace or Seal Weather Stripping. Check the rubber or vinyl stripping along door frame edges and between panel sections for cracks, gaps, or compression. You’ll need replacement weather stripping (available in vinyl, rubber, or brush styles), a utility knife, and adhesive. This task typically costs fifty to one hundred dollars and prevents wind-driven rain from entering through gaps.
- Task 2: Clear and Inspect Drainage Systems. Remove debris from the threshold drain channel and foundation weep holes that channel water away from your garage. Use a wire brush, shop vacuum, and garden hose to flush the system. This thirty-minute task costs less than fifty dollars but prevents pooling that can seep under the door during heavy downpours.
- Task 3: Inspect and Repair Sealant on Door Panels. Examine the bottom section where panels meet, looking for cracked or missing caulk. Apply fresh exterior-grade silicone or polyurethane sealant to vulnerable joints. Materials run seventy-five to one hundred fifty dollars, depending on door size.
- Task 4: Check Opener Housing and Electrical Connections. Look for moisture stains near the motor unit and inspect wire connections for corrosion. Apply dielectric grease to connections and install a drip loop if wiring runs directly from the ceiling. This costs fifty to one hundred dollars in materials.
- Task 5: Test Door Balance and Alignment. Disconnect the opener and manually lift the door halfway—it should stay in place. Misalignment causes binding during high winds, stressing the system. Professional adjustment costs one hundred fifty to three hundred dollars if the door fails this test.
Damage Detection Before Winter Arrives
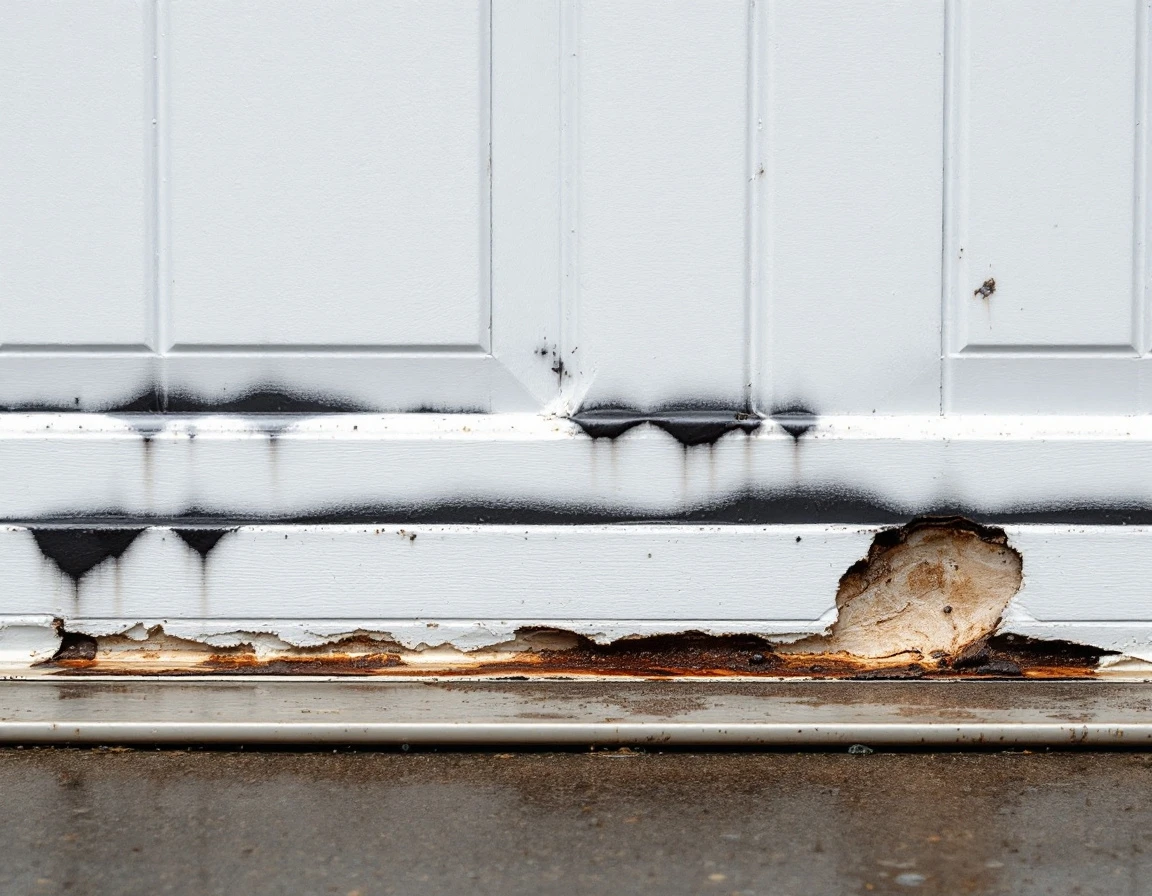
Before you start weatherproofing, walk through a thorough inspection to spot existing damage. Look carefully at your door panels and tracks for visible rust, corrosion, or water staining—these telltale marks indicate moisture has already penetrated your garage system and may worsen under heavy rainfall.
Examine the frame where your door meets the opening. Gaps around the door frame, cracked caulk, or weather seals that have pulled away create entry points for wind-driven rain. Run your hand along these junctions to feel for separation you might miss visually.
If you have a wooden door, press gently on panels to check for soft spots. Any sponginess or visible mold growth signals structural compromise that demands immediate attention before El Niño storms arrive.
Finally, operate your door and listen closely. Grinding sounds or unusually slow closing often means water-logged tracks or rusted hardware underneath. These findings help you decide whether professional assessment makes sense or if you can handle weatherproofing on your own.
DIY vs Professional Help Decision
How do you decide whether to handle weatherproofing yourself or call in the experts? The answer depends on damage severity and your comfort level with garage door components.
Simple tasks like weatherstripping replacement, drainage clearing, and visual inspection are safely DIY projects that save $150-$400 with weekend labor. These require basic tools and no specialized knowledge. However, visible structural damage, rusted hardware, or compromised seals on older doors trigger the need for professional service. Expect costs of $300-$600, but you’ll gain warranty coverage and proper diagnostics.
Protecting your garage door against extreme weather in Oregon demands professional expertise when structural concerns emerge.
Safety matters too. Working at height for weather sealing or diagnosing opener housing issues often requires a licensed technician who carries liability insurance and knows electrical safety protocols.
Remember the timeline: schedule professional inspections in early November to allow time for repairs before peak rain. Professional services book up fast during storm season, so don’t wait until water’s already pooling in your garage.
November Action Checklist and Next Steps
Breaking November into weekly tasks keeps your weatherproofing project on track and prevents last-minute scrambling as storms roll in. Week 1 focuses on inspection—examine door panels, frame seals, and drainage systems for damage and gaps. Document what you find with photos for insurance records.
Week 2 shifts to preparation. Order materials like weatherstripping, caulk, and hardware supplies based on your inspection findings. If you identified structural issues or extensive damage during Week 1, schedule professional inspection appointments now before services book up.
Weeks 3-4 are execution time. Complete DIY weatherproofing tasks yourself or wait for professional service completion if you’ve hired help. Finish with testing—open and close the door several times, confirm all seals sit tight against frames. And verify drainage channels flow freely.
Completing these steps before December protects your home from expensive emergency repairs and water damage throughout the El Niño season. Your garage door is the first line of defense against Pacific Northwest storms and the garage door rain damage prevention strategies outlined here will keep your home safe.