Freeze-Thaw Damage in Willamette Valley
The Willamette Valley’s winter climate presents a specific challenge for garage door winter maintenance. Unlike regions with sustained freezing temperatures, our area experiences repeated freeze-thaw cycles that stress every component of your garage door system. When temperatures drop overnight and rise during the day, weather seals contract and expand, eventually cracking and losing their protective seal.
These cycles create predictable failure patterns. Frozen seals prevent doors from closing properly. Torsion springs become brittle in cold temperatures, increasing the risk of sudden breakage. Garage door openers work harder against cold-stiffened metal tracks and lubricants, straining motors that weren’t designed for repeated cold-weather operation.
The cost of ignoring these seasonal risks adds up quickly. Emergency repair calls for broken springs, damaged seals, or failed openers typically range from $300 to $1,500 during winter months. Prevention through proper winterization protects both your safety and your budget.
Five Essential Winterization Tasks for Garage Door Winter Weather Preparation
Complete these five tasks before November 1st to protect your garage door from Willamette Valley’s freeze-thaw cycles. Each task addresses a specific cold-weather failure mode and includes clear guidance on when to handle it yourself versus calling a professional.
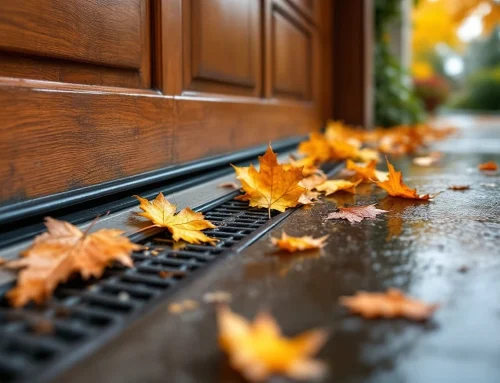
- Task 1: Inspect and replace weatherstripping. Check the rubber seal at the door bottom for cracks, stiffness, or gaps. Cold temperatures cause rubber to contract and become brittle, creating openings for moisture and freezing air. Replace any damaged seals—this is a simple DIY project requiring only basic tools and a new seal kit from your local hardware store.
- Task 2: Lubricate springs, rollers, and hinges. Apply silicone-based lubricant to all moving metal parts. Cold weather can cause metal components to stiffen. Increasing friction on components already stressed by temperature changes. This 15-minute DIY task prevents premature spring failure and reduces strain on your opener motor. Never use WD-40, which attracts dirt and evaporates quickly.
- Task 3: Check opener motor and battery backup. Test your opener under load and verify the battery backup holds a charge. Frigid mornings strain older motors, and power outages during winter storms leave you stranded without backup power. Replace batteries older than three years. If your opener struggles or makes grinding sounds, call a professional—motor repairs require electrical expertise.
- Task 4: Test balance and auto-reverse safety. Disconnect the opener and manually lift the door halfway—it should stay in place. Then test the auto-reverse by placing a 2×4 under the closing door. Poor balance indicates worn springs, which become brittle in cold weather and can snap suddenly. Spring replacement always requires professional service due to high tension risks.
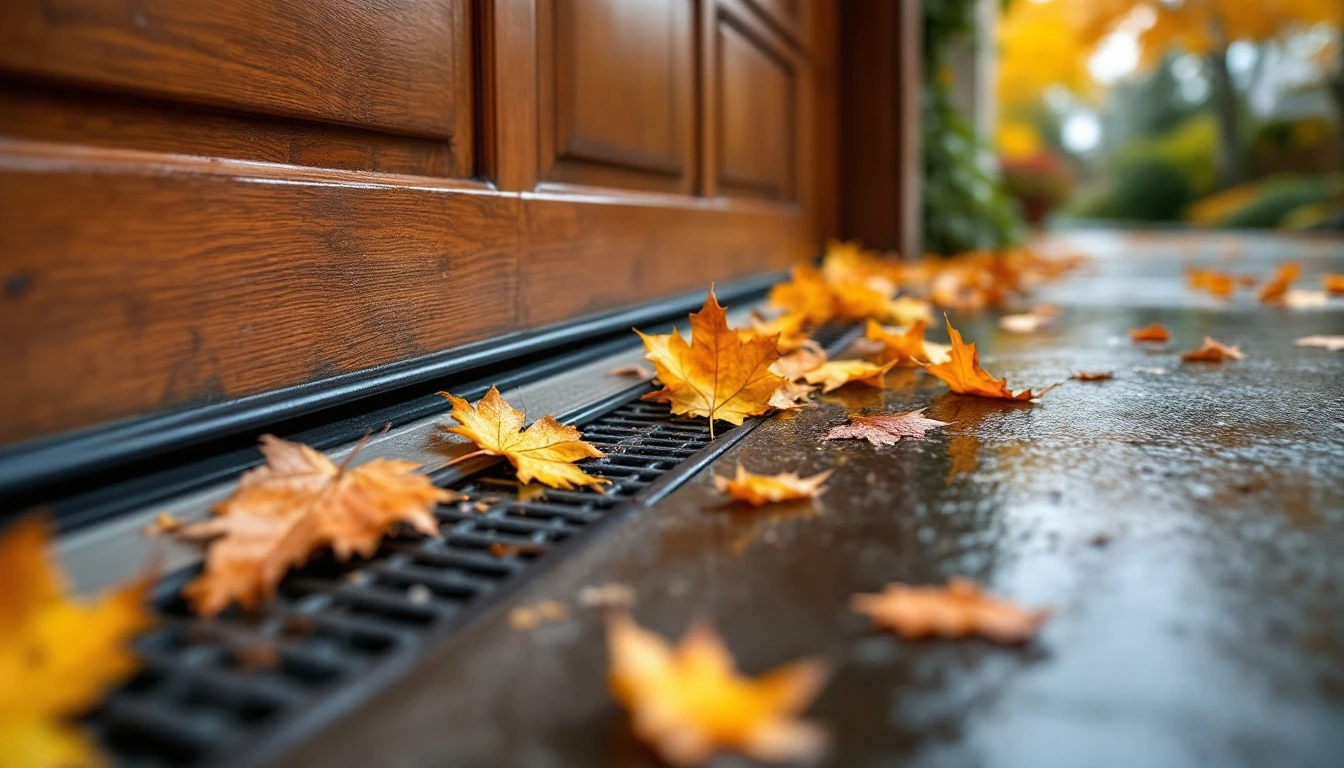
- Task 5: Clean tracks and remove debris. Remove leaves, dirt, and moisture buildup from tracks with a damp cloth. Debris traps moisture that freezes overnight, causing the door to stick or derail. This simple DIY task takes 10 minutes and prevents frozen track emergencies.
Weatherstripping Inspection and Replacement
Start by examining the rubber seal along all four sides of your garage door. Look for visible cracks, brittleness, or sections that have separated from the frame. Frozen or cracked weatherstripping allows cold air and moisture into the garage, creating ongoing problems.
Here’s how weatherstripping fails: moisture seeps through gaps, freezes overnight, expands, and damages seals further with each freeze-thaw cycle. This creates a cascade of deterioration throughout winter.
Replacing weatherstripping takes 30–60 minutes and costs $30–$80. Remove old strips, clean the surface with rubbing alcohol, then press new adhesive-backed weatherstripping firmly into place. Decision point: if more than 50% is damaged or the door seal appears compromised, call a professional.
Spring and Component Lubrication
Cold temperatures thicken lubricants, creating friction that strains springs, rollers, and hinges. This increased resistance makes your opener work harder and accelerates spring wear. Use silicone spray or white lithium grease rated for cold weather—avoid WD-40 or thin oils, which freeze during Willamette Valley winters.
Safety warning: Never touch torsion springs directly. Lubricate only visible coils, rollers, and hinges. Apply lubricant to each roller bearing and hinge pin, wiping away excess. If springs show corrosion, excessive rust, or won’t coat evenly, schedule a professional inspection before winter arrives.
Opener Motor and Safety System Tests
Cold weather forces your garage door opener to work harder. Frozen weatherstripping creates additional resistance, and reduced battery capacity means backup systems may fail when you need them most. Before winter arrives, test your opener’s safety features to prevent dangerous malfunctions and keep your garage door cold weather tips working properly followed correctly.
Place a 2×4 flat on the ground in the door’s path, then activate the close cycle. The door should stop and reverse immediately upon contact. Next, test the photo-eye sensors by passing your hand through the invisible beam while closing—the door should halt instantly. If your opener includes battery backup, test it by unplugging the unit or triggering operation during a power outage.
Watch for warning signs that demand professional attention: grinding sounds during operation, delayed response to commands, or complete failure to move. These symptoms indicate motor strain or electrical issues that will worsen in freezing temperatures. A functioning opener prevents the emergency service call that costs $300–$1,500 when failure leaves your door stuck open during a winter storm.
DIY Timeline and When to Call a Pro
Start your winterization in October: inspect weatherstripping and schedule a professional assessment if you spot damage. By late October, lubricate moving parts, test your opener, and check door balance. Complete a final walk-through by early November before temperatures drop and garage door maintenance for freezing weather becomes urgent.
What’s safe to DIY? Weatherstripping replacement, track cleaning, and basic lubrication are homeowner-friendly tasks. Anything involving springs, cables, or motor repair requires professional help—these components are under extreme tension and pose serious safety risks.
A professional checkup costs $75–$150 but prevents $1,000+ emergency calls in January when springs snap or motors fail.
Regular maintenance helps keep your garage door functioning properly throughout Oregon winters. Contact us today to schedule your pre-winter inspection and keep your garage door running smoothly all season.