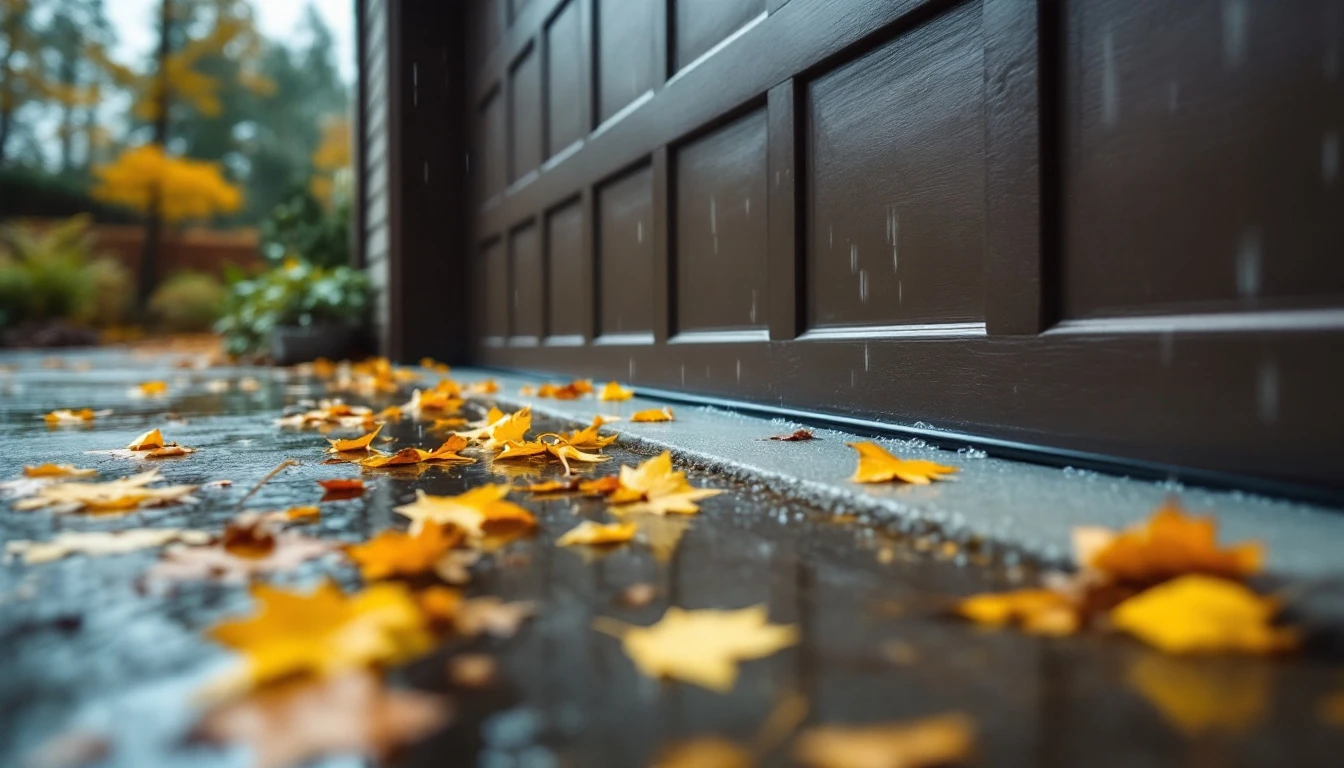
Why September Garage Door Weatherstripping Matters for Winter Rain in Oregon
The Pacific Northwest rain season begins in earnest between September and October, bringing months of sustained wet weather that tests every seal and gasket around your home. For homeowners concerned with garage door weatherstripping winter rain Oregon conditions, this means water intrusion becomes a real threat—and the damage it causes isn’t minor. Moisture seeping past worn weatherstripping leads to mold growing on stored belongings. Rust eating away at metal components, and water migrating into attached living spaces where it compromises walls and floors.
Here’s the economics that matter: preventive weatherstripping inspection and replacement typically costs between $100 and $300. Compare that to emergency water damage repairs, which routinely exceed $1,500 once you factor in mold remediation, structural repairs, and replacing damaged possessions. September represents your narrow window to act before the first major downpours arrive. Strategic weatherstripping doesn’t just protect your garage contents—it extends your door’s lifespan and saves you from costly reactive repairs down the road.
Three Weatherstripping Vulnerabilities to Inspect Before Fall Rain
Before September rain arrives, focus your inspection on three high-impact failure points:
- The bottom seal is your first priority—it takes the most punishment from thermal expansion, UV exposure, and debris accumulation. Look for visible gaps where the seal has separated from the door, hardened rubber that’s lost its flexibility, or cracking along the length. Water flows directly into your garage through these openings.
- The side jamb seals along the vertical edges of your door frame. Temperature swings cause these seals to expand and contract repeatedly, creating stress cracks that start small but widen over time. Run your hand along each side to feel for stiffening rubber or visible separation from the frame.
- The header seal at the top of your door opening. Debris often collects in the seal channel here, blocking water runoff pathways and accelerating deterioration. Minor issues—small surface cracks or slight stiffening—can wait for your next maintenance cycle. But separation, large gaps, or completely hardened rubber demands professional attention before the rains start.
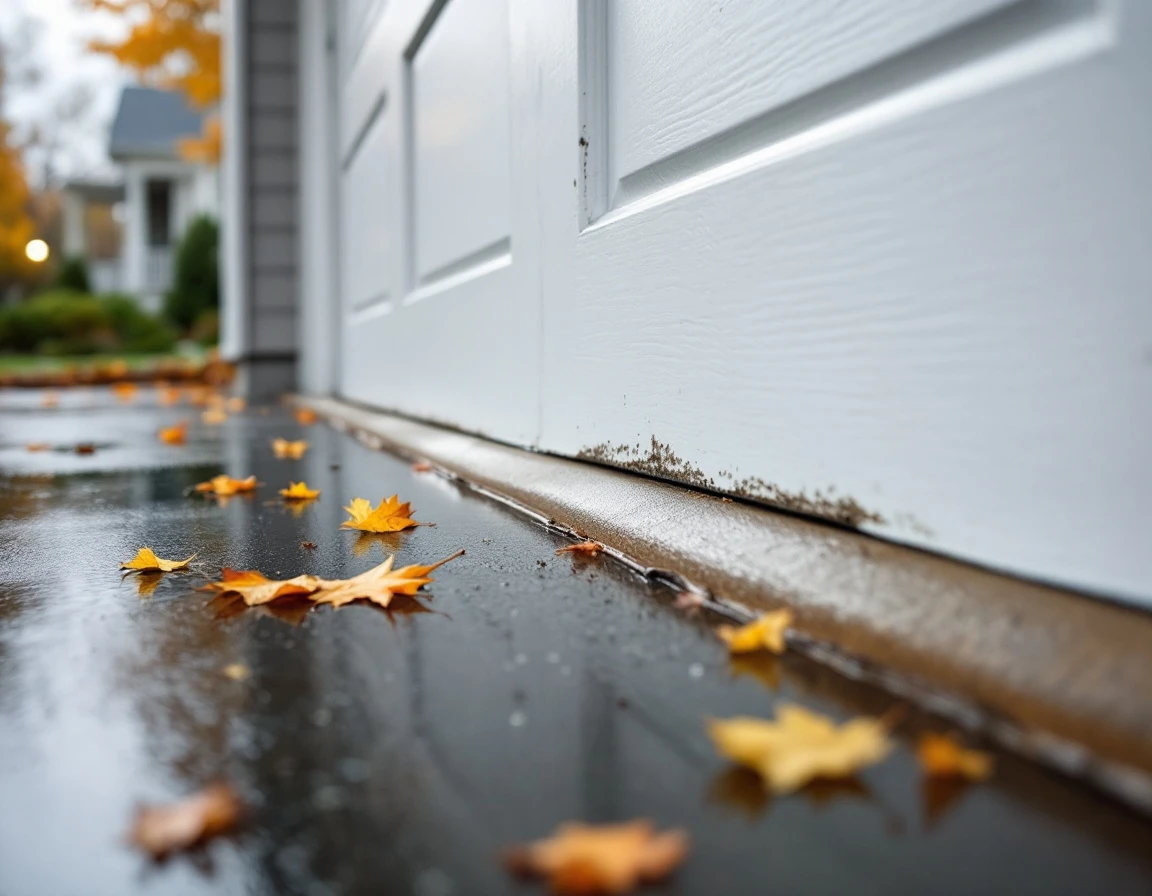
DIY Weatherstripping Maintenance Steps
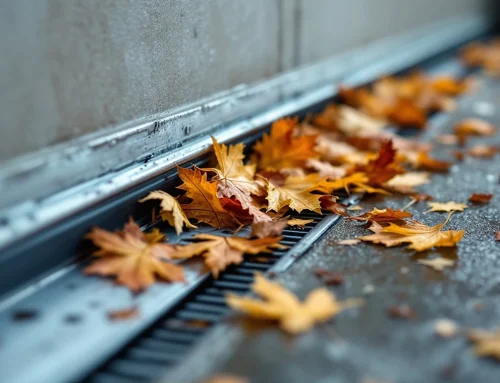
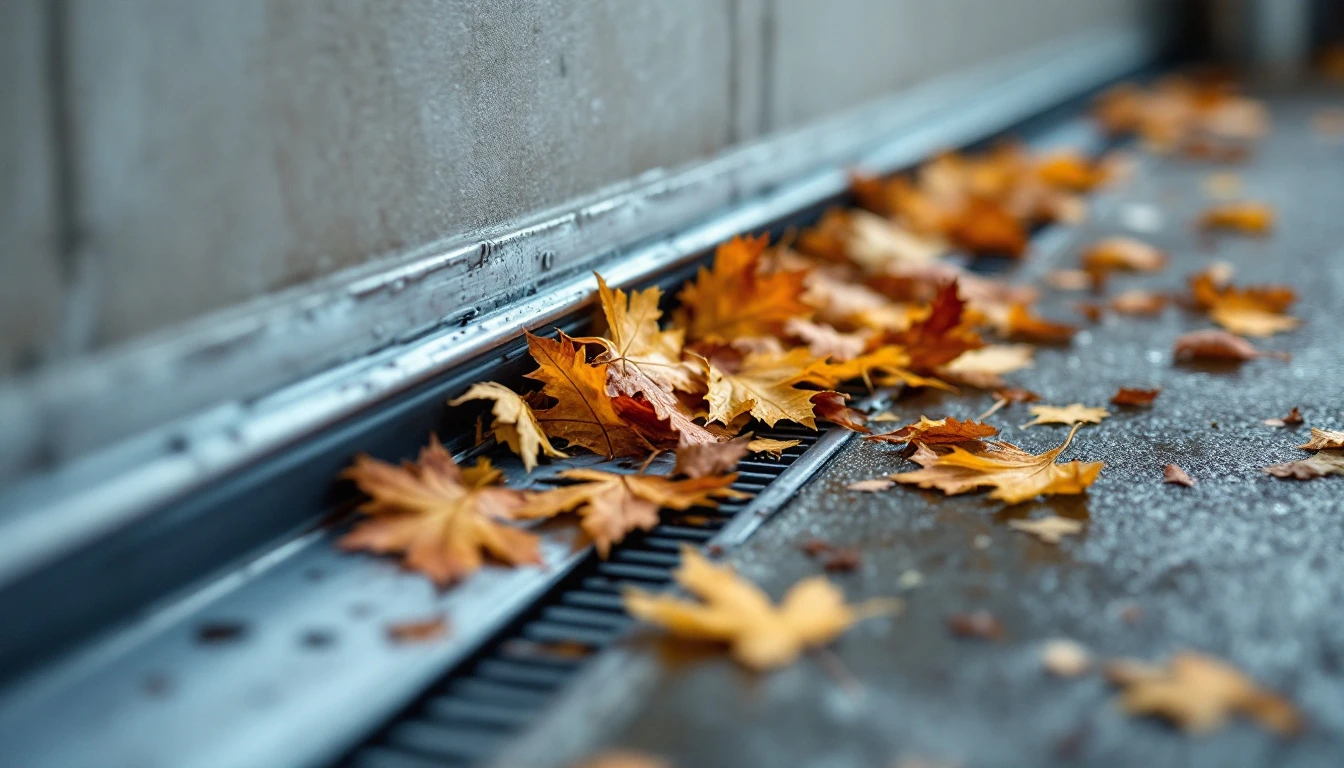
Most homeowners can restore effective water protection in a single afternoon with basic tools and the right materials. Start by cleaning all weatherstripping surfaces with water and mild soap—removing built-up dirt, leaves, and grime that block drainage channels and prevent proper sealing. Pay special attention to the tracks and threshold where debris accumulates during dry summer months.
Next, inspect caulk integrity along side seals where the weatherstripping meets the door jamb. Pacific Northwest humidity demands silicone-based sealants that resist moisture penetration and remain flexible through temperature swings. Apply weatherstripping caulk to small gaps you discover, working from top to bottom to fill separation points where water could infiltrate.
Check your bottom seal by feeling for hardness or visible cracking. If the rubber has stiffened or shows damage, replacement is simple—most bottom seals slide into an aluminum retainer track. EPDM rubber seals perform well in our wet climate. After installation, apply silicone lubricant to all seals; this keeps rubber flexible and extends service life by preventing premature aging. Total material cost typically runs $50-100, compared to $300+ for professional installation.
When to call a professional: Stop if you encounter bottom seal replacement on pre-1990 doors with damaged retainer tracks, structural rot in door jambs, or any evidence of mold growth indicating water has already penetrated wall cavities.
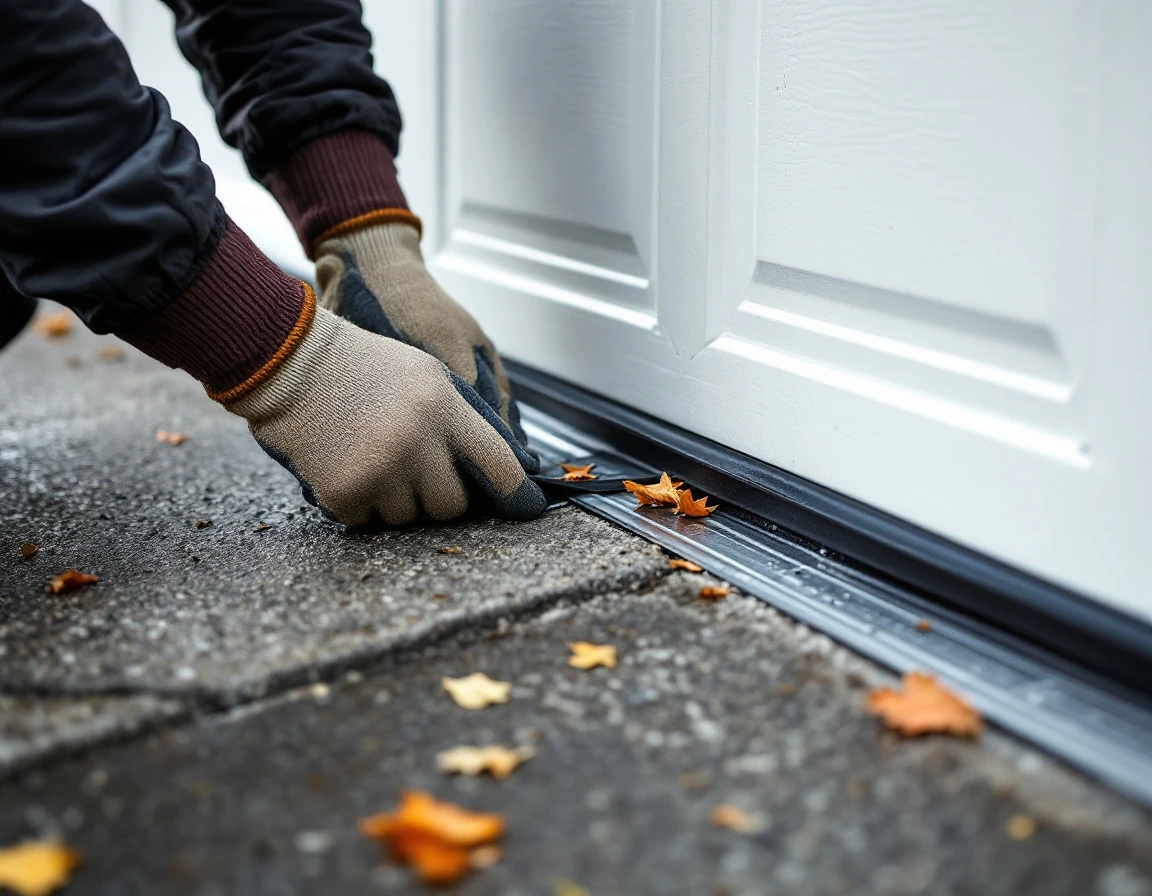
Products Designed for PNW Humidity
Not all weatherstripping performs equally in Oregon and Southwest Washington’s persistent moisture. Standard materials fail quickly when exposed to months of cool, damp conditions—acrylic and latex sealants crack within a single rain season, allowing water infiltration and mold growth along garage door seals.
Choose materials engineered for Pacific Northwest weather seal garage door conditions. EPDM rubber seals resist mold and maintain flexibility year-round without hardening, even during cold snaps. 100% silicone caulks (not acrylic-latex blends) shed water and remain flexible as temperatures fluctuate between rainy days and dry spells.
Brands like Frost King and M-D Building Products offer PNW-appropriate weatherstripping options stocked at local retailers throughout Oregon and Washington.
When to Call a Professional
Some garage door issues go beyond weekend DIY projects. If you notice structural damage to door jambs or header framing—cracks, rot, or visible deterioration—the problem extends past weatherstripping. These conditions require professional assessment to prevent further damage and maintain door integrity.
Active mold growth or water stains appearing on interior garage walls signal seal failure and potential health risks. Mold thrives in Pacific Northwest humidity, and surface cleaning won’t address the underlying moisture intrusion. Professional remediation protects both your property and your family’s wellbeing.
Heavier or vintage garage doors often need specialized tools for bottom seal replacement. Similarly, if your door shows sagging or misalignment, installing new weatherstripping won’t solve the problem—the door mechanics need correction first.
Calling Garage Harmony in September means faster scheduling and lower costs than managing water damage in November. Preparing your garage door for fall weather is easier when you schedule service before the rush. Find your local service team and get ahead of fall weather.