Why Portland Fall Storms Threaten Garage Doors: Waterproofing Solutions
When September rolls around, Portland homeowners know what’s coming: sustained heavy rainfall and driving wind that test every seal and weatherstrip on your garage door. The Pacific Northwest’s fall and winter months deliver relentless storms that expose even minor gaps in your garage door system. Understanding garage door waterproofing for fall storms is essential to protecting your home from water damage.
What starts as a small leak quickly becomes a bigger problem. Water infiltration damages insulation, ruins drywall, warps flooring, and destroys stored belongings inside attached garages. Mold takes hold in damp corners, rust spreads across metal components, and structural damage compounds with each storm cycle.
Here’s the financial reality: emergency repairs during peak storm season carry a steep price tag compared to pre-season maintenance. When everyone’s calling for help at once, you’re competing for limited appointment slots and contractors can charge whatever the market will bear.
The solution? Three targeted weatherproofing tasks address the root causes of common water damage. A little preparation now saves you from expensive emergency calls later.
Task 1: Install or Replace Weatherstripping
Your garage door’s weatherstripping is the first line of defense against Portland’s fall storms. The bottom seal and side seals are the primary water infiltration points during heavy rain, so inspecting these areas should top your preparation list. Walk around your closed garage door and look for gaps, visible cracks, compressed foam that’s lost its bounce, or hardened rubber that crumbles when you touch it.
When it’s time to replace weatherstripping, quality EPDM rubber seal kits are your best option. These kits represent a sound investment in your home’s protection before the wet season arrives, and they’ll serve you well for years to come. You’ll find them at most hardware stores, along with weatherstripping tape for the sides and top of your door frame.
DIY installation takes 1 to 2 hours and requires only basic tools: a screwdriver, utility knife, and caulk gun for adhesive seals. Start by removing the old weatherstripping, cleaning the channel thoroughly, then sliding the new seal into place and securing it according to the manufacturer’s instructions.
Here’s an important decision point: if your door gaps exceed 0.25 inches when closed, or if you notice the frame itself is warped, call a professional. Installing new weatherstripping on a misaligned door wastes materials and won’t solve your water infiltration problem. At Garage Harmony, we can assess whether your door needs adjustment or if simple weatherstripping replacement will do the job.
Task 2: Inspect and Seal Frame Gaps
Once your weatherstripping is in place, turn your attention to the garage door frame itself. Frame gaps and exterior wall seams are secondary water entry paths during storms—places where even perfect weatherstripping won’t help if the frame isn’t properly sealed.
Start with a visual walk-around. Look for cracks where the frame meets your home’s exterior wall, especially at corners and along the top header. Cracks wider than 0.125 inch should be sealed before fall rain begins. Run your hand along seams on a windy day to feel for air movement, or use a lit incense stick to detect drafts.
For small gaps, silicone caulk is an economical choice that works perfectly when applied along frame-to-wall seams and around mounting hardware. Larger gaps over 0.5 inch need spray foam instead—but here’s your decision point: damaged frame wood or settled foundations require professional inspection before sealing. These issues signal structural problems that sealing alone won’t fix.
This garage door water damage prevention task protects your home from costly water damage while requiring only basic materials from any hardware store.
Task 3: Clear Tracks and Drainage Paths
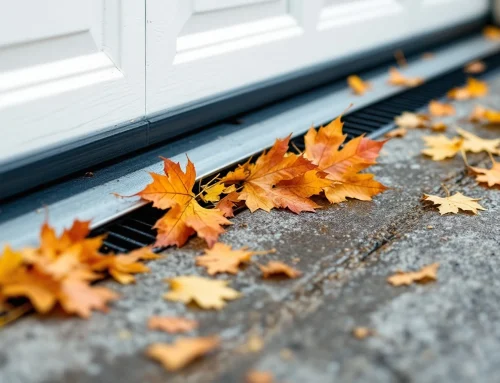
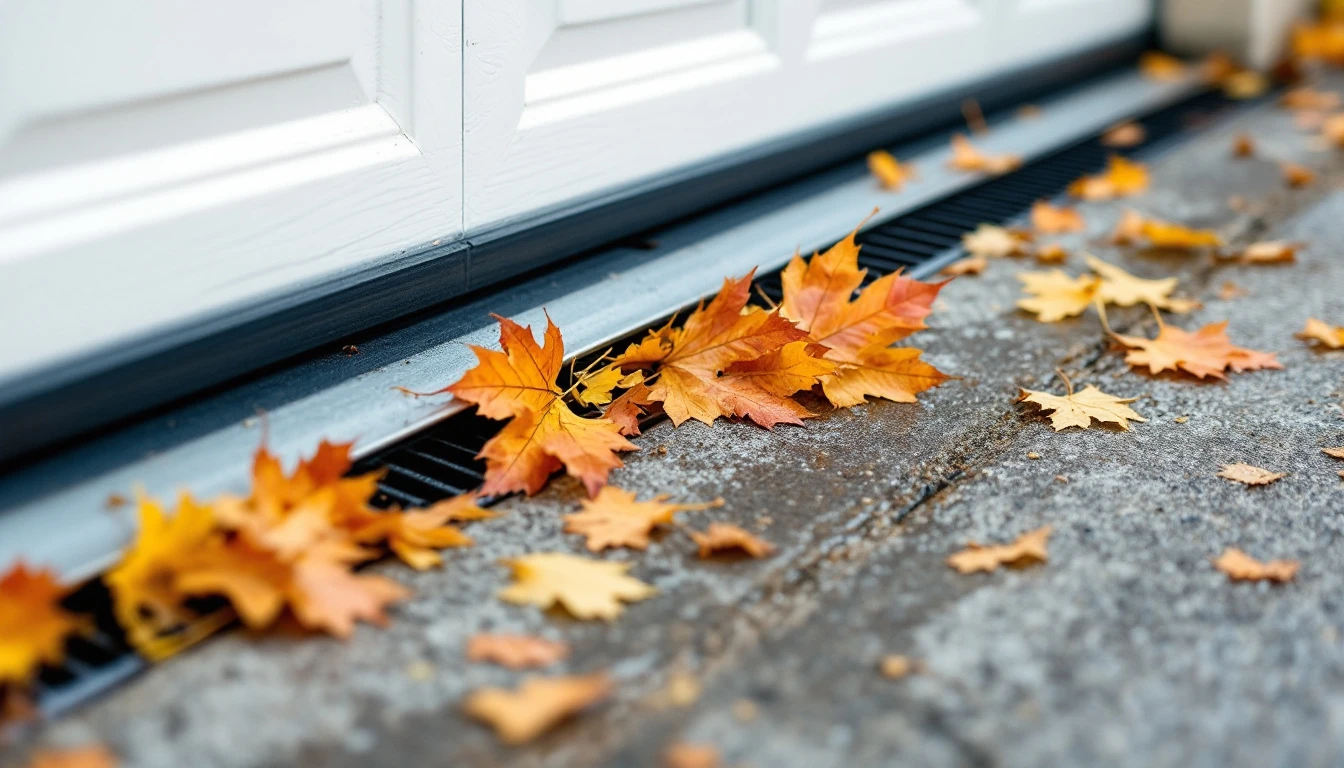
Fall leaves and debris accumulate in horizontal tracks throughout September and October, blocking water drainage and creating conditions for rust and binding. When water pools at the garage door base instead of draining away, it seeps under the weatherstripping you just installed and into the garage, undermining your earlier work.
Grab a stiff brush, wet cloth, and compressed air to clean the tracks—this takes about 30 minutes and costs almost nothing. Remove visible debris from the tracks, wipe down the rails with a damp cloth to eliminate grime, then blast stubborn dirt from corners with compressed air. A basic $15 brush set handles most cleaning jobs effectively.
After cleaning, verify that ground slopes away from your garage base. Water should flow away from the foundation, not toward it. If you notice pooling during the next rain, grade the soil to redirect runoff before wet season intensifies.
DIY vs Professional Repair: When to Call a Pro
You can confidently tackle Tasks 1-3 yourself if your garage door closes evenly and the frame remains square and undamaged. DIY weatherproofing costs $80-200 and prevents $2,000-5,000 in emergency repairs down the road. Completing these tasks before storm season reduces emergency repair calls measurably.
However, certain warning signs demand professional intervention. If you notice a warped frame, existing water stains inside your garage, a door that won’t close evenly along the bottom, or rust damage on structural components. Call Garage Harmony before investing in weatherstripping. Professional frame repair or door realignment addresses the root problem—weatherstripping alone won’t fix structural issues.
Schedule repairs now in early September rather than waiting. Emergency calls peak in October and November when storms arrive and homeowners discover problems too late. Contact us today to avoid the rush and protect your garage before fall weather hits.