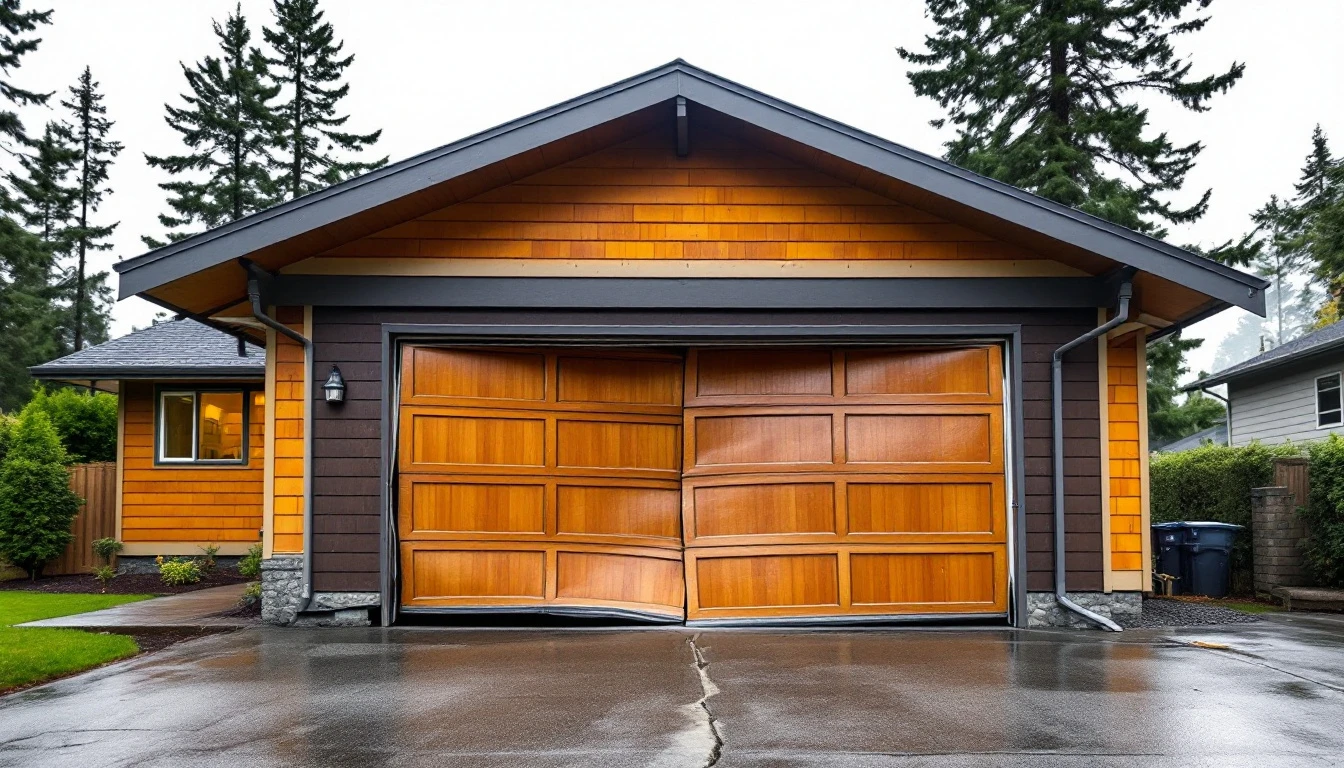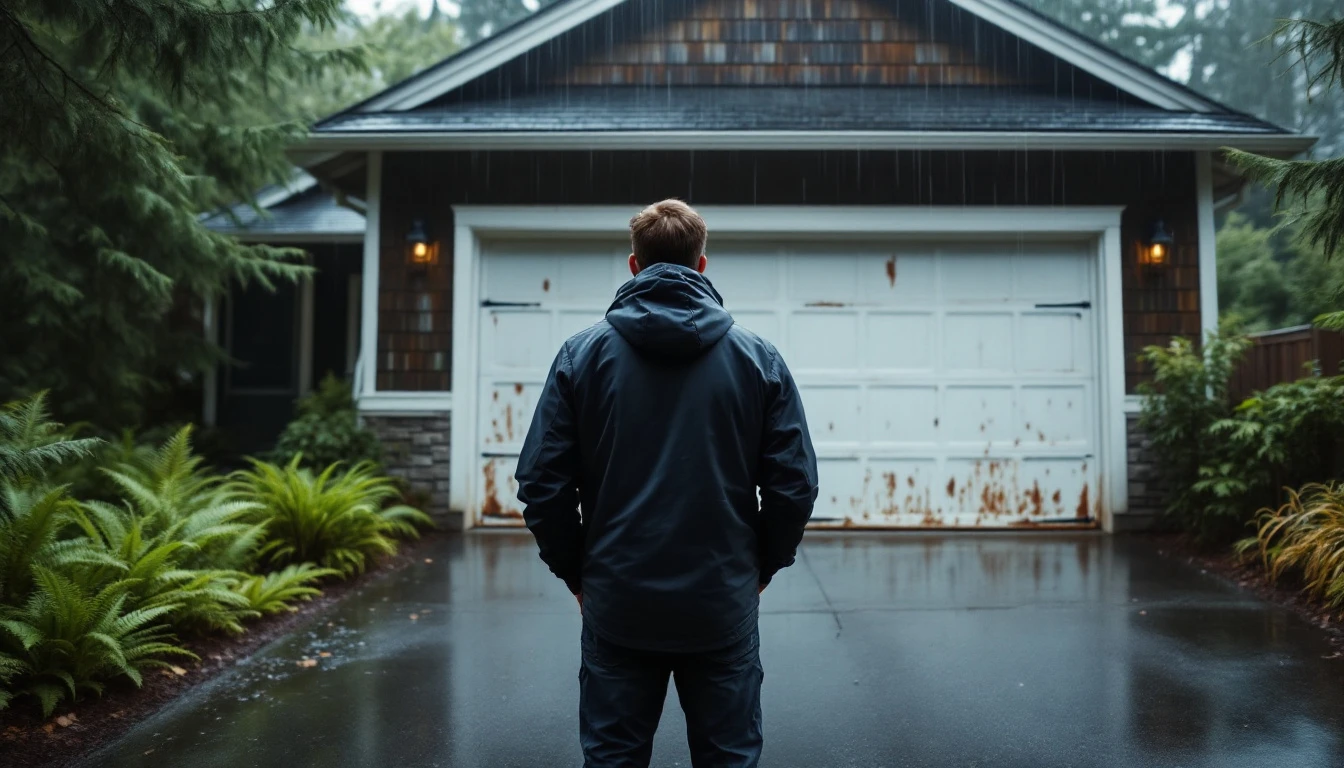
Why Garage Doors Fail: A Troubleshooting Guide
Here’s the truth about garage door failures: they rarely happen overnight. Most breakdowns result from predictable system deterioration that builds over weeks or months. When your door suddenly refuses to budge or reverses unexpectedly, it’s typically the final stage of a mechanical or electrical issue that’s been developing quietly in the background. This garage door troubleshooting guide walks you through the most common failure points so you can identify what’s wrong and decide whether DIY diagnosis is safe.
This guide addresses the five most common failure categories: electrical and power issues, sensor misalignment, track obstruction, spring tension problems, and remote malfunctions. These account for the vast majority of service calls, and understanding which category your problem falls into is the first step toward resolution.
Why does this matter for homeowners?
Because knowing which problems are safe to diagnose yourself—and which absolutely require a licensed technician—saves both money and time.
DIY troubleshooting is a cost-effective first step, not a replacement for professional repair. Spring tension issues, for example, demand immediate expert attention due to safety risks, while a misaligned photo-eye sensor often needs nothing more than a quick adjustment.
Most failures can be narrowed down using a simple, systematic checklist. By working through each failure point methodically, you’ll either solve the problem yourself or provide your repair technician with valuable information that speeds up the service call.
Power and Opener Checks
Before you assume your garage door needs major repairs, start with the simplest explanation: power. Is your circuit breaker tripped? Walk to your electrical panel and check the breaker labeled for the garage. If it’s flipped to the off position, reset it and try the door again.
Next, confirm your outlet is providing power. Unplug the opener and test the outlet with a lamp or phone charger. Does your garage light turn on? This quick check rules out electrical issues before you dig deeper into mechanical problems.
Now listen carefully. Press the wall button and pay attention. Does the opener motor hum, click, or make any sound at all? If it’s completely silent, you’ve likely found your culprit. If you hear noise but no movement, the issue lies in the mechanical system—covered in later sections.
Don’t overlook the obvious: check your remote batteries. Pop open the back of your remote and swap in fresh batteries. Test the wall button too—some models use batteries that die without warning. Here’s a surprising fact: roughly one in five “broken” garage doors simply need power restored or a fresh battery.
If power is confirmed, batteries are new, and the motor still won’t engage, stop here. The problem isn’t electrical—it’s time to investigate sensors, tracks, or springs.
Sensor Alignment and Obstruction
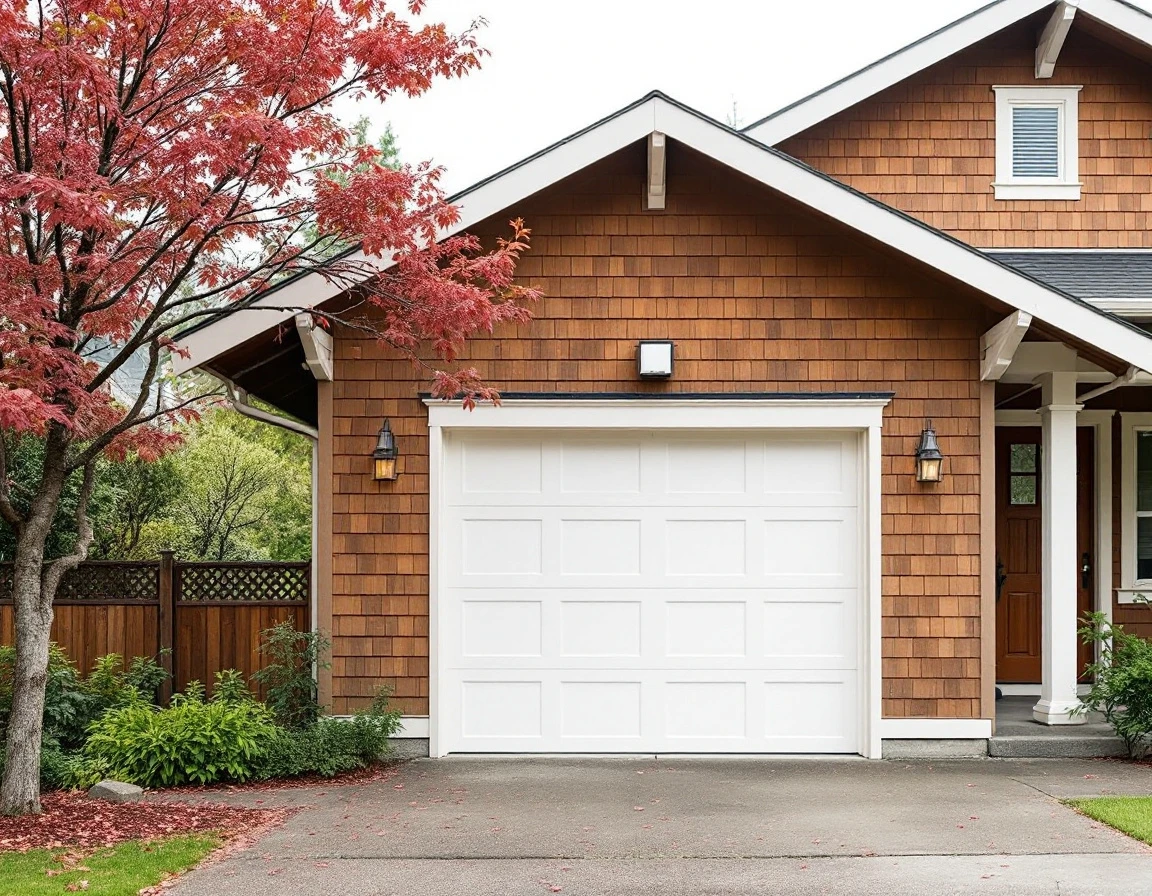
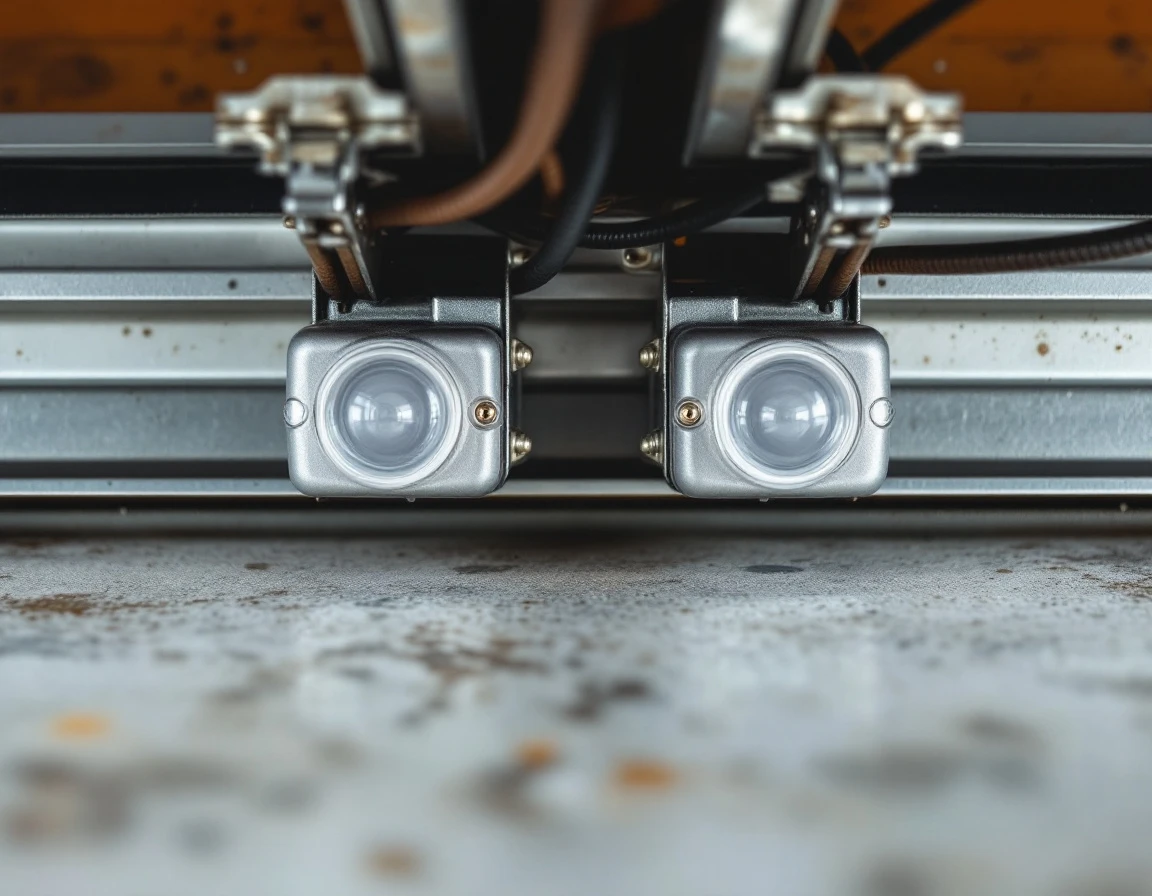
After ruling out power issues, the next likely suspect is your garage door’s safety sensor system. Modern garage doors rely on two small infrared sensors mounted on either side of the door track, typically about six inches above the ground. These sensors create an invisible beam across the doorway—when the beam is interrupted, the door refuses to close. It’s a critical safety feature that prevents the door from crushing pets, children, or objects in its path.
Start by locating both sensors at the base of your door tracks. Are the sensor lenses dusty or smudged? Even a thin film of grime can disrupt the infrared signal. Gently wipe each lens with a dry cloth. Next, scan the area between the sensors for obstructions—fallen leaves, garden tools, sports equipment, or storage bins can all break the beam without you noticing.
Each sensor has a small LED indicator light. Check whether both lights are illuminated and steady. A blinking or dark LED usually signals misalignment or a broken connection. If you’ve cleared debris and cleaned the lenses but the door still won’t close, the sensors may have shifted out of alignment from a bump or vibration. Precise realignment typically requires specialized tools and expertise—this is when professional help becomes necessary rather than optional.
Track Inspection and Cleaning
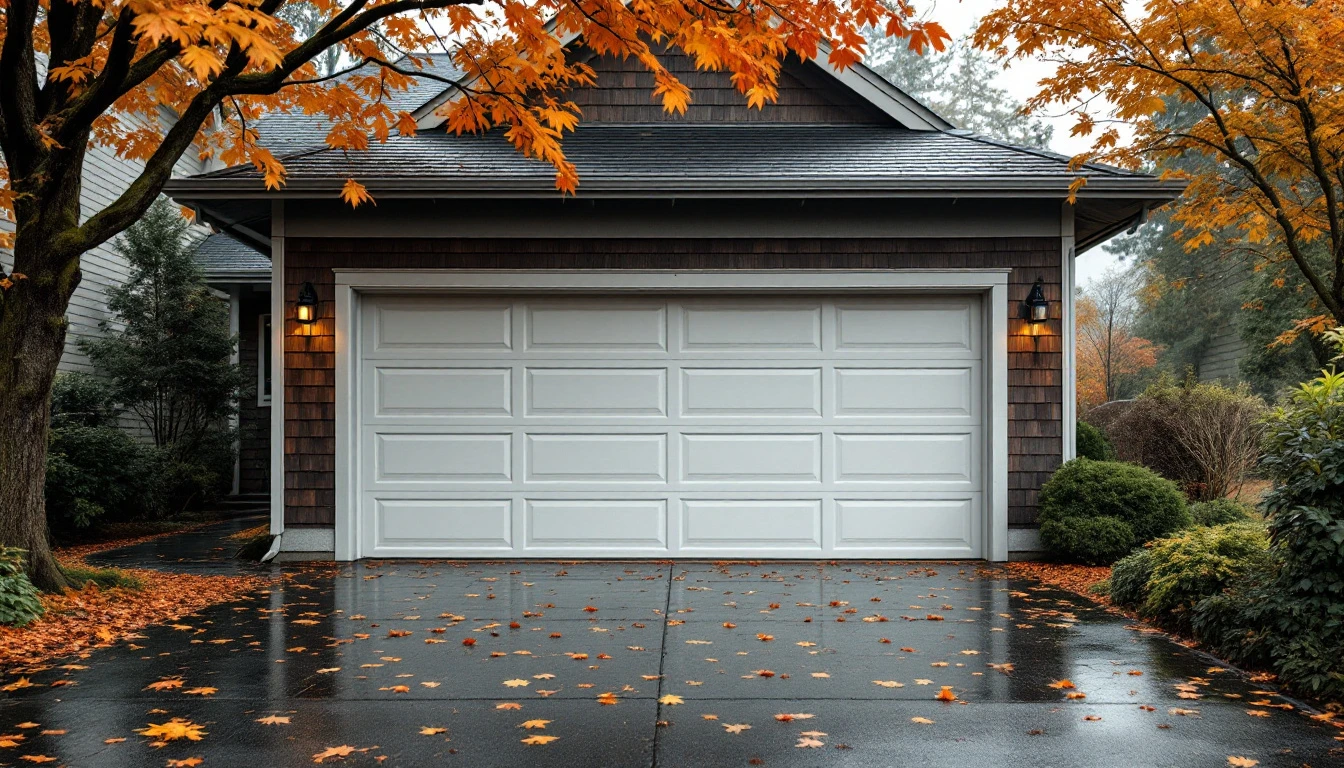
Portland’s rainy season brings more than just wet driveways—it deposits fallen leaves, dirt, and moisture directly into your garage door tracks. If your door hesitates, jerks, or stops mid-cycle, clogged or misaligned tracks are often the culprit, especially during October when debris accumulates fastest. This is one of the most common garage door repair troubleshooting steps homeowners can handle themselves.
Start by visually inspecting both vertical and horizontal track sections on each side of the door. Look for the following warning signs:
- Fallen leaves wedged in the channels
- Dirt buildup along the roller path
- Ice formation in unheated garages
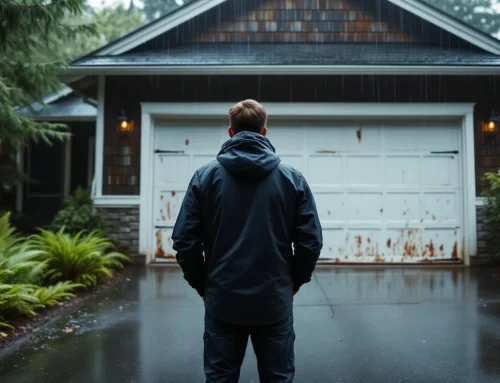
- Rust spots indicating moisture penetration
- Visible bends in the metal
Run your eyes along the entire length—problems at the top curve are just as common as those near the floor.
For cleaning, use a dry cloth and vacuum with a crevice attachment to remove debris. Avoid high-pressure water or hoses, which can trap moisture inside the track and accelerate rust formation. Minor surface rust responds well to light scrubbing with a wire brush or fine-grit sandpaper, followed by wiping with a dry cloth.
When should you stop? Severely corroded tracks with pitting or flaking, any visible bends that prevent smooth roller movement, or tracks pulling away from mounting brackets all require professional assessment. Our seasonal track maintenance guide covers deeper preventive care to keep your system running smoothly year-round.
Spring Tension and Cable Condition
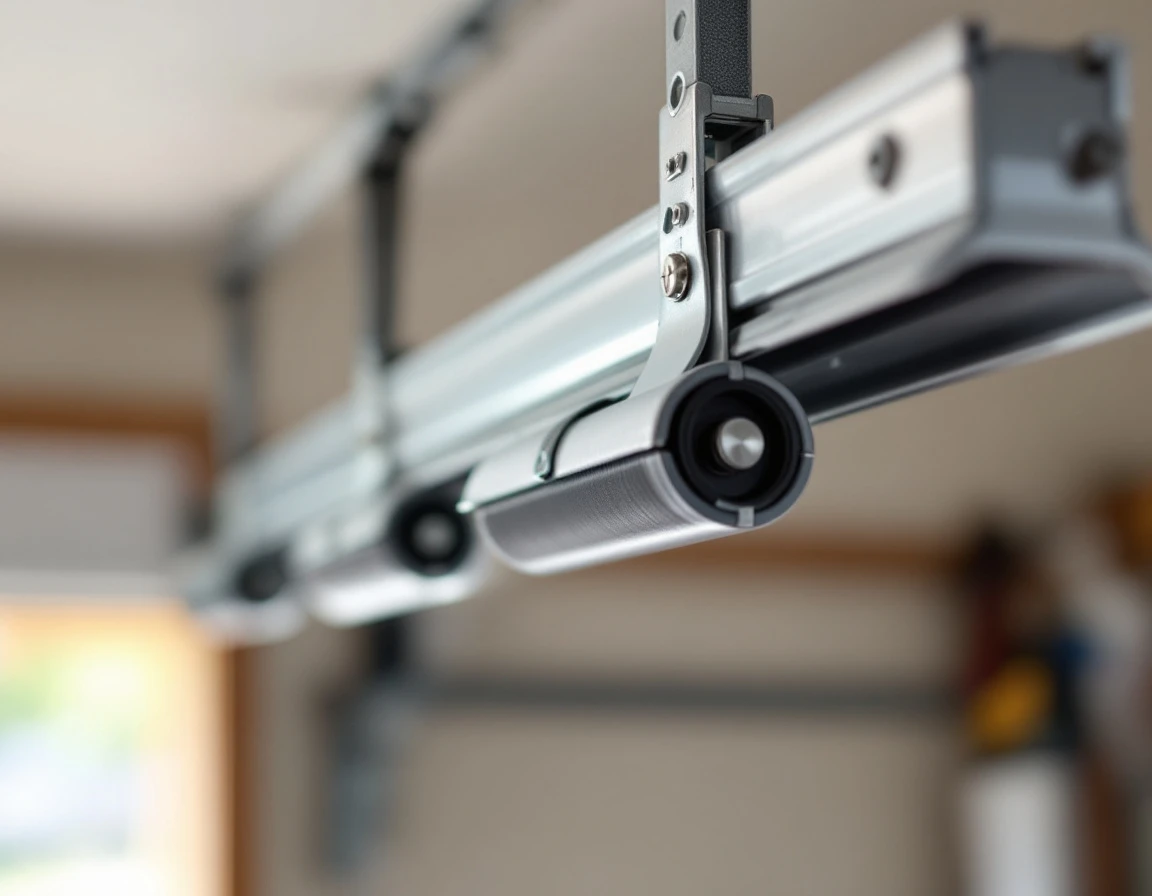
Garage door springs are the single most dangerous component in your entire system—and the clearest line between DIY troubleshooting and professional intervention. These coiled metal components hold several hundred pounds of tension to counterbalance the weight of your door, making them powerful enough to cause severe injury or death if mishandled.
Your garage door uses one of two spring types. Torsion springs mount on a metal shaft directly above the closed door, twisting to store energy as the door lowers. Extension springs run parallel to the horizontal tracks on each side, stretching and contracting as the door moves. Both types can fail without warning after years of daily cycles.
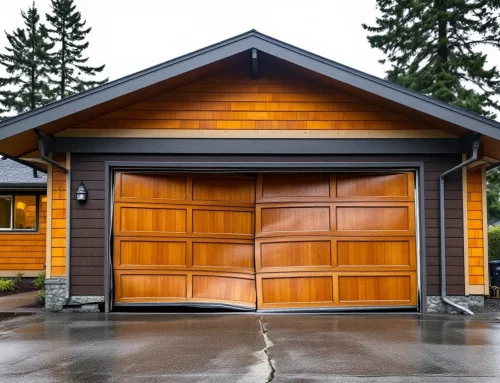
You can safely observe warning signs from a distance. Look for visible gaps or separation in the spring coils—a clear indicator of a broken spring. Does your closed door sit higher on one side than the other? That asymmetry often signals uneven spring tension. Listen for loud popping, snapping, or banging noises during operation, and watch for jerky or uneven movement as the door travels.
Never attempt to adjust, repair, or replace springs yourself. This is not a case where YouTube tutorials or basic tools will suffice.
The tension involved requires specialized equipment and training. If you notice any of these warning signs, stop using the door immediately and call Garage Harmony for professional spring repair.
Remote and Wall Button Testing
If you’ve confirmed the opener has power and the sensors and tracks are clear, it’s time to test your remote and wall button. Start with the remote: replace the batteries on both sides of the circuit—the remote itself and the battery in the opener’s receiver if applicable. Stand within 30 feet of the opener and press the button while watching for the LED light on the remote itself.
Does the LED illuminate when you press the button? If it lights up but the door doesn’t move, the signal path is broken somewhere between transmission and reception. If neither the LED nor the door responds, you need fresh batteries or a replacement remote.
Now test the wall button. Press it firmly and listen carefully for the opener motor to engage. A completely non-responsive button often points to frayed wires at the connection points or failed internal contacts. Check where the wire connects to both the button and the opener unit for any visible damage or loose terminals.
What about wireless interference? While smartphones and Wi-Fi routers can occasionally affect remote range, they rarely cause complete failure. If both your remote and wall button fail to activate the opener, the problem likely lies inside the opener motor unit itself—and that’s when you need professional diagnosis.
When to Call a Professional
You’ve walked through every accessible troubleshooting step—power, sensors, tracks, springs, and remotes. If your door still won’t function properly, or if your inspection revealed certain red flags, it’s time to bring in licensed help. Broken springs, slipped cables, severely bent tracks, or a motor that hums without turning all require professional intervention. These aren’t judgments on your repair skills—they’re safety realities.
Spring replacement involves extreme tension that can cause life-threatening injuries without the right tools and training. Many states require licensure for garage door spring work precisely because of these risks. Similarly, opener motor repairs demand diagnostic equipment and electrical expertise that go beyond household toolboxes. Attempting these repairs yourself exposes you to injury and potential warranty violations.
Here’s: by completing the diagnostic steps in this troubleshooting guide, you’ve already done valuable work. When you call a technician, you can describe exactly what you’ve tested and what symptoms you observed. That clarity helps professionals arrive with the right parts and realistic time estimates, often converting what might have been an emergency call into a scheduled appointment at standard rates.
Need professional help? Check our cost guide to understand typical repair pricing, then schedule an appointment with Garage Harmony. Our team will handle the repair safely while you enjoy the confidence of knowing exactly what went wrong.