Winter Damage Risk in Portland Metro
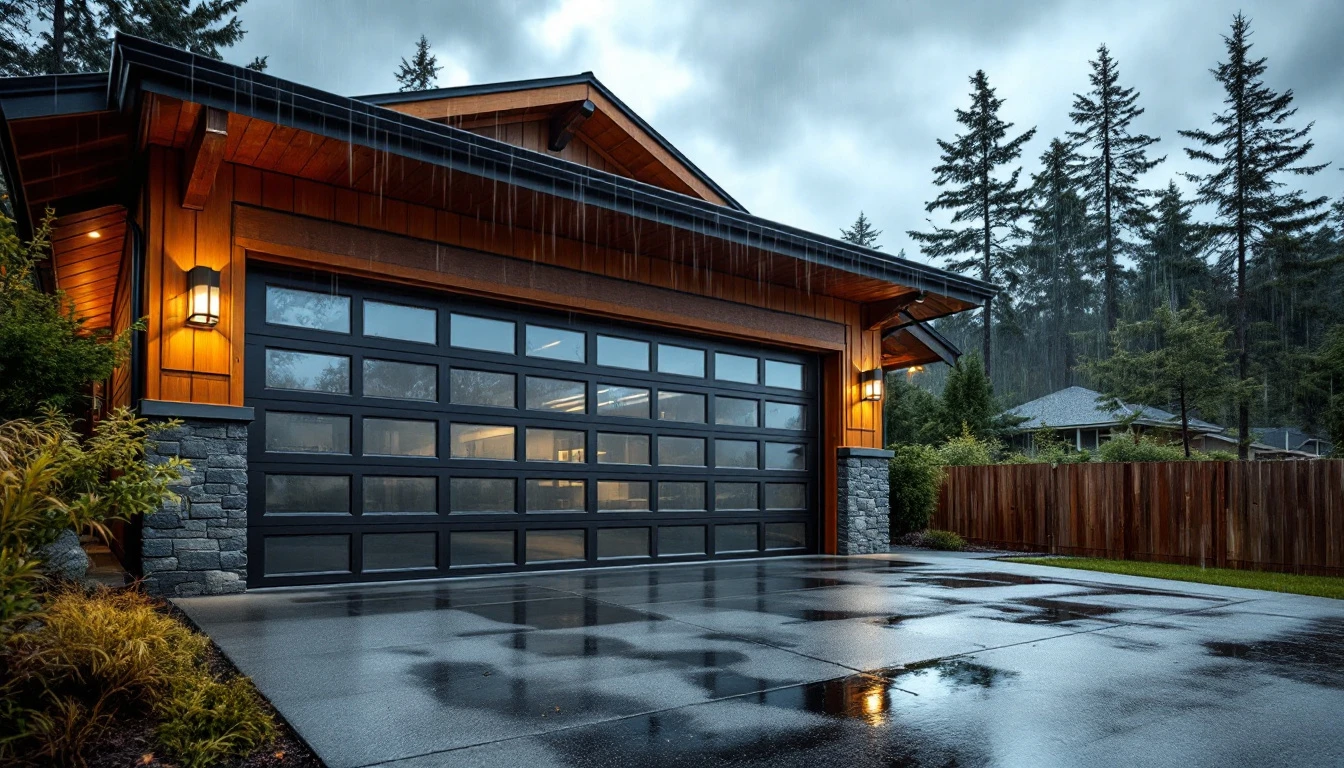
Portland’s wet winters create the perfect conditions for garage door deterioration. When temperatures hover between 35 and 48°F with constant moisture exposure, metal components develop rust while freeze-thaw cycles stress springs and cables. The region’s occasional ice storms compound these problems, causing immediate damage to tracks and rollers. A garage door spring inspection after winter catches these issues before they become costly failures.
Why does March matter? Spring brings a surge in garage door service calls as homeowners discover winter damage. By scheduling a garage door spring inspection after winter now, you avoid the rush when repair companies are booked solid and emergency service rates climb. A small problem caught in March—like a fraying cable or worn spring—becomes an expensive emergency breakdown in April when you’re rushing to work.
Winter stress doesn’t disappear when the weather improves. Those weakened springs and corroded tracks face increased use during spring’s active season. Each cycle adds pressure to already compromised components.
What held together through winter’s lighter use often fails under spring’s daily demands. An early inspection identifies these vulnerable parts before they break at the worst possible moment.
Five Critical Inspection Points for Your Spring Garage Door Maintenance Checklist
These five inspection points take less than 30 minutes to complete and address the root causes of spring emergency repair calls in the Portland area. Work through them on a dry morning when you can see clearly and hear mechanical sounds without rain noise.
1. Spring Tension and Cable Condition
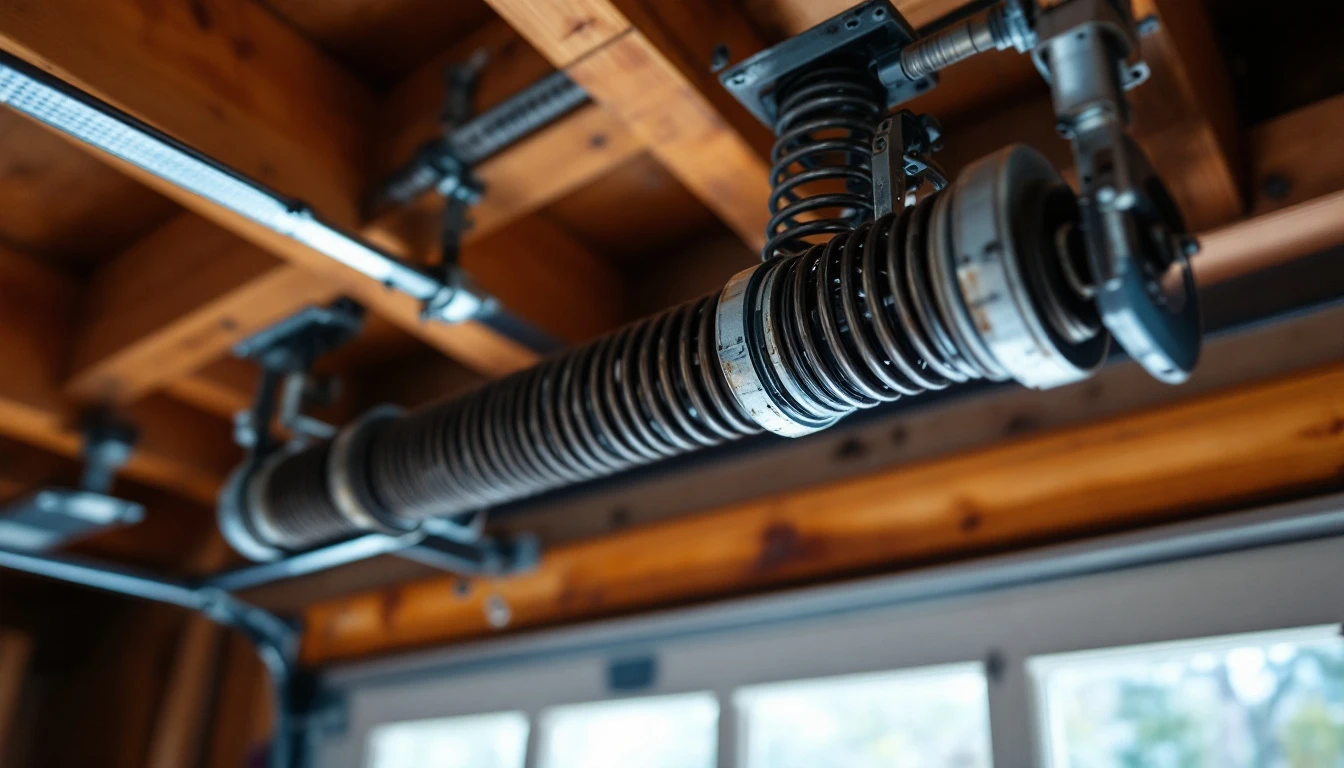
Look closely at the torsion spring above the door or the extension springs along the tracks. Healthy springs show consistent coil spacing with no gaps or stretched sections. Check cables for fraying—you’ll see individual wire strands poking out like whiskers if cables are damaged. Portland’s winter moisture accelerates rust formation on both components, appearing as reddish-brown patches or flaking metal. If you spot rust deeper than surface discoloration, or if cables show any fraying, these components need professional replacement before they fail. Learn more about garage door cable issues to understand the full scope of potential problems.
2. Track Alignment and Roller Movement
Open and close your door manually while watching the rollers move through the tracks. Smooth operation means proper alignment. Listen for grinding, squealing, or binding sounds that indicate misalignment from winter freeze-thaw cycles shifting your garage structure. Check that tracks remain parallel to each other with consistent spacing from top to bottom. Rollers should spin freely—if they wobble or stick, they’ve likely developed rust inside the bearings.
3. Weatherstripping and Seal Integrity
Run your hand along the rubber seal at the door bottom and the weatherstripping along the sides and top. Look for cracks, tears, or sections that have pulled away from the mounting channel. Gaps here let Portland’s rain infiltrate your garage, damaging stored items and promoting rust on door components. Press the seal against the floor when the door is closed—you shouldn’t see daylight underneath. If you need to replace damaged seals, our guide on garage door weatherstripping replacement walks you through the process.
4. Sensor Function and Safety Reverse
Place a cardboard box in the door’s path and press the close button. The door should reverse immediately when it contacts the box. Next, check the photo-eye sensors mounted near the floor on each side of the door opening. These should be aligned with their indicator lights glowing steadily. If your door fails this test, consult our sensor troubleshooting guide before operating the door further.
5. Panel and Hinge Condition
Inspect each door panel for damage. Wood doors show warping as visible bowing or panels that don’t meet squarely. Steel doors develop rust spots or dents from winter storm debris. Check every hinge for loose fasteners—tighten any that wiggle. Look for stress cracks in the metal near hinge attachment points, which indicate the door has been operating with worn components putting strain on the panels.
Tools and Supplies Checklist
You likely already have everything you need in your garage to complete this five-point inspection. Here are the essential items:
- A flashlight to check dark corners and track channels
- A ruler or tape measure to assess weatherstripping gaps
- A clean cloth for wiping down dirty sensors
- Spray lubricant designed for metal parts
No specialized equipment is required to identify problems.
Want to tackle minor cleaning or adjustments yourself? Keep these additional supplies on hand:
- Degreaser for grimy tracks
- Weatherstripping adhesive for reattaching loose seals
- A moisture meter to assess wood panel moisture damage common in Portland’s wet climate
- A small level for more precise assessment
But for today’s inspection, your basic household tools get the job done.
DIY Tasks vs Professional Repair Triggers
Some maintenance tasks are safe for homeowners to handle in 30 minutes or less, while others require professional expertise. Here’s how to decide what you can tackle and when to call Garage Harmony.
Safe DIY tasks:
- Spray silicone-based lubricant on hinges and rollers every three months
- Clean debris from tracks with a damp cloth
- Tighten loose bolts on brackets and hinges with a socket wrench
- Replace worn weatherstripping by pulling off the old seal and pressing new material into the track
- Wipe dirt from safety sensor eyes with a soft cloth
When to call a professional immediately:
- If your door doesn’t reverse when you place a 2×4 under it, stop using the door and call for service—this safety feature failure creates serious injury risk
- Spring damage or cable fraying demands professional attention because springs store tremendous tension that can cause severe injury during DIY attempts
- Track misalignment, bent panels, or opener motor problems also need expert diagnosis
Never attempt spring replacement yourself. If you suspect spring issues, our spring replacement guide helps you identify the problem before scheduling your repair appointment.
Spring Season Scheduling Strategy
March offers Portland homeowners a clear advantage: warm enough for safe inspection, early enough to book professionals before April’s scheduling crunch begins. Complete your garage door inspection before spring by mid-March to identify any winter damage while repair companies have availability.
Here’s what delayed action costs: emergency repairs between May and July carry premium pricing compared to scheduled service, and you’ll wait weeks for an appointment when contractors are slammed with urgent calls. That broken spring discovered on a rainy Saturday morning? You’re looking at weekend surcharges and a garage door you can’t use until the following week.
The inspection itself takes just 30 minutes and prevents these expensive scenarios. If you discover damage during your inspection, call Garage Harmony by March 20 to schedule repairs before April’s rain season intensifies moisture damage and demand spikes. This small time investment now saves both money and frustration when you need your garage door working reliably.
Next Steps and Professional Support
Now that you’ve completed your garage door tune up Portland inspection, document what you found. Take clear photos of any damage, wear patterns, or concerning areas—images help technicians diagnose problems faster and provide accurate quotes before they arrive. Even if everything looks fine, these photos create a baseline for next year’s comparison.
Did your inspection reveal frayed cables, broken weatherstripping, or sensor issues? Contact us today to schedule a repair before those small problems escalate. Caught something during your March check that falls into the “call a pro” category? Reach out to us today for further guidance—we’re here to help Portland homeowners keep their garage doors running safely and reliably.
Mark your calendar for a fall maintenance check too. A quick September inspection prepares your door for next winter’s rain and cold, preventing the same damage cycle from repeating. Think of seasonal tune-ups as preventive care that saves you from emergency repairs down the road.