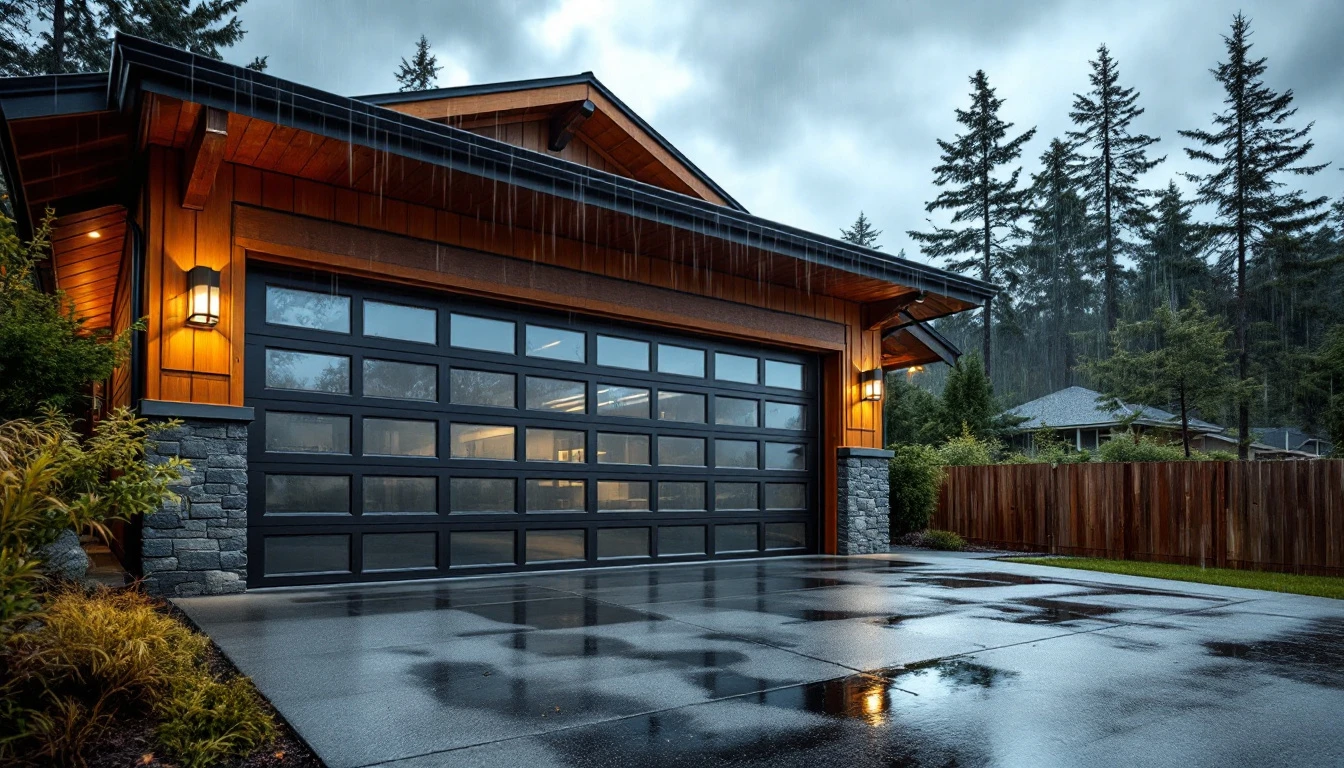
Why April Garage Door Safety Awareness Month Matters
April’s Garage Door Safety Awareness Month reminds Portland homeowners to test features that prevent injuries and costly emergency repairs before they happen.
Auto-reverse and sensor failures
Garage door auto-reverse mechanisms and safety sensors prevent tragic accidents, yet their failure causes preventable injuries and deaths each year. These safety features stop a closing door when it contacts an object or detects an obstruction in its path, protecting children, pets, and family members from crushing injuries.
Annual testing catches malfunctions before they become emergencies. Testing your auto-reverse by placing a two-by-four flat on the garage floor and watching the door reverse upon contact takes just minutes. Check your photo-eye sensors by waving a broom through the doorway while closing—the door should immediately stop and reverse.
April Awareness Month Provides Ideal Timing
April’s designation as Garage Door Safety Awareness Month creates the perfect reminder for Portland homeowners to schedule their annual safety checks. Spring weather brings ideal conditions for testing—mild temperatures make working in your garage comfortable, and you’re addressing potential problems before summer heat or winter ice storms add stress to door components.
The simple 10-minute test we’ve outlined prevents costly emergency repairs and protects your family from liability. Catching a failing auto-reverse system now means avoiding a $500+ emergency service call later, not to mention the peace of mind knowing your door won’t injure a child or damage your vehicle.
How Auto-Reverse Works
Your garage door’s auto-reverse feature is a force-detection system that protects people and property from crushing injuries. When your descending door makes contact with an object—whether it’s a child’s toy, a bike, or worse, a person—pressure sensors built into the opener detect that resistance and immediately trigger the motor to reverse direction.
This isn’t the same as your photoelectric safety sensors. Those invisible beams stop the door before contact happens. Auto-reverse is your backup system that kicks in when something actually touches the door as it closes.
Federal law has required this feature on all residential garage door openers since 1992 (16 CFR 1220). When working properly, you’ll see smooth, immediate reversal the instant the door contacts an obstruction. Failure signs include the door continuing to push downward despite contact, reversing slowly instead of immediately, or not reversing at all—each scenario creates serious injury risk that demands professional attention.
Safety Sensors Explained
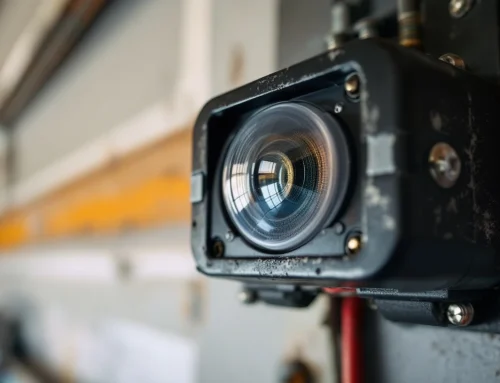
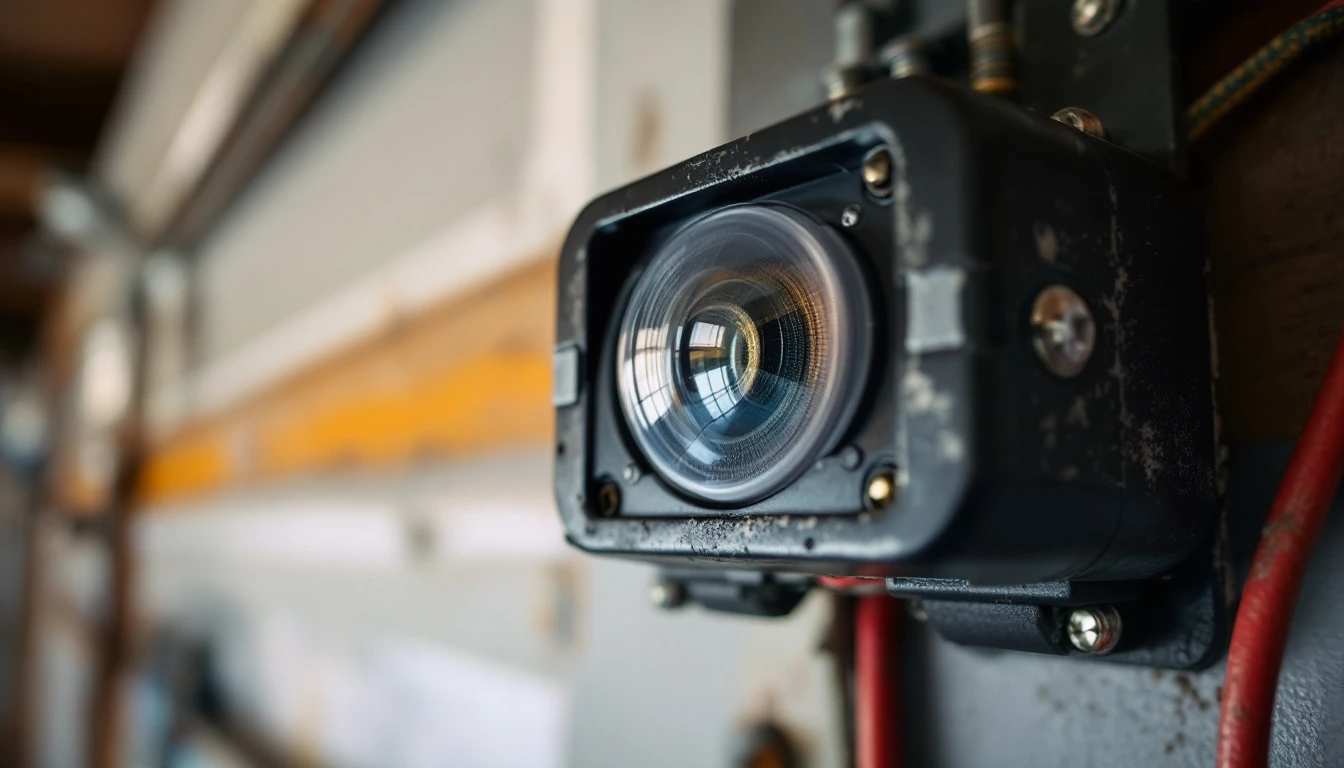
While auto-reverse relies on contact pressure to trigger reversal, safety sensors use invisible infrared beams to detect anything in the door’s path and prevent closing entirely. Think of them as an invisible laser trip-wire that stops the door before it touches an object or person.
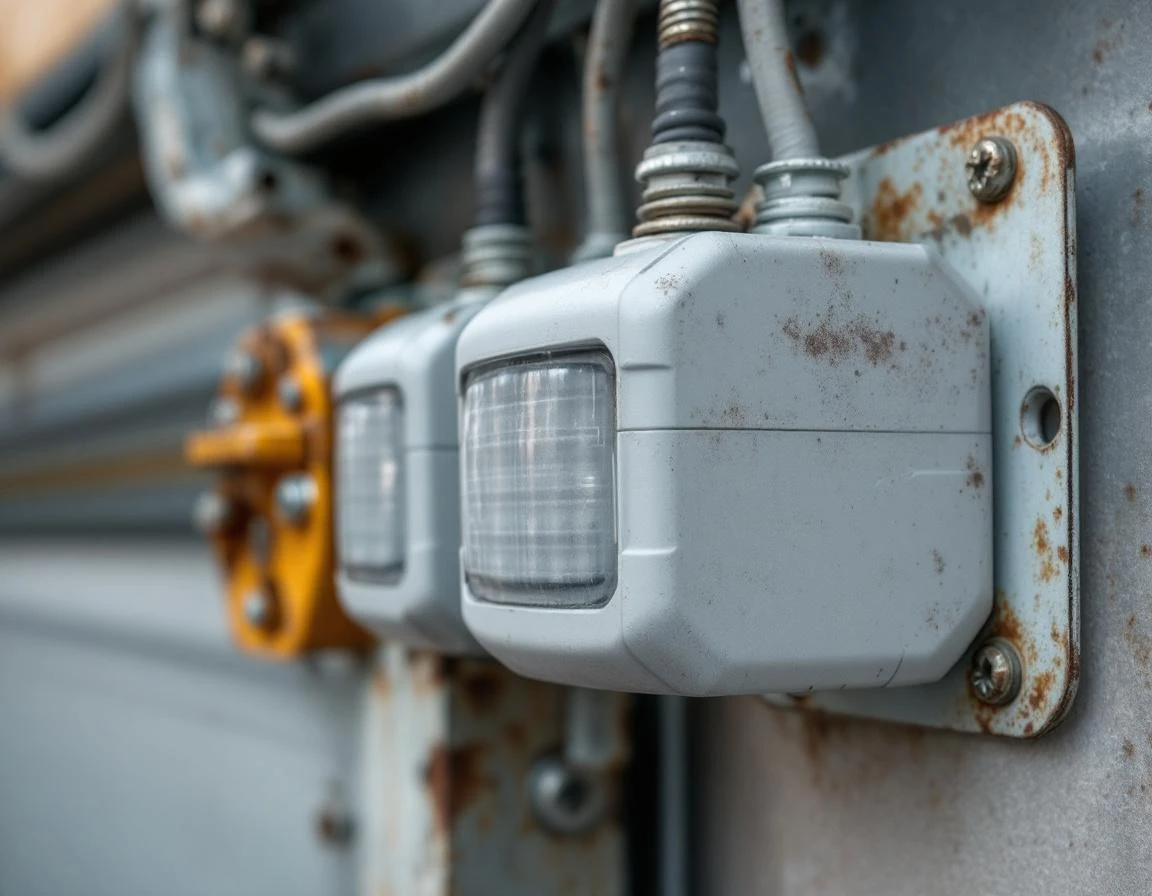
Each sensor system has two components: a transmitter and a receiver mounted on both sides of your garage door frame. The transmitter sends a continuous infrared beam to the receiver—both must align perfectly and function properly for your door to close. If the beam is blocked or broken, your garage door won’t close at all.
In Portland’s wet climate, several common problems degrade sensor performance. Rain exposure corrodes electrical connections, while dust and spider webs accumulate on sensor lenses, blocking the infrared beam. Impact from bikes, lawn equipment, or parking too close can knock sensors out of alignment.
You’ll find sensors mounted 4-6 inches above your garage floor on both sides of the door frame—positioned low enough to detect small children and pets. Understanding how they work prepares you for hands-on testing to verify both sensors communicate properly.
Step-by-Step Testing Procedure
Testing your garage door safety features takes less than 10 minutes and requires no special tools. Start with the auto-reverse test: place a 2×4 board or a sturdy cardboard box flat on the garage floor directly in the door’s path. Press your remote or wall button to close the door. Watch carefully—the door should reverse direction within 1-2 seconds of making contact with the object. If the door pushes through the object, crushes it, or stops without reversing, your auto-reverse garage door system has failed and needs professional attention.
Next, test your safety sensors. Close the door normally first to confirm basic operation. Then press the button to close it again, and this time wave your hand through the invisible beam between the two sensor eyes mounted near the floor. The door should stop immediately and reverse. If the door continues closing when you break the beam, the sensors aren’t working properly.
Finish with a visual inspection of both sensor units. Wipe each lens with a soft, dry cloth to remove dust, cobwebs, or moisture—Portland’s wet winters leave residue that blocks the beam. Check for cracks in the plastic housings and verify both sensors point directly at each other. Look for indicator lights on each unit; most sensors display a steady green or amber light when properly aligned. Misaligned sensors often show a blinking light or no light at all. This entire procedure protects your family and takes less time than brewing your morning coffee.
Signs of Sensor or Auto-Reverse Failure
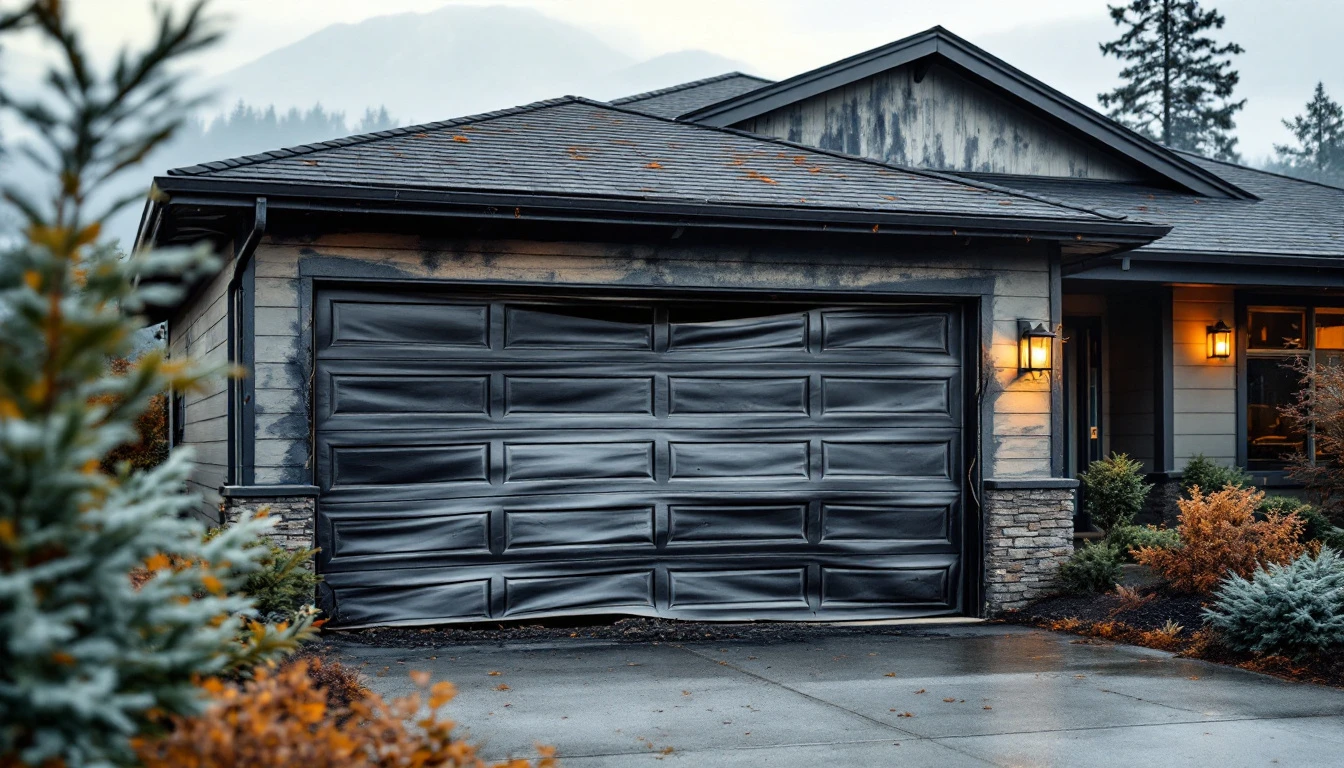
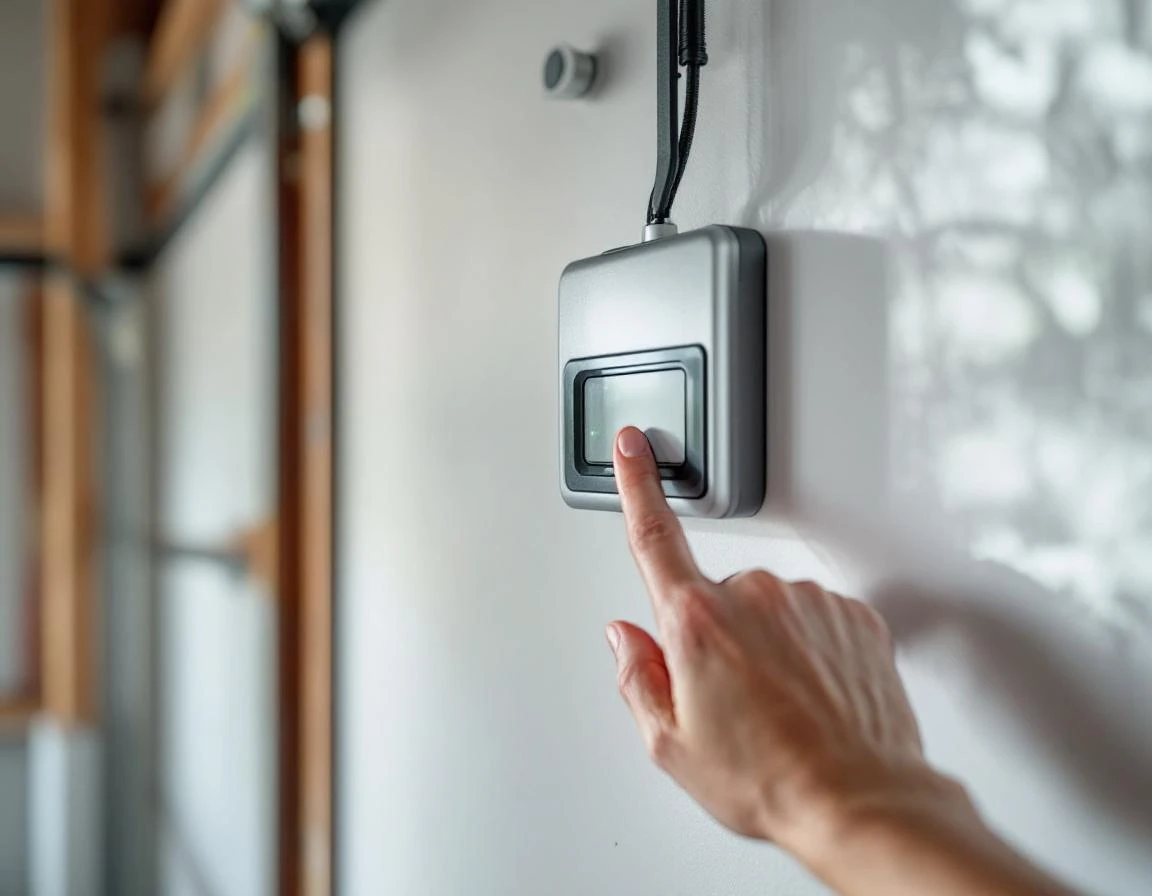
How do you know when your safety systems have failed? If your auto-reverse test shows no reversal when the door contacts an object. Or if reversal happens slowly after several seconds of pressure, your system isn’t protecting your family. During the sensor test, if the door continues closing despite a blocked infrared beam, you have a dangerous malfunction that requires immediate attention.
Watch for flickering sensor lights, which typically indicate loose wiring connections or weather damage from Portland’s wet winters. Does your door reverse erratically mid-descent without obvious obstacles, or pause randomly during closing? These behaviors signal failing sensors or damaged auto-reverse mechanisms.
Any failure is a safety hazard. Stop using your garage door immediately and contact Garage Harmony for professional repair. Don’t attempt DIY fixes on safety systems—improper adjustments can disable protections entirely, creating liability risks and putting your family in danger.
When to Call a Professional
If any of your safety tests revealed a failure—or if you’re unsure whether your system passed—do not use the door and schedule professional service immediately. Safety system failures represent a genuine hazard that requires expert diagnosis and repair. Even if you’re handy with home projects, sensor replacement, auto-reverse adjustment, and electrical troubleshooting require specialized tools and training that go beyond typical DIY capabilities.
Portland homeowners dealing with weather-damaged sensors or corroded connections should contact trained technicians rather than attempting repairs themselves. Misadjusted force settings or improperly wired sensors can create new safety risks even when they appear to function. April is an ideal time to schedule service before the busy spring and summer season, when repair companies often face longer wait times. Our team and other qualified professionals throughout the Portland metro area are available year-round to restore your garage door’s safety features and prevent both injury and costly emergency repairs.