Why Garage Doors Fail in High Winds
During severe storms, your garage door experiences forces up to three times its own weight. Wind pressure pushes against panels while suction pulls from inside, creating stress that targets specific weak points.
Understanding garage door high wind safety matters because this knowledge directly prevents catastrophic failures.
Most failures happen at three critical areas: torsion springs that can snap under sudden load changes. Door panels that bow inward or buckle completely, and weather seals that tear away from their channels.
Understanding these failure points matters because attached garages transfer damage directly into your home’s structure. When a door collapses inward, wind and rain pour through the opening, pressurizing interior spaces and potentially lifting roof sections. The cost difference is stark—a preventive inspection runs anywhere from free (if you do it yourself) to around $200 for professional assessment, while emergency repairs after storm damage average between $800 and $3,000 or more.
Homeowners in high-wind regions face this risk repeatedly. Taking two hours now to inspect and reinforce these three failure points costs far less than waiting for the next storm to expose vulnerabilities in your door system.
Spring System Inspection & Reinforcement for High Winds
Your garage door’s torsion springs bear the full weight of the door—typically 150 to 400 pounds—and can snap under wind pressure if they’ve weakened over time. When a spring fails during a storm, it doesn’t just disable your door; it can send metal coils flying through your garage like shrapnel.
Start your inspection by looking without touching. Stand back and examine the springs mounted above your door. What should you look for?
- Gaps between coils signal metal fatigue
- Rust indicates moisture damage that weakens the steel
- Uneven winding means the spring has stretched inconsistently and may fail soon
For high-wind zones, cable restraints are non-negotiable. These safety cables run through the center of extension springs (or alongside torsion springs), catching broken coils before they become projectiles. Installing cable restraints costs $80–150. Compare that to $400–600 for emergency spring replacement after storm damage.
Your DIY limit stops at inspection. Spring replacement requires specialized tools and training. If you spot warning signs during your visual check, call Garage Harmony before the next storm hits.
Door Panel Damage Prevention & Bracing
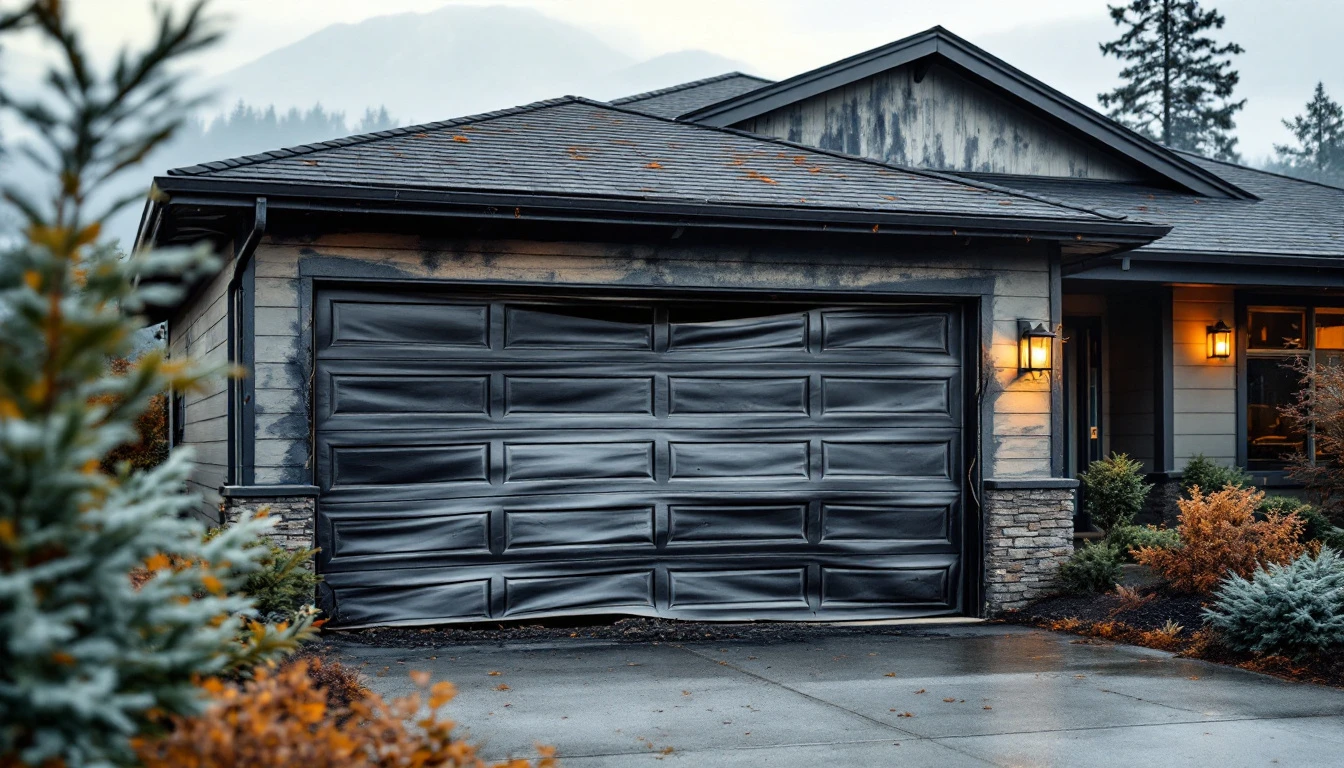
Wind pressure pushes inward on door panels with force that can exceed the panel’s structural capacity, causing bowing, cracking, or complete collapse. A quick visual inspection reveals warning signs: dents or warping indicate metal fatigue, separating seams show joint failure, and loose bottom seals mean the wind can lift panels from below. This is a key part of how to prepare garage door for high winds.
Single-layer steel or aluminum panels face the highest risk during storms. If your inspection reveals weakness, you have two reinforcement paths. Horizontal braces—metal or wood struts installed across the panel interior—cost between $150 and $300 for DIY installation and distribute wind load across multiple attachment points. For panels showing significant deterioration, professional replacement with reinforced double-layer panels provides long-term protection.
This 10 to 15 minute inspection directly prevents the most common garage door wind damage.
Address weak panels before storm season—replacement takes one to two days and costs less than repairing a collapsed door and water-damaged interior.
Weather Seal & Opening Integrity
Your garage door’s weather seals do more than keep out rain—they prevent dangerous pressure imbalances during wind events. When seals deteriorate, wind-driven moisture enters while interior air pressure builds inside your garage. This pressure increase can actually push your door off its tracks from the inside out, turning a routine maintenance task into a costly emergency repair.
Inspect all four seals before storm season:
- The bottom rubber seal
- Both side seals
- The top header seal
Look for visible cracks, separation from the door frame, or sections that have hardened and lost flexibility. Run your hand along each seal to feel for gaps where light or air passes through.
DIY seal replacement costs $100–200 in materials and takes about an hour with basic tools. Professional installation adds $100–150 in labor. Either way, this simple upgrade prevents both water damage to stored items and the pressure imbalance that compromises door stability during high winds.
Pre-Storm Checklist & When to Call a Pro
Ready to protect your garage before the next windstorm hits? A garage door inspection checklist takes under two hours and costs less than $200 for basic reinforcement supplies—far less than the $800-3,000+ you’d spend on emergency repairs after a storm.
Your checklist should cover:
- Springs (check for gaps, rust, or uneven winding)
- Panels (look for dents, warping, or cracked seams)
- Weather seals (test for compression and flexibility)
- All hardware (tighten bolts and brackets)
- Track alignment
- Cable condition
Each item needs a simple pass/fail decision: if you spot rust on torsion springs, bent frame sections, frayed cables, or broken rollers, stop and contact a professional immediately. These are safety-critical components that require expert repair.
DIY reinforcement—like replacing weather seals or adding horizontal panel braces—is safe for homeowners. Spring replacement, cable work, and structural frame repairs require professional service. Schedule a professional wind assessment ($75-150) 4-6 weeks before storm season to catch critical failures before they become emergencies. Contact us today to schedule your pre-season inspection!