Why Garage Doors Fail During Earthquakes: Earthquake Preparedness Garage Doors
Your garage door is the largest moving part in your home. During an earthquake, it’s one of the most vulnerable entry points—and one you can protect. Here’s what you need to know: most residential garage doors are made up of separate pieces (springs, tracks, and panels) that work great under normal conditions. But earthquakes create sideways forces that these pieces weren’t built to handle.
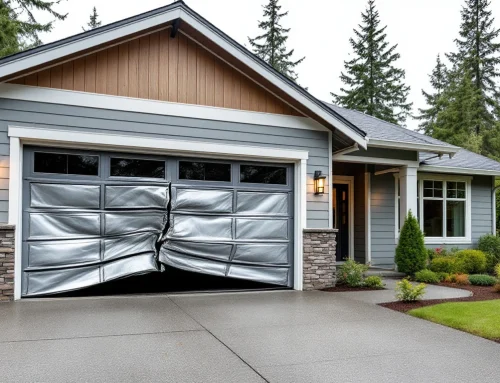
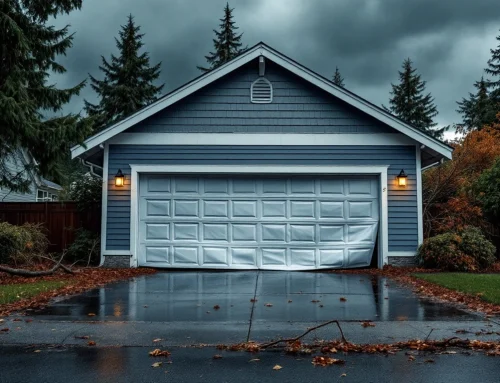
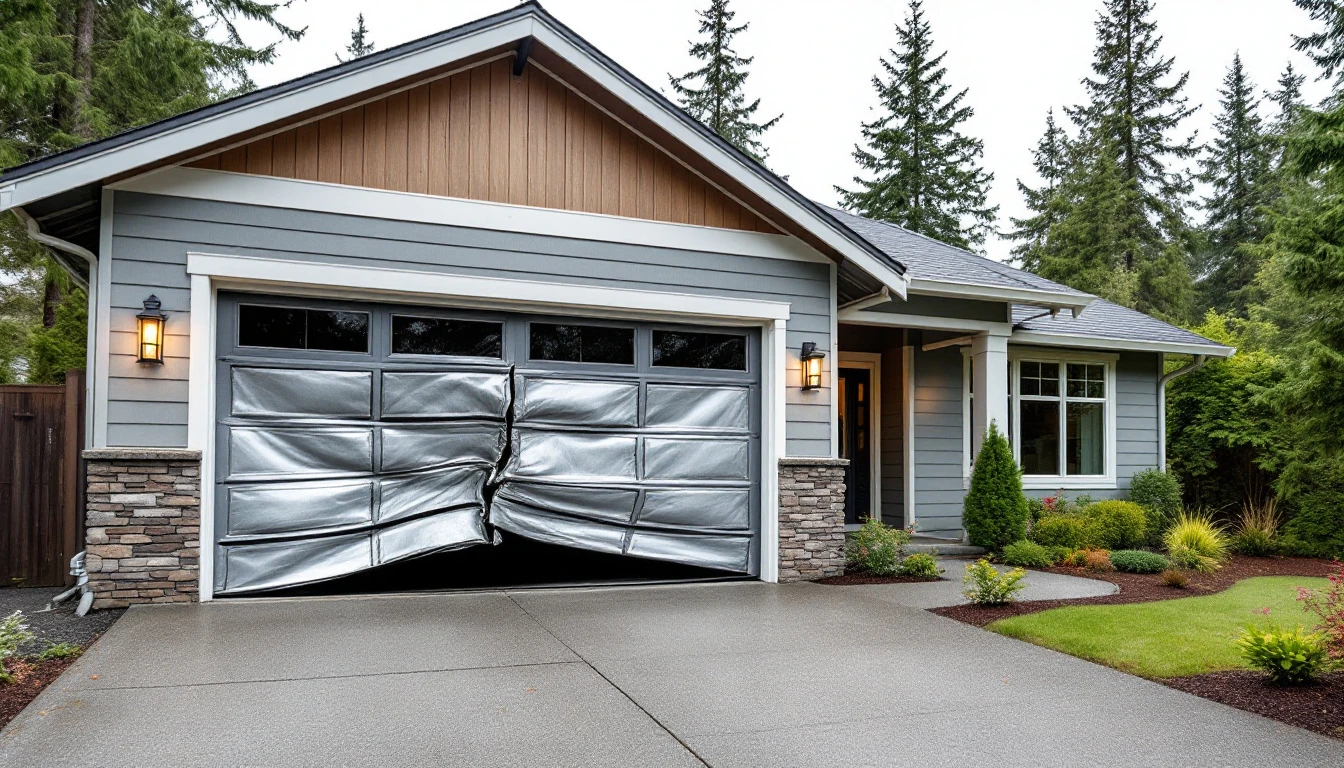
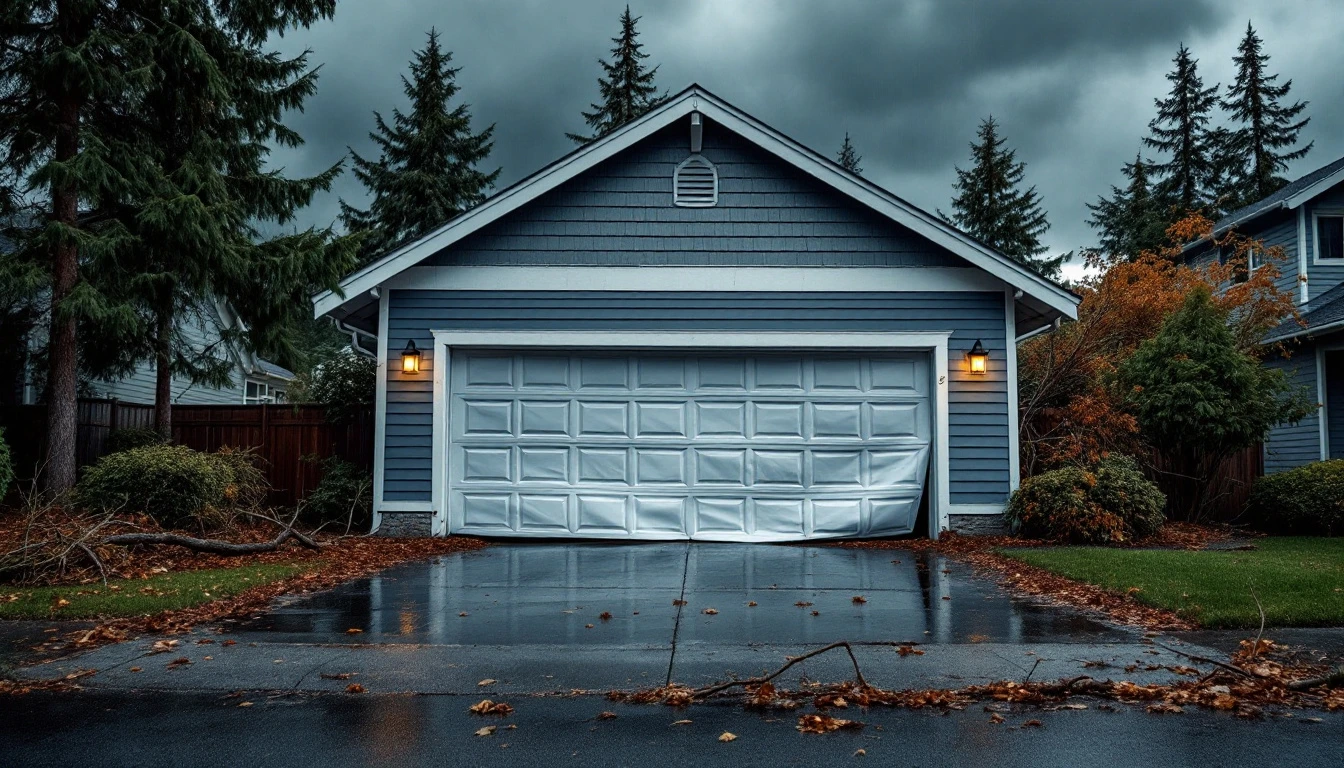
When an earthquake hits, what happens to your unprotected garage door? The panels shift out of alignment. Tracks bend or pull away from the walls. Within seconds, the whole door can collapse inward. That’s dangerous. You could get trapped vehicles, blocked escape routes, or worse—someone could get hurt.
Most garage door installations don’t include earthquake protection. Think about it: the tracks that guide your door only move up and down. Without bracing to hold them in place during ground shaking, even moderate earthquakes can cause serious damage. That’s where reinforcement comes in.
Four Essential Seismic Reinforcements for Earthquake-Resistant Garage Door Installation
Here’s the good part: You don’t need a complete replacement or major structural work. We’re talking about four specific upgrades that work together as a complete defense system. And they’re affordable for most homeowners.
- Lateral bracing kits anchor your door frame directly to the surrounding structure. These metal brackets prevent the frame from pulling away from walls during ground movement, maintaining alignment when it matters most. Look for kits rated for your door width (typically 8, 9, or 16 feet) and verify they include lag bolts sized for your framing material. Expect to invest $50-$100 per kit.
- Reinforced track systems replace standard tracks with heavier-gauge steel that resists bending and twisting. During an earthquake, standard tracks can warp or separate from mounting brackets, causing panels to derail. Reinforced tracks maintain their shape and guide panels smoothly even during ground movement. Compatibility matters here—confirm tracks match your door weight and roller type before purchasing. Budget $100-$150 for a complete set.
- Impact-resistant springs use specialized coatings and wound designs that resist sudden stress fractures. Standard springs can snap under the rapid loading changes that occur during seismic events, turning them into dangerous projectiles. These upgraded springs distribute stress more evenly and include containment cables as backup. Cost ranges from $75-$125 per pair.
- Heavy-duty hinge reinforcements strengthen the connection points between panels, preventing them from separating or folding during shaking. These steel plates bolt through existing hinge locations, adding structural integrity without requiring new mounting holes. Expect to spend $50-$75 for a complete door set.
Why install all four together? Each one fixes a different weak spot. Bracing holds the frame steady. Tracks keep panels on track. Springs stay under control. Hinges keep panels connected. Skip one, and you’ve got a gap in your protection. Install all four, and they work together to protect you when shaking happens.
Installation Steps for DIY-Able Upgrades
Ready to protect your garage door from earthquake damage? The first two reinforcements—lateral bracing and track reinforcement—are perfect weekend projects for homeowners with basic tool skills. Both require simple tools and deliver immediate seismic protection without professional installation.
Lateral Bracing Installation (2–3 hours): First, disconnect your garage door opener by pulling the manual release cord. Position steel L-brackets across the top section of your door, measuring 18 inches from each edge. Drill pilot holes using a 3/16-inch bit, then secure brackets with 1/4-inch lag bolts. Install vertical struts connecting these brackets to wall studs using the same bolt size. Test door movement manually before reconnecting the opener.
Track Reinforcement Installation (1–2 hours): Keep the opener disconnected for safety. Add metal reinforcement brackets every 24 inches along existing vertical tracks. Use 1/4-inch hex-head bolts to attach brackets directly to wall framing, not just drywall. Verify tracks remain aligned by measuring the gap between door panels and tracks at multiple points. Reconnect your opener and run three complete open/close cycles to confirm smooth operation.
When to Hire a Professional
Lateral bracing and track reinforcement? Those are solid DIY projects. Spring replacement? That’s professional work only. Garage door springs are dangerous. They carry enough tension to cause serious injury or death. You need specialized tools and safety equipment. Don’t attempt this yourself.
Is your garage door over 20 years old, visibly damaged, or showing signs of misalignment? Get a professional inspection before you start. It costs $75–$150 and tells you whether your door can handle seismic upgrades or needs replacement first. Contact Garage Harmony to schedule yours today.
A professional installer also makes sure everything meets local building codes. And here’s what matters most: you’ll know your reinforcements were installed right and will actually protect your family when an earthquake hits. That peace of mind is worth the investment.
Budget Tiers and Prioritization
Can’t afford all four upgrades right now? No problem. You can protect your garage door in phases, starting with the upgrades that make the biggest difference first.
- Tier 1 ($50–$150): Start with lateral bracing alone. This single upgrade prevents inward collapse—the failure that causes the most injuries and property damage. For homeowners on tight budgets, this delivers the best protection per dollar spent.
- Tier 2 ($200–$350): Add track reinforcement to your existing bracing. You’ve now protected both the door panels and the track system, creating a more complete frame that resists multiple failure modes during ground movement.
- Tier 3 ($400–$500): Include spring upgrades for maximum safety redundancy. This tier gives you the full four-component system detailed earlier, protecting every vulnerable point on your garage door.
Start where your budget allows, then upgrade progressively as funds become available. Even partial protection beats none at all.
Next Steps: Testing and Ongoing Maintenance
Once you’ve completed your reinforcements, spend five minutes testing. Raise and lower the door by hand, listening for any strange sounds or sticking. Test the auto-reverse safety feature—the one that stops and reverses the door when it hits something—by placing a block of wood under it as it closes. These quick checks confirm everything still works right.
Schedule a professional inspection every 2–3 years to verify that all fasteners remain tight and components show no wear. Keep your installation documentation and receipts—some municipalities offer seismic retrofit rebates, and your insurance provider may reduce premiums for documented earthquake preparation. For more earthquake safety guidance for your home. FEMA offers helpful resources. Ready to protect your garage door? Contact Garage Harmony today for a free inspection and personalized recommendation on which upgrades will work best for your home and situation.