Winterize Garage Door Oregon: Winter Damage Risks
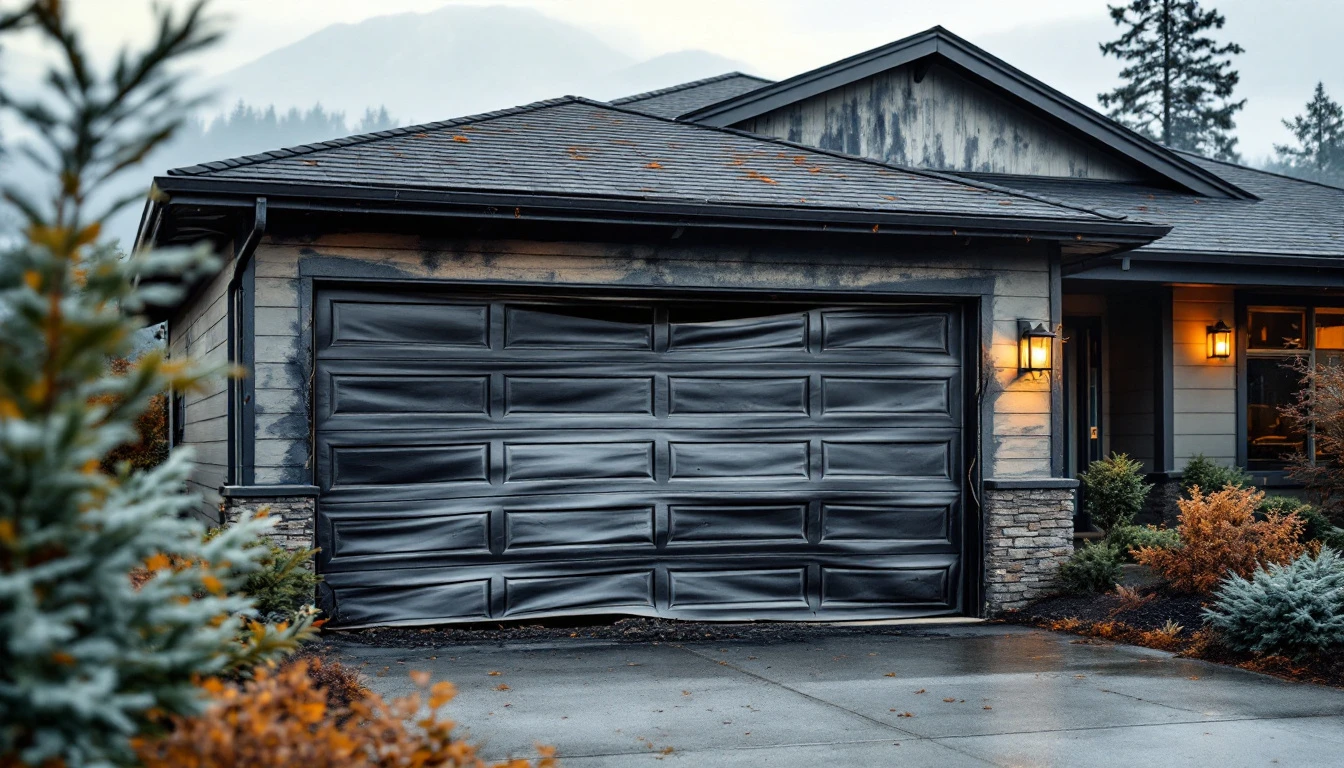
Why does September matter so much for Oregon homeowners? The Pacific Northwest’s wet fall transitions quickly into hard frosts from November through March, and most garage door damage happens during that first freeze event after October. Learning how to winterize garage door Oregon protects your home from the season’s harshest conditions. Ice buildup in tracks causes doors to jam mid-cycle, trapping vehicles inside. Water seeps behind weatherstripping during fall rains, then freezes against metal panels, causing rust and warping.
Thermal stress snaps springs and chains without warning, leaving you stranded. Emergency service calls during winter storms often come with surcharges approaching 50% higher than standard rates. When preventive maintenance gets skipped, homeowners routinely face $500 or more in emergency repairs. Frozen seals crack and fail, allowing frigid air to pour into your home.
Acting now means avoiding these costly failures when storms hit hardest.
Five Essential September Tasks to Winterize Your Garage Door
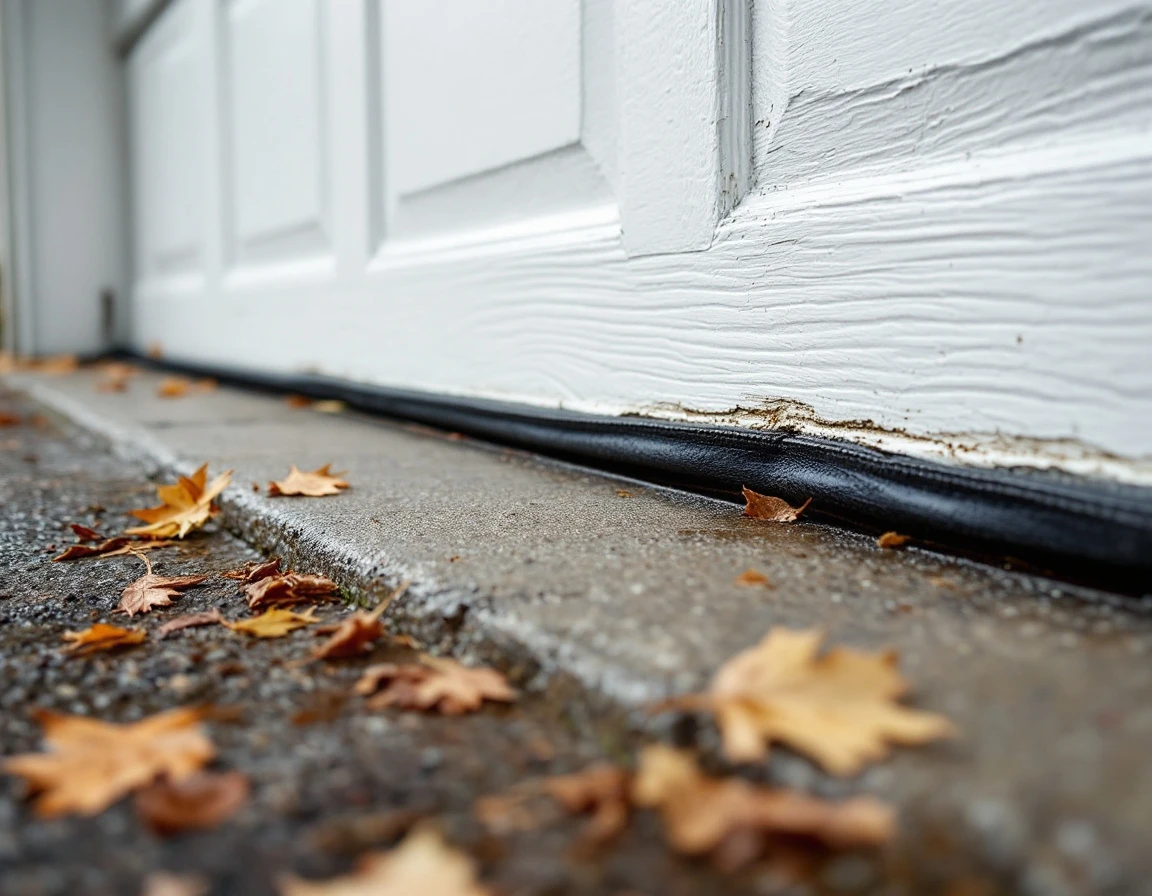
Start with the quick wins that take just 20 minutes but prevent major failures. Inspect and replace weatherstripping and seals around the door perimeter and bottom seal. Look for cracks, gaps, or hardened rubber—when water seeps through compromised seals, it pools along the door base and freezes, expanding with enough force to crack panels or warp the bottom section. Pick up a weatherstrip kit and adhesive-backed door seal at any Oregon hardware store. If you spot daylight through a closed door or feel drafts, replace immediately.
Next, spend 20 minutes on battery backup testing. Drain your garage door opener’s backup battery completely, then recharge and test under load. Pacific Northwest power outages spike in November and December—a dead backup leaves you manually lifting a 150-pound door during an ice storm. If the battery won’t hold a charge after draining, replace it before October.
The 45-minute task: clean tracks and apply cold-weather lubricant. Wipe debris from roller tracks with a rag, then apply light machine oil or silicone spray—never WD-40, which gums up in freezing temperatures. Dirty tracks cause binding, and when metal contracts in cold, a sticky roller can jam completely. Lubricate hinges, springs, and roller bearings while you’re at it.
Invest 45 minutes in hardware inspection. Use a socket wrench to tighten all bolts, brackets, and hinge screws—vibration loosens hardware over months. Check panels for dents or separation. Loose hardware under thermal stress can lead to misalignment or panel detachment.
Finally, the 90-minute priority: test door balance and responsiveness. Disconnect the opener and manually lift the door halfway—it should stay put. If it drops or shoots up, springs need adjustment. Test the auto-reverse by placing a 2×4 under the closing door. If springs show rust, cables fray, or the door won’t balance after track cleaning, call a professional immediately—spring replacement under tension is dangerous.
Weatherstripping and Seal Replacement
Weatherstripping is your first line of defense against water intrusion during Oregon’s wet falls and winter rains. Start your visual inspection by examining the rubber seals along the bottom edge and side channels. Look for hardened sections, visible cracks, or missing pieces—all signs that your barrier has failed.
Gather your materials: a vinyl weatherstrip kit, silicone sealant, caulk gun, and utility knife. Remove the old seal by pulling it from the track, then clean the channel thoroughly to remove dirt and residue. Measure the door perimeter, cut the new seal to the correct length, and press it firmly into the track. Apply silicone sealant around hinges and fasteners to close any remaining gaps.
Test your work with a flashlight from inside the garage—light leaks reveal seal failures. Follow up with a water spray test to confirm the barrier holds. If more than 30% of existing seal is missing or tracks are bent, call a professional before replacing.
This weatherproof garage door task prevents the majority of water-related winter damage.
Time estimate: 30–45 minutes.
Lubricant and Hardware Check
Cold-weather lubrication differs from summer garage door winter weather maintenance in one important way: standard oils thicken when temperatures drop, causing rollers and hinges to stick or freeze. Silicone spray stays fluid in freezing conditions, making it the right choice for Oregon winters.
Start by cleaning the tracks with a dry brush to remove dirt and debris. Apply silicone-based lubricant to rollers, hinges, and springs to roller tracks, roller shafts, and hinge pivot points, then wipe away excess. Next, grab a socket wrench and tighten all bolts on hinges, roller brackets, and spring mounts—most residential doors use ¼-inch or 5/16-inch bolts. Check for corrosion or stripped threads as you go.
Critical safety check: If springs show heavy rust, fraying cables are visible, or bolts won’t tighten, stop and call a professional—these are safety hazards.
Finish by testing the door through a full open-close cycle. Frozen moving parts lead to door failure during winter storms. Time estimate: 40–60 minutes.
When to Call a Professional
Some warning signs demand professional attention before winter arrives. If your garage door feels sluggish or sticks in September, it will freeze solid when November temperatures drop—and no amount of DIY lubrication will fix an underlying track misalignment or worn opener component. Broken springs store tremendous tension and can cause serious injury if handled incorrectly, while rusted cables can snap without warning under load.
Watch for these red flags:
- doors that won’t stay in mid-position indicate spring imbalance
- opener battery backup failures or remote issues suggest electrical problems
- corroded fasteners or rusted hardware signal structural concerns
If any winterization task takes longer than expected or feels unsafe, stop immediately and schedule an inspection.
Calling a professional in September costs less than an emergency repair in January when storms hit. Garage Harmony serves Portland, Bend, the Willamette Valley, Hood River, and surrounding areas—making expert help accessible throughout Oregon’s most vulnerable regions. Knowing when to escalate prevents both injury and expensive crisis calls during winter weather.
Two-Afternoon Action Timeline
Now that you understand the individual tasks, let’s map them onto a realistic timeline that delivers on the two-afternoon promise. This schedule assumes you’re working with a standard two-car garage door in good structural condition.
Afternoon 1: Weatherproofing (2–2.5 Hours)
Start with a 15-minute visual inspection of weatherstripping, seals, and door edges—take photos for documentation. Measure your door and order any missing materials: weatherstrip kits, cold-weather silicone sealant, and lithium-based lubricant. Most hardware stores in Oregon stock these for same-day pickup. Dedicate the next 1.5–2 hours to removing old weatherstripping and installing new seals. And applying silicone caulk around vulnerable joints and corners.
Afternoon 2: Mechanics and Testing (1.5 Hours)
Spend 30–45 minutes cleaning tracks and applying lubricant to rollers, hinges, and moving parts. Follow with 30 minutes inspecting and tightening all visible hardware—bolts, brackets, and fasteners. Finish with a 15-minute full-cycle test: open and close the door five times, listening for grinding or hesitation.
After completing Afternoon 2, your door should open and close smoothly with no grinding, sticking, or hesitation.
Plan this work before late October when frost typically arrives in Oregon’s valleys and eastern foothills. Document your completion dates for future warranty claims and maintenance records.