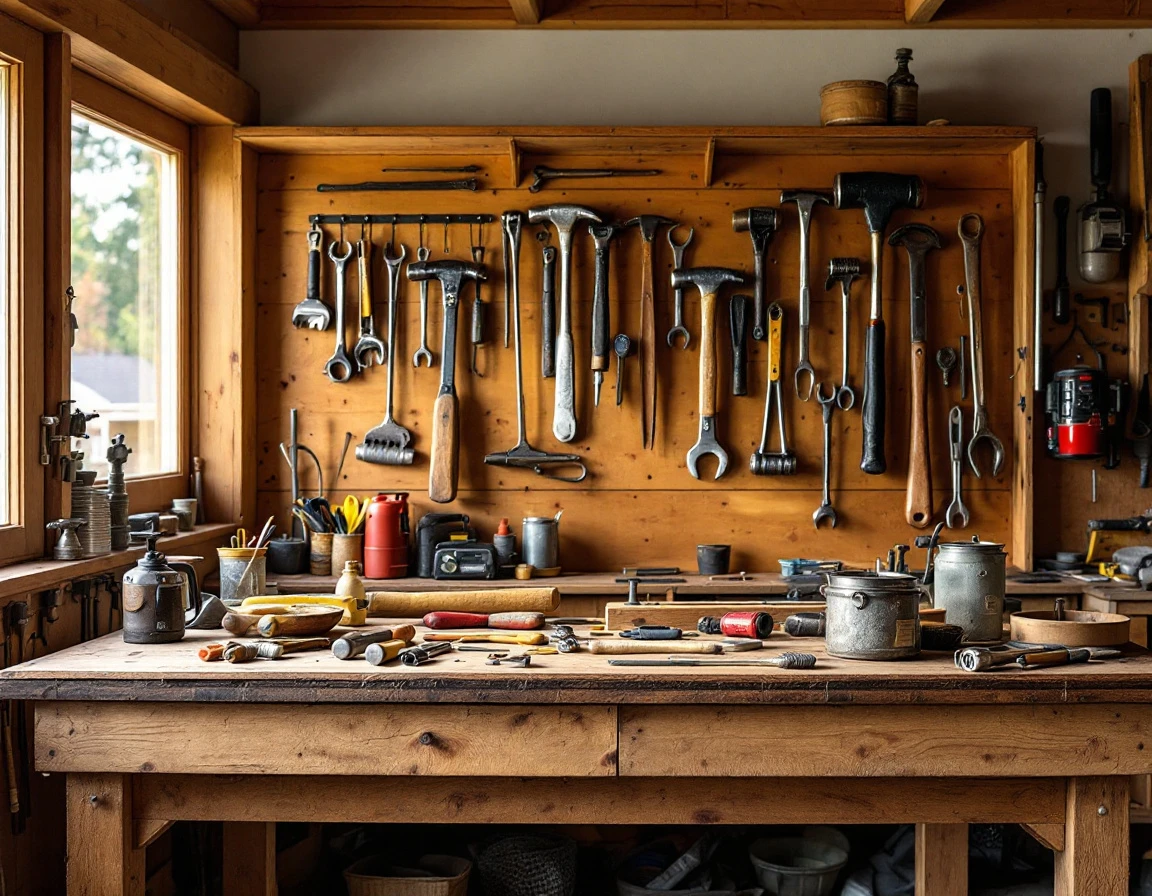
Why Summer Is Your Setup Window for a Garage Workshop
Portland’s summer months create a unique opportunity window that simply doesn’t exist during any other season. A summer garage workshop setup uses the Pacific Northwest’s dramatic seasonal shift—from June through August, the region sheds its rainy reputation and delivers 15-plus hours of daylight each day—enough time to tackle workshop projects after your regular workday without relying on artificial lighting. These extended evenings transform what might be weekend-only work into daily progress you can make after dinner.
The weather advantage goes beyond just longer days. While Portland typically sees rain nearly 155 days per year, summer brings remarkably stable, dry conditions from June through August. This extended dry spell gives you uninterrupted time for the organizing, cleaning, and assembly tasks that rain would otherwise delay or complicate. Try mounting pegboard or assembling a workbench during October’s drizzle, and you’ll quickly understand why summer matters.
Waiting until fall or winter introduces obstacles that summer avoids entirely. Shorter daylight hours compress your available work time, while returning rainfall forces you to pause mid-project or work in uncomfortable conditions. Holiday commitments and competing seasonal projects further crowd your schedule. Summer’s natural endpoint at Labor Day creates built-in accountability—a deadline that motivates completion before weather and time constraints return.
June: Assessment and Planning
June’s consistent daylight gives you the time you need to assess your garage without rushing. Start by pulling everything out and auditing what you already own. Sort tools into categories: what you use weekly, what gets occasional use, and what hasn’t seen action in years. This inventory prevents duplicate purchases and reveals what actually deserves wall space.
Document your workshop needs based on the projects you actually plan to tackle. Are you setting up for woodworking with table saws and routers? Automotive work requiring lifts and air compressors? General DIY projects? Each focus demands different power requirements and layout priorities. Make a list of your planned projects for the next year and let that guide your electrical planning.
Measure your available square footage carefully, paying special attention to constraints common in Portland homes. Many older Portland garages have limited depth—often just 20 feet—which means you’ll need to prioritize vertical storage and wall-mounted solutions. Note ceiling height, existing support beams, and any structural quirks that affect where you can mount heavy equipment.
Plan your electrical requirements now, before you commit to a layout. Identify where outlets need placement for stationary power tools like table saws or drill presses. Consider humidity when planning tool storage—Portland’s damp climate means open shelving works better than enclosed cabinets for preventing rust. Map out lighting placement to eliminate shadows at workbenches. This upfront planning in June prevents costly mid-project changes when you’re building out in July and August.
July: Organization and Storage Build-Out
July’s extended daylight hours and dry conditions make this the perfect month to execute your storage infrastructure plan. With sunset around 9 PM throughout most of July, you can install shelving systems, pegboards, and wall-mounted storage without rushing or relying solely on artificial light. This is the month to transform your planning into physical systems that will serve your workshop for years.
Installing Your Storage Infrastructure
Start with wall-mounted systems during the first two weeks of July. Pegboard installations work best when you can clearly see stud locations and mark your drilling points in natural light. Wall-mounted shelving requires precise leveling, which becomes much easier when you’re not squinting under garage fluorescents at 7 PM.
Portland’s summer humidity sits at its annual low point in July, making this the ideal window to seal storage cabinets and apply protective coatings to wooden shelving. Any storage units you install now will have several weeks of dry weather to off-gas and cure before September rains arrive. Consider adding weather stripping to cabinet doors and maintaining adequate airflow around storage areas to prevent moisture accumulation when fall humidity returns.
Tool Organization and Workshop Zones
Once your storage infrastructure is installed, dedicate the second half of July to organizing your existing tools and creating dedicated zones. Group tools by function rather than size—all measuring and marking tools in one area, cutting tools in another, fastening and assembly tools in a third zone. This approach saves time during projects and improves safety by reducing the need to search through mixed storage.
Wall-mounted tool storage keeps frequently used items visible and accessible. Hand tools should hang at eye level on pegboards or magnetic strips, while power tools deserve dedicated shelf space with nearby cord management. Create a small-parts organization system using drawer dividers or compartmented containers before these items multiply beyond control.
Completing your storage buildout in July prevents the August backlog when many homeowners rush to finish multiple projects before summer ends. With your storage systems in place by early August, you can focus on fine-tuning your workspace layout rather than racing against shortened daylight.

Storage Installation Basics
Installing wall-mounted storage requires selecting hardware matched to your garage wall type. Portland homes typically feature drywall over studs, concrete block, or exposed framing. Use a stud finder to locate framing members, then mark mounting points with a level to prevent crooked shelving. Heavy-duty anchors rated for at least 50 pounds per bracket work well for tool cabinets.
Start with pegboard systems for frequently used hand tools. Mount a 4×8 sheet directly to wall studs using 3-inch screws, spacing them 16 inches apart. Add metal hooks and organizers once the board is secure. This keeps items visible and accessible without consuming floor space.
Vertical solutions maximize Portland’s typically compact garage footprints. Install shelving units that reach within 12 inches of the ceiling, storing seasonal items up top and everyday tools at arm level. Common mistakes include overloading shelves beyond their weight rating and failing to anchor tall units to prevent tipping. Always verify that mounting hardware penetrates studs rather than relying solely on drywall anchors for heavy storage.
Tool Organization Systems
After installing your storage infrastructure, establishing a logical organization system transforms your garage from cluttered space to functional workshop. Organize tools into the following categories:
- Daily-use items like tape measures and screwdrivers
- Project-specific equipment such as routers and sanders
- Specialty tools used occasionally
Store frequently accessed items at eye level on pegboard, while seasonal or specialty tools occupy upper shelving.
Implement a clear labeling system using weatherproof tags or label makers for every drawer, bin, and shelf section. This simple practice saves time during projects and prevents duplicate purchases when you can’t locate existing tools. Include equipment purchase dates and model numbers on labels to track warranties and replacement needs.
Power tools demand special attention in Portland’s moisture-prone climate. Store them in sealed cabinets or closed bins with silica gel packets to prevent rust formation. Wrap cords around integrated hooks rather than the tool body to prevent wire damage, and use dust covers for stationary equipment like table saws.
Create a maintenance log tracking blade sharpening dates, battery replacement schedules, and lubrication intervals. This proactive approach extends tool life and catches small issues before they become expensive problems during mid-project failures.
August: Equipment Setup and Testing
August brings your workshop vision to life through equipment installation and functional testing. With the foundation and storage systems complete from earlier months, this final month of your garage workshop setup guide focuses on installing workbenches, mounting power tools, and verifying every electrical connection before Labor Day marks the unofficial end of summer’s stable weather window.
Start by positioning your workbench in the location you identified during June’s planning phase. Anchor it securely to wall studs rather than relying on floor placement alone—Portland’s occasional seismic activity makes proper anchoring more than a convenience. Install your drill press, table saw, or other stationary equipment according to manufacturer specifications, paying careful attention to clearance requirements for safe operation.
Electrical safety takes priority this month. Test every circuit under load conditions by running multiple tools simultaneously to verify your electrical setup handles peak demand without tripping breakers. Install GFCI outlets if you haven’t already—moisture from fall rains can create shock hazards in unheated garage spaces. Check that your workshop lighting provides adequate illumination across all work surfaces, not just overhead coverage.
Ventilation systems need verification before dust-generating projects begin. Run your shop vacuum and any dust collection equipment to confirm proper airflow. Portland’s naturally humid air requires active ventilation management to prevent sawdust accumulation and maintain comfortable working conditions during extended project sessions.
Complete your final safety walkthrough by Labor Day weekend. Test emergency shutoffs, verify tool guards function correctly, and confirm fire extinguisher placement meets recommended spacing. This deadline means your workshop stands ready for fall projects without scrambling through setup during shorter, wetter days ahead.
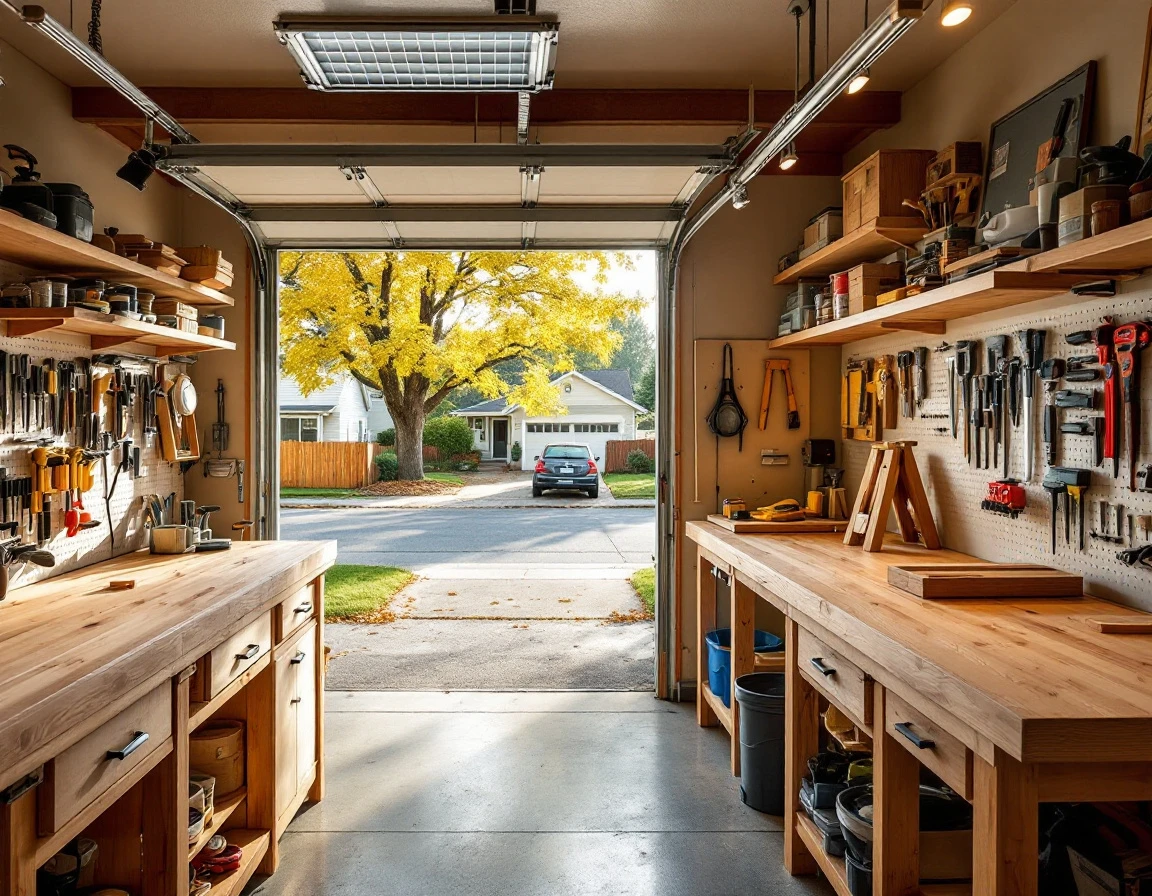
Next Steps: Launch Your Workshop
You’ve spent three months building a functional garage workshop. Now validate those decisions with your first project. Schedule a woodworking or repair project for early September while summer conditions still hold. This first build reveals whether your tool placement makes sense, if your lighting reaches every corner, and whether your workbench height actually works for your body.
Create a seasonal maintenance calendar before fall rains arrive. Check door seals in October to prevent water intrusion. Test ventilation systems before Portland’s wet season begins, making sure adequate airflow exists during winter projects when you’ll close the garage door more frequently. Document caulking and weatherstripping dates so you know when to reapply.
Photograph your completed setup from multiple angles. These images serve insurance documentation if you ever file a claim for stolen tools or damage. They also provide baseline references when you plan upgrades next summer—you’ll remember exactly why you placed that drill press in the corner or mounted pegboard at that specific height.
Review what worked and what didn’t as you use the space this fall. Keep notes about storage gaps, lighting dead zones, or workflow bottlenecks. Next June, you’ll have a prioritized upgrade list based on actual experience rather than guesswork.