When Your Door Gets Stuck: Garage Door Troubleshooting Portland
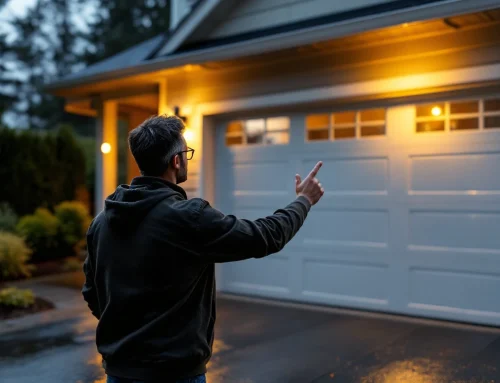
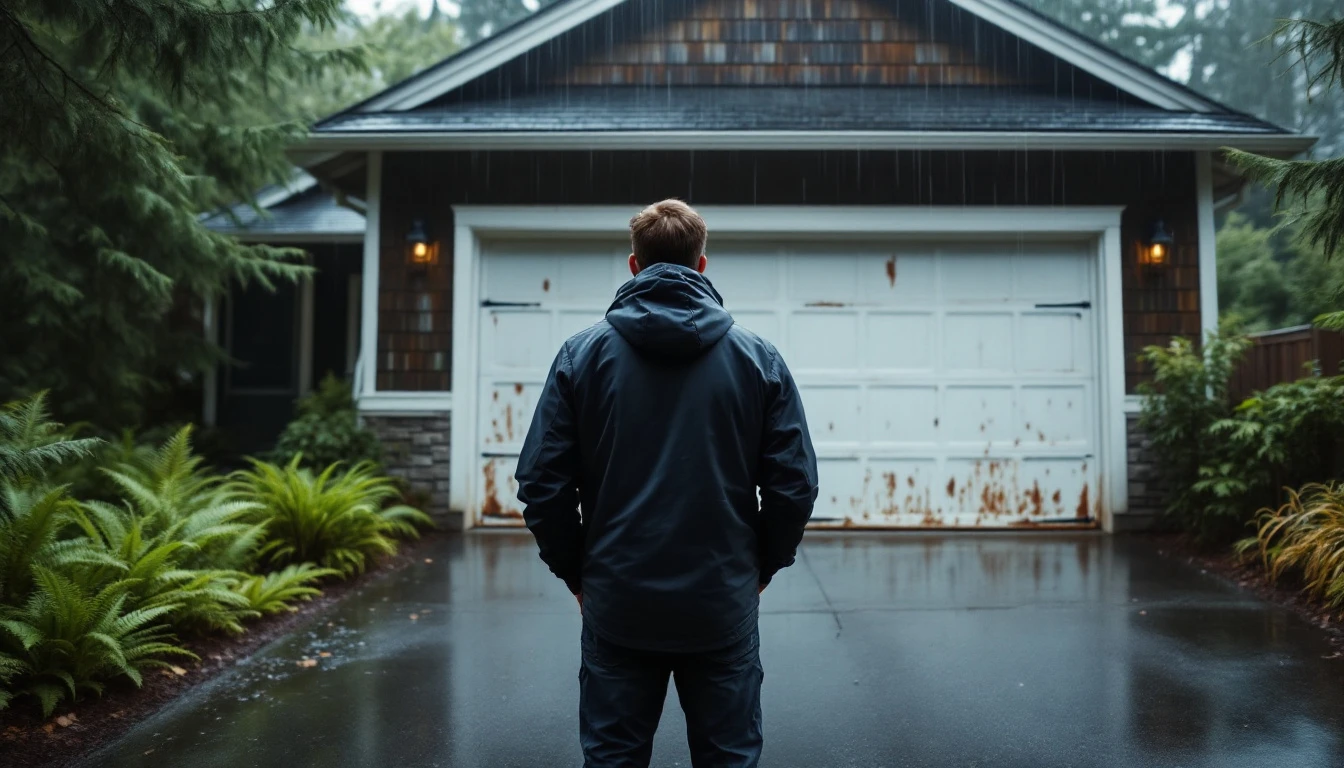
Picture this: you pull into your driveway after a long day, press the garage door remote, and nothing happens. Or worse—the door lurches halfway down, then reverses back up, leaving your garage exposed. Maybe it’s stuck partially open, grinding and groaning but refusing to budge. When your garage door fails, it’s more than an inconvenience; it’s a security risk and a stress point you need to resolve fast. If you’re dealing with a garage door stuck situation or need garage door troubleshooting Portland homeowners trust, you’re in the right place.
Here’s the encouraging part: most garage door failures have DIY-fixable causes. The majority of stuck doors fall into three symptom categories—won’t open at all, won’t close fully, or moves partway then reverses. “…Quick, structured diagnosis can reveal if you’re dealing with a simple battery replacement or a situation that requires professional help.
Learning to diagnose the problem yourself before calling a technician can save you hundreds of dollars in service fees and help you avoid the weeks-long wait times that Portland metro repair companies often face during busy seasons.
Let’s walk through how to pinpoint what’s actually going wrong.
The Five Quick Checks
Before you call for professional help, spend 10–15 minutes running through these five diagnostic checks. Each one targets a common failure point and will guide you toward either identifying the problem or eliminating a potential cause. All you’ll need is a flashlight and basic household tools you already own.
Check 1: Remote Batteries and Wall Button Function
Start with the simplest culprit. Press your wall-mounted button while standing near the opener. Does the door respond? If yes, your remote likely needs new batteries. If the wall button doesn’t work either, check the circuit breaker and make sure the opener unit itself has power. You can find detailed guidance in our sensor troubleshooting guide and remote battery replacement instructions if either of these components turns out to be your problem.
Check 2: Safety Sensors Aligned and Unblocked
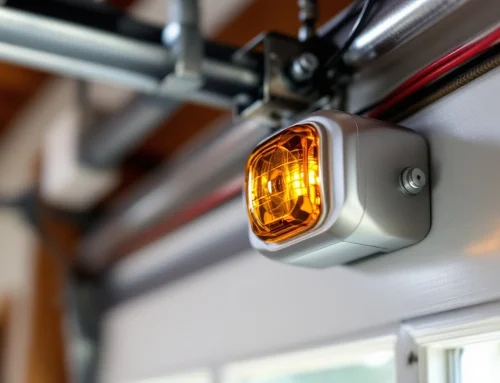
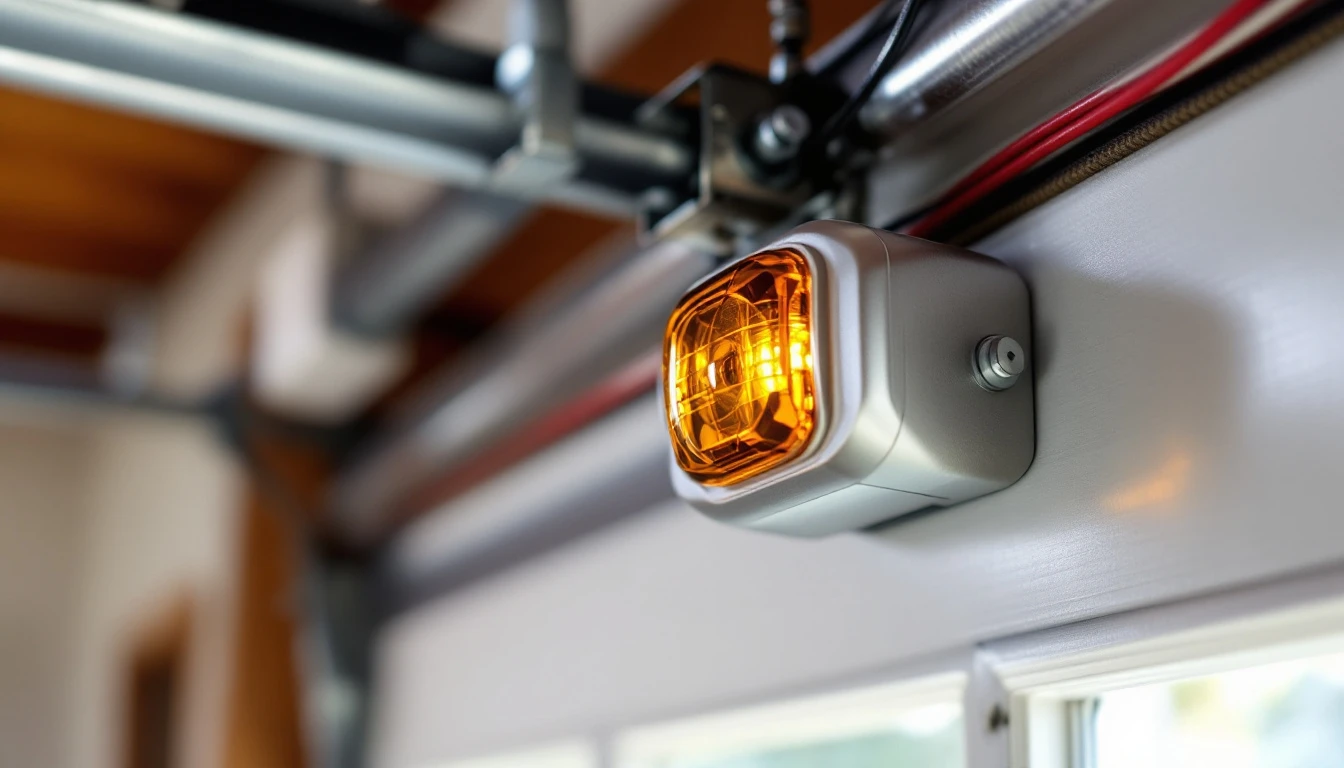
Look at the two sensors mounted on either side of your door near the floor. Do both indicator lights glow steadily? If one is blinking or dark, the sensors are misaligned or something is blocking the beam. Clean any dirt or cobwebs from the sensor lenses with a soft cloth, then check that both sensors point directly at each other. Even a minor bump can knock them out of alignment.
Check 3: Track Alignment and Visible Obstructions
Inspect both tracks running along each side of your door. Are they plumb and parallel? Look for any bends, gaps between the track and wall, or debris lodged inside the channel. A small toy, fallen bracket, or bent section can stop your door cold. Use your flashlight to check the rollers themselves—are they seated properly in the track, or has one jumped out of position?
Check 4: Opener Power and Emergency Release Status
Verify that the opener unit has power by checking that its light or LED display is active. Next, locate the red emergency release cord hanging from the opener trolley. Is it in the engaged position? If someone accidentally pulled this cord, the door disconnected from the motor and won’t respond to the opener at all. Simply pull the cord toward the opener unit to re-engage.
Check 5: Spring Tension and Balance (Visual Inspection Only)
Warning: Never touch, adjust, or attempt to repair garage door springs or cables yourself. These components are under extreme tension and can cause serious injury. From a safe distance, look at the springs above your door. Do you see any visible gaps or breaks in the coils? With the door closed, carefully pull the emergency release and try lifting the door manually about three feet. Does it stay in place, or does it fall? A door that won’t stay open indicates broken or weakened springs—a job for professional repair.
Remote or Sensors Failing
Before you start inspecting tracks or springs, tackle the two easiest culprits first. Dead remote batteries account for a surprising number of “broken” garage doors. Pop open your remote, swap in fresh batteries—typically two AA or AAA cells—and test the button. This thirty-second fix often solves the problem instantly.
If the remote works but your door still won’t close, check your safety sensors. These small devices sit on either side of the door near the floor. Look for LED indicator lights on each sensor. A solid green light means they’re aligned; red or amber signals a problem.
Here’s a quick realignment trick: use small pieces of mirror tape on the mounting brackets to fine-tune the angle until both sensors show green.
Gently adjust each sensor housing until the beams connect properly. This simple fix resolves a large percentage of how to fix garage door that won’t close complaints in under five minutes.
Track and Obstruction Issues
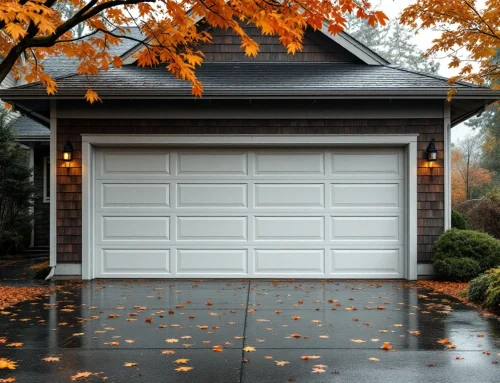
Portland’s early fall brings a steady rain of leaves and debris that can clog your garage door tracks before you realize what’s happening. This seasonal shift makes September the perfect time to inspect your tracks for bent sections, rust spots, and blockages that prevent smooth operation.
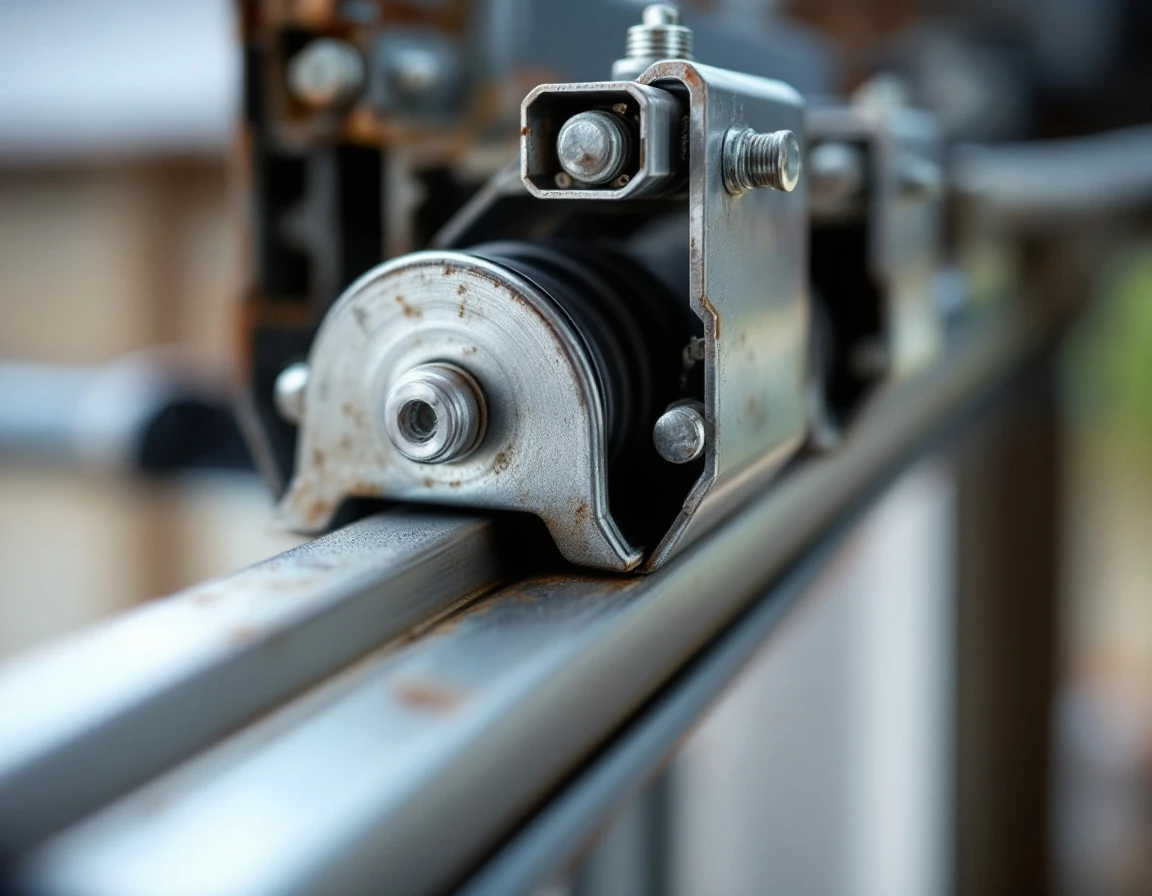
Start by looking closely at both horizontal and vertical track sections. Do you see any visible dents or bends that might catch the rollers? Check for rust patches that could create friction or weak points. Most homeowners can safely clear fallen leaves, dirt, and small debris using a stiff brush or vacuum.
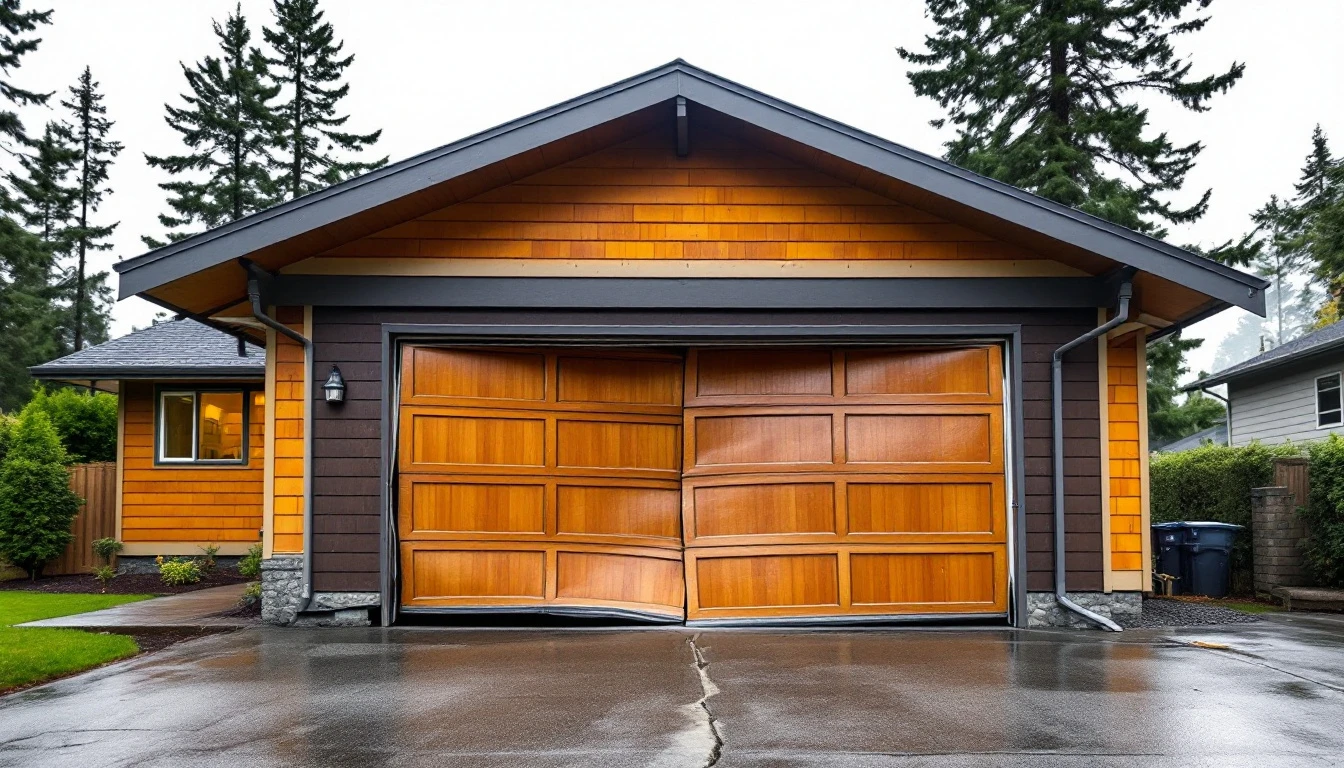
But here’s where you need to pause: if you spot track misalignment, severe damage, or objects wedged into the rail system, stop. Track realignment requires specialized tools and expertise to avoid making the problem worse. That’s when it’s time to call in professional help.
Opener Power and Emergency Release
Before you start dismantling anything, check the basics. Is your garage door opener not working properly? Walk over to the unit mounted on your ceiling and verify the power cord is firmly seated in its outlet. Test the outlet itself by plugging in a lamp or phone charger—outlets can fail without warning.
Next, press the wall-mounted button inside your garage to check if the door responds. If the wall button works but your remote doesn’t, you’ve just isolated the problem to the remote itself rather than the opener. This simple test takes fifteen seconds and can save you from chasing the wrong issue.
Look up at your opener and locate the red emergency release cord hanging down. This manual release disconnects the door from the motor so you can open it by hand during power outages. If someone pulled this cord, your opener won’t engage the door even when it runs. Re-engage it by pulling the cord toward the motor until you hear it click back into place.
Finally, inspect the opener unit for a reset button or internal circuit breaker. Many models have a small red button that pops out when the motor overheats or a fuse blows. Press it back in and test your door.
When to Call a Professional
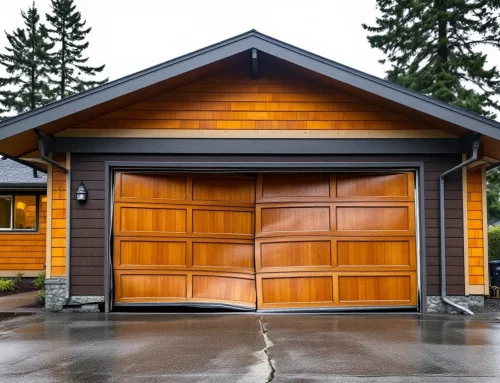
Some garage door repairs cross the line from smart DIY territory into serious safety hazards. Spring replacement, cable work, and roller replacement on torsion spring systems are never homeowner projects—these components store tremendous tension that can cause severe injury or death if handled improperly. If you see a broken spring, a frayed or snapped cable, or damaged rollers, stop and call a professional.
Bent or twisted tracks also require specialized straightening equipment and expertise. Attempting to force a warped track back into place can worsen the problem and damage your door permanently. Similarly, opener motor failure or control board damage requires diagnostic tools and replacement parts that go well beyond typical DIY capabilities.
Watch for these red flags that signal immediate professional attention:
- loud grinding noises during operation
- a door that reverses immediately after touching the ground
- springs that show visible gaps or breaks
These aren’t minor adjustments—they’re safety issues that need expert repair.
Here’s a practical consideration for Portland metro homeowners: September repair turnaround times are noticeably faster than winter months. Call now and you’ll typically get service within days. Wait until January or February, and you might face waits stretching four to six weeks as professionals handle a backlog of weather-related failures and frozen mechanisms.
Need help? Contact us today for professional garage door repair, or check our repair cost guide to understand typical service pricing in the Portland area.
Next Steps and Prevention
Did your diagnostic work reveal a simple fix you could handle yourself? Test the door through several open-and-close cycles to confirm the problem is resolved, then document what you found—make a note of the issue, which component failed, and what you did to fix it. This record becomes valuable information if the problem recurs or if you need professional service down the road.
If your troubleshooting pointed to a spring, cable, or track issue requiring expert help, you’re already ahead of the game. When you call for service, share your model number, warranty status, and exactly what symptoms you observed during your checks. This preparation helps technicians arrive with the right parts and tools. Often turning a two-trip job into one visit.
September offers the perfect window to schedule preventive maintenance before October’s rain arrives. Add a monthly visual inspection to your calendar—check sensors, tracks, and moving parts for debris or wear. A few minutes of attention each month can prevent the frustration of a stuck door on a busy weekday morning.