Why April Testing Matters
April marks Garage Door Safety Awareness Month. Making it the perfect time for garage door safety testing. Check your door’s auto-reverse function and safety sensors before minor wear becomes a dangerous failure.
Auto-reverse and sensor failures cause child
Garage door safety failures aren’t abstract risks—they result in real injuries and property damage every year. When auto-reverse mechanisms malfunction or safety sensors fail to detect obstructions, the door’s powerful closing force can trap children, pets, or vehicles underneath. Spring brings these risks into sharp focus as Portland homeowners emerge from winter and use their garage doors more frequently after months of reduced activity.
This seasonal increase in usage puts additional stress on components that may have deteriorated during winter’s wet, cold conditions, making April the critical month to test these safety systems before peak summer use begins.
Early detection prevents costly emergency repairs
Testing your garage door’s safety features now prevents the scenario every Portland homeowner dreads: a broken spring snapping at 6 AM when you’re already late, or worse, a door crushing property or injuring someone.
The difference between a scheduled $150 sensor adjustment and a $1,200 emergency replacement comes down to 10 minutes of testing with items you already own.
Grab a broom, a cardboard box, and follow the simple tests outlined below. You’ll know immediately whether your door stops when it should, protecting both your family and your wallet from preventable accidents.
Auto-Reverse Testing
Testing your garage door’s auto-reverse function takes less than five minutes and requires nothing more than a common household item. Place a wooden block, piece of scrap lumber, or a pool noodle flat on the garage floor directly in the door’s path. Position it about six inches from the threshold where the door closes.
Press your wall button or remote to close the door. Watch carefully as the door descends. A properly functioning auto-reverse mechanism will stop and reverse direction within two inches of contact with the object. The door should immediately travel back up to the fully open position. If your door crushes the object, stops without reversing, or reverses only after applying pressure for several seconds, your auto-reverse has failed.
What Failure Means
Auto-reverse failure typically stems from three common issues: worn contact sensors at the door’s bottom edge, misaligned force settings in the opener, or broken or weakened springs that prevent the door from detecting resistance properly. In Portland’s wet climate, corroded wiring connections can also interfere with the safety circuit. These aren’t abstract problems—they’re the difference between a door that stops when it touches your child’s bicycle and one that doesn’t.
When to Call for Help
If your door fails this test, you can try adjusting the force sensitivity dial on your opener unit (consult your owner’s manual for location and direction). Make small quarter-turn adjustments and retest. However, if adjustment doesn’t solve the problem within two or three attempts, or if you notice broken springs, frayed cables, or damaged door sections, contact a professional. Spring replacement and opener recalibration require specialized tools and knowledge. What you can’t do safely, our team at Garage Harmony handles routinely—and catching these issues now prevents the emergency weekend call when the door won’t close at all.
Sensor Alignment Check
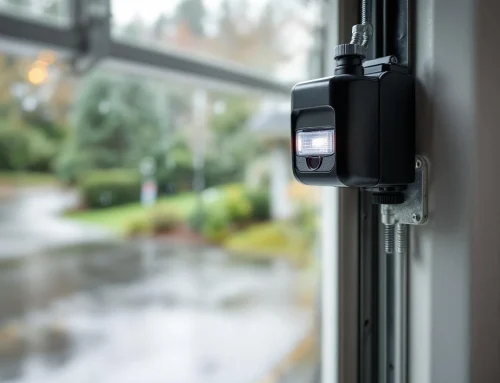
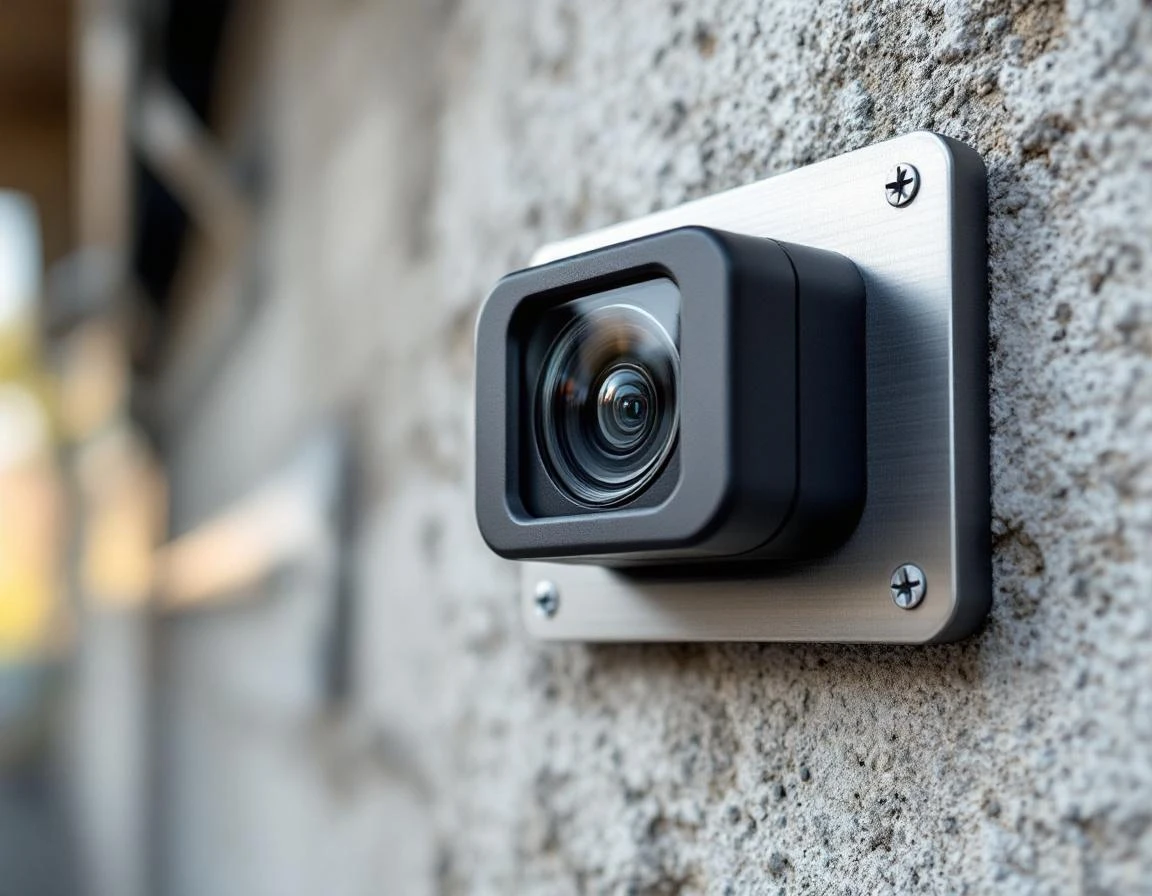
Your garage door’s safety sensors create an invisible infrared beam across the opening, about six inches above the floor. When an object or person breaks this beam, the door immediately stops or reverses. This system prevents the door from crushing anything in its path, but it only works if both sensors maintain perfect alignment.
Start your inspection by checking both sensors visually. They should face each other directly across the doorway, with no visible dust, cobwebs, or debris on the lenses. Many sensors include LED indicator lights—typically, one glows steadily while the other blinks when the beam is active. If either light is off or blinking irregularly, alignment has shifted.
Clean both sensor lenses with a soft, dry cloth. Even light dust accumulation can scatter the beam enough to cause false triggers or failure to detect obstructions. After cleaning, test the beam by placing an object between the sensors while closing the door. The door should stop and reverse immediately. If it doesn’t, your sensors aren’t communicating properly.
Portland’s weather creates common alignment problems. Winter ice storms and spring windstorms can vibrate garage structures enough to shift sensor brackets. Accidental bumps from bikes, cars, or yard equipment also knock sensors out of position. Most brackets allow minor adjustments—you can often loosen a wing nut, rotate the sensor slightly until the indicator lights show a solid connection, then retighten.
However, some alignment issues signal bigger concerns. If sensors won’t stay aligned despite adjustment, or if mounting brackets are bent or damaged, the door track itself may have shifted. This requires professional assessment. Similarly, if sensors repeatedly fail even after cleaning and realignment, internal wiring or the sensor units themselves may need replacement. Sensor malfunctions cause more auto-reverse failures than any other single component. Making this five-minute check absolutely critical.
Printable Testing Checklist
Want a simple way to track your garage door safety inspection checklist and share results with repair professionals if problems arise? This checklist consolidates everything you’ve just tested into one reference document that serves as both a testing guide and a safety record.
Your checklist should include the following elements:
- Test date and garage door opener model at the top
- Sections for recording auto-reverse test results (whether the door reversed when it contacted the test object)
- Sensor alignment and cleanliness observations
- Space for noting any problems discovered
- Fields for the next scheduled test date and contact information for professional service
When you call Garage Harmony or another technician, having this documented information speeds diagnosis and helps professionals understand exactly what’s failing.
Think of this checklist as proof of safety diligence. If a family member asks about garage maintenance, you have dates and results to show. If you’re selling your home, documented safety testing demonstrates responsible ownership.
Most importantly, turning this 10-minute task into a written record creates accountability—you’re more likely to test every six months when you can see the last test date staring back at you.
What to Do After Testing
If both your auto-reverse mechanism and safety sensors passed their tests, congratulations! You’ve confirmed your garage door system meets critical safety standards. Document the test date on your checklist and schedule your next annual check for April 2026. If you’ve recently repaired springs, replaced cables, or made any structural changes to your door, plan to retest within 30 days to verify everything still works properly.
When auto-reverse responds slowly or fails to reverse at all, professional adjustment or repair is needed immediately. This indicates worn gears in your opener, incorrect force settings, or mechanical issues that could worsen quickly. Similarly, if your safety sensors fail to stop the door despite cleaning and realignment attempts, the sensor units themselves may be damaged and require replacement.
Minor sensor misalignment without visible damage is typically a DIY fix. Follow the realignment steps from the previous section, with both sensor lights solid and the beam is unobstructed. If brackets have loosened from seasonal temperature shifts common in Portland’s winter-to-spring transition, tighten mounting screws and retest.
Certain red flags demand immediate professional service:
- Broken springs (you’ll hear a loud bang)
- Frayed or damaged cables
- Doors that won’t stay open without propping
- Openers making grinding noises
These issues pose immediate safety risks and can cause sudden door failure. Contact Garage Harmony if you encounter any of these warning signs—we’ll prioritize safety-critical repairs to protect your family.