

Why Portland Garages Need Pre-Rain Sealing
Portland’s rainy season brings months of persistent moisture that can silently damage your garage and belongings without proper weatherstripping.
Extended rain season peaks June through September
Portland’s rainy season hits hardest from June through September, dumping moisture into every vulnerable gap around your garage door.
Water intrusion during these months doesn’t just create puddles—it causes foundation damage, accelerates vehicle rust, and triggers mold growth that can cost between $3,000 and $15,000 or more to repair properly.
Garage doors are the primary entry point
When weatherstripping wears down or goes missing, your garage door becomes the main pathway for water intrusion. Professional sealing services typically run $800 to $2,000. But homeowners can install DIY weatherstripping for just $50 to $200 and prevent most damage before the storms hit.
Weatherstripping Materials for Portland’s Wet Climate
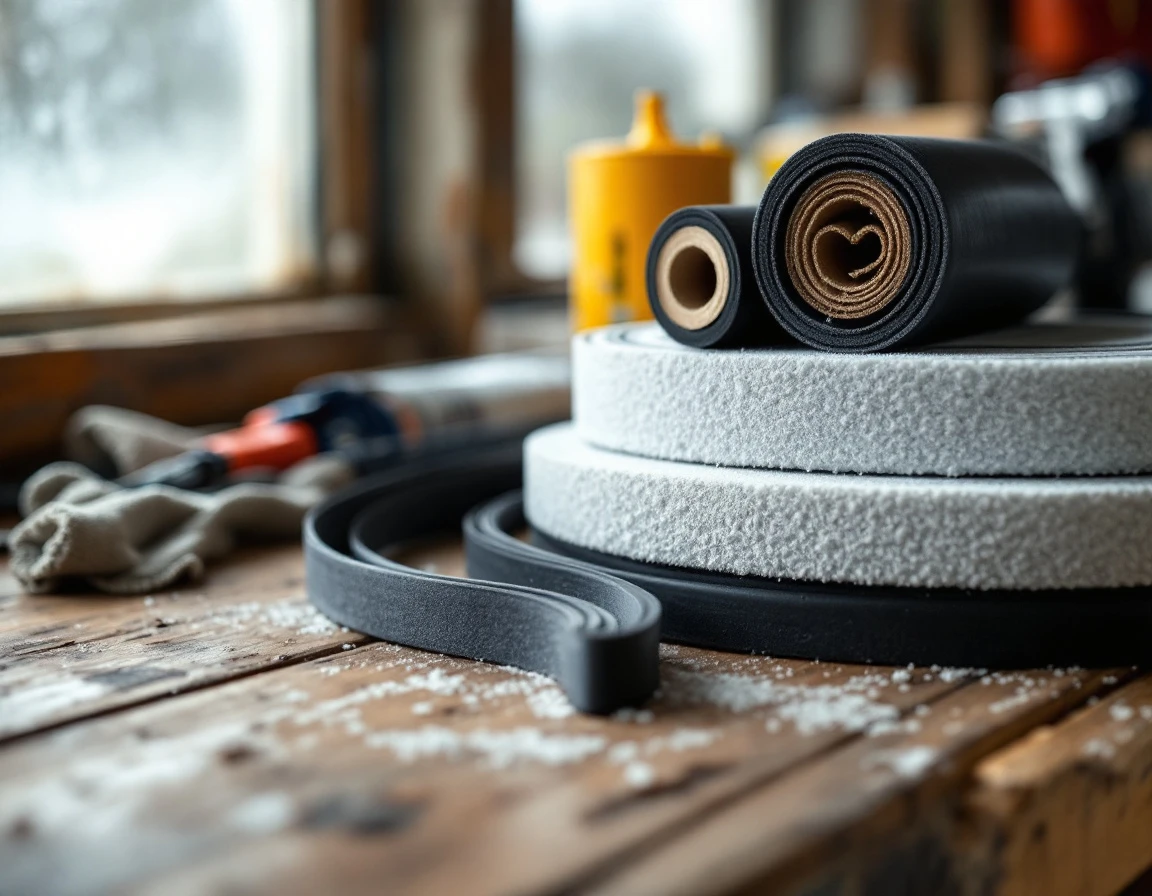
Portland’s 40+ inches of annual rainfall demands weatherstripping materials that can handle constant moisture without breaking down. EPDM rubber strips outperform foam alternatives in high-humidity conditions. Lasting 5–8 years compared to just 2–3 years for foam-based products. While foam weatherstripping may seem budget-friendly upfront, its tendency to absorb water and compress permanently makes it a poor choice for Pacific Northwest garages.
Bottom seals face the toughest conditions, sitting directly in water during heavy storms. Silicone-backed versions resist compression and mold growth far better than standard rubber. For threshold seals along your door bottom, choose compression-type installations rather than adhesive-only options—repeated wet/dry cycles will loosen adhesive bonds within months.
What should you budget for materials? Weatherstripping kits for standard garage doors come in various price points, depending on whether you choose basic EPDM or premium silicone-backed options. Measure your door dimensions carefully before purchasing, as oversized or double doors require specialized kits that prevent gaps at connection points.
DIY Inspection and Installation Steps
Before installing new weatherstripping, inspect your existing seals for common failure signs:
- Gaps where light passes through when the door is closed
- Visible cracks in the rubber
- Compression set where foam no longer springs back when pressed
- Dark spots indicating mold growth
Most weatherstripping fails after three to four years in Portland’s wet climate.
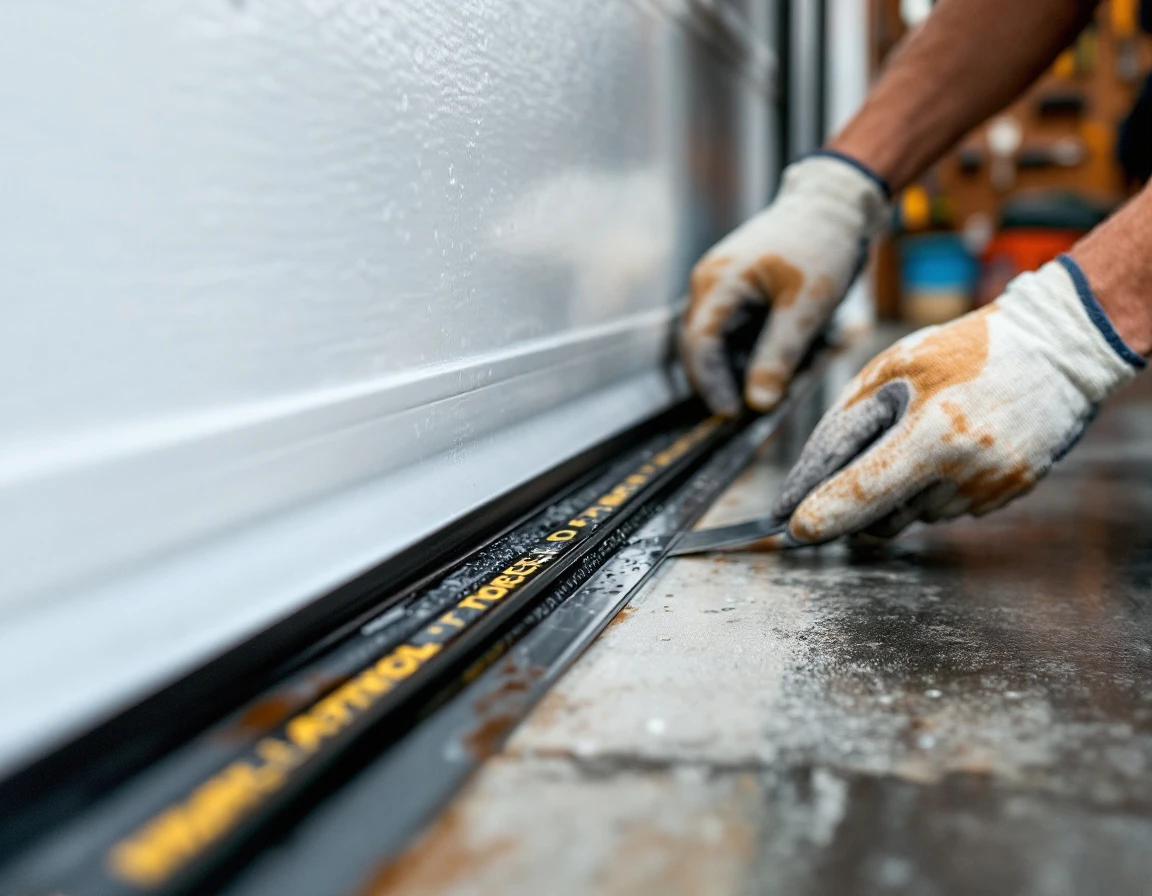
Remove old strips using a putty knife to pry them from channels and tracks. Clean all mounting surfaces with a damp cloth to remove debris, old adhesive, and mold spores that could compromise your new seals. Allow surfaces to dry completely before proceeding.
Install new weatherstripping bottom-to-top. Start with the threshold seal against the garage floor, then attach side seals to vertical tracks, and finish with the top seal.
Use hand pressure and a block of wood to press strips evenly into channels—over-tightening reduces flexibility and creates new leak points. Allow twenty-four hours cure time before operating the door, giving adhesives time to bond properly during this critical installation window.
Common Sealing Failures and Red Flags
Before June storms arrive, inspect your weatherstripping for these telltale signs of failure:
- Compression set appears when foam strips remain permanently flattened and no longer spring back—these deformed strips create gaps that let water through
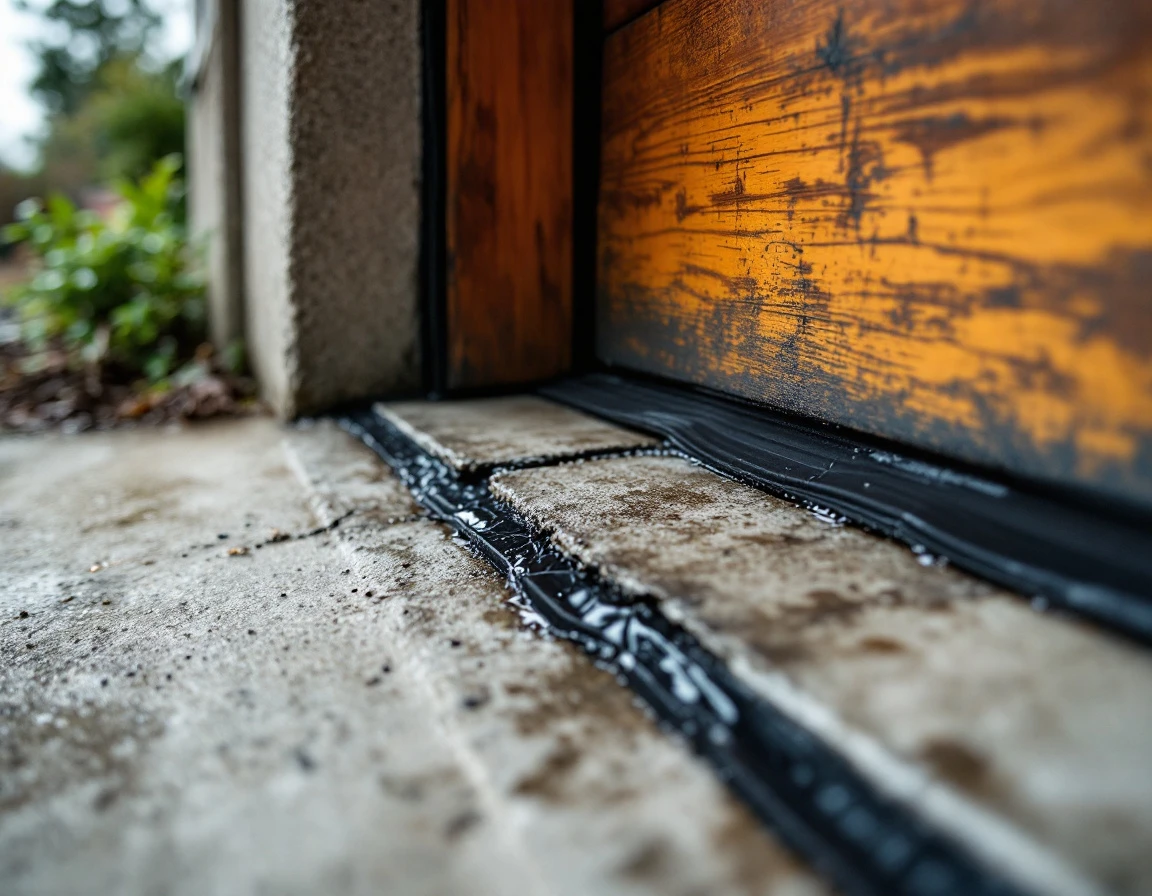
- Mold staining along the threshold, showing dark discoloration that signals standing water from a failed bottom seal
- Water pooling near the door opening after rainfall, pointing to door misalignment or severe seal breakdown
- Water marks creeping up the walls near the door base—another clear indicator your seals aren’t doing their job
Poor-quality materials typically show compression damage within 2–3 years.
When you spot rust on the door bottom or corroded hardware. Moisture is trapped between the weatherstripping and metal. This level of damage requires professional attention. If you see visible rust, structural issues, or water actively entering your garage, call Garage Harmony rather than attempting a DIY fix.
When to Hire Professional
Weatherstripping can’t solve every water problem. If your garage door shows uneven gaps or rubs against the frame when opening, the door is misaligned and needs professional adjustment first. Adding new weatherstripping to a misaligned door wastes both time and money because the seal won’t make consistent contact.
Look closely at the door bottom, tracks, and hinges. Rust or corrosion means structural damage already exists, and fresh weatherstripping becomes just a cosmetic fix. Similarly, if you notice concrete cracks around your garage or water pooling on the floor, foundation settling or drainage issues are the real problem. These require repair before any sealing work will hold.
Professional sealing costs vary based on the extent of structural issues you’re facing. If water is already inside your garage or the door frame shows damage, calling experts before rainy season prevents costlier repairs later. Contact us today for an assessment.
June Action Plan: Pre-Rain Checklist
Break your weatherstripping project into three actionable weeks before consistent summer rain arrives:
- Week 1 of June. Inspect your current weatherstripping and photograph any damage. Order replacement materials immediately—most suppliers ship within 3–5 days, giving you time before weather windows close.
- Week 2. Remove old strips, clean all tracks thoroughly, and install new weatherstripping. Remember the critical 24-hour cure period: don’t open your garage door during this window, even if it’s inconvenient. This curing time determines whether your seal will hold through Portland’s wet months.
- Week 3. Test your work. Run multiple open-close cycles to verify smooth operation, then monitor carefully during the first rain. If water enters your garage after installation, photograph the intrusion and contact a professional within 48 hours. Water entry despite new weatherstripping signals deeper problems—misalignment, cracked frames, or foundation issues that require expert diagnosis before mold takes hold.

Leave A Comment