

Willamette Valley Moisture Challenges
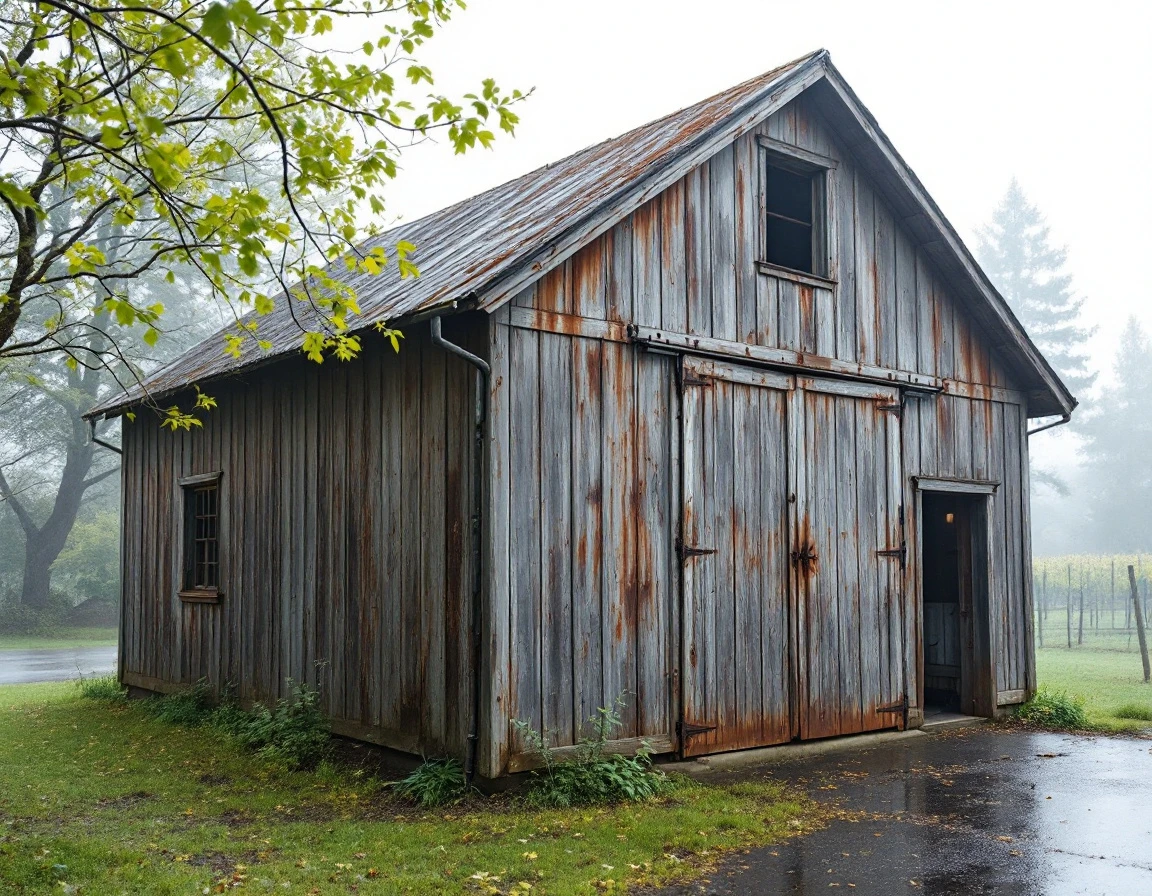
Dayton sits in a unique climate pocket where valley fog and wine country humidity create moisture conditions unlike drier Oregon regions east of the Cascades. From November through February, persistent fog banks settle over the valley floor, keeping metal hardware and wooden structural members damp for days at a time. This prolonged exposure accelerates corrosion and decay in ways that brief rainstorms cannot.
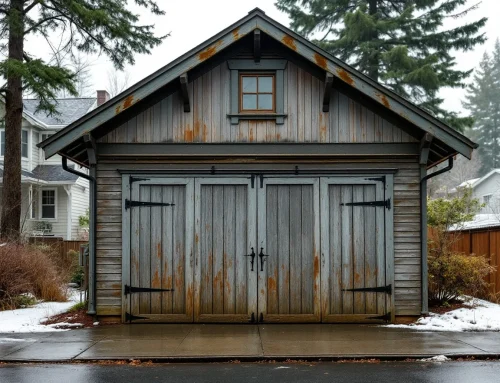
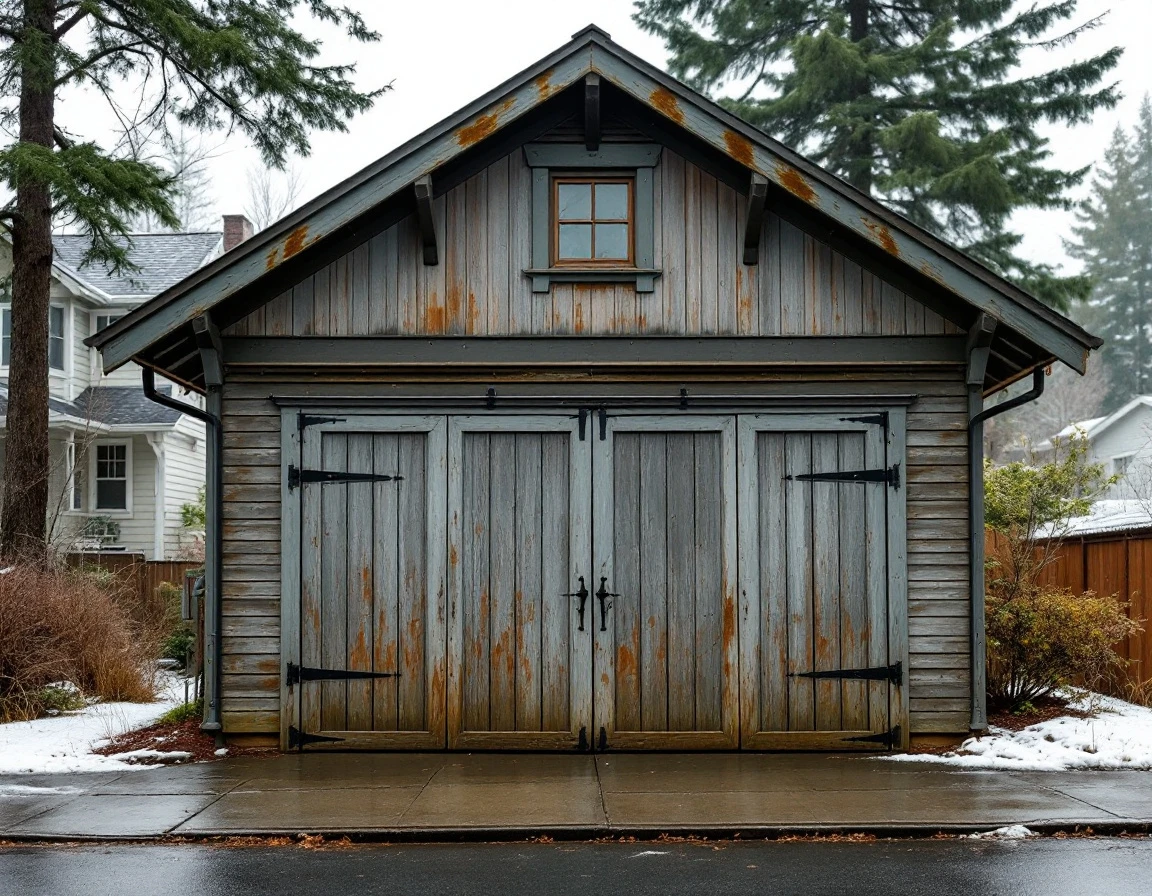
Early 1900s detached garages were built before modern moisture control techniques became standard. These structures typically lack vapor barriers, proper ventilation systems, and moisture-resistant materials. Without these protections, damp air penetrates wall cavities and settles on metal components. Garage door springs. Hinges, and tracks become prime targets for rust formation.
The seasonal moisture pattern in Willamette Valley wine country drives a specific timeline for prevention. Spring’s transition from wet to dry creates rapid temperature swings that promote condensation. Fall’s return to rainy weather reactivates dormant rust and introduces fresh moisture into porous wood. In vintage Dayton garages, you’ll often see rust blooming at hinge mounting points where condensation collects, and wood rot developing at sill plates where ground moisture wicks upward through foundation contact points.
Spring Moisture Inspection Checklist
May and early June offer the critical inspection window after valley fog dissipates and spring rains taper off. This timing lets you identify wintertime moisture damage before summer heat accelerates rust and wood decay in your vintage garage. Armed with a flashlight, screwdriver, and notepad, you can methodically check the three primary failure points in early 1900s structures.
- Weatherstripping gaps around doors and vents are your first checkpoint. Look for rust staining along the bottom door edge where fog seeps in, peeling paint on interior door frames, and daylight visible around vent openings. Press a finger against weatherstripping—if it feels hard or cracked rather than pliable, moisture has already compromised the seal. Replacement weatherstripping costs $30-60 in materials and takes most homeowners 2-3 hours. You’ll need a utility knife, measuring tape, and adhesive or nails depending on the strip type.
- Foundation and wall seepage appears where water wicks up from damp soil during rainy months. Crouch at each corner and probe baseboards with a screwdriver—soft wood that indents easily signals rot. Check for white powder deposits (efflorescence) on concrete foundations and dark staining 6-12 inches above ground level. Minor seepage may only require improved drainage grading (DIY-friendly at $50-100 for gravel and labor), but extensive rot demands professional assessment. Foundation repair estimates start around $800-1,200 for localized damage.
- Ventilation inadequacy traps humidity when stagnant air cannot escape. Smell for mustiness upon opening the door, look for condensation on windows or metal surfaces, and check whether existing vents have screens clogged with debris. Installing additional gable vents costs $40-80 per vent plus 1-2 hours of work if you’re comfortable cutting openings and sealing edges. Professionals charge $200-350 per vent including installation.
Weatherstripping Upgrades for Fog Sealing
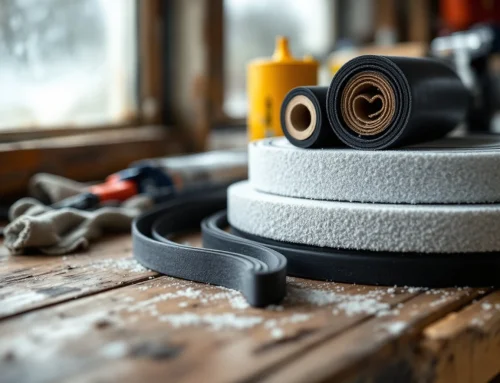
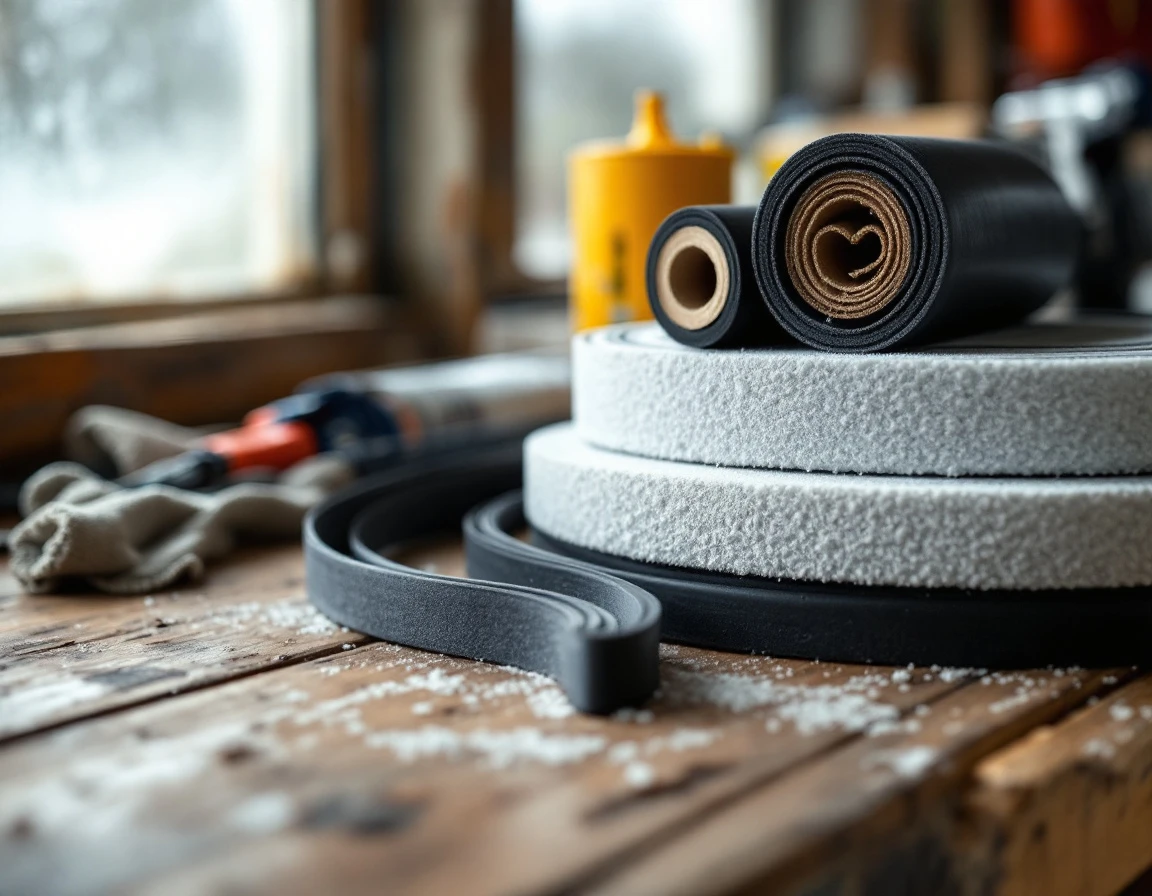
Original felt or rope weatherstripping in early 1900s garages deteriorates rapidly under constant valley fog exposure. Modern silicone or rubber seals outperform vintage materials by three to five years in Dayton’s humid wine country climate. Why does this matter? Valley fog sits low and seeps into gaps around swing doors, rollup seams, and foundation vents—delivering moisture directly into the garage cavity where rust and decay begin.
Budget-friendly DIY kits require minimal tools and a simple peel-and-stick process for applying silicone strips to door perimeters and foundation gaps. For homeowners less confident in their skills, professional gasket replacement includes proper alignment checks and expert installation. Silicone performs better than rubber in wine country humidity, resisting mildew growth that compromises sealing effectiveness.
Proper sealing completed in May prevents the fall and winter fog infiltration cycle from starting. This single upgrade addresses the primary moisture entry point before summer heat bakes existing dampness deeper into wooden structural members.
Foundation Sealing and Drainage Control
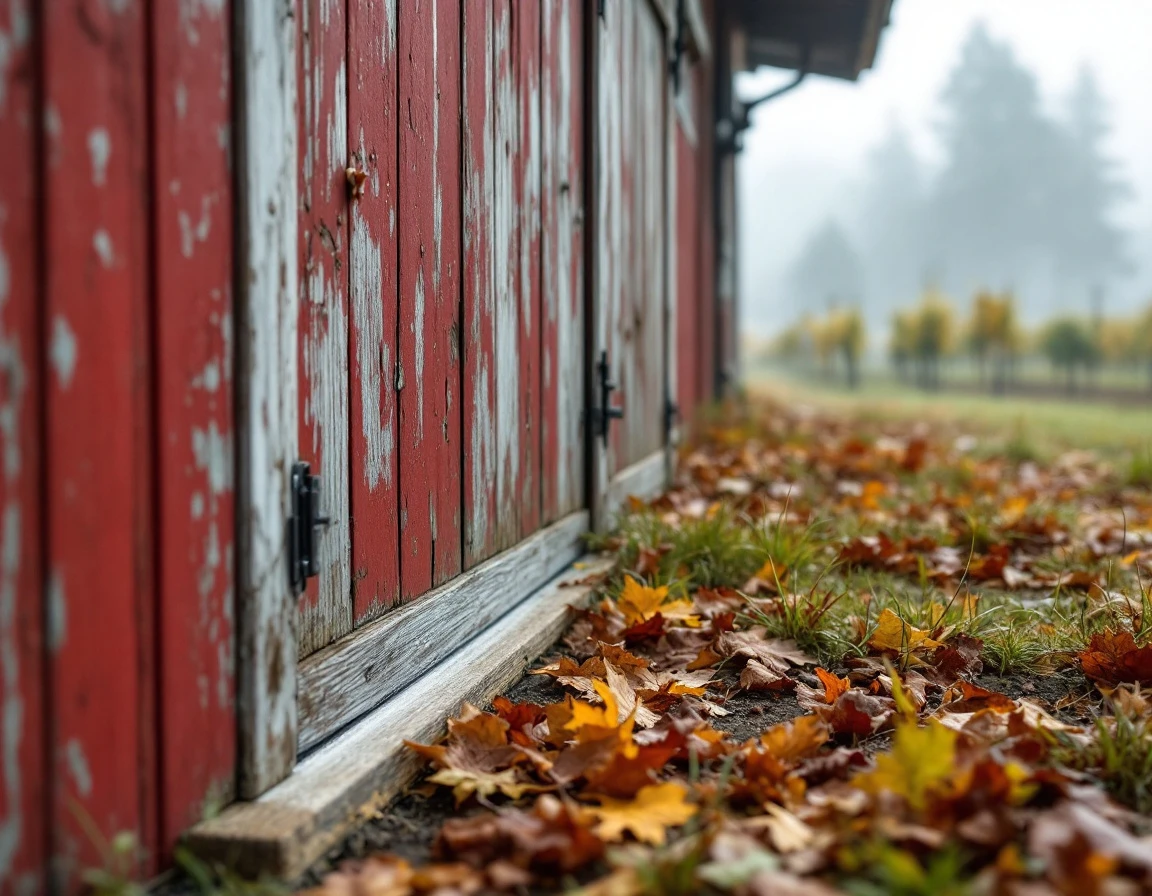
Dayton’s early 1900s garages rest on stone or shallow foundations that lacked moisture barrier protection. When winter rain saturates Willamette Valley soil, water climbs through porous materials into wooden sills through capillary action—the same force that pulls water up a paper towel. Spring offers the perfect inspection window before summer dries out the evidence.
Walk your garage perimeter looking for white mineral staining (efflorescence) on foundation stones or soft spots where wood meets concrete. These signals indicate active moisture wicking. Check wooden sills with a screwdriver—healthy wood resists penetration, while water-damaged wood feels spongy.
Budget-friendly fixes start with proper drainage: clean gutters twice yearly, extend downspouts at least six feet from the foundation, and regrade soil to slope away from walls. These improvements cost $200–500 but prevent expensive wood rot repairs that can exceed $2,000. For persistent seepage, professional waterproof coatings and perimeter drainage systems provide long-term protection before fall rains return.
Rust Prevention Strategy and Materials
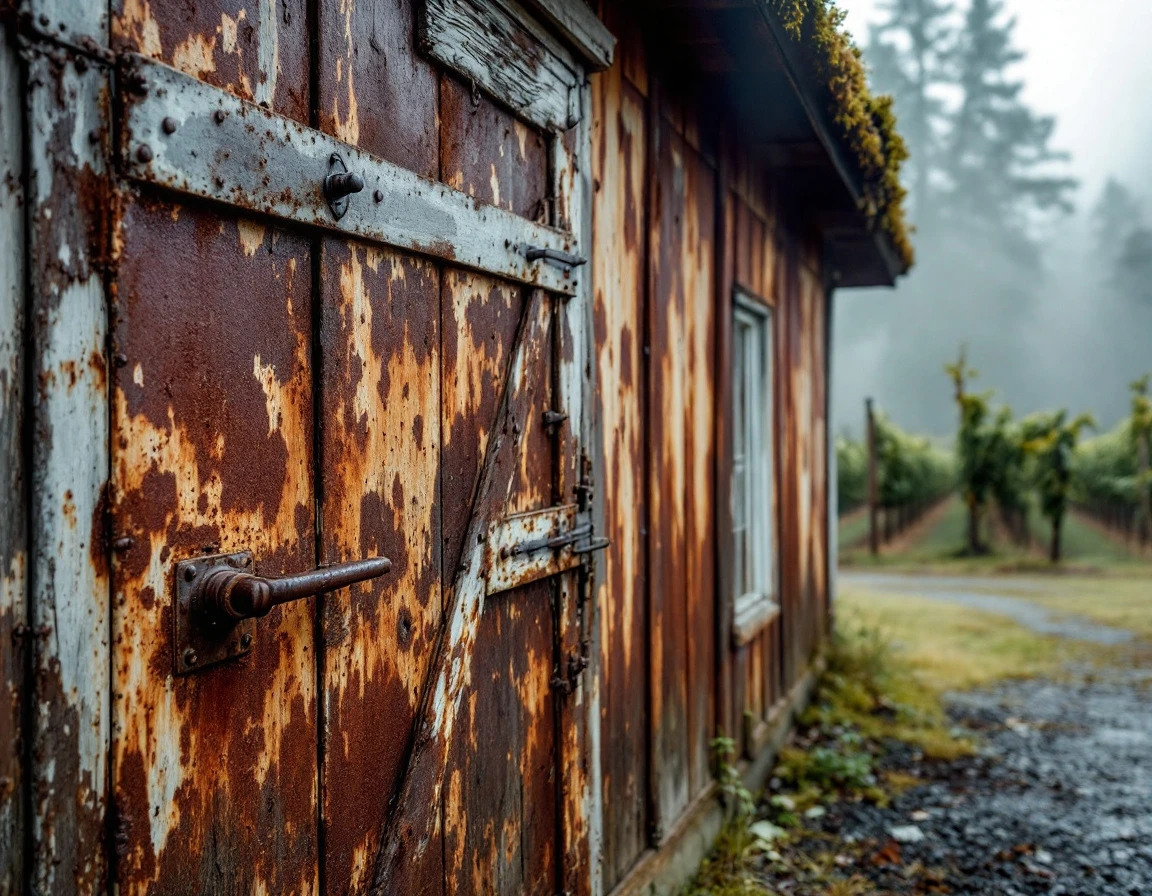
You’ve inspected weatherstripping, sealed foundation moisture, and improved drainage—now it’s time to prevent the rust damage that Dayton’s valley fog accelerates during fall and winter. Understanding the rust triangle helps: moisture plus oxygen plus iron equals rust. And valley fog delivers all three directly to exposed metal hardware in your vintage garage.
A three-tier prevention strategy protects vulnerable metal components:
- Reduce interior humidity through ventilation upgrades like adding foundation vents or gable vents to promote airflow. Budget-conscious builders can start with a small dehumidifier in spring before moisture builds.
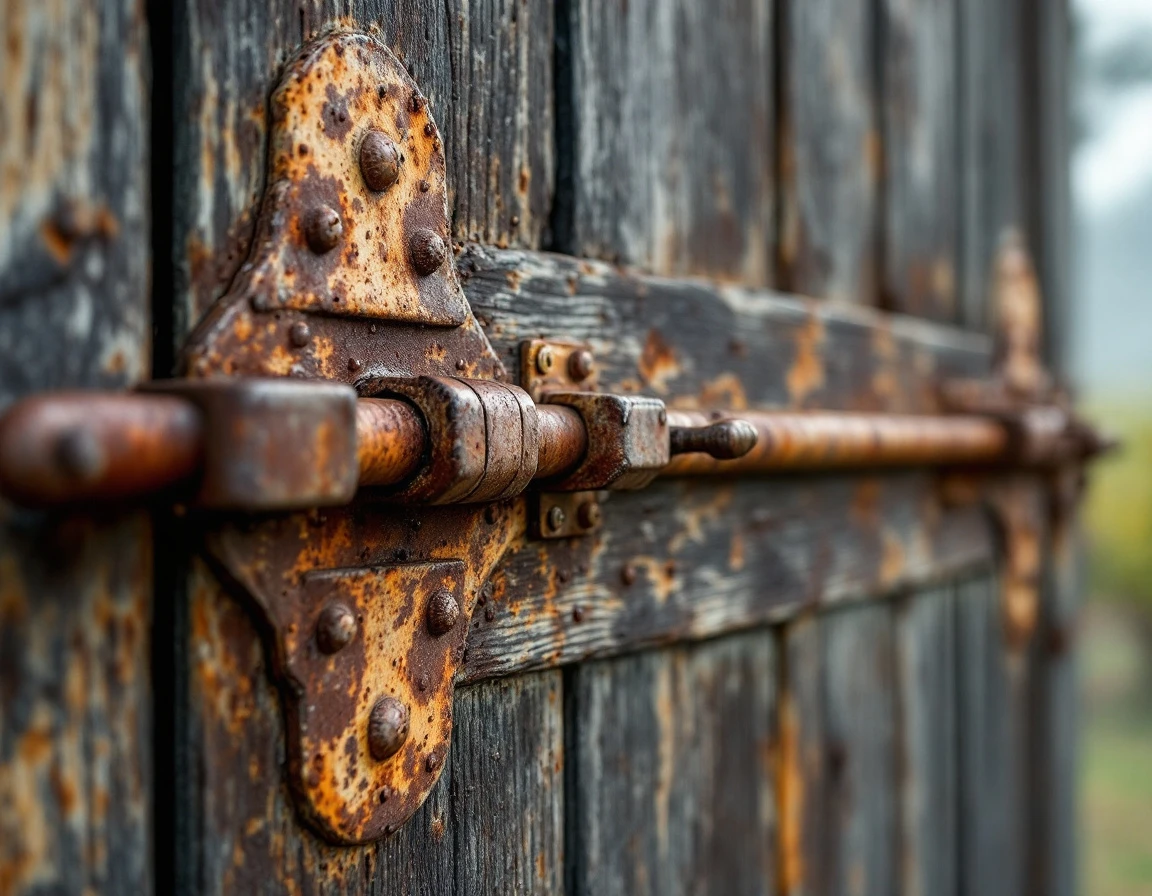
- Protect exposed metal—door hinges, lag bolts, and framing brackets—with rust-preventive coatings like WD-40 or marine-grade paint applied in May before summer heat bakes surfaces.
- Store metal tools and equipment on shelves away from damp concrete floors where moisture wicks upward.
These spring preparations prevent the rust damage that accelerates during September through February fog season. September-October hardening tasks—reapplying protective coatings, checking ventilation paths remain clear—prepare your garage for winter moisture penetration. Preventing rust beats treating it after corrosion weakens hinges or structural brackets, especially when replacement hardware for early 1900s garages requires custom fabrication.
Fall Hardening and September Prep
September and October mark the second critical window in your seasonal moisture defense strategy. As Willamette Valley fog intensifies and temperatures drop toward winter, this final hardening period closes the loop on spring protection work. The seasonal cycle works like this: spring inspections identify vulnerabilities, summer months allow repairs and protective coatings to cure properly in dry conditions, and fall hardening locks down your garage before persistent valley fog returns in November.
Your pre-fall checklist takes 2–3 hours and prevents expensive winter surprises. Re-inspect all weatherstripping installed in May or June—gaps can open as materials settle or temperature fluctuations cause slight frame movement. Test ventilation effectiveness by checking for condensation patterns inside the garage after cool mornings. Apply final protective coatings to any exposed metal hardware, hinges, or tracks before humidity spikes in late October. Clean gutters thoroughly to prevent overflow that saturates foundation zones.
This timing-based approach delivers measurable cost savings. A DIY fall inspection costs nothing beyond materials, while professional assessments run $100–150. Compare that to the $1,500+ repairs required when winter fog exposure creates rust penetration or wood rot in unprotected structures. For Dayton homeowners maintaining early 1900s garages. This spring-to-fall cycle extends your vintage structure’s lifespan by addressing moisture before it becomes structural damage.
DIY vs Professional Services: Cost and Timeline
Which tasks should you tackle yourself, and when does professional help pay for itself? For Dayton’s vintage garages, the answer depends on your comfort level and the task’s complexity.
- Simple DIY projects include spring and fall inspections (2–4 hours, $0–50 in materials), basic weatherstripping installation ($40–80), and clearing debris from gutters and foundation perimeters. Active homeowners can handle exterior grading improvements and vent cleaning for $50–150 in materials. These tasks require basic tools but deliver immediate moisture control benefits.
- Professional expertise becomes essential for foundation moisture barriers, structural wood treatment, or rust stabilization on critical framing members. These services typically cost $300–800 but guarantee code compliance and proper warranties—protection that matters when selling rural property.
Consider this cost-benefit scenario: A professional inspection in May identifies early foundation moisture intrusion. The homeowner addresses it immediately through targeted remediation. Without that inspection, winter valley fog accelerates the problem into a foundation repair requiring contractor involvement by spring—or a structural issue demanding extensive reconstruction if left another year.
The hybrid approach works best: one professional inspection identifies all vulnerabilities, then you prioritize repairs based on urgency. Handle simple weatherstripping and drainage tasks yourself. Hire professionals for complex foundation or structural work.

Leave A Comment