


La Center Snow Load Conditions
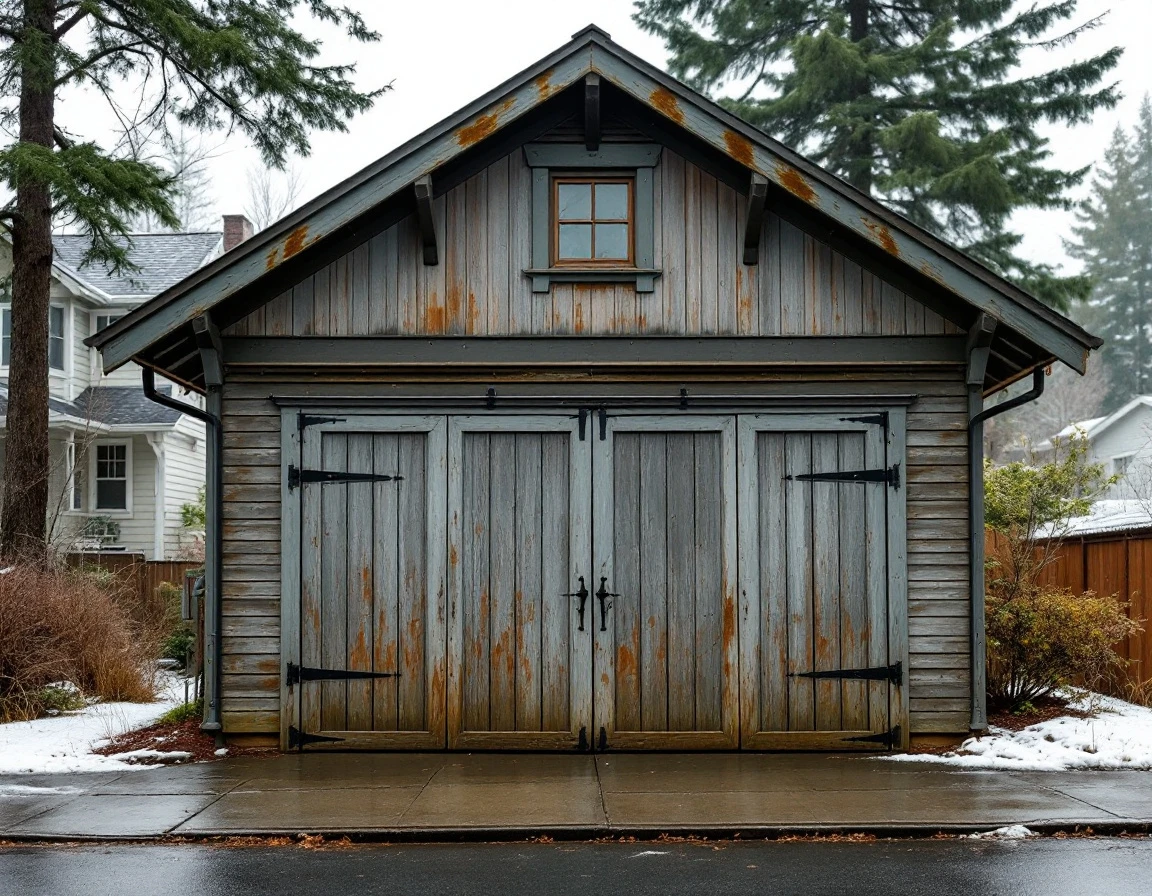
Property owners in La Center and the Amboy foothills face winter conditions that differ sharply from the lower-elevation areas around Vancouver and Camas. The geographic rise toward the Cascade foothills creates a snow accumulation zone where winter storms dump heavier loads than they do just a few miles south. While lowland Clark County might see a dusting, properties around Amboy and the eastern edges of La Center can accumulate several inches of wet, heavy snow that adds substantial weight to roof structures. Snow load garage reinforcement becomes essential when older buildings face these conditions, as structures built before modern code standards often lack the capacity to handle the region’s winter demands.
Older attached garages and detached workshops built before 2000 typically don’t meet current snow load standards, which now account for the region’s heavier accumulation patterns. These structures were designed when building codes required lower thresholds. Once snow and ice begin piling up—often starting in November—the accumulated weight stresses roof panels, support beams, and foundation connections in ways these buildings weren’t engineered to handle.
What makes this situation urgent is how quickly damage can progress. A light snow event might seem harmless, but repeated freeze-thaw cycles compact the snow into dense ice layers that add pounds per square foot with each storm. By the time visible sagging or cracking appears, structural compromise may already be underway.
Pre-winter preparation isn’t just good practice—it’s protection for your property investment.
Structural Inspection Checklist
Between May and August, before heavy snows arrive, walk through this inspection process to identify potential failure points in your garage or workshop structure. Grab a tape measure, flashlight, and notepad—this systematic evaluation takes about 30 minutes and reveals whether your building can handle La Center’s winter loads.
Start with roof pitch and rafter spacing. Measure the roof slope using a level and tape measure—garages in high-snow zones need at least a 4:12 pitch to shed loads effectively. From inside, measure the distance between rafters at several points. Standard spacing should be 24 inches or less; wider spacing means your roof has less support and may struggle under heavy accumulation. If you find rafters spaced 32 inches or more apart, schedule a professional structural assessment before November.
Next, examine panel attachment integrity. Check where roof panels meet rafters—you should see fasteners every 6 to 8 inches along each connection. Missing screws, visible rust streaks below fasteners, or panels that flex when pushed indicate attachment failure, one of the most common collapse modes. Count fasteners in a representative 4-foot section; if you find gaps or corrosion, reinforcement is necessary.
Inspect the foundation and wall connections carefully. Look for cracks wider than 1/8 inch in concrete foundations, especially at corners where snow loads create the most stress. Examine where walls attach to the foundation—you should see anchor bolts every 4 to 6 feet. Check wall studs for vertical cracks or bowing, particularly in older buildings. Water stains near the foundation or rust on metal framing members signal previous moisture damage that weakens load-bearing capacity.
Finally, assess interior bracing. Look for diagonal bracing or gussets at wall-to-roof connections. Garages without these reinforcements often experience racking failure when asymmetric snow loads push sideways. If your inspection reveals missing bracing, foundation cracks, or widespread fastener corrosion, contact Garage Harmony for a professional evaluation. These warning signs indicate your structure needs reinforcement before winter storms test its limits.
Roof Pitch and Rafter Spacing
Start by measuring your roof pitch from inside the garage using a 24-inch level and a ruler. Place the level horizontally against a rafter, then measure the vertical rise at the 12-inch mark. A measurement of 4 inches gives you a 4:12 pitch. If your pitch is below 4:12, your structure retains more snow and needs closer inspection. Since steeper roofs naturally shed snow loads.
Next, count the rafter spacing by measuring from the center of one rafter to the center of the next. Standard spacing runs 16 or 24 inches on center. Rafter spacing wider than 24 inches on center may need reinforcement bracing, particularly in older garage winter reinforcement scenarios in the Amboy foothills where snow loads increase. Make these measurements from inside your garage using safe ladder access and basic tools you already own.
Panel and Fastener Assessment
After checking your roof structure, shift focus to panel attachment points and fastener conditions. Walk the perimeter of your garage or workshop and examine each fastener securing roofing panels or siding. Look for surface rust, which indicates moisture infiltration that weakens metal connections over time. Corroded fasteners lose grip strength and create entry points for water damage that accelerates structural deterioration.
Test fastener tightness by attempting to turn each screw or bolt with a screwdriver or wrench. Loose fasteners allow panels to flex under snow loads, signaling inadequate support or failed connections. Check visible gaps between panels—any separation wider than a quarter-inch suggests movement under stress. If you find corroded or loose fasteners at more than six locations on a standard two-car garage, professional reinforcement is necessary before winter. This assessment typically takes 30 minutes per structure and reveals whether your building can handle La Center’s typical snow accumulation or needs immediate attention.
Snow Load Garage Reinforcement Options and Timeline
Once your inspection reveals structural concerns, you face a prioritized menu of reinforcement options. La Center and Amboy structures must withstand approximately 25-35 pounds per square foot of snow load, with higher requirements in the foothills. The options range from simple fastener upgrades to full rafter reinforcement, and May through October provides the window to complete this work before November storms arrive.
Foundation and Framing Priorities
If your inspection revealed foundation cracks wider than quarter-inch or visible settling, foundation bracing takes priority. Steel angle bracing installed along sill plates requires material investment for a two-car garage. This is professional-territory work requiring proper anchoring to concrete. Most contractors charge a meaningful labor fee for installation, but the alternative—foundation failure during snow load—demands emergency repair costs that far exceed the price of preventive bracing.
For rafters spaced wider than 24 inches with pitch below 4:12, rafter doubling becomes essential. This involves sistering a matching dimensional lumber piece alongside existing rafters. Materials for a typical garage project remain affordable and accessible. DIY-capable homeowners with carpentry experience can tackle this project, though working overhead requires proper scaffolding and assistance. Professional installation means proper load transfer and removes the physical demands of overhead work.
Decision Tree for Your Structure
Your reinforcement priorities depend on what your inspection revealed:
- If rafter spacing exceeds 24 inches and pitch measures 3:12 or less, prioritize rafter reinforcement first
- If spacing is adequate but you found six or more corroded fasteners, focus on panel fastener replacement using structural screws rated for snow loads
- If foundation cracks exist alongside rafter concerns, address foundation work first—nothing else matters if the base fails
Diagonal bracing between rafters adds lateral stability and represents an accessible DIY project using standard materials for structures showing minor racking or movement. Install two-by-four bracing at 45-degree angles between every third rafter pair.
Summer work prevents November crisis. A structural engineer assessment costs $300-500 but provides load calculations and prioritized recommendations specific to your building. Schedule reinforcement work by August to allow completion before fall weather arrives. Properties in the Amboy foothills should prioritize earlier completion given higher elevation snow risks.
Cost Analysis: Prevention vs. Emergency Repair
Understanding the financial difference between scheduled preparation and emergency response clarifies why May-through-October action matters for La Center and Amboy property owners. A preventive approach to heavy snow load garage inspection and reinforcement costs far less than reacting to winter failure, and the numbers tell a clear story.
Standard preventive work costs include the following options:
- Professional structural inspection: $200–$500
- Fastener replacement for corroded connections: $300–$800
- Rafter reinforcement through doubling or sister joists: $1,500–$2,500
- Foundation bracing to stabilize settling footings: $500–$1,500
Completing this work during summer months gives you contractor availability and a 2–4 month window to schedule around other priorities. Emergency repairs following winter collapse tell a different story.
Panel failure from snow overload costs $2,000–$5,000 to repair, often requiring custom fabrication when damaged sections can’t be salvaged. Roof collapse repair runs $8,000–$15,000, addressing structural damage plus interior contents that get exposed to weather. Complete structure replacement after catastrophic failure reaches $15,000–$30,000 and disrupts property access for weeks while you scramble for contractor availability during peak winter demand.
The return on preventive investment isn’t measured in abstract percentages—it’s measured in avoided disaster. Spending $2,500 on rafter reinforcement in July prevents a $12,000 roof collapse repair in January. That same summer work gets scheduled on your timeline rather than competing with storm damage emergencies across North Clark County. Property owners who wait for failure pay more, wait longer, and deal with secondary damage from weather exposure.
When to Hire a Structural Engineer
Your inspection checklist is a practical filter for determining when professional assessment becomes necessary. If you discover a roof pitch below 4:12, rafter spacing wider than 24 inches, or visible structural damage—such as cracks, sagging, or previous water damage—contact a structural engineer before purchasing materials or starting work. These conditions exceed DIY reinforcement capabilities and require professional load calculations specific to La Center’s snow load requirements.
What does an engineer actually deliver? You’ll receive detailed load calculations that account for local snow accumulation patterns, material specifications matched to your garage’s existing structure, a defined work scope that contractors can bid accurately, and professional liability insurance that protects your investment. For properties in the Amboy foothills, where snow loads exceed lowland areas, these calculations become even more critical for keeping adequate reinforcement.
Professional evaluation is a worthwhile investment that prevents costly miscalculation or unnecessary over-engineering.
Engineer reports also prove valuable for insurance claims if winter damage occurs and provide documentation that future buyers will appreciate during property sales. Think of this cost as protecting against mistakes that could easily result in failed repairs or inadequate reinforcement that collapses under heavy snow.
May-Through-October Preparation Schedule
Starting in May gives you a six-month buffer before November snow arrives, allowing time to identify problems, order materials, and complete work without the premium pricing that comes with fall contractor rushes. This timeline transforms the inspection checklist and reinforcement options into a month-by-month action plan:
- May–June: Complete your DIY inspection using the roof pitch, rafter spacing, and fastener assessment methods covered earlier. Document measurements and photograph any concerns. Time investment: 2–3 hours total.
- July: If your inspection revealed roof pitch below 4:12, rafter spacing wider than 24 inches, or six or more corroded fasteners, schedule a professional engineer assessment this month. If reinforcement is needed, order materials now to avoid late-summer supply delays. Engineer visit: half-day; material ordering: 1–2 hours.
- August–September: Execute reinforcement work based on engineer specifications or DIY plans. Install foundation bracing, double rafters, replace fasteners, or add diagonal bracing before October. Work duration varies: foundation bracing takes one weekend, while full rafter doubling may require professional help and 3–5 days.
- October: Conduct a final walkthrough to verify all fasteners are tight, bracing is secure, and weatherproofing is complete. Check door seals and foundation drainage. This final check takes 30–45 minutes but confirms your garage is ready for winter snow loads.

Leave A Comment