


Why Longview’s 1920s Garages Fail
Long-Bell Lumber Company workers built Longview’s detached garages with quality materials, but a century of the region’s relentless rainfall has taken its toll on wood panels and metal hardware. Understanding why these structures deteriorate helps you protect your property through historic garage repair in Longview, a critical investment for homes built during this era.
Long-Bell construction methods used wood panels
When Long-Bell Lumber Company workers built Longview’s detached garages in the 1920s. They used construction methods that made perfect sense for their era but create specific challenges today. These structures relied on wood panel siding and exposed metal hardware—materials that break down quickly when exposed to persistent moisture.
Longview receives between 40 and 50 inches of annual rainfall. Concentrated heavily in fall and winter months. This constant exposure accelerates two destructive processes: wood rot in the panels themselves and rust formation on the metal fasteners, hinges, and brackets holding everything together. The original builders couldn’t have anticipated how modern climate patterns would stress these materials over a century of service.
Spring rainy season peaks in March–April, making
Longview’s spring rainy season peaks in March and April, dumping the heaviest rainfall on garages that have already endured months of winter moisture. This timing makes pre-spring inspection critical for catching damage before it compounds during the wettest weeks of the year.
Two primary failure points appear during this period: wood rot in door panels and rust on hinges and tracks. The Long-Bell lumber panels that seemed indestructible in 1925 begin showing soft spots and discoloration, while the original metal hardware develops orange-red corrosion that weakens structural integrity and smooth operation.
Pre-Spring Moisture Damage Inspection
Before March rains intensify, set aside 30 minutes to complete a focused inspection that identifies which damage needs immediate attention. This simple protocol helps you catch early-stage problems while they’re still manageable, preventing minor issues from becoming structural failures during Longview’s wettest months.
Start with the lower panels where water naturally pools after rainfall. Run your hand along the bottom edges, pressing gently to detect soft spots that indicate wood rot beneath the paint. Look for paint bubbling or peeling. Which signals moisture trapped underneath. Check the corners and vertical seams where water enters—these are the most common failure points in garages built by Long-Bell workers.
Next, examine all metal hardware attachment points. Inspect hinges, brackets, and track mounting bolts for rust stains or orange discoloration spreading onto surrounding wood. These stains tell you moisture has penetrated the connection points. Test each hinge by gently wiggling it—excessive movement means rust has weakened the mounting.
Document your findings with photos of each problem area. This visual record helps you make the key decision: can you handle this repair, or does it need a specialist? Surface-level issues—minor paint bubbling, light rust on exposed hardware, small areas of wood discoloration—typically suit DIY treatment. Deep structural problems—soft wood that compresses under finger pressure, rust penetrating into mounting holes, large sections of detached paint—require professional assessment.
Complete this inspection in early March before the rainy season peaks. Catching rot and rust now, while they’re confined to surface layers, gives you time to address problems before April’s heavy rainfall drives moisture deeper into your garage’s century-old materials.
Wood Rot Prevention and Repair
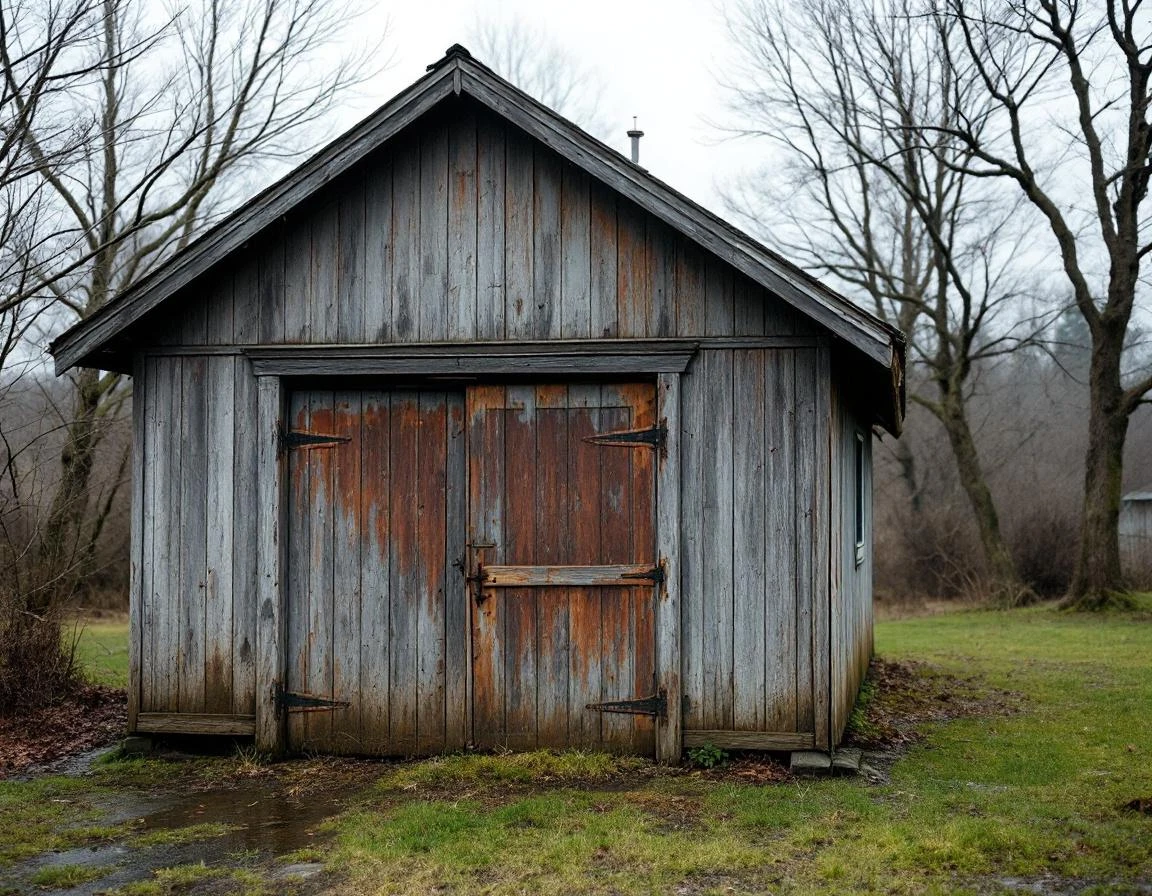
Wood rot follows a predictable progression in Longview’s 1920s garages. It starts with paint failure—cracking or peeling that exposes bare wood to moisture. Once water penetrates the surface, the wood begins to soften. Press your thumb firmly against suspected areas during your pre-spring inspection. Solid wood resists pressure, while rotted wood feels spongy or crumbles under your thumb. Surface damage you can handle yourself. Soft, punky wood that extends through the panel thickness requires professional replacement.
Can you stop rot before it spreads? Annual maintenance makes all the difference. Caulk gaps around door panels each fall, especially where horizontal rails meet vertical stiles. These joints trap water and fail first. Apply exterior-grade paint or wood sealer every spring after the rainy season ends. This $50 to $200 annual investment prevents the need for panel replacement, which costs $800 to $2,000 or more depending on the size and number of damaged panels.
Small rot areas—less than two inches in diameter and not extending through the panel—respond well to epoxy wood filler. Clean out all soft material until you reach solid wood. Apply the filler according to manufacturer instructions, let it cure completely, then sand and paint. Larger damage or rot that penetrates the full panel thickness needs professional attention. The panel must be removed and replaced.
Historic authenticity matters when replacing panels in wood rot garage panels Longview projects. Long-Bell workers built garage doors from old-growth Douglas fir or Western red cedar. Milled to specific thicknesses that matched the door’s frame dimensions. Modern replacement panels should match the original wood species and thickness. Our team sources period-appropriate materials for Longview’s historic garages, maintaining the architectural integrity Long-Bell established a century ago.
Rust Management on Hardware
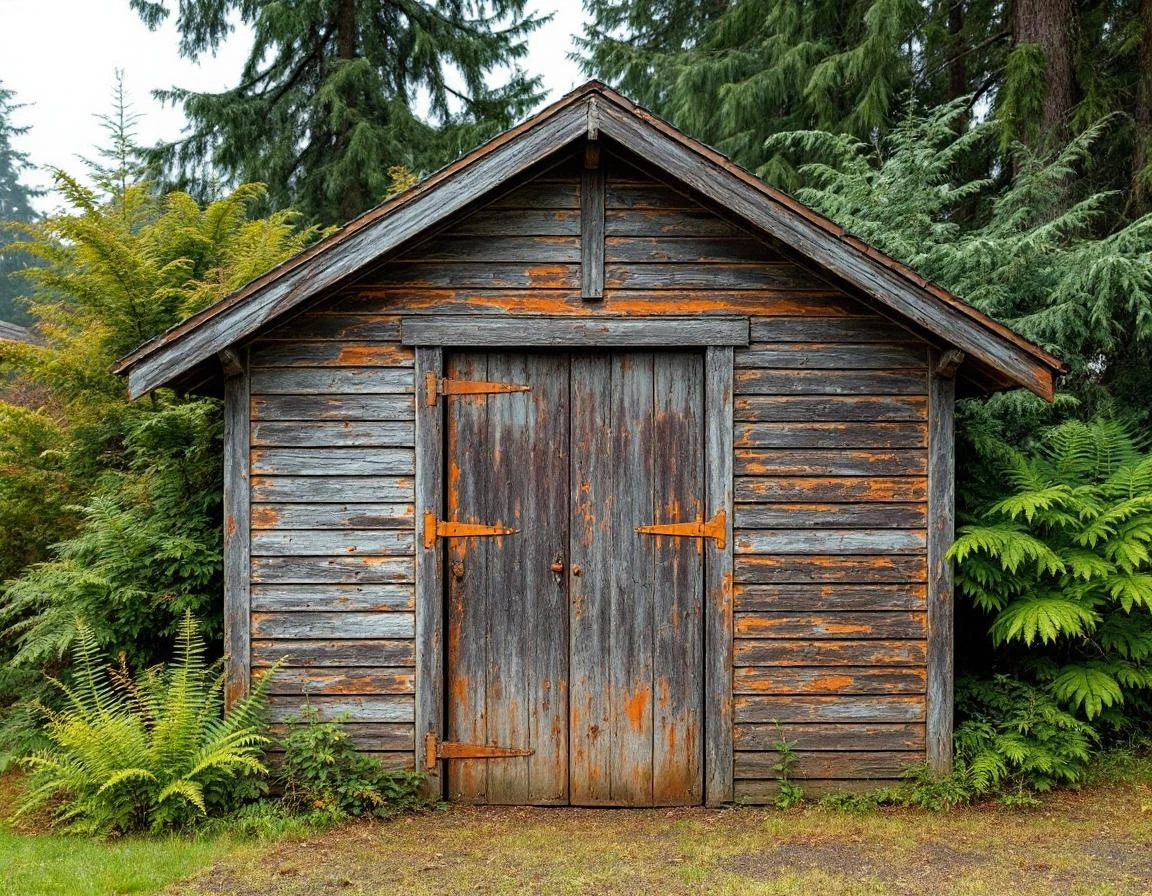
Metal hardware in Longview’s garages faces relentless attack from moisture. Hinges, tracks, springs, and metal door frames rust faster here than in drier climates—those 40-50 inches of annual rainfall keep metal surfaces wet far longer than they stay dry. Understanding the difference between surface rust and structural damage will determine if you’re facing a quick DIY fix or a hardware replacement for your vintage garage repair project.
Surface rust appears as orange, powdery coating on metal surfaces. You can remove it with a wire brush and prevent its return with rust-inhibiting coatings. Structural rust shows as pitting, flaking metal, or holes where corrosion has eaten through—this means the hardware has lost strength and needs replacement.
Prevention takes minimal effort and expense. During your March inspection, wire-brush any orange powder from hinges and tracks. Apply oil-based rust inhibitor to bare metal surfaces, or use rust-converting paint that matches your garage’s period finish. Hardware stores stock products specifically formulated for outdoor metal—ask for options suitable for 1920s restoration work that won’t clash with historic aesthetics.
Catching surface rust in March prevents structural failure by summer. That powdery orange coating you remove today won’t become the pitted, weakened metal that requires professional replacement next year.
Most surface rust cleanup requires only basic materials and takes an afternoon. Severe pitting requiring new springs, hinges, or track sections demands professional work, with costs varying based on hardware type and the availability of period-appropriate replacements.
DIY vs. Professional Historic Garage Repair in Longview
After inspecting your 1920s garage restoration project, how do you decide which repairs to tackle yourself and when to call in help? The answer depends on whether you are addressing surface-level deterioration or structural failure.
- DIY-suitable tasks include surface rot staining (where wood hasn’t lost structural integrity), paint refresh, hardware rust cleaning with wire brushes, and seasonal sealing around door edges. These preventive maintenance activities cost $100–300 annually and protect against deeper damage. If you can press a screwdriver into wood and it feels firm, or if rust wipes away with a brush, you’re looking at surface issues perfect for weekend projects.
- Professional intervention becomes necessary when wood feels spongy under pressure (indicating rot penetration requiring panel replacement), garage door springs show wear or failure. Or door tracks have shifted out of alignment. These repairs involve structural components and safety hazards—mishandled springs can cause serious injury, and improper panel installation compromises door function.
The cost-benefit math is clear: spending $100–300 yearly on preventive DIY work avoids deferred repairs running $2,000–5,000 or more. When you do need professional help, local Longview specialists bring specific advantages. They understand how Long-Bell workers built these 1920s garages and how regional moisture patterns affect century-old construction—knowledge that speeds diagnosis and means repairs match original building methods.



Leave A Comment