


Winter Damage Risks in Portland
Portland’s mild but moisture-heavy winters create a perfect storm for garage door damage. Unlike regions that freeze solid and stay cold, the Pacific Northwest experiences repeated freeze-thaw cycles throughout winter. Temperatures hover right around freezing—dropping overnight to 32°F, then climbing back to 40°F during the day. This constant expansion and contraction stresses metal components. Particularly springs and hinges, causing micro-fractures that lead to sudden spring failures when you need your garage door most. A thorough garage door inspection after winter helps you catch these problems before they become emergencies.
Persistent rain compounds the problem. When moisture seeps into garage door panels, roller tracks, and hardware, it doesn’t have a chance to dry out completely before the next storm arrives. This prolonged dampness corrodes metal components and warps wooden panels. Ice formation in roller tracks during those overnight freezes prevents doors from opening smoothly, forcing openers to work harder and wear out faster.
Attached garage doors face unique vulnerabilities in our climate. Because they connect directly to your home’s heated space, condensation forms where warm indoor air meets cold garage surfaces. This moisture accelerates rust on springs, cables, and brackets.
What starts as minor winter wear becomes an emergency repair in spring when contractors are slammed with service calls. By inspecting your garage door now, you can address small issues before they turn into expensive problems during peak season.
Five-Point Inspection Checklist
Before you start, gather these tools: a flashlight, a four-foot level, a screwdriver (both Phillips and flathead), and a clean cloth. Set aside 30-45 minutes when the door isn’t in use. This checklist prioritizes safety-critical components first, then moves to operational issues, and finishes with protective elements.
1. Springs and Cables (Safety Critical)
Stand inside your garage and visually inspect the torsion spring above the door or extension springs along the tracks. Look for gaps, breaks, or rust spots on the springs. Check cables for fraying, especially near connection points at the bottom roller brackets. Normal springs show even coiling with consistent color. Concerning signs include:
- Visible gaps in the coil
- Stretched or separated sections
- Cables with visible wire strands poking out
If you spot any of these issues, stop using the door immediately and contact our team—this is not a DIY repair.
2. Door Balance Test
Disconnect the opener by pulling the red release handle. Manually lift the door halfway and let go. A properly balanced door stays in place or moves slowly. If it slams down or shoots up, the springs need adjustment—a job for professionals. Portland’s freeze-thaw cycles can alter spring tension over time, making this test essential after winter weather.
3. Rollers, Hinges, and Hardware
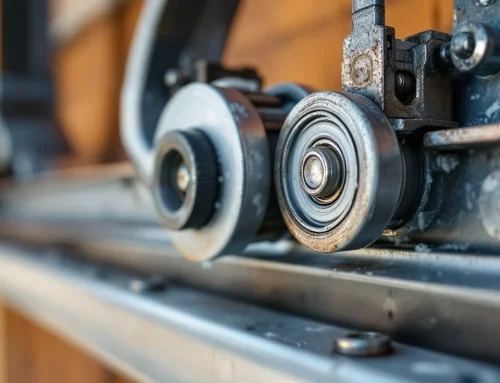
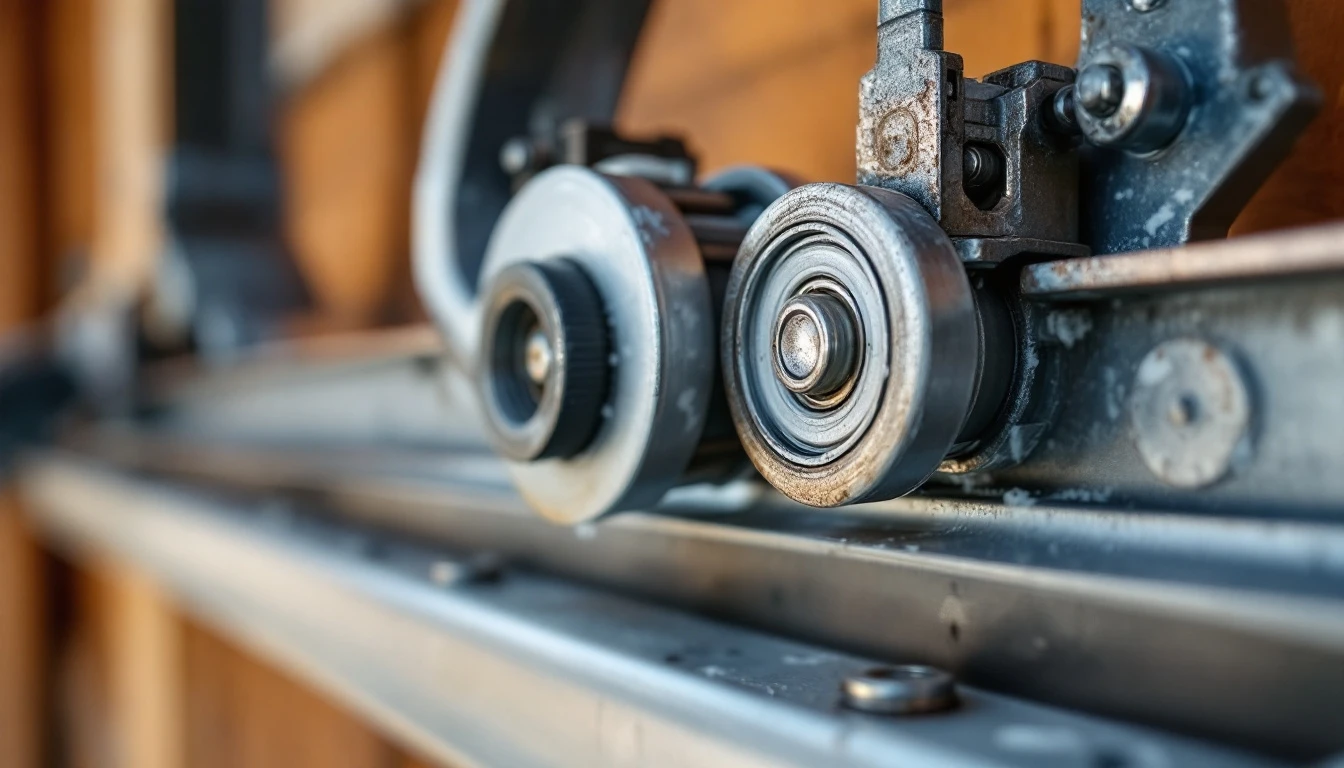
Shine your flashlight along both tracks and examine each roller. Worn rollers show flat spots, cracks, or missing ball bearings. Check hinges for loose bolts or metal fatigue at stress points. Listen when you operate the door—grinding or squealing indicates worn rollers. Slight wear is normal after five years, but cracked plastic rollers or loose hinges need attention soon.
4. Track Alignment and Debris
Place your level against each vertical track section. Both tracks should be perfectly plumb. Look inside the tracks for ice buildup, leaves from fall storms, or accumulated debris. Even small obstructions cause the door to bind. Clear any debris with your cloth and check that track mounting brackets are tight against the wall.
5. Weatherstripping and Opener Safety
Run your hand along the bottom seal where the door meets the concrete. Cracked or compressed weatherstripping lets moisture into your garage. Test your opener by closing the door on a cardboard box—it should reverse immediately. Wave your hand through the safety sensor beam six inches above the floor. The door should stop and reverse. If either test fails, schedule a service call.
Spring and Cable Inspection
Start your inspection by visually examining the torsion springs mounted above your garage door. Healthy springs appear smooth, rust-free, and uniformly coiled with consistent tension across their length. Warning signs include visible cracks in the coil surface, rust patches that indicate moisture damage, or separation from the mounting brackets.
Next, inspect the lift cables running from the bottom corners of your door through the pulley system. Look for fraying, unraveling near the pulleys, or individual wire strands breaking free from the main cable. Portland’s wet winters accelerate cable corrosion, making these inspections critical before spring arrives.
Never attempt to replace or adjust springs yourself. These components operate under extreme tension—enough to cause serious injury or death if handled improperly. Professional spring replacement costs far less than emergency repairs after a catastrophic failure damages your door, opener, or vehicle.
If you spot any of these warning signs, contact Garage Harmony immediately. Our team replaces worn springs proactively, preventing the surprise failures that leave Portland homeowners stranded during the busy season.
Track, Roller, and Balance Assessment
Clean tracks and rollers tell you whether your door can operate safely through spring’s busy season. Start by removing ice, leaves, and dirt from both tracks using a damp cloth—Portland’s wet winters leave debris that causes binding and uneven movement.
Next, spin each roller by hand. They should rotate freely without grinding sounds or resistance. Squeaking or stiff rollers indicate worn bearings that need replacement before they cause track damage.
Now test your door’s balance: disconnect the opener and manually lift the door halfway, then release it gently. A properly balanced door stays level at any height. If it drops or rises, the springs need adjustment—a job for professionals.
What should you tackle yourself? Clean tracks, remove debris, and wipe down rollers. When should you call Garage Harmony? Bent tracks, misaligned components, frozen mechanisms, or balance problems all require professional service to prevent further damage.
DIY vs. Professional Service Decisions
Knowing which garage door tasks you can safely handle yourself—and which require professional expertise—protects both your wallet and your safety. After completing your winter damage garage door inspection using the checklist above, use your findings to make smart decisions about what comes next.
Safe DIY tasks include:
- Visual inspection of all components
- Cleaning tracks with a brush and degreaser
- Testing door operation by hand
- Lubricating moving parts with garage door-specific spray
- Replacing worn weatherstripping along the bottom seal
These maintenance activities require basic tools and pose minimal safety risks when performed carefully.
Never attempt these professional-only repairs:
- Spring replacement
- Cable repair or adjustment
- Track realignment or repositioning
- Opener motor or circuit board repairs
Torsion springs store enough energy to cause serious injury or death if they release suddenly during amateur repair attempts. Cables under tension present similar dangers.
Here’s your decision tree: If you see rust spots or small cracks on springs during inspection, call Garage Harmony immediately. Waiting until springs snap means emergency repair costs instead of planned maintenance—a difference of $500 or more. Similarly, frayed cables or doors that won’t stay open at the four-foot test need professional spring adjustment, not DIY tinkering. Portland’s freeze-thaw cycles accelerate spring fatigue, making professional assessment critical after harsh winters.
Spring Tune-Up and Preventive Maintenance
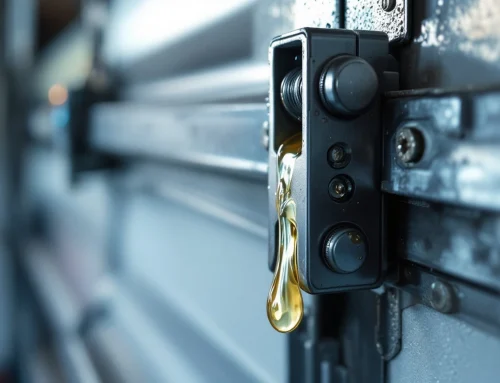
Once you’ve completed your garage door inspection after winter, take action with these DIY maintenance tasks that prevent spring failures and extend component life. Lubricate springs, hinges, and rollers monthly with silicone-based lubricant—not WD-40, which attracts dust. Apply lubricant to the coils of torsion springs above the door, each hinge pin, and every roller bearing. This reduces friction during freeze-thaw cycles when metal components expand and contract, putting extra stress on springs.
Replace weatherstripping if your inspection revealed cracks, compression, or damage. Portland’s wet winters allow moisture intrusion through worn seals, leading to rust and water damage inside your garage. Look for vinyl or EPDM rubber weatherstripping rated for Pacific Northwest temperature fluctuations.
Clear gutters and drainage around your garage to prevent water pooling near the foundation, which accelerates corrosion of tracks and hardware. This simple task protects against moisture damage that compromises spring integrity over time.
Schedule a garage door tune-up before April. When contractors get booked solid with emergency repair calls from spring failures. Inspecting your garage doors after winter lets you spot and fix minor problems before they escalate into extensive repairs. Our team at Garage Harmony can adjust spring tension, balance your door properly, and catch developing problems before they become expensive emergencies. Contact us today to secure your appointment before the busy season arrives!



Leave A Comment