


Why June Is Your Setup Window for Garage Workshop Setup Summer
June offers the perfect combination of long daylight hours and mild temperatures to tackle garage workshop setup summer projects without the rush of active project season.
Extended Daylight Hours (Nearly 15 Hours)
Portland’s June days stretch to nearly 15 hours of natural light, giving you more usable time to tackle workshop setup tasks without rushing or working under artificial lighting. The extended evenings mean you can finish your day job and still have three to four solid hours to organize tools, assemble workbenches, or install shelving systems.
June’s mild, dry weather delivers another advantage: you avoid the muddy conditions of spring and the rainy afternoons that return each fall. This sweet spot in Portland’s climate calendar means materials stay dry, paint cures properly, and you’re not tracking wet debris into your newly organized space.
Psychological momentum from seasonal energy drives project completion
There’s something powerful about tapping into the natural energy that comes with summer. The longer days and pleasant weather create a mental shift that makes tackling projects feel less like a chore and more like an opportunity. When you start your workshop setup summer project in June, you’re riding that wave of seasonal motivation that makes it easier to follow through from planning to completion.
This timing also gives you a strategic advantage for autumn readiness. By completing your workshop infrastructure now—workbenches, storage systems, electrical upgrades—you’ll have everything in place when fall arrives with its traditional DIY season. Instead of scrambling to organize while trying to start projects, you’ll walk into a fully functional space ready for immediate use.
Phase 1: Assess Space and Plan Layout
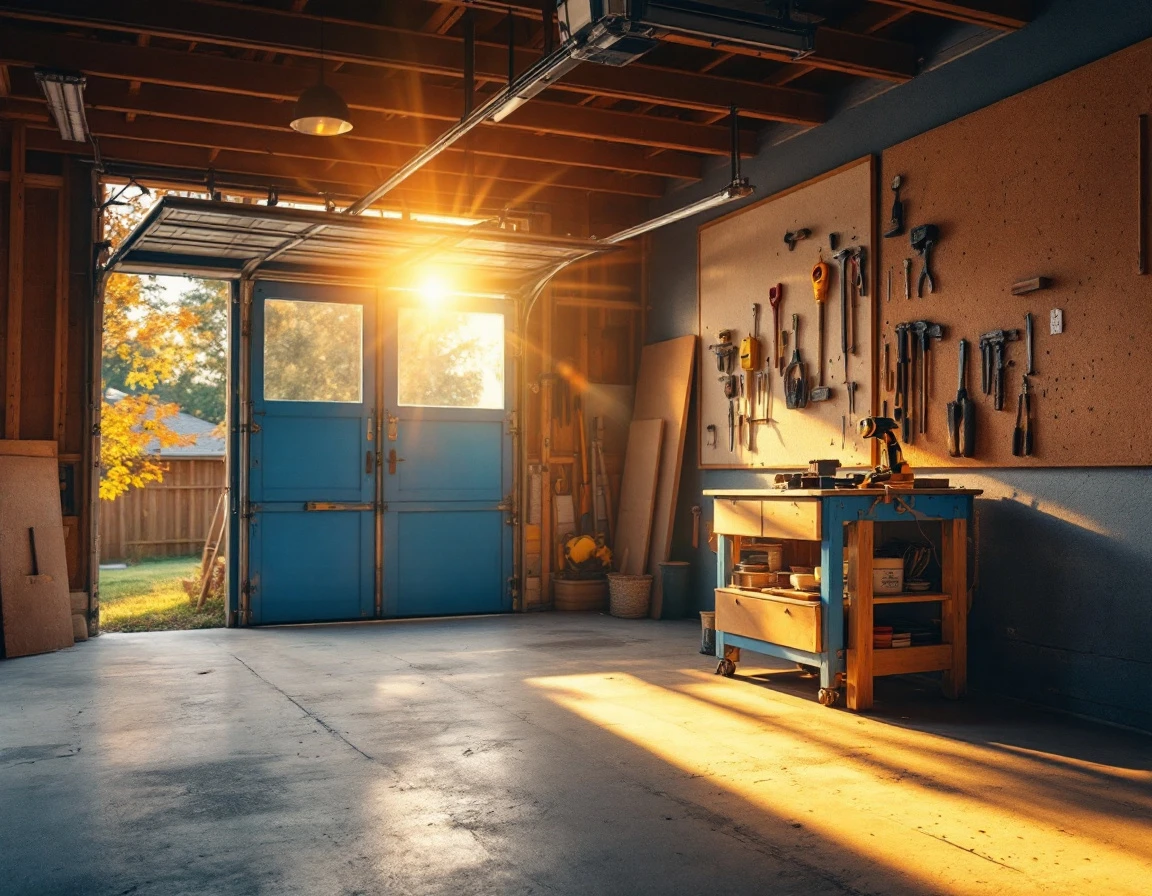
Before you buy a single tool or install any storage system, you need to understand what you’re actually working with. June’s long daylight hours give you the perfect opportunity to conduct a thorough garage assessment without rushing through dim corners. This planning phase costs absolutely nothing, but it prevents expensive mistakes that can derail your entire workshop project.
Start with the basics: measure your garage dimensions carefully, wall to wall and floor to ceiling. Account for how much space your vehicles need, plus clearance for doors to open. Portland garages typically lack adequate outlet coverage, so conduct an electrical audit next. Count existing outlets, test their amp capacity, and note where you’ll need additional power for tools and lighting.
Walk through your space and identify natural light sources, ventilation points, and any moisture issues common in Pacific Northwest structures. Create a simple sketch dividing your garage into functional zones: tool storage along one wall, a dedicated work surface area, and project staging space where you can set materials without blocking daily access.
This assessment reveals exactly what infrastructure upgrades you need before purchasing equipment.
You might discover that adding two strategically placed outlets solves workflow problems better than buying cordless versions of every tool. That’s the kind of insight that saves hundreds of dollars and creates a workshop that actually functions the way you need it to.
Phase 2: Prioritize and Budget Core Infrastructure
Once you’ve assessed your space, it’s time to make smart purchasing decisions. Not everything needs to happen at once, and separating essential infrastructure from optional upgrades protects your budget while building a functional workspace.
Focus your June investment on four foundational categories:
- Task lighting that eliminates shadows at your work zones
- A 240V outlet for future power tools (even if you don’t own them yet)
- Wall-mounted storage to reclaim floor space
- A sturdy workbench base
These elements form the backbone of any workshop and prevent costly retrofits later when fall projects demand your attention.
June purchasing offers practical advantages. Home improvement retailers often run summer sales on garage organization products. And favorable weather means shipping delays from spring storms have cleared. You can receive, inspect, and install materials without racing against October rain or November darkness.
Budget for professional electrical work if your project includes adding circuits or upgrading your panel. DIY skills serve you well for assembly and organization, but live electrical work requires licensed expertise. Spending on proper infrastructure now means you won’t face emergency service calls when your table saw trips a breaker mid-project this fall.
This phased approach lets you test your layout and workflow before committing to expensive specialty tools. Build the foundation first, then add equipment as your actual workshop use reveals what you truly need.
Layout Template and Tool Priority List
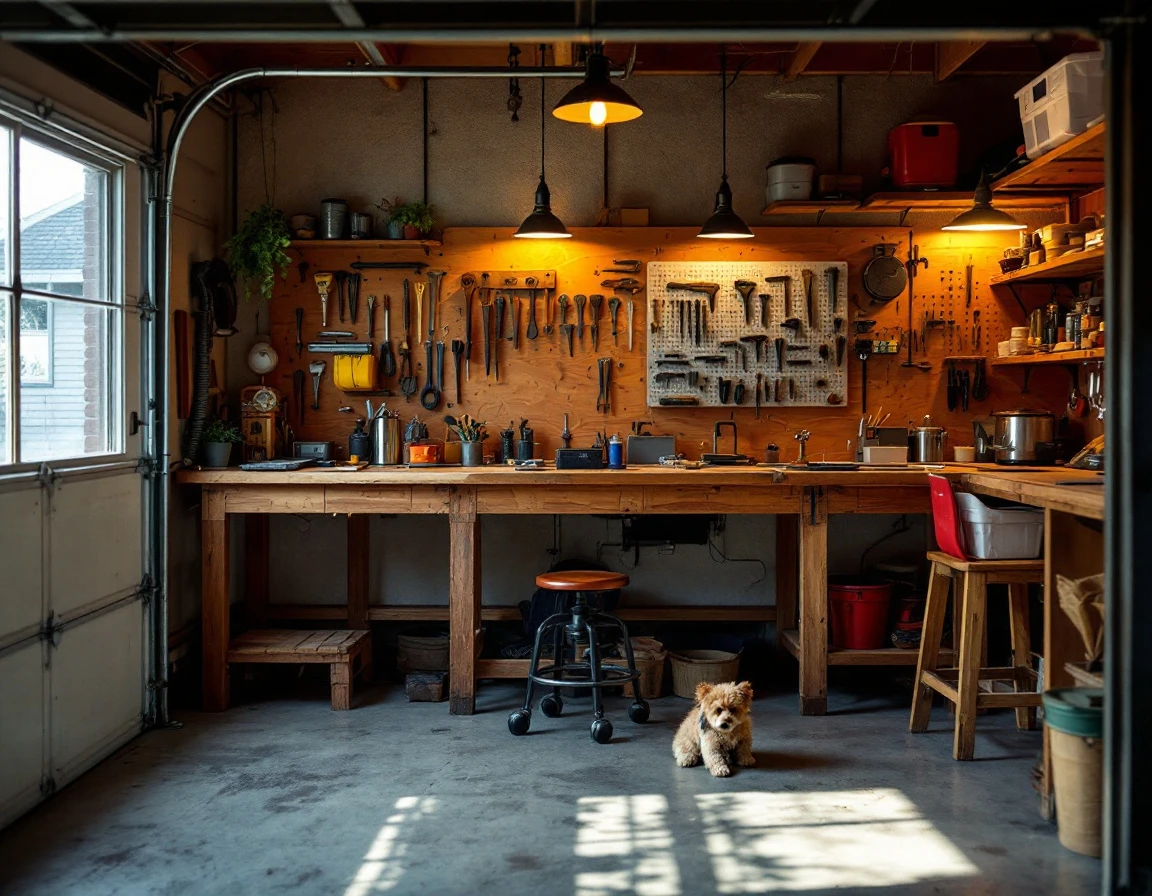
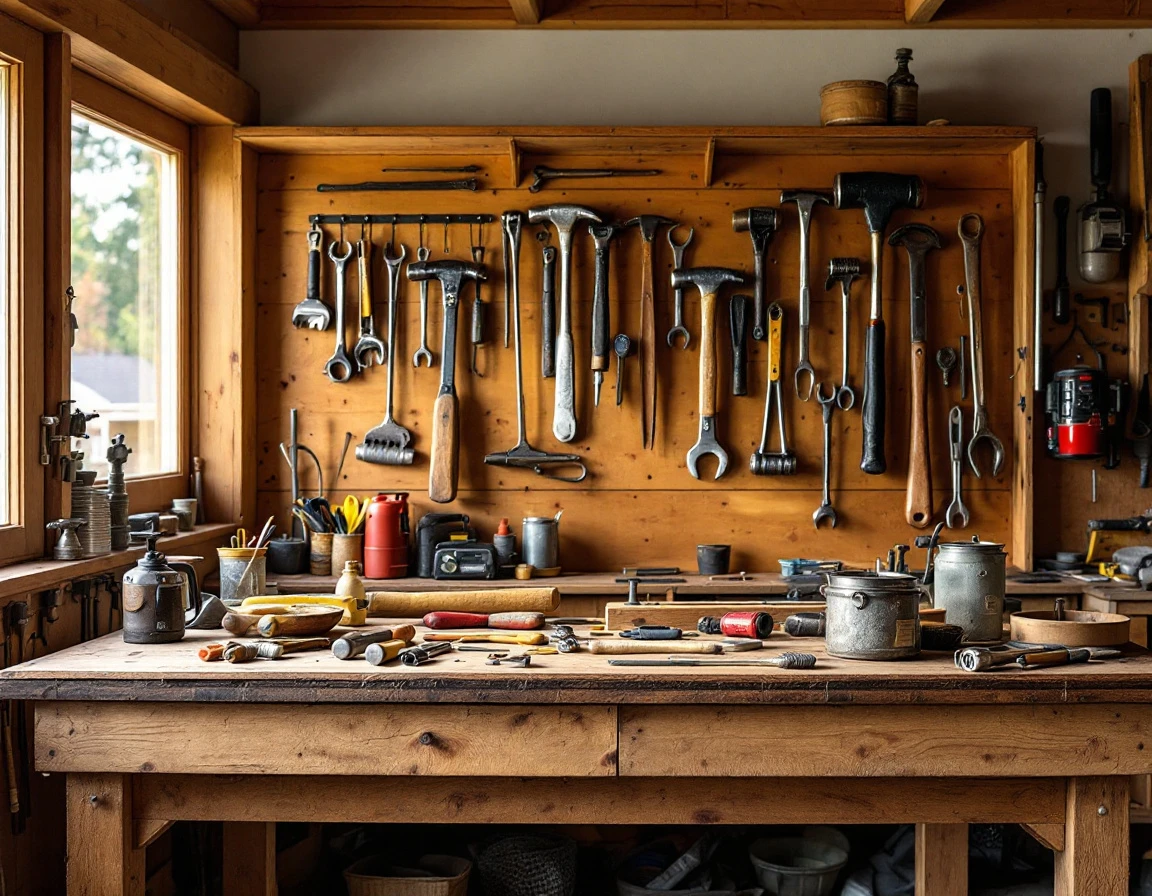
The best garage workshops share a simple layout principle: perimeter storage with a central work surface. Mount cabinets, pegboards, and shelving along the walls to keep tools accessible yet out of collision zones. Position your workbench in the center or against a wall with at least three feet of clearance on the working side. This arrangement creates natural accessibility zones—frequently used tools within arm’s reach, occasional-use items on higher shelves, and hazardous materials in locked storage.
What tools should you actually acquire first? Start with hand tools that enable measurement and assembly:
- A quality tape measure
- Combination square
- Torpedo level
- Basic screwdriver set
Add a cordless drill-driver as your first power tool—it becomes the workhorse of your early projects, handling everything from fastening to boring holes. Include a bright LED work light; June’s long days help, but shadows under cabinets require supplemental lighting.
Avoid impulse purchases driven by impressive demonstrations or sales. Focus exclusively on tools that support projects you’ve already planned. If you’re not building furniture this year, the table saw can wait. If you’re installing shelving and organizing storage, prioritize the drill, level, and stud finder.
Portland homeowners often overlook dust management until sawdust coats every surface. Plan your extraction or filtration system now, even if it’s just a shop vacuum with HEPA filter. A solid foundation is ready—not that you own every tool imaginable. You’ll add specialized equipment as specific projects demand it.
Use Extended Daylight for Setup Work
June daylight extends until 9 PM in Portland, giving you three to four extra working hours after the typical workday ends. This extended visibility turns evenings that would otherwise be idle into productive setup time without the expense of temporary lighting rigs or high-wattage task lamps.
Better visibility directly improves installation accuracy and safety during critical tasks. Running electrical lines, mounting heavy storage cabinets, and assembling workbenches all require clear sight lines to identify studs, check levels, and position fasteners correctly. Natural daylight eliminates the shadows and glare that portable work lights create, reducing errors that require costly rework.
Use this free resource strategically: identify one specific task each evening that daylight enables. Monday evening might focus on assembling your workbench frame. Tuesday could be dedicated to mounting pegboard. Wednesday handles outlet placement planning. This approach transforms June’s natural advantage into measurable workshop progress, completing your core infrastructure before shorter days arrive in September.
Next Steps: Complete Core Setup Before Fall
Set a target completion date for late July to finish your Phase 1 electrical work and Phase 2 storage installation. This timeline gives you breathing room before August, when you’ll conduct your final safety walkthrough and organize tools in their permanent homes.
Schedule electrical work within the next two weeks. June contractor availability disappears fast as families book summer projects, and you don’t want to lose momentum waiting for an electrician in mid-July. Call for quotes now while calendars are still open.
Plan your August walkthrough as a dedicated session to test every outlet, adjust lighting angles. And verify that your dust management system works before you start your first real project. Take photos of your completed setup—these document what you’ve built for insurance purposes and help justify future upgrade investments to family members who question workshop spending.
By completing core infrastructure before September, you’ll have a fully operational workspace ready when fall project energy arrives. Not a half-finished garage that stalls your momentum.





Leave A Comment