Why June Is Your Setup Window
Portland’s extended summer daylight and stable weather patterns make June the perfect month to transform your garage into a functional workshop space.
Long daylight extends productive hours
June in Portland delivers nearly 16 hours of daylight, allowing you to work on your garage workshop well into the evening without relying on temporary lighting. This extended window means you can tackle layout planning and installation after work while still enjoying natural light that helps you see measurements clearly and spot alignment issues.
Portland’s mild, dry June weather brings another advantage: minimal rain delays. Unlike the wet months that dominate the calendar here, June offers consistent conditions that let you move materials, make cuts outdoors, and complete installations without weather interruptions stalling your progress.
Summer pace allows concentrated planning
Summer’s relaxed rhythm gives homeowners the mental space to plan workshop layouts before fall projects arrive. Instead of squeezing decisions between seasonal commitments, June offers time to measure dimensions, research storage solutions, and sketch workbench placements without the pressure of looming deadlines.
Setting up your workspace now means you’ll have a fully functional garage when Portland’s rainy season arrives in October. Early preparation creates a climate-controlled work area ready for winter woodworking, bike maintenance, or home improvement projects when outdoor work becomes impractical.
Measuring and Layout Planning
Before moving a single workbench or hanging your first pegboard, grab a tape measure and spend an hour documenting your garage’s actual dimensions. Measure the full floor area, noting the exact location of existing electrical outlets, windows, and door swing paths. Record ceiling height in multiple spots—many Portland garages built before the 1980s have varying ceiling heights that affect overhead storage options.
June’s long daylight hours make this planning phase easier. Walk through your space at different times of day to observe how natural light moves across potential work zones. A workbench positioned near a west-facing window gains afternoon sun, while a spot near the overhead door stays dimmer. Map your existing outlets—you’ll want your primary work area within reach of 120V power without extension cords snaking across the floor.
Every functional workshop needs three distinct zones. Your active work area requires 4-6 feet of clearance in front of your primary workbench for comfortable movement. The storage and tool wall holds materials and equipment you access frequently, ideally positioned within arm’s reach of your work surface. Finally, maintain clear circulation paths at least 30 inches wide between zones so you can move materials and navigate safely.
Traffic flow determines whether your workshop feels spacious or cramped. Stand where you’ll do most of your work and extend your arms—that reach zone defines your core workspace. Position frequently-used tools and materials within this radius. Reserve corner areas for seasonal items and bulk storage that you access less often.
Essential Tools and Storage Setup
Building a functional workshop starts with choosing the right tools—not every gadget in the catalog, just the ones you’ll actually use. For most DIY home repair and hobby projects, 10 to 15 foundational tools cover nearly every task. Your core collection should include a quality cordless drill/driver, circular saw, level, tape measure, hammer, screwdriver set, adjustable wrench, pliers, safety glasses, hearing protection, work gloves, and a dust mask. If you’re tackling woodworking projects, add a square, clamps, and sandpaper to the list. Resist the urge to buy specialized equipment until a specific project demands it—impulse purchases create clutter without adding capability.
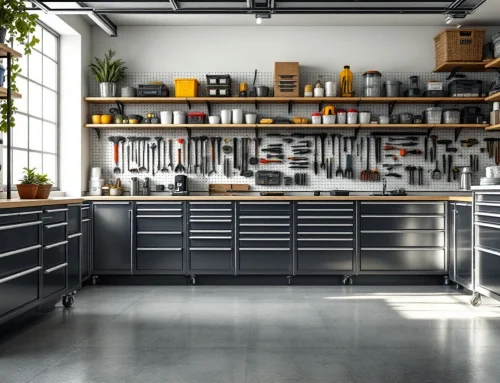
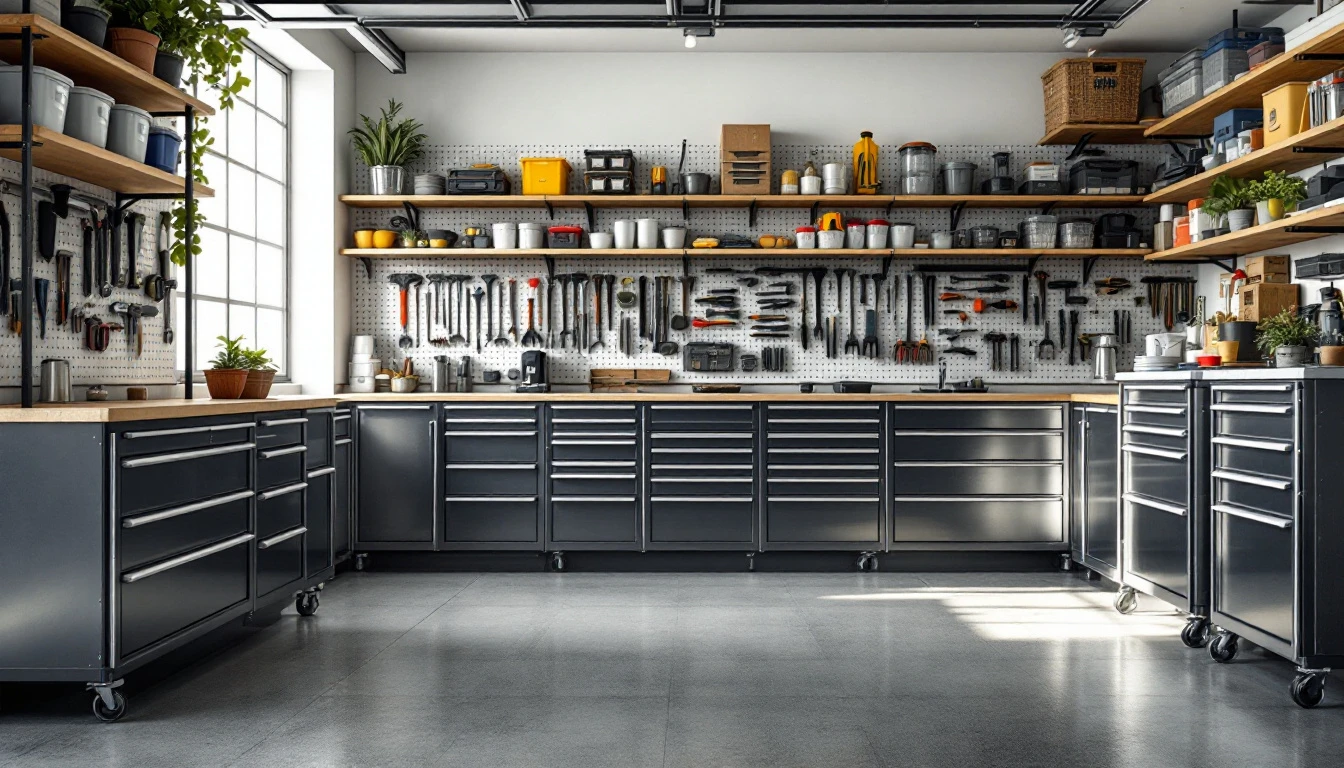
Once you know what tools you own, create dedicated zones for storage. Wall-mounted pegboards maximize vertical space and keep frequently used hand tools within arm’s reach. Tool chests work well for items you need to protect from Portland’s humidity, which can corrode metal surfaces and rust precision instruments even during summer months. Magnetic strips hold metal tools securely while freeing up drawer space. Label each storage zone clearly—”Hand Tools,” “Power Tools,” “Safety Gear”—so family members can return items to their proper places.
Portland’s damp climate demands special attention to moisture control. Store expensive power tools and precision instruments in sealed cabinets or plastic bins with silica gel packets to absorb ambient humidity. Install battery-powered LED strips inside storage areas to improve visibility during darker months. Consider adding a small dehumidifier if your garage lacks adequate ventilation—rust prevention pays for itself by extending tool life.
Organizing during June, when your garage is accessible and comfortable to work in, prevents the chaotic “junk zone” that develops when you rush setup or postpone decisions. A well-organized tool system means you spend minutes instead of hours hunting for the right equipment, keeping projects moving forward throughout the year.

Workbench and Workspace Configuration
Your workbench is the foundation of your garage workshop, and sizing it correctly determines how comfortably you’ll work on your typical projects. For small repairs like bike tune-ups or electronics work, a 48-inch-wide bench provides enough room to spread out parts without overwhelming a single-car garage. Larger woodworking projects demand 72 to 96 inches of continuous surface to support long boards or multiple assembly stages.
Standard workbench height ranges from 28 to 36 inches, but the right height depends on your own build and the work you do most. Stand naturally with your arms at your sides, then bend your elbows 90 degrees—your forearms should align comfortably with the work surface. This ergonomic positioning prevents shoulder strain during those long Saturday afternoon sessions when you’re deep into a restoration project.
Mounting a bench vise to one corner and installing clamp tracks along the front edge transforms a simple table into a hands-free workspace. You’ll hold boards steady for precise cuts or secure metal parts for drilling without needing a helper. June’s bright daylight helps you test whether shadows fall across your work surface—if they do, add task lighting directly above the bench and supplement with overhead fixtures to eliminate dark zones that cause eye fatigue.
Position your workbench within six feet of electrical outlets to avoid extension cords snaking across the floor. Install a surge-protected power strip along the back edge for tool access, and schedule additional outlet installation if your garage’s existing electrical layout leaves you short. Testing your lighting setup during June’s evening hours reveals whether you’ll need brighter bulbs before fall projects begin in darker conditions.

Portland-Specific Setup Considerations
Portland’s wet climate demands intentional workshop design choices that protect your investment year-round. While June offers ideal construction weather, the real test comes when fall rains return and moisture management becomes critical to keeping tools rust-free and electronics functioning properly.
Ventilation stands as your first line of defense against condensation buildup. Installing ceiling fans or wall-mounted louvers during summer allows you to test airflow patterns before humidity becomes an issue. You’ll notice immediately whether air circulates through dead zones behind your workbench or along storage walls—problems that become expensive when moisture settles on expensive power tools during January’s damp months.
Epoxy-coated or sealed concrete flooring prevents water intrusion at the foundation level. Portland garages often develop puddles near door thresholds during winter storms, and unsealed concrete wicks moisture into your workspace. A properly sealed floor installed during June’s dry conditions cures completely before autumn testing begins.
Tool storage requires sealed cabinets or climate-controlled enclosures. Open shelving works fine in Arizona, but Portland’s humidity rusts blades, corrodes battery contacts, and swells wooden handles. Before fall arrives, complete this transition checklist: weatherproof door thresholds with rubber seals, inspect weatherstripping around service doors, and establish protocols for moisture-sensitive materials like sandpaper and finishing supplies. These June preparations transform your garage from a fair-weather workshop into a functional space that supports projects through every season.
Your June Setup Timeline and Next Steps
Breaking your workshop setup into a four-week timeline makes the project manageable and means completion before fall weather arrives. Weeks 1–2 focus on planning and procurement: measure your garage dimensions, sketch your three functional zones on graph paper, and order materials like wall-mounted storage systems, workbench lumber, and humidity-resistant cabinets. Use Portland’s dry June weather to visit local hardware stores, compare lighting options, and finalize your tool list.
Weeks 3–4 shift to physical installation: mount pegboards and shelving on designated storage walls, assemble your workbench, install overhead lighting fixtures, and arrange tools according to your labeled zones. The extended daylight hours let you work evenings after dinner without rushing. Complete the transformation with a final testing phase: choose a small project like building a shelf or repairing furniture to validate your layout, lighting placement, and tool accessibility.
Finishing by the end of June leaves July and August free for actual projects before September’s rain returns. Once summer setup is complete, your workshop transitions to simple maintenance mode—quarterly organization checks and climate monitoring keep the space functional year-round without another major overhaul.