


1920s Longview Garages & Rainfall Risk
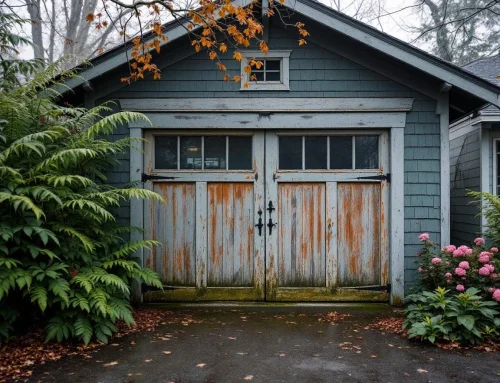
Walk through Columbia Heights or central Longview neighborhoods and you’ll spot the legacy of the Long-Bell Lumber Company’s planned city. Charming detached garages built alongside 1920s homes. These wood-frame structures hold historic value, but they weren’t built to withstand what Longview’s climate delivers—40 to 50 inches of annual rainfall that concentrates between September and April. Historic garage repair in Longview addresses these vulnerabilities through restoration methods that honor original construction while delivering modern moisture protection.
Why does that matter? Garages from this era relied on construction methods that worked in 1925 but fail under persistent wet-season exposure. Builders used unseasoned lumber that expands and contracts with moisture cycles. They wrapped walls in tar paper instead of modern vapor barriers. Roof flashing was often minimal, and foundation seams lacked the continuous waterproofing we expect today.
The result? Wood sill plates absorb ground moisture first. Followed by rot spreading through wall studs. Foundation seams open as materials shift. Roof flashing gaps allow water intrusion that travels down wall cavities. By the time you notice interior water stains, structural damage is often underway—repairs that can exceed $5,000.
March represents your critical action window. Rainfall peaks in April and May, creating maximum moisture stress. Identifying and sealing entry points now prevents compound damage through the wettest months ahead.
Three Moisture Entry Points to Inspect
Grab a flashlight and notebook—”…this 30-minute inspection will reveal whether you face minor repairs or serious structural damage. Your 1920s garage has three critical failure zones where Longview’s relentless rainfall finds its way into wood framing.
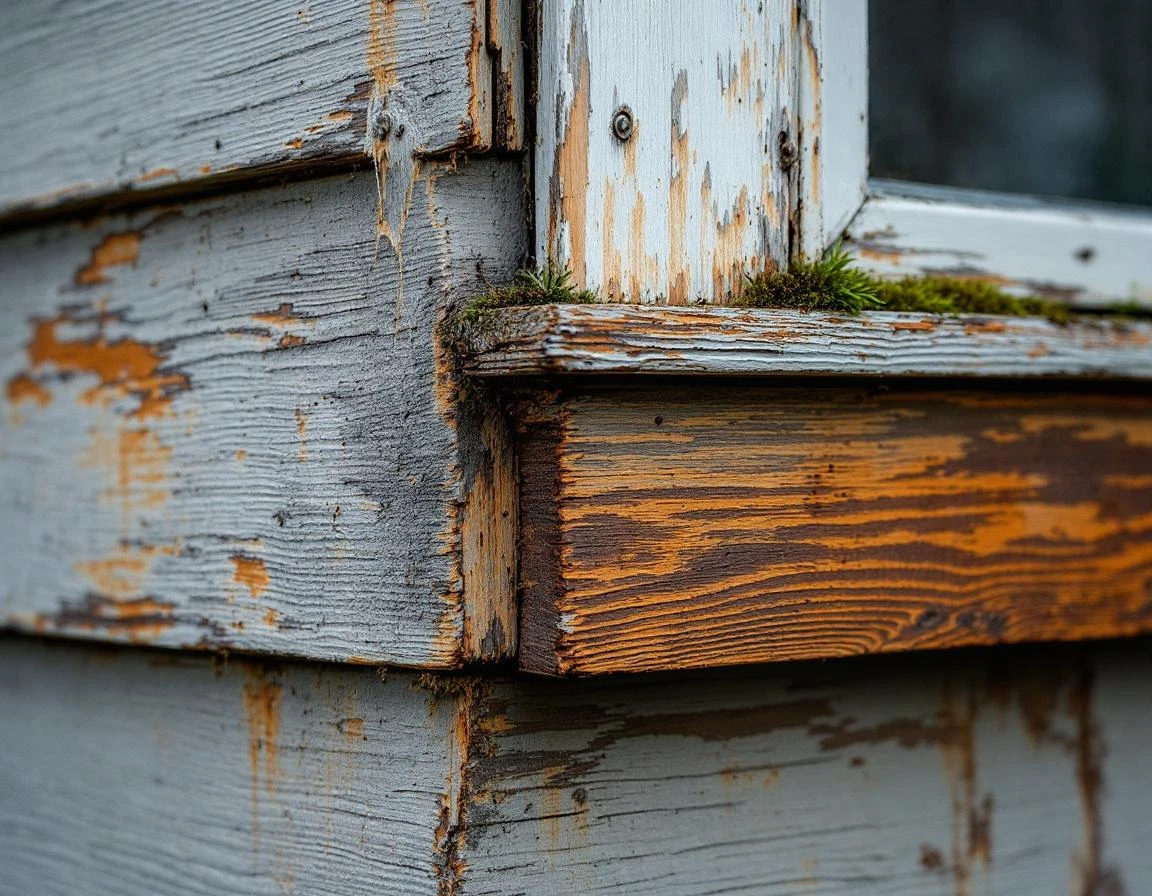
- Foundation seams and perimeter cracks are your first checkpoint. Walk the entire base of your garage, looking for discoloration on the concrete or exposed sill plates. Soft wood when you press with a screwdriver means capillary moisture has been wicking upward into framing. Paint peeling within six inches of the ground signals active moisture migration. If you see minor cracking with no soft wood, that’s a DIY caulking job. If the sill plate compresses under pressure or shows rot, call a contractor for a replacement.
- Roof flashing and gutter systems come next. Climb a ladder and inspect where your roof meets vertical surfaces—chimneys, walls, or dormers. Rust stains below these joints mean water has been running behind the flashing during winter storms. Check gutters for leaves and debris that force runoff directly onto fascia boards. Clean gutters and resealed flashing are weekend projects; rotted fascia or sagging roof decking requires professional framing work.
- Door frame sills and headers complete your circuit. Look for standing water marks on concrete thresholds, gaps between the door frame and siding, or peeling paint on the header above. Wind-driven rain exploits these openings during spring storms. Visible gaps under a quarter-inch? Seal them yourself with weatherstripping. Structural movement or wood decay? That’s contractor territory.
Period-Appropriate Moisture Control Repairs
Historic-compatible materials offer a powerful advantage for 1920s detached garage moisture damage: they preserve authentic character while delivering modern moisture-barrier performance. The three core repairs address your inspection findings with materials that match original construction methods and outperform contemporary alternatives in wet Pacific Northwest conditions.
Foundation Perimeter Sealing
Apply lime-based mortar caulk along the foundation-to-sill plate joint, replacing failed tar paper barriers. Unlike silicone, lime mortar breathes while blocking water, preventing rot-inducing moisture traps. This material costs less than specialized waterproofing systems while delivering superior performance.
Cut away loose material, clean with a wire brush, dampen the substrate, then trowel lime caulk into gaps. Allow 48 hours for curing. This weekend-friendly repair takes 3–4 hours and prevents the foundation moisture migration that destroys sill plates.
Roof Flashing Replacement
Replace corroded tin flashing with copper or standing-seam profiles that match 1920s detailing. These traditional materials deliver lasting performance in coastal rain zones and shed water more effectively than modern alternatives. Gather materials for ridge caps, valleys, and drip edges before beginning work. Remove old fasteners carefully to avoid rafter damage, then lap new flashing at joints with proper overlap. Plan for a full day of installation, or hire a professional if roof access concerns you.
Door Sill Restoration
Rebuild rotted door sills using old-growth cedar shims and dutchman patches rather than wholesale replacement. Cedar’s natural rot resistance suits our climate perfectly. Materials for this repair remain affordable and scale with damage extent. Chisel out compromised wood, fit cedar pieces with waterproof wood glue, then plane flush and seal with linseed oil. This precision work demands focused attention but preserves original framing. The alternative? Ignoring these entry points leads to structural repairs that drain your renovation budget and complicate restoration efforts.
Foundation Sealing & Sill Plate Protection
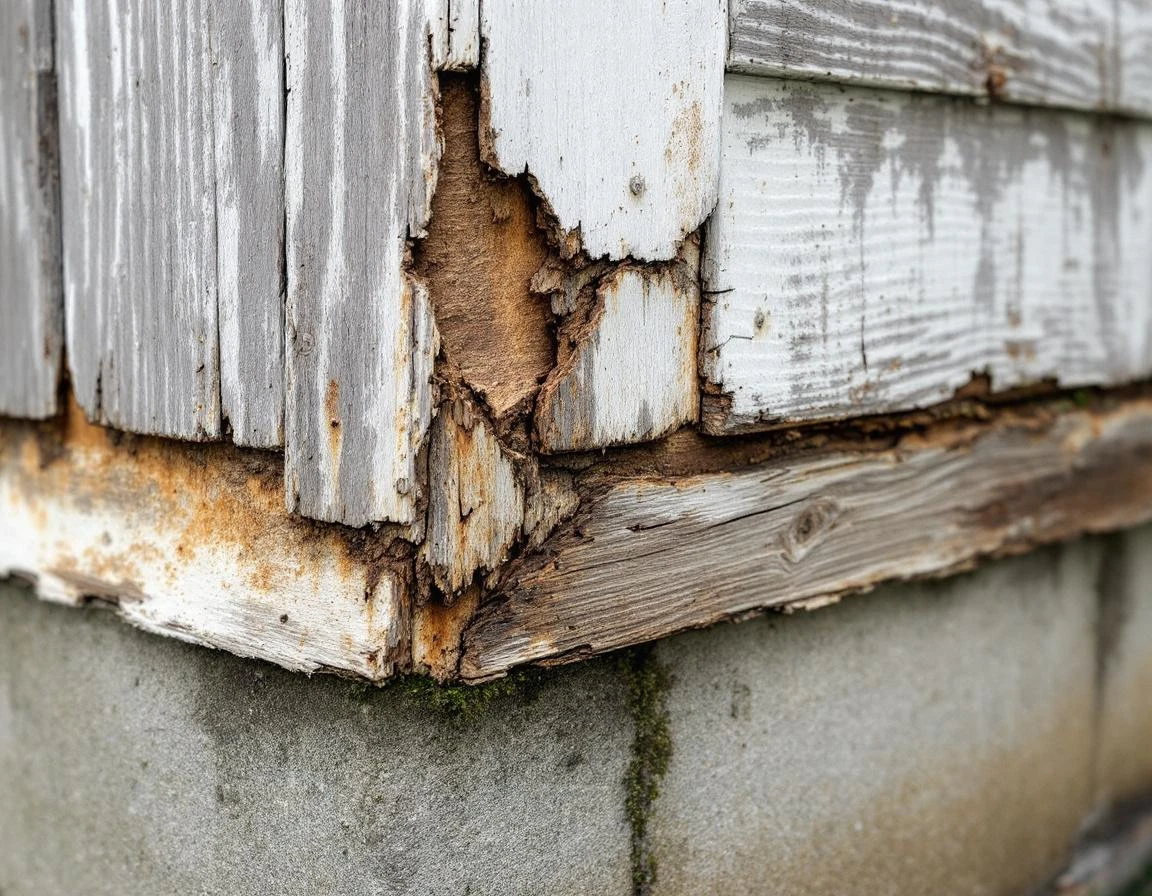
The concrete-to-wood joint at your garage foundation isn’t just a weak spot—it’s the primary entry point for moisture in 1920s construction. Water moves upward through tiny pores in concrete by capillary action, soaking the sill plate where it rests on the foundation. This zone fails first because the wood stays wet while trapped between concrete below and wall framing above.
Start by removing deteriorated mortar from the joint using a wire brush and putty knife. Probe the sill plate with an awl to check for soft spots indicating rot. If the wood feels spongy, you’ll need professional help. For sound wood, repoint the joint with NHL 3.5 lime mortar. Which lets the wood breathe while blocking liquid water. Press the mortar firmly into gaps with a pointing trowel.
After the mortar cures for 48 hours, apply Siga Majrex breathable sealant to the exterior foundation wall just below the sill plate. Unlike plastic barriers, this vapor-permeable membrane stops rain while allowing trapped moisture to escape. Budget 4-6 hours for a typical detached garage perimeter.
Roof Flashing & Gutter Maintenance
Where your garage roof meets the wall, flashing acts as the critical barrier between wet and dry. When this metal shield fails—through rust, separation, or sealant decay—rain follows a direct pathway into the wall cavity, saturating wood framing from the top down. In 1920s garages with minimal roof overhangs, this junction takes the full force of Longview’s winter storms. Preventing rust in old garage structures requires regular inspection and timely replacement before corrosion penetrates protective coatings.
Inspect flashing for rust spots, visible gaps where metal pulls away from wood, and cracked caulk. If damage is localized, fresh sealant may suffice. For widespread failure, replace with standing-seam or soldered copper flashing—period-appropriate garage repair materials that outlast modern alternatives in wet climates.
Before tackling flashing repairs, start with the highest-impact, lowest-cost action: clear your gutters by late February. Clogged downspouts overflow directly onto walls and foundations. During wet season, inspect monthly. Leaf guards maintain flow between cleanings. Protecting your repair work from premature failure when April rains arrive.
DIY vs. Professional Help Decision Guide
Not every moisture repair requires a contractor’s expertise, but knowing where to draw the line protects your investment and safety. For simple perimeter sealing, gutter cleaning, and exterior caulking tasks, most homeowners can confidently handle the work. These surface-level repairs require basic tools and follow predictable steps.
Structural work demands professional evaluation. If your inspection revealed rotted sill plates, compromised roof framing, or extensive water damage patterns. Hire a contractor who understands wood-frame garage restoration and building code requirements. Professionals carry liability insurance, pull necessary permits through the Cowlitz County Building Division, and warranty their structural repairs. A contractor assessment typically costs $150-300 in the Longview area, while a complete repair package addressing all three moisture zones runs $1,500-2,500.
March offers the best window for scheduling this work. Contractors maintain availability before the spring rush, and most projects complete before April’s peak rainfall returns. Repair crews need dry conditions for proper flashing installation and wood treatment, making late winter the natural choice.
Finding qualified help matters. Look for contractors with historic structure experience who understand why period-appropriate materials perform better in wet climates than modern shortcuts. The investment in professional diagnosis for historic buildings prevents costly misdiagnosis and addresses root causes rather than symptoms. Contact us today for referrals to trusted local specialists.
Historic Garage Repair in Longview: March Action Checklist & Next Steps
March 2026 is your window. Begin with a complete inspection and visual walk-through during the first week of the month—document problem zones with photos and notes. By mid-March, gather all quotes and materials for foundation sealing, roof flashing repair, and door frame restoration. This timeline puts you ahead of April’s peak rainfall, when water intrusion multiplies repair complexity and cost.
- Complete foundation and roof work by late March. These two systems protect everything else—delaying them into April invites water damage that spreads to framing members and interior storage.
- Door frame repairs can extend into mid-April if needed, since they’re less exposed to direct rainfall.
- Through May and June, monitor every repaired zone during wet weather. Document any new moisture entry points for follow-up work.
- Turn this March effort into annual routine maintenance. Schedule spring inspections every year to catch minor issues before they become structural problems.
For wet climate garage wood damage repair in your historic home, professional evaluation costs far less than repair bills from delayed action. Contact a local contractor or book an appointment for a free assessment today.




Leave A Comment