Power and Remote Check
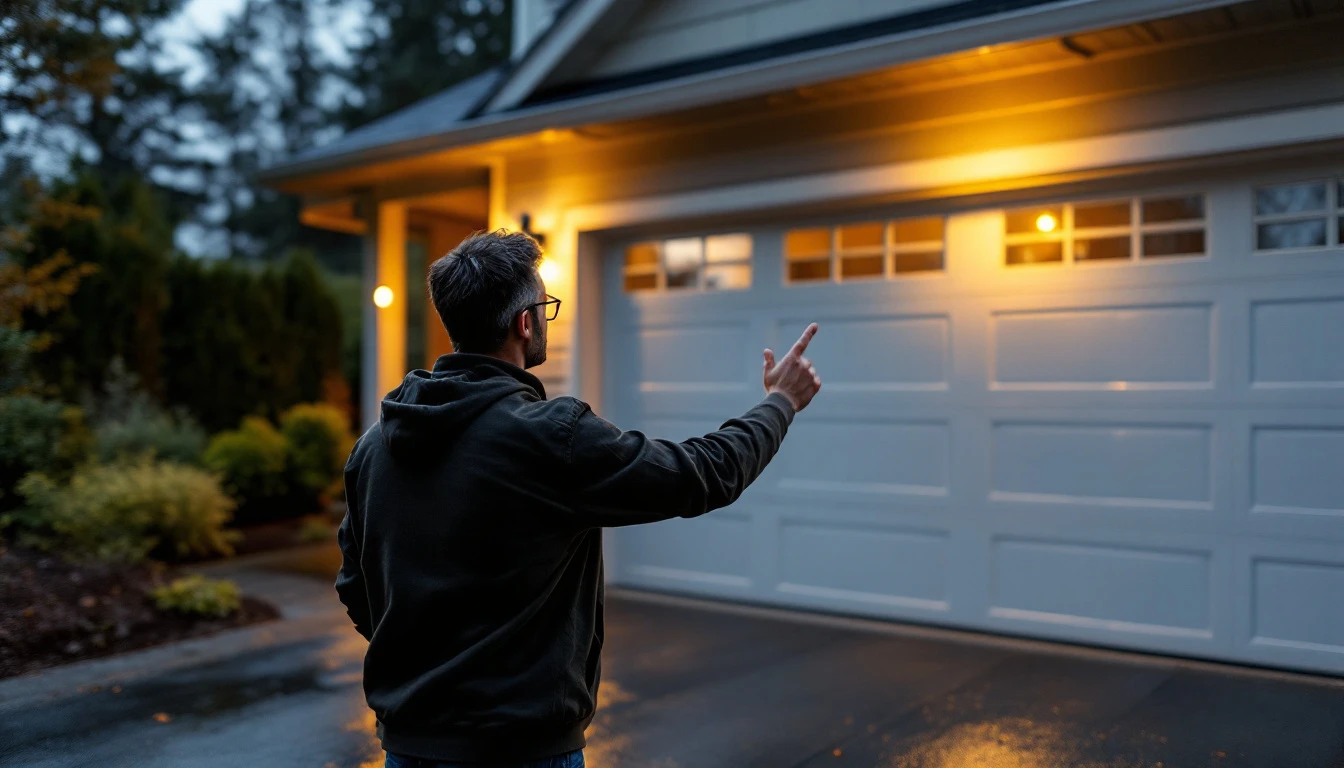
Before you climb ladders or inspect springs, start with the simplest explanation: your garage door won’t open or close if the opener isn’t receiving power. Walk to the wall outlet where your opener plugs in and verify the connection is secure. Check your home’s circuit breaker panel for any tripped breakers—flip the switch fully off and back on if needed.
Does your wall-mounted button inside the garage work when you press it? If yes, your remote is likely the culprit. Pop open the battery compartment and replace the batteries with fresh ones. Most remotes use standard coin-cell or AA batteries that lose charge over time.
When you activate either the remote or wall button, listen carefully. Does the opener motor hum or click? Do any lights illuminate on the unit itself? These sounds and visual cues tell you the opener is receiving power and attempting to operate—meaning your problem is mechanical, not electrical.
If you hear nothing and see no lights despite confirmed power to the outlet, the opener’s internal circuit may have failed. This quick five-minute check eliminates the most common issues and helps you decide whether to continue troubleshooting or contact Garage Harmony for professional diagnosis.
Sensor and Safety Alignment
After confirming your garage door has power, the next checkpoint is the safety sensor system. These photoelectric devices sit at the base of your door tracks, about four to six inches above the floor, and emit an invisible beam across the doorway. When that beam breaks while the door is closing, the system reverses immediately—a critical safety feature that prevents injury or property damage.
In the Portland metro area, fall conditions create perfect sensor disruption scenarios. Fallen leaves blow into the garage, coating sensor lenses with debris. Pacific Northwest humidity causes condensation on the small glass eyes, scattering the beam. Even a gentle bump from a bicycle or garden tool can knock sensors out of alignment by just a few millimeters—enough to break the connection.
Start your inspection by checking both sensors for physical obstructions. Wipe the lenses clean with a dry cloth, removing any dust, moisture, or spider webs. Look for indicator lights on each unit: you should see a solid green light on the receiving sensor and a red or amber light on the sending sensor. If either light is blinking or off, the sensors aren’t communicating properly.
Check that sensor cables aren’t pinched in the track or disconnected at the mounting bracket. Finally, verify alignment by loosening the wing nut on one sensor mount and gently adjusting until both lights glow steadily. This five-minute fix resolves many closing failures without any service call. For more detailed guidance, see our complete garage door sensors guide.

Manual Release and Door Weight
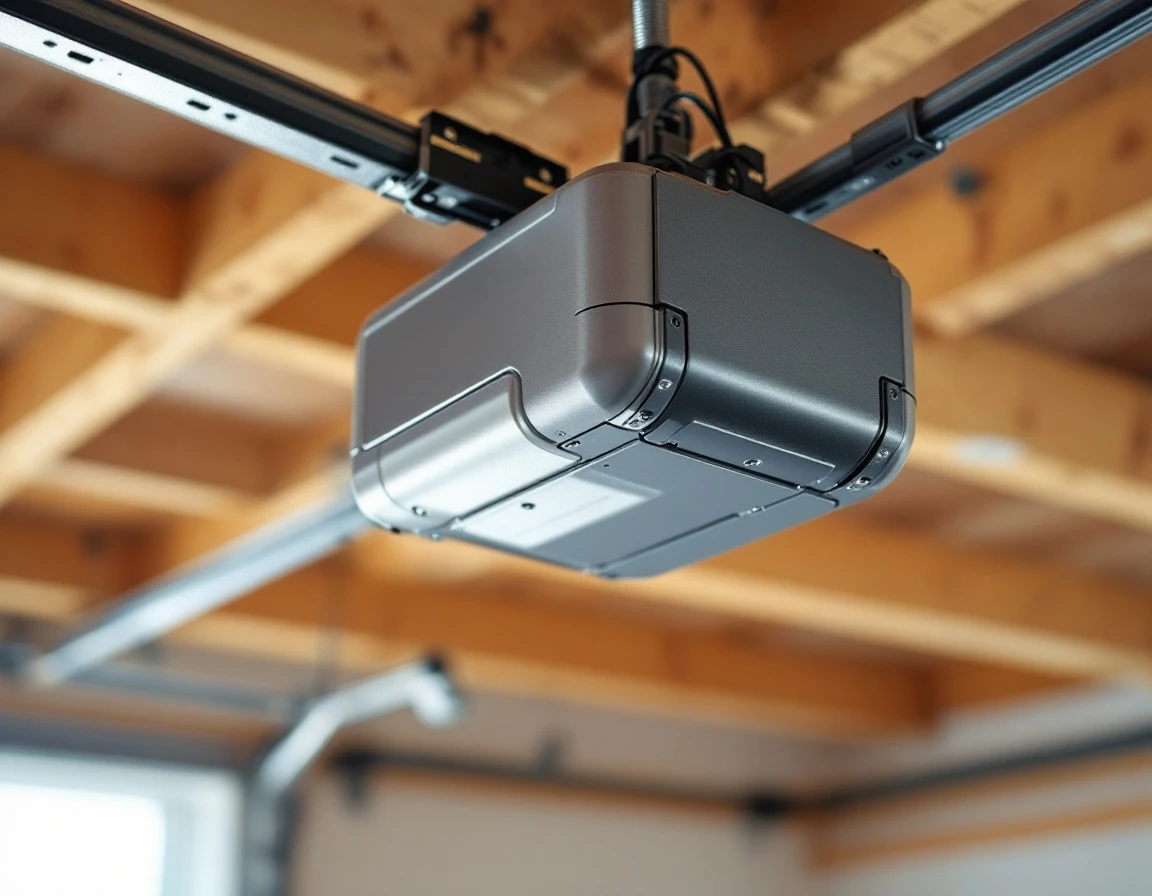
Once you’ve ruled out power and sensor issues, the next diagnostic step separates opener motor problems from mechanical failures in the door itself. Look for the red manual release handle hanging from the opener rail—usually a rope with a handle attached to the trolley mechanism. Pulling this cord disengages the opener and allows you to test the door manually.
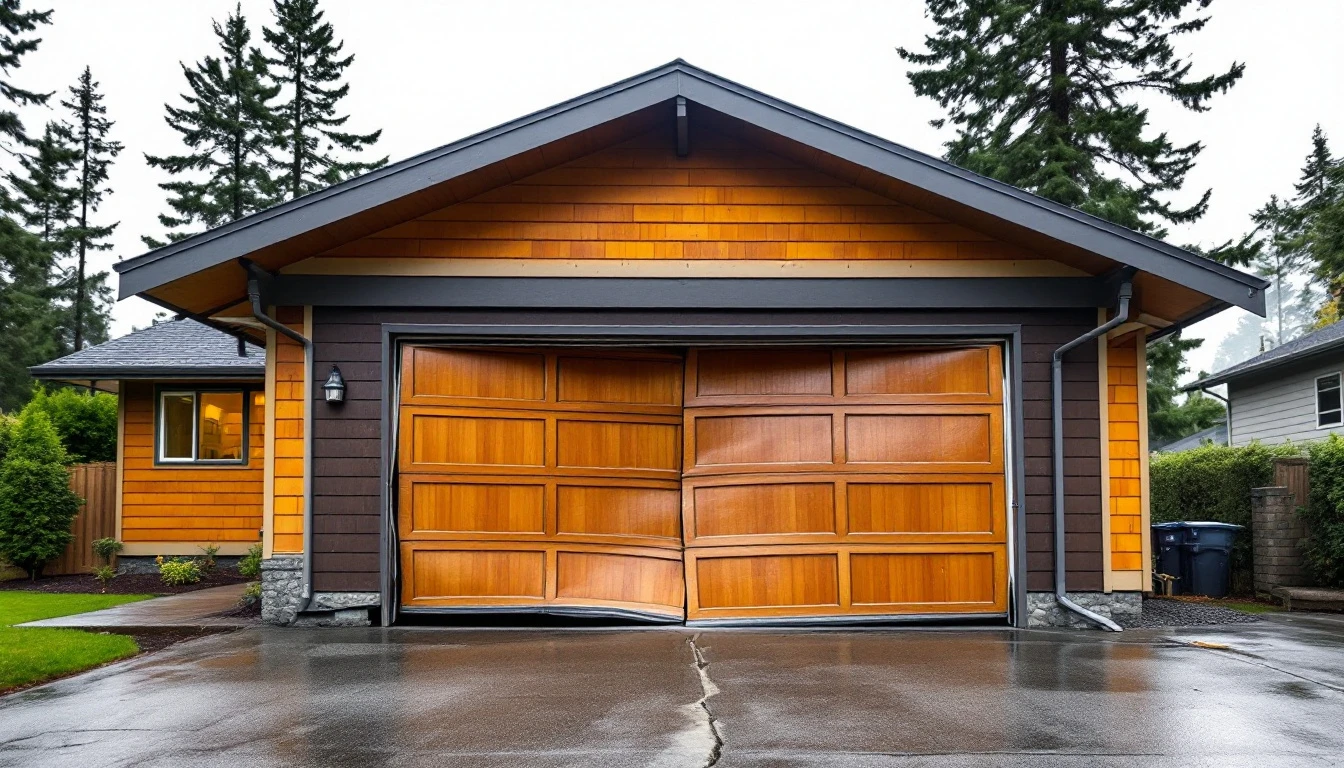
Gently pull the release cord toward the door opening, then attempt to lift the door by hand. A properly balanced garage door should move smoothly and stay in place when you release it halfway up. If the door feels extremely heavy, you’re likely dealing with broken or weakened torsion springs. If the door slips down rapidly when you let go, sags to one side, or catches and jerks as you lift it, you’ve identified spring or cable failure.
This simple test tells you whether your opener motor is struggling with a door it can no longer lift safely. Continuing to operate an opener with broken springs can damage the motor and create serious safety hazards. Once you’ve confirmed heavy, unbalanced, or uneven movement, stop all DIY work and contact professionals immediately.
Manual release testing is your safe first checkpoint before any spring-related work begins.
Track Inspection and Debris Removal
Portland’s fall season brings an onslaught of leaves, dirt, and moisture that accumulates in garage door tracks, creating obstructions that prevent smooth operation. Before assuming your opener has failed, spend a few minutes examining the metal tracks on both sides of your door for visible problems. Look for the following issues:
- Dents, bends, or sections that appear misaligned—even minor deviations can jam the rollers and stop your door mid-cycle
- Moisture buildup inside tracks from September’s humidity in the Pacific Northwest, sometimes leading to early frost formation on cold mornings
- Debris that accumulates in the curved sections where leaves tend to wedge themselves
Remove any debris you find using a damp cloth or soft brush, paying special attention to the curved sections where leaves tend to wedge themselves. A quick wipe-down takes only minutes but can resolve what seems like a major mechanical failure.
After cleaning, use a level against the vertical sections to check for misalignment. If tracks appear severely bent or pulled away from the wall, that’s a job for professionals. Once you’ve cleared the tracks, manually test the door by lifting it partway to confirm smooth movement—this quick check tells you whether debris was indeed the culprit. Learn more about garage door track alignment and maintenance.

When to Call for Professional Help
After completing your 30-minute diagnostic sequence, you’ll have clear evidence of what’s preventing your garage door from working. Some problems have simple DIY solutions, but others require immediate professional intervention. Knowing this boundary keeps you safe and prevents further damage to your door system.
Broken or damaged springs are the most critical red flag. If your door feels extremely heavy when manually lifted, if you notice a gap in the torsion spring above the door, or if the door sags on one side, stop immediately. Springs operate under hundreds of pounds of tension and require specialized tools and training to replace safely. Cable damage—fraying, unwinding, or detachment—creates similar entanglement hazards that only professionals should address.
Opener motor failures and complex track realignment also warrant expert diagnosis. If your motor runs but produces grinding sounds, if the door moves unevenly despite clear tracks, or if visual inspection reveals structural mounting issues, the repair exceeds typical homeowner capabilities.
September offers a time-sensitive advantage for Portland metro homeowners. Many technicians provide same-day emergency service during this pre-storm window, before October weather creates appointment backlog. Addressing identified garage door troubleshooting problems now means you won’t face a broken door during the first heavy rainfall.
Contact Garage Harmony today to schedule your repair and maintain smooth operation through fall and winter.
Door Won’t Close Specifically
Does your garage door start to close but suddenly reverse direction before reaching the floor? This common frustration typically points to your safety sensors detecting an obstruction or misalignment issue. The reversing The mechanism is a built-in safety feature that prevents the door from closing on people., pets, or objects in its path.
Start by checking the small indicator lights on both sensors mounted near the floor on each side of your door tracks. Both lights should be illuminated and steady—if one is blinking or off, you’ve found your problem. Clear away any debris, spider webs, or leaf buildup from the sensor lenses, then wipe them clean with a dry cloth.
Test the closing cycle again after cleaning. If the door still reverses, check that both sensors are pointing directly at each other and haven’t been bumped out of alignment during yard work or seasonal garage activity.
Door Won’t Open Specifically
When your garage door won’t operate and refuses to rise at all, you’re dealing with either a power issue or mechanical resistance preventing motion. Start by checking the most common culprit: the manual release cord. Many homeowners accidentally leave this engaged after pulling it during a power outage, which disconnects the opener from the door and prevents powered operation entirely.
Does your remote trigger any response? What about the wall button? Test both controls to confirm the problem isn’t isolated to a single device. Listen carefully when you press either control—does the opener motor hum, or is it completely silent?
A humming motor indicates the unit is receiving power but can’t move the door, pointing to a mechanical problem like broken springs or track obstruction. Complete silence suggests power loss at the circuit breaker or a failed motor. This simple distinction tells you whether to focus on electrical connections or mechanical components next.