Signs of Worn Weather Seals
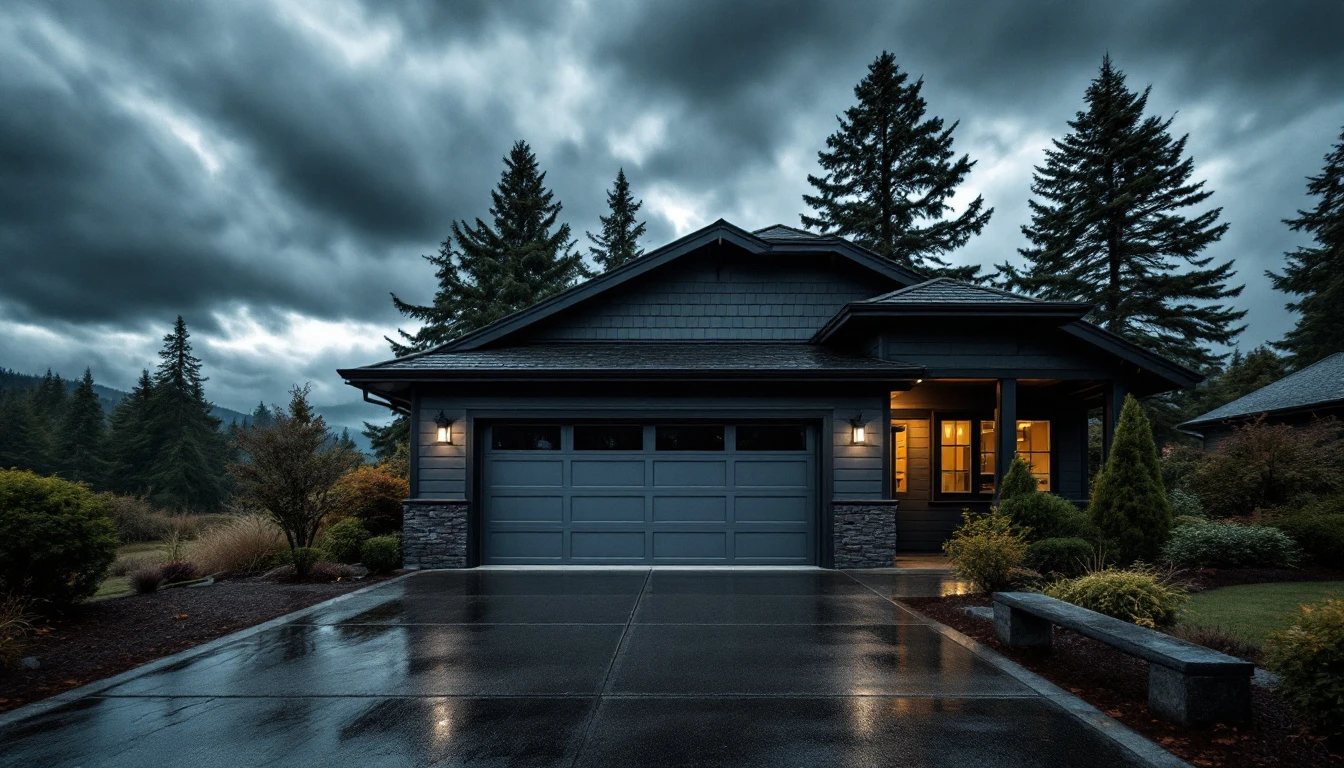
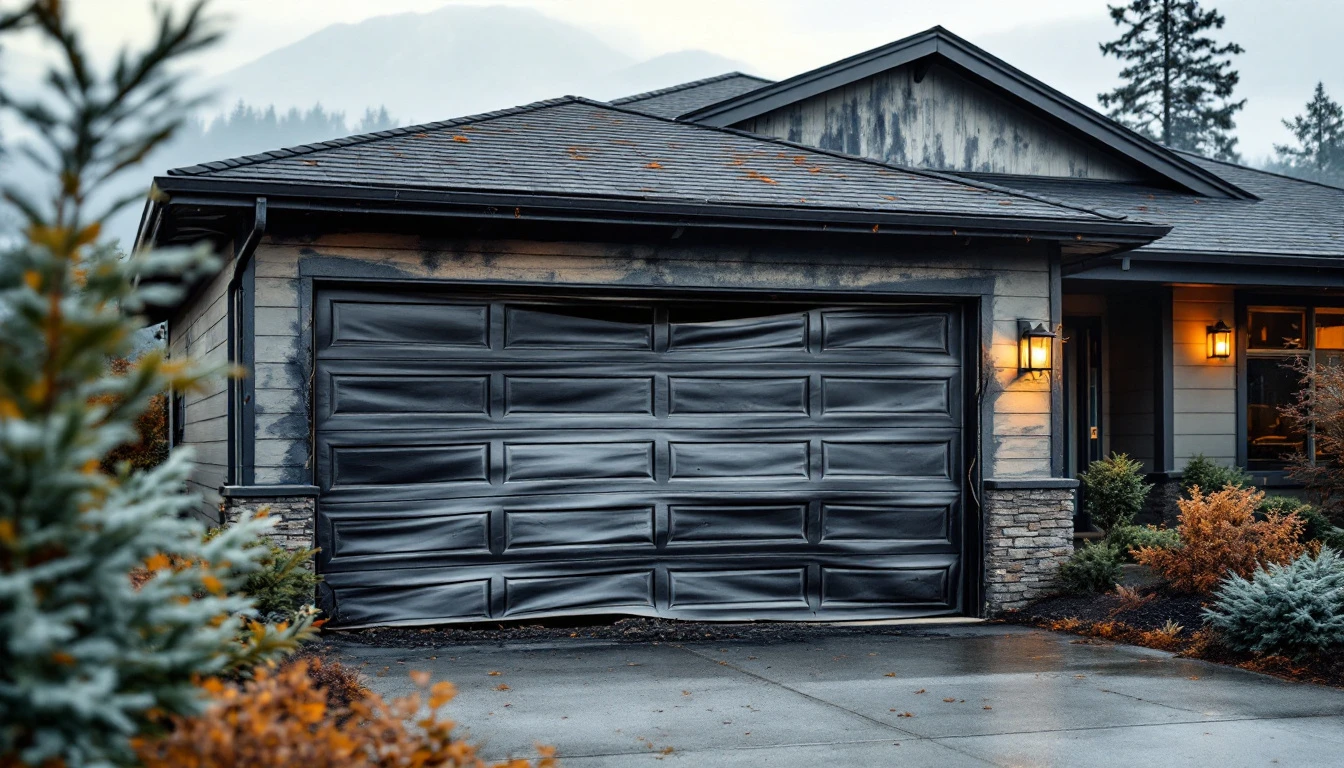
Portland’s relentless fall and winter rains put garage door weather seal replacement Portland homeowners undertake every year to the test. When those seals begin to fail, the evidence shows up quickly—and ignoring the warning signs can lead to expensive water damage and ballooning energy bills.
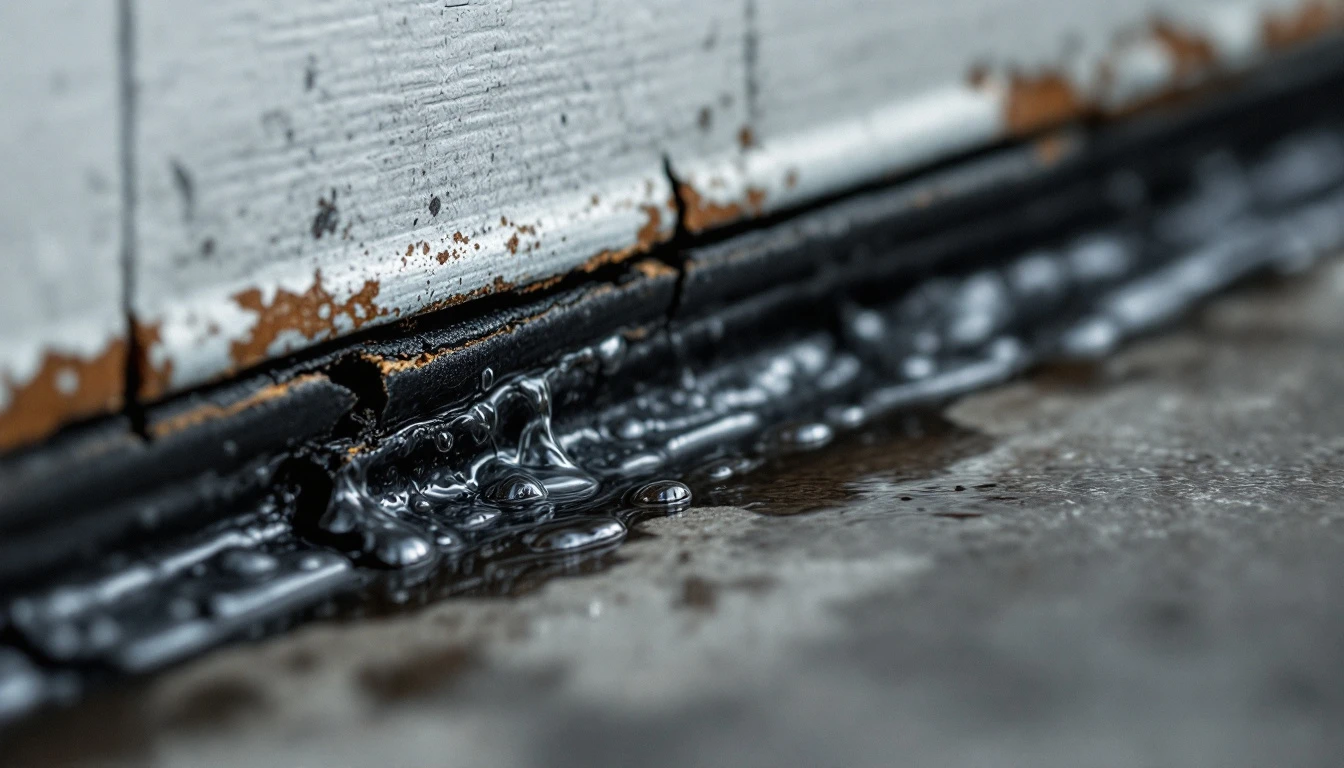
Water pooling inside your garage is the most obvious red flag. If you notice puddles forming near the door or wet concrete spreading across the floor after a rainstorm, your bottom seal has likely degraded. Pacific Northwest winters bring months of steady precipitation, so what starts as minor dampness in October can become a flooding problem by January.
Feel a cold draft when you walk past your garage door? That temperature drop signals gaps in your seals, allowing frigid air to pour in and forcing your heating system to work overtime. Run your hand along the door frame on a windy day—you’ll feel exactly where the problems exist.
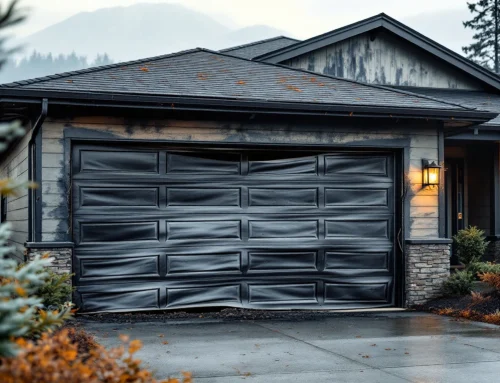
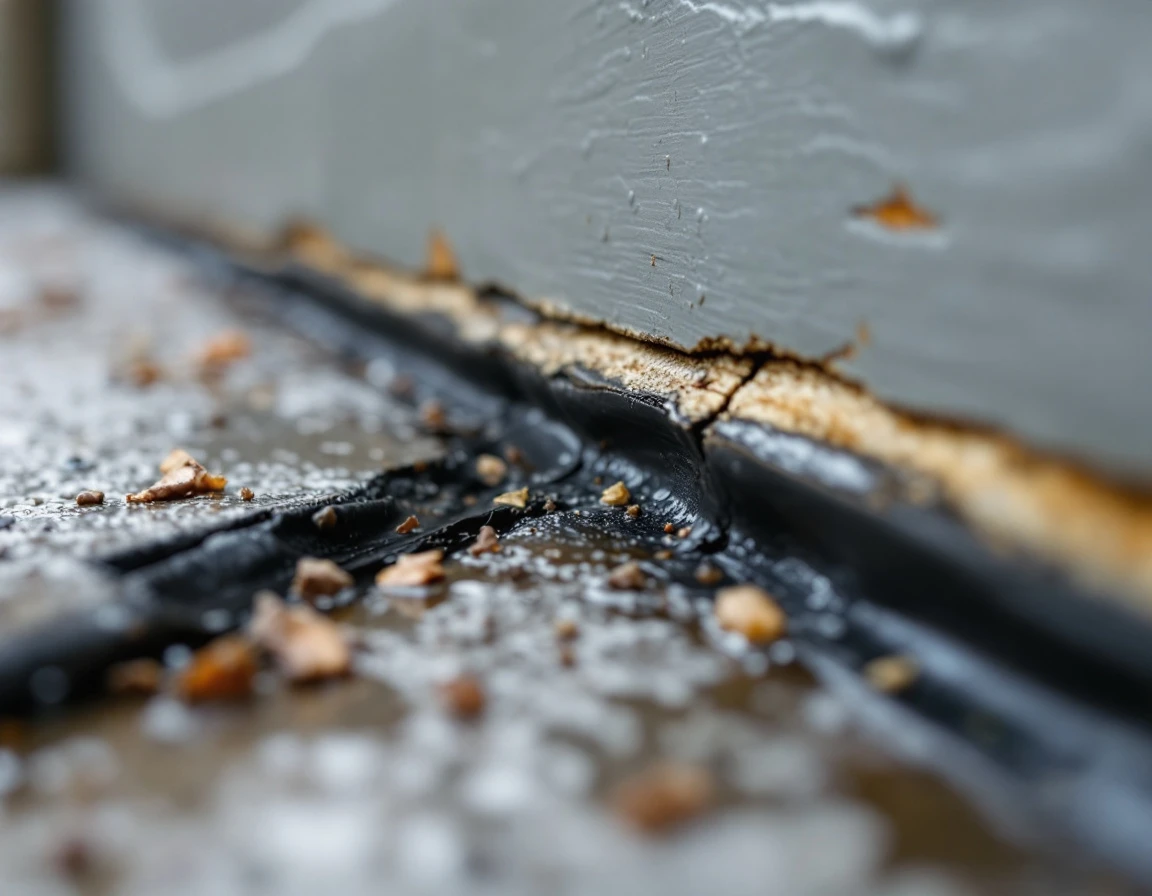
Inspect the rubber itself for visible cracks, peeling, or brittleness. Weather seals naturally degrade under UV exposure and temperature swings. If the material crumbles when you press it or pulls away from the mounting surface, replacement is overdue.
Finally, watch for pest evidence—insects, spider webs, or rodent droppings near the door indicate entry points through compromised seals. Fall replacement stops these intrusions before winter drives more creatures indoors seeking warmth.
Selecting Replacement Seals
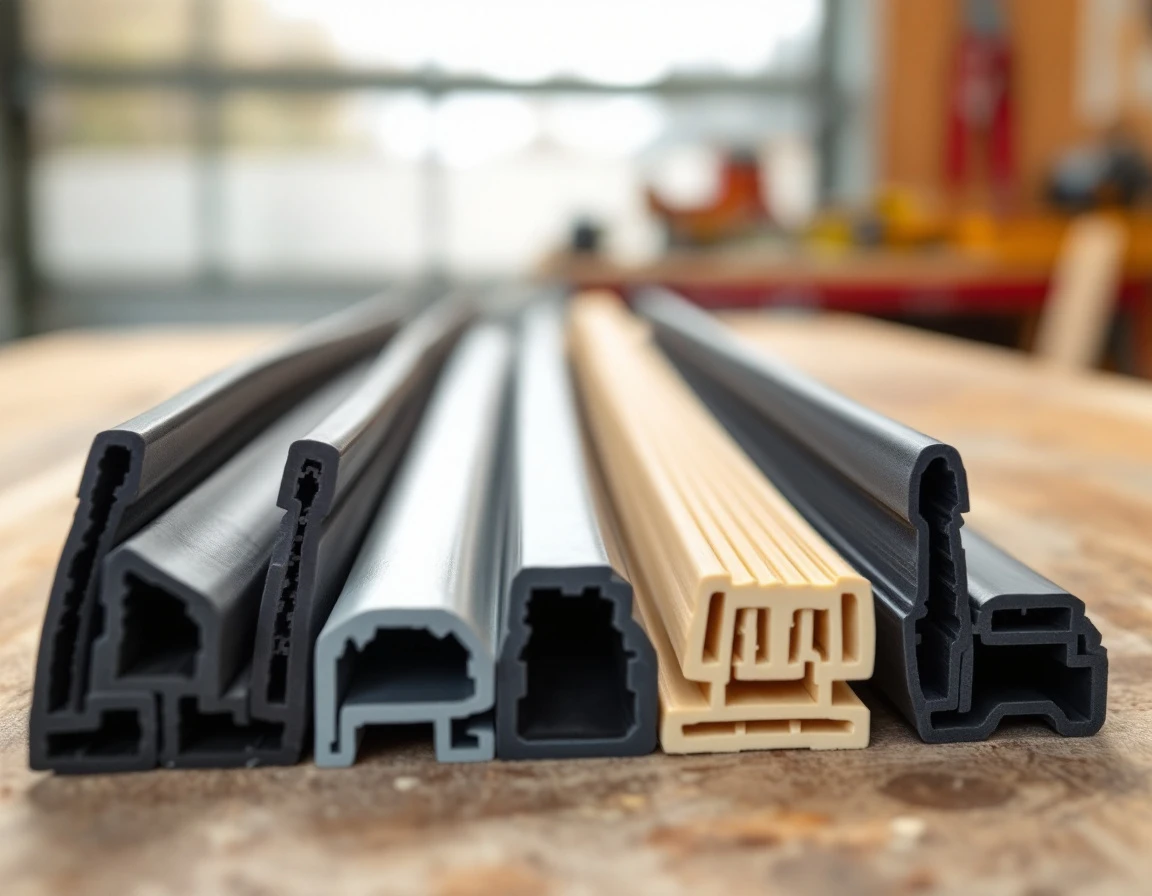
Once you’ve confirmed your seals need replacing, you’ll need to choose the right type for your garage door. Bottom seals (also called sweeps) attach to the door’s lower edge and create a barrier against water, leaves, and pests at ground level. Side and top seals (perimeter seals) line the vertical and horizontal edges of the door frame, preventing drafts and moisture from creeping in around the entire opening. For complete protection in Portland’s wet climate, you’ll want to address all seal locations showing wear.
- Rubber seals handle temperature swings well and stay flexible in cold weather
- Vinyl options resist moisture but may stiffen over time
- Composite materials blend durability with flexibility—ideal for Pacific Northwest conditions where seals face constant rain exposure
Check your existing door type and frame dimensions before ordering. Most residential doors use standard track sizes. But measuring the width of your current seal and the channel it sits in prevents ordering mistakes.
Replacement seals typically cost $20–$100 depending on material and length, with most homeowners spending around $50 for quality rubber sweeps. Compare that to professional seal replacement services at $300–$500. And you’re looking at serious savings for a two-hour project. Match your original seal profile when possible—this guarantees proper fit and performance without modification.
Step-by-Step Replacement Process
Replacing your garage door weather seals is a manageable project that most Portland homeowners can complete in under two hours with basic tools. Before you begin, gather a utility knife, screwdriver or drill, tape measure, scissors, and a rubber mallet. Wear safety glasses to protect your eyes from debris, and work gloves to prevent cuts from sharp metal edges or old, brittle rubber.
Preparation and Safety
Start by closing the garage door completely and disconnecting the automatic opener—either unplug it or pull the emergency release cord. This prevents accidental activation while you’re working near the door. Clear the area around the door frame, removing any stored items that might interfere with your workspace. Check your new seals against the old ones to confirm sizing before you begin removal.
Removing Old Seals
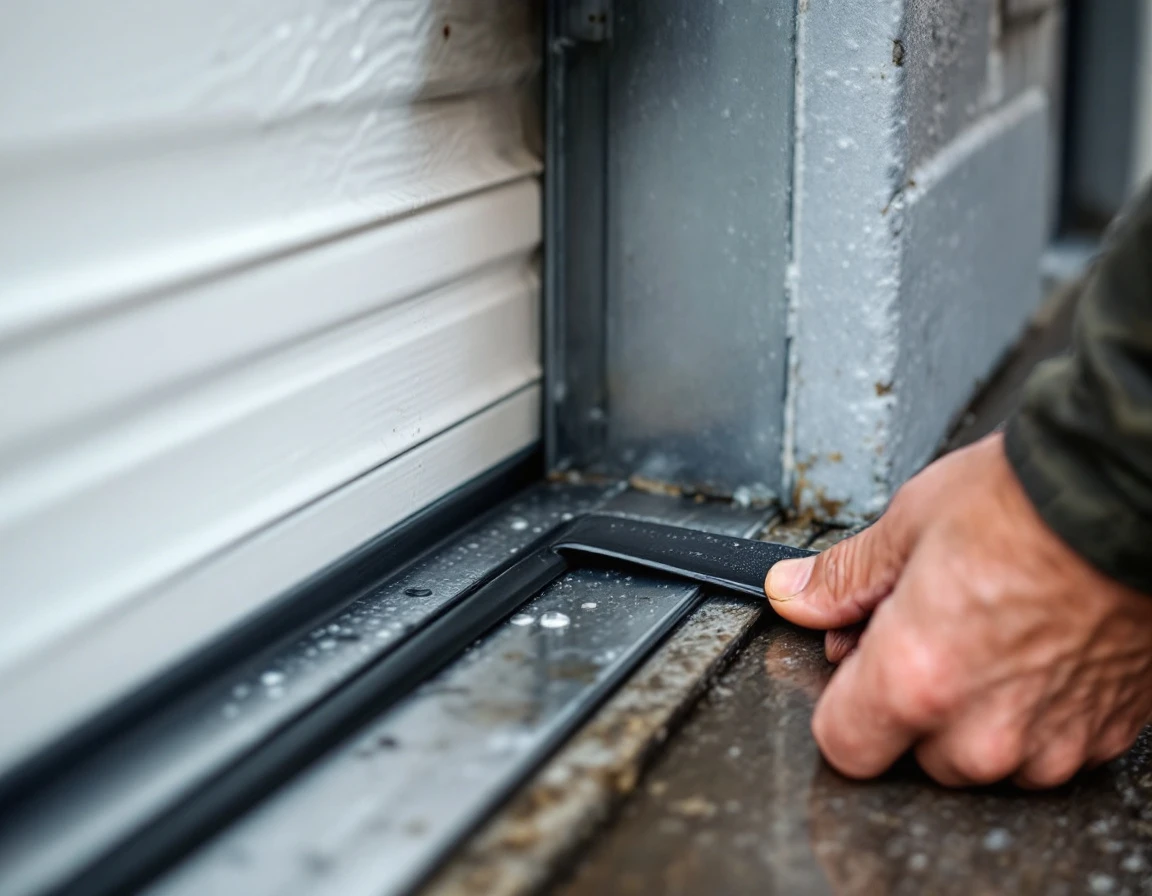
For bottom seals, locate the retainer track at the base of your garage door. Most Portland homes have aluminum U-shaped channels that hold the seal in place. Slide the old seal out from one end—if it’s stuck, use your utility knife to carefully cut away dried adhesive or debris, but avoid scoring the metal track itself. For perimeter seals attached with nails or staples, use a flat-head screwdriver to pry them loose gently, working from top to bottom on each side. Work slowly here; damaging the wood or vinyl door frame creates bigger problems than worn seals.
Inspect the mounting surface once the old seal is removed. Scrape away any remaining adhesive residue with your utility knife blade held at a shallow angle. Wipe down the track or frame with a damp cloth to remove dirt and maintain good contact for the new seal.
Installing New Seals
For bottom sweeps, slide the new seal into the retainer track from one end, feeding it slowly and evenly. Don’t force it—if you meet resistance, back up slightly and adjust the angle. The seal should glide smoothly through the channel. Once fully inserted, center it so equal amounts extend past each edge of the door, then trim any excess with scissors or your utility knife.
When installing perimeter seals, start at the top corner and work your way down each side. Position the seal so it compresses about one-quarter inch when the door closes—this creates a weather-tight barrier without straining the door opener. A common mistake is fastening seals too loosely, leaving gaps that let water and pests through, or too tightly, which prevents the door from closing completely. Secure with the manufacturer’s recommended fasteners, spacing them every six to eight inches.
Testing and Final Adjustments
Close the door slowly and watch how the new seals make contact. They should compress evenly along the entire length without bunching or gaps. Open and close the door several times, checking for smooth operation. If the door strains or the opener struggles, your seals may be too tight—loosen fasteners slightly and retest. Stand inside your garage during light rain to verify water doesn’t penetrate the new seals.
Removal of Old Seals
Start by locating all fastener points securing the existing weather seal. Most perimeter seals attach with small screws or nails spaced every 12–18 inches along the frame. Remove these fasteners carefully using a screwdriver or pry bar, working from one end to the other to avoid twisting the frame.
Once fasteners are out, gently pull the old seal away from the frame. If adhesive or caulking holds sections in place, use a putty knife to separate the material without gouging the wood or metal. Avoid aggressive prying that can splinter frames or damage mounting surfaces.
Clean the frame thoroughly with a wire brush and damp cloth to remove old adhesive, dirt, and weathered rubber fragments. This step creates a smooth surface for your new seal to bond properly.
Inspect the frame closely for soft spots, dark staining, or crumbling wood—signs of rot or structural damage. If you find these issues, stop the project and contact a professional before proceeding with seal replacement.
Installation and Testing
With your cleaned frame ready, position the new seal along the entire perimeter, checking that it makes even contact before fastening. Start at one corner and work methodically around the door frame, pressing the seal firmly into place. Does the seal sit flush against the mounting surface without gaps or buckling? Adjust positioning as needed before you commit to permanent fastening.
Your fastening method depends on the seal type you chose. Adhesive-backed seals require firm pressure along the entire strip to activate the bonding agent—hold each section for several seconds before moving forward. Clip-style seals snap into metal tracks with gentle pressure until you hear a click. Bracket-mounted seals need screws driven every 12 inches through pre-drilled holes.
Once secured, test your work by closing the door completely and inspecting for light leaks from inside your garage with the overhead light off. Any visible daylight reveals gaps that need adjustment.
DIY vs. Professional Garage Door Weather Seal Replacement
When is weather seal replacement a simple weekend project, and when should you call in the experts? If your inspection revealed worn or cracked seals with an intact door frame. No visible misalignment, and no issues with your opener mechanism, you’re an ideal candidate for DIY replacement. Most homeowners complete the job in under two hours with basic tools and spend between $20 and $100 on materials.
However, some conditions require professional intervention. If you noticed frame damage, rot, or structural issues during your old seal removal, stop and contact a garage door specialist. Similarly, doors that don’t close evenly, spring tension problems, or opener malfunctions indicate underlying mechanical issues that need expert diagnosis. Attempting repairs on misaligned doors or damaged frames can worsen the problem and create safety hazards.
Professional weather seal replacement in the Portland area involves hiring a contractor, while the DIY approach allows you to complete the job yourself in an afternoon with minimal expense. The choice between these two paths determines how much you can allocate to other home improvements—money that might otherwise go toward labor costs.
Need backup? Garage Harmony serves the Portland metro area with expert garage door services. Our team can handle everything from complex structural repairs to full door realignment. When DIY isn’t the right fit, we’re here to help.
Fall Maintenance Before Winter
September is the ideal month for Portland homeowners to tackle weather seal replacement. Why now? Because October and November bring the heavy rains that turn a minor seal gap into a serious problem. By replacing worn seals this month, you’re ahead of the Pacific Northwest’s rainy season and well before contractors get booked solid with emergency calls.
While you’ve got your tools out, take advantage of the opportunity to complete related maintenance tasks. Clean debris from your garage door tracks, check your automatic opener function, and apply lubricant to hinges and rollers. These quick additions transform a simple seal replacement into a complete fall tune-up without adding significant time to your weekend project.
Water protection keeps your garage dry during winter storms. Energy savings reduce heating costs when temperatures drop. Pest exclusion prevents rodents from seeking shelter in your garage. All of these benefits come from a single two-hour DIY project that protects your home’s comfort and extends your garage door’s lifespan.
Don’t wait for the first storm to reveal seal failures. Take action now while conditions are dry and manageable.