Three Common Sensor Failure Points
When your garage door refuses to close, the problem usually falls into one of three categories—and most homeowners can fix these issues themselves. Understanding these failure points is your first step toward a working garage door without calling for backup.
Misalignment causes roughly 40% of all sensor failures and represents the easiest fix you’ll encounter. These safety sensors must face each other precisely to create an invisible beam across your doorway. Even a slight bump from a basketball, bicycle, or vacuum cleaner can knock them out of alignment.
Obstruction issues are equally common in Salem homes. Dust accumulation from our dry summer months, seasonal debris like fallen leaves, and yes—spider webs—regularly block the sensor beam. These tiny photoeye lenses need clear sightlines to function properly.
The remaining failures stem from wiring and connection problems. Loose wire connections, frayed wiring from age or rodent damage, and corroded terminals can all interrupt the sensor signal. While slightly more technical than alignment or cleaning, these issues remain within reach of most DIY enthusiasts with basic tools.
Sensor Misalignment Diagnosis
Your garage door sensors rely on a continuous infrared beam connecting two photo-eye units mounted on opposite sides of the door opening. These infrared eyes must face directly at each other with no angle deviation—even a shift of a few millimeters can break the connection and trigger your safety system to prevent the door from closing.
What causes sensors to drift out of alignment? In Salem-area homes, we see three primary culprits: foundation settling over time, vibration from nearby traffic or train lines, and weather-related movement as temperature fluctuations cause mounting brackets to shift slightly. Physical impact—like bumping a sensor while moving lawn equipment in or out—is another common cause.
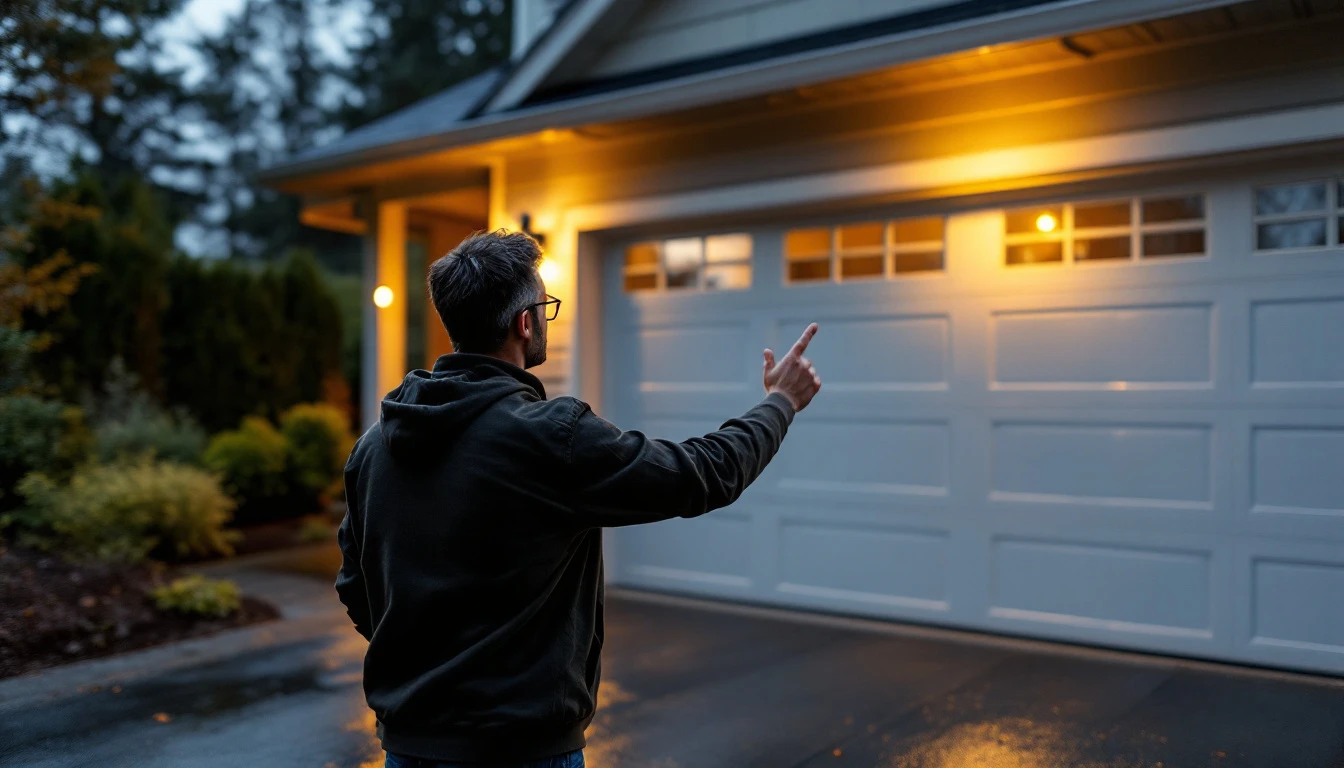
Here’s your 30-second alignment check: shine a laser pointer or flashlight across from one sensor to the other. If the beam doesn’t hit the opposite sensor squarely, you’ve found your problem. Most sensors have LED indicator lights that should glow steadily when properly aligned—if you see blinking or no light at all, misalignment is likely the issue.
The good news? Realignment takes 5–10 minutes with basic tools. Loosen the mounting bracket, adjust the sensor position until both indicator lights glow solid, then retighten. This simple fix resolves the majority of sensor complaints we hear from homeowners.
Obstruction and Debris Removal
Before assuming your sensors are broken, spend five minutes checking for obstructions. In Salem’s wet, dusty climate, sensor lenses accumulate a thin film of pollen, cobwebs, and grime that blocks the infrared beam—and this buildup is responsible for a substantial portion of reported “malfunctioning” sensors.
Start by visually inspecting both sensor lenses for visible dirt or moisture. Use a clean, dry microfiber cloth to gently wipe each lens. Check the sensor housing for cobwebs, which are surprisingly effective at disrupting the beam. Next, look around the sensors for physical obstructions: leaves blown into the garage, packaging materials from recent deliveries, or trash that’s rolled near the door track.
Seasonal factors matter here. Spring pollen creates a sticky residue on lenses. Fall leaves accumulate in sensor zones. Winter moisture can cause condensation on cold lenses, temporarily blocking signals until they warm up. This simple cleaning process costs nothing and resolves most obstruction issues immediately—proving that many “broken” sensors just need basic maintenance.
Wiring and Connection Issues
Loose connectors at sensor terminals are the third common failure cause you’ll encounter. After checking alignment and cleaning debris, it’s time to examine the wiring running from your sensors to the opener unit.
Start by visually inspecting the wires along their entire path. Look for frayed insulation, exposed copper, burn marks, or obvious breaks. In Salem’s humid climate, water intrusion and corrosion are particularly common where wires enter the sensor housing or connect to terminals.
Here’s your safety decision tree: If you see burned, melted, or severed wires, stop immediately and call a professional—this indicates an electrical hazard. If connections appear loose at the sensor terminals, gently push the connectors firmly into place until you hear or feel them click. If you notice light surface corrosion on metal connectors, wipe them clean with a dry cloth.
For heavy corrosion, green oxidation buildup, or water damage inside wire housings, professional repair is needed. Visual inspection and tightening resolve most wiring problems, but knowing when to stop protects both you and your system from further damage.
DIY Troubleshooting Decision Tree
Now that you understand the three common failure points, let’s walk through a systematic approach to diagnosing your sensor issue and determining whether it’s something you can fix yourself.
Step 1: Check alignment with laser pointer
Start by pointing a laser pointer or flashlight at one sensor to see if the beam hits the opposite sensor directly. The beam should travel straight across without deviation. If it misses the sensor or hits at an angle, gently adjust the sensor brackets until the beam aligns perfectly—this typically takes about 5 minutes.
Next, clean both sensor lenses with a soft, lint-free cloth. Dust and cobwebs block the infrared signal even when invisible to the naked eye. Wipe gently in circular motions, checking alignment again after cleaning. This simple maintenance resolves most sensor issues in under 10 minutes total.
Step 3: Inspect wiring for damage and tighten
Carefully examine all wiring connections between the sensors and the garage door opener. Look for loose wire nuts, corroded terminals, or frayed insulation that could interrupt the signal. Gently tighten any loose connections by hand—don’t overtighten, as this can strip the wire nuts.
After securing all connections, test your door operation by pressing the close button. Does the door close smoothly? If the sensors still blink or the door reverses, the problem likely requires professional diagnosis. At this point, electrical components or the sensor units themselves may need replacement—work best handled by experienced technicians who can safely diagnose complex wiring issues.
When to Call a Professional
If you’ve completed all three troubleshooting steps—verified alignment, cleaned the lenses, and inspected the wiring—and your sensors still aren’t working, it’s time to call a professional. You haven’t wasted your time. The diagnostic information you’ve gathered will help a technician identify the problem faster, potentially saving you money on service charges.
Some issues are beyond DIY repair and require professional expertise. Burned sensor wires, severed cables, or internal corrosion need specialized tools and replacement parts. If you spot blackened wires or damaged insulation during your inspection, don’t attempt repairs yourself.
Safety should always come first. Never open the sensor housing or work inside the opener unit‘s electrical components. These systems carry enough voltage to cause serious injury.
Looking for trusted garage door repair in the Salem area? Contact Garage Harmony today! Our team can diagnose sensor issues quickly using the information you’ve already gathered through your troubleshooting process.