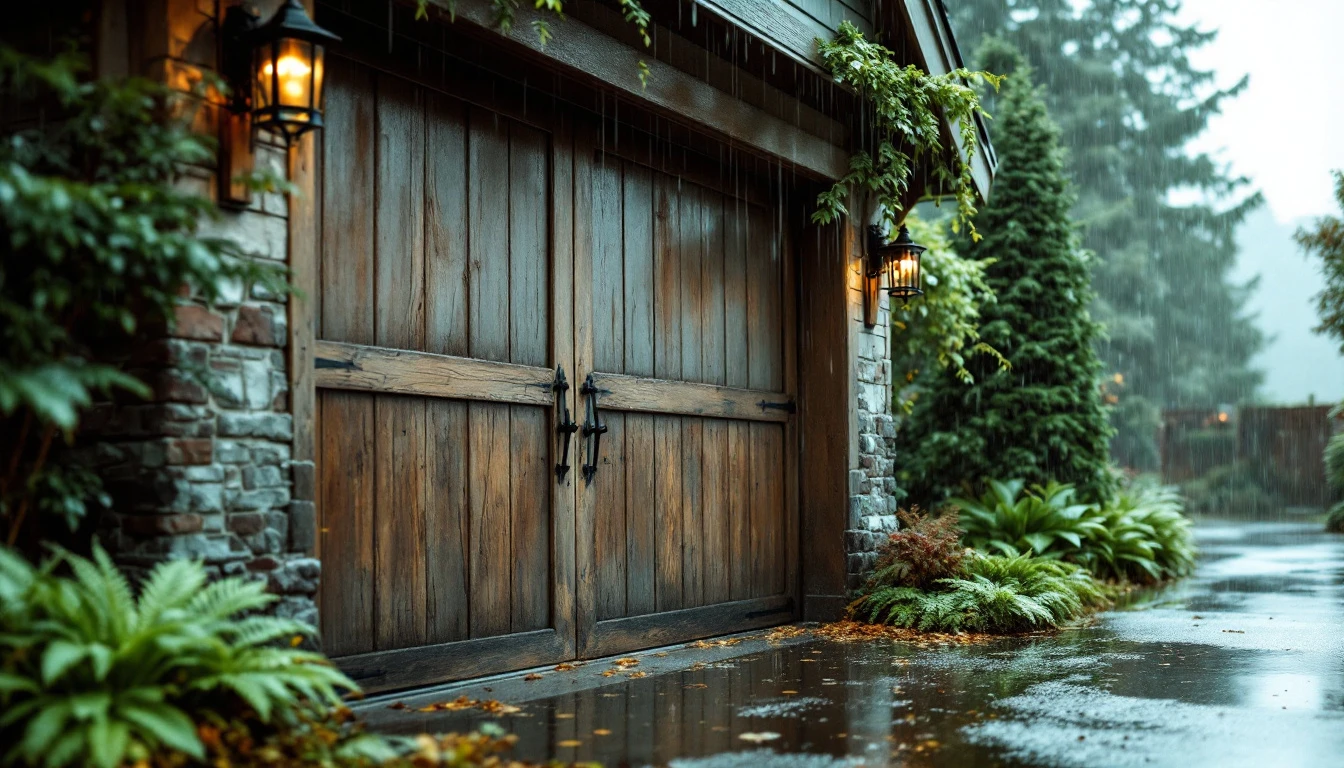
Garage Door Rain Protection Portland: Why Your Garage Floods in Fall
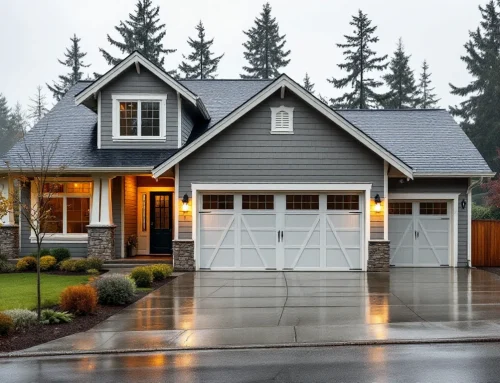
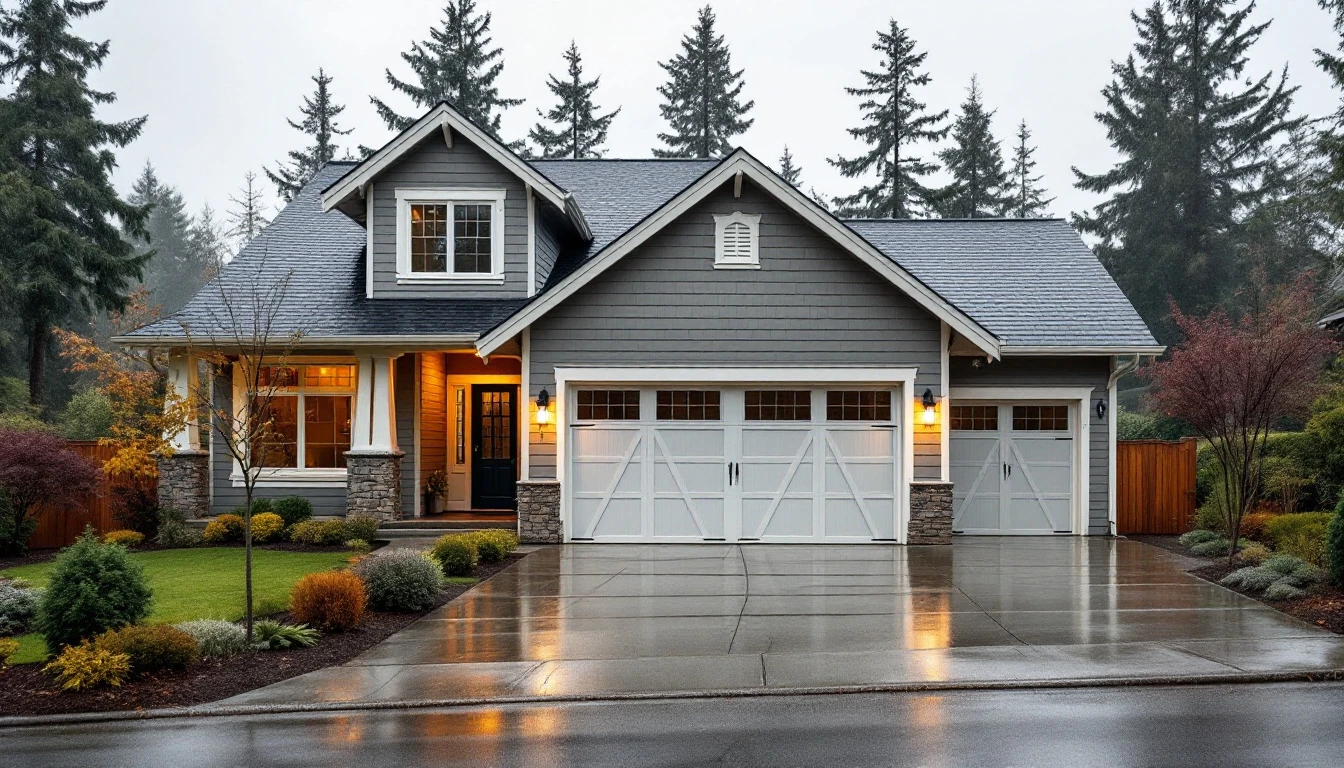
October and November bring the heaviest rainfall to Portland, with each month averaging 5 to 6 inches of precipitation. That’s when your garage faces its toughest test. Attached garages become vulnerable entry points for water damage because door seals don’t last forever—they crack, compress, and pull away from their mounting surfaces over time. Without proper garage door rain protection Portland homeowners rely on, water damage can escalate quickly.
Three areas fail first: the bottom seal that contacts your concrete floor, the side jambs where your door meets the frame, and the top header above the door. When these spots deteriorate, water finds its way inside during heavy autumn storms.
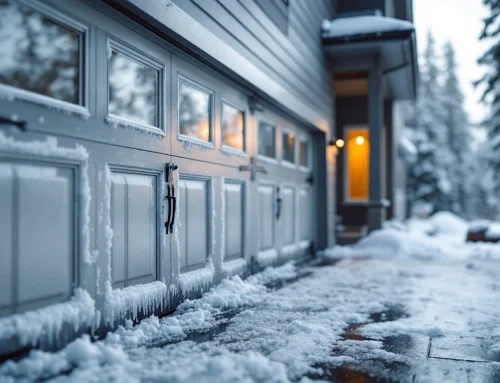
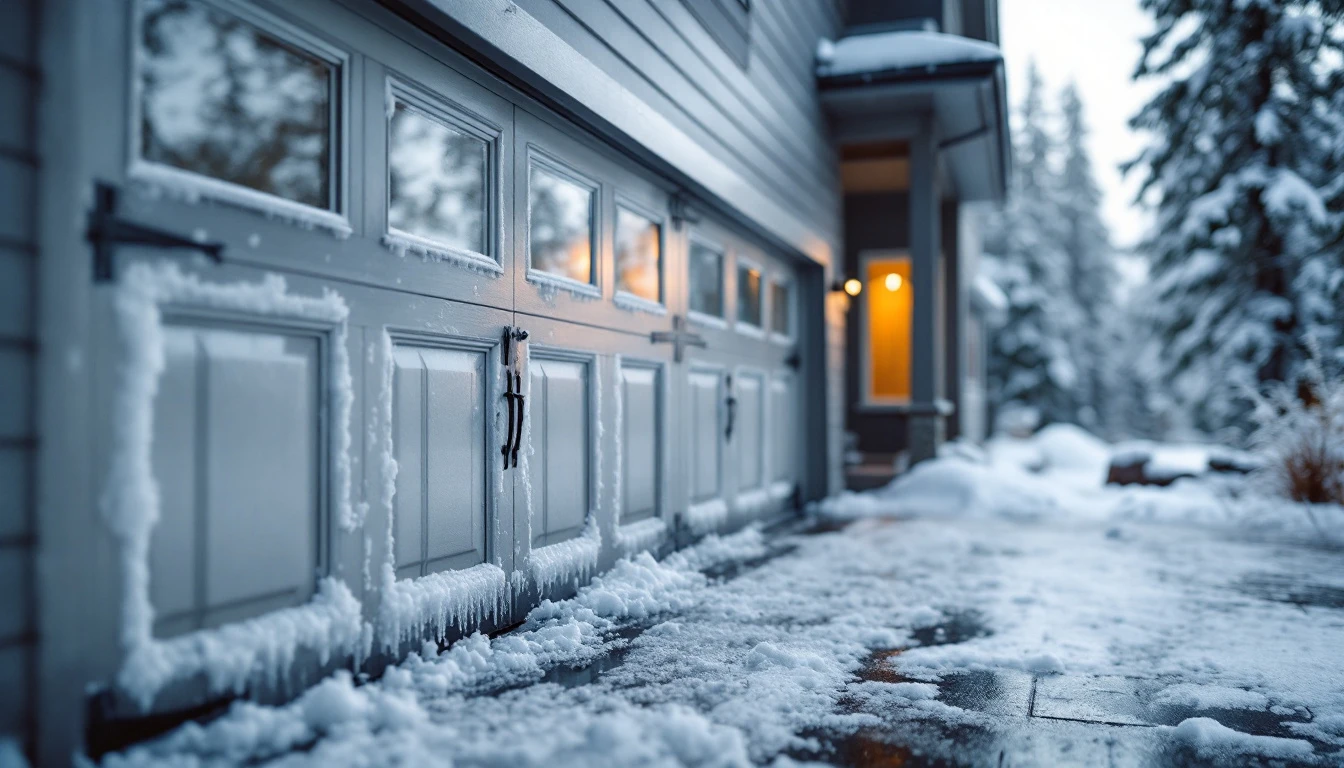
The financial stakes are real. Early water damage from just one season of leaks can cost $5,000 to $15,000 in repairs. Prevention runs $200 to $800 for DIY sealing or $1,500 to $3,000 for professional service. Homeowners who wait until winter emergency closures face longer repair timelines and higher seasonal pricing when contractors are swamped with urgent calls.
Three Critical Water Entry Points for Garage Door Flooding Prevention
Where exactly does water sneak into your garage? Understanding the three vulnerable zones helps you catch problems before water damage begins.
The bottom door seal is the most common failure point and requires immediate attention to prevent costly water damage.
The bottom door seal is the most common failure point. That rubber strip running along the base of your garage door deteriorates and curls after five to ten years of exposure to temperature swings and UV rays. During inspection, look for visible cracks, hardening, or gaps between the seal and the floor. When you close the door, can you see daylight underneath? That’s where rainwater will flow in.
Side jambs create another entry route along the vertical weather stripping where it meets your garage frame. As the door cycles up and down thousands of times, this stripping loosens and pulls away from the frame. Run your hand along both sides of the closed door—if you feel air movement or see separation, water will seep through during heavy rainfall.
The top header above your door frame collects water when gutters clog or soffits overflow. Check for water stains on the wall above your door and inspect the header seal for compression damage. This area often goes unnoticed until water pools and finds its way down into your garage.
Each location requires different sealing materials and repair approaches, which we’ll cover in the maintenance steps ahead.
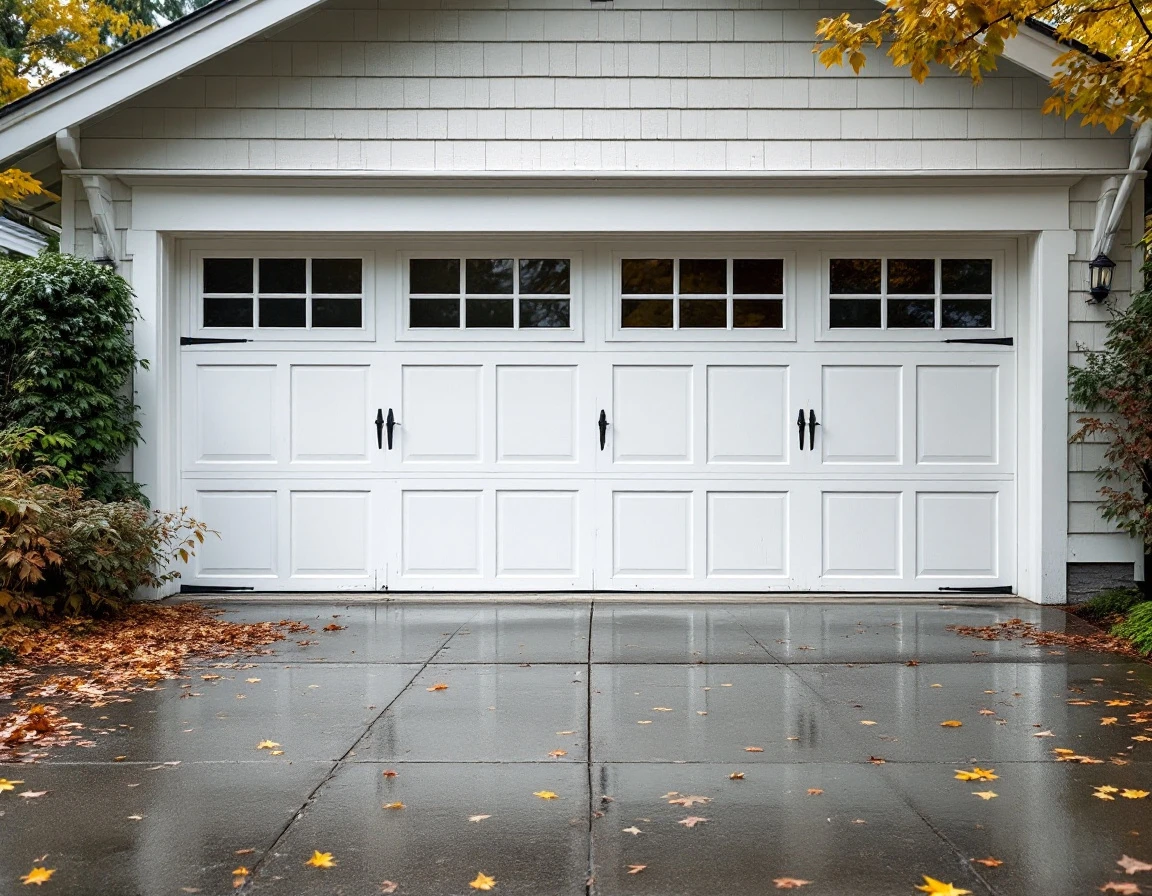
Inspection & Sealing: Bottom Seal
The bottom seal is the easiest DIY fix and the most common failure point on garage doors. Start your inspection by closing the door completely and turning off the garage lights. Walk outside and look for visible light streaming beneath the door—any gaps indicate seal failure.
Check the rubber bottom seal closely for cracks, curling edges, or compression damage. If you spot any of these issues, replacement is needed. Portland-area hardware stores carry T-section or U-section weather stripping designed specifically for garage doors, typically made from durable neoprene or EPDM rubber.
Replacement costs remain modest in materials and takes just a quick afternoon. You’ll need the seal itself, an aluminum track channel if your existing one is damaged, and basic fasteners. This repair delivers immediate results—tackle this area first before moving to the side jambs and header.
Inspection & Sealing: Side Jambs
Side jambs are the vertical edges where your garage door meets the frame, and they’re particularly vulnerable during Portland’s heavy fall rain when wind drives water sideways. Check the weather stripping along both tracks—it should fit snugly without gaps, peeling adhesive, or compressed foam that’s lost its shape. Waterproof garage door Portland side seals prevent water from seeping in during these intense storms.
Before replacing worn seals, here’s a step many homeowners miss: inspect the frame itself. If you spot gaps wider than a quarter-inch between the door frame and wall framing, fill them with spray foam first. Skipping this creates air pockets that let water seep behind even brand-new seals.
For replacement, you have two good options: self-adhesive foam tape or slip-on rubber jamb seals. The materials are affordable and readily available at most home improvement stores, and most homeowners can complete the job in an afternoon. Just make sure your garage frame corners are square before applying permanent seals—otherwise you’ll trap water instead of blocking it.
Inspection & Sealing: Top Header
The top of your garage door frame is one of the most overlooked water entry points, and sealing it without addressing the real culprit can waste your time and money. Water pooling above the door frame usually stems from clogged gutters or improper downspout drainage. Not just a failed seal. Before you reach for caulk, grab a ladder and inspect your gutters and soffit drainage system.
Clear any debris blocking water flow, then check the seal where the door frame meets your garage roof. Look for gaps or cracked caulk at this header junction. Apply roofing caulk or a flexible sealant designed for outdoor use, and verify that all door frame fasteners are tight. This repair typically costs $30–$80 in materials and takes about an hour to complete—a small investment that prevents water from streaming down into your garage during Portland’s heaviest rainfall months.
DIY vs Professional Garage Door Sealing: Decision Guide
Can you handle this project yourself? If you’re comfortable on a ladder and your garage door frame sits square, DIY sealing makes sense. Bottom and side seals are manageable weekend projects for homeowners with moderate repair skills. Protecting your garage from water damage with your own hands offers both cost savings and the satisfaction of hands-on maintenance.
Call a professional if the door frame shows misalignment. You’re uncomfortable working at heights, or weather-stripping installation feels uncertain. Professional sealing typically costs $1,500–$3,000 and includes frame inspection, expert caulking, and warranty coverage—worthwhile protection for your investment.
Why does September timing matter? Completing your sealing work now means you beat the October rainfall peak and secure contractor availability before schedules fill.
Why does September timing matter? Completing your sealing work now means you beat the October rainfall peak and secure contractor availability before schedules fill. Delays push repairs into the rainy season when emergency calls surge and professionals book weeks out.
Ready to protect your garage before winter storms arrive? Find Portland-area professionals or gather your materials this weekend. Contact us today for expert guidance on your specific situation.