Common Garage Door Opener Problems Portland Homeowners Face
Most garage door opener problems fall into a handful of categories that respond well to systematic troubleshooting and basic DIY fixes. Understanding these common garage door opener issues and how to troubleshoot them can save you time and money before calling a technician.
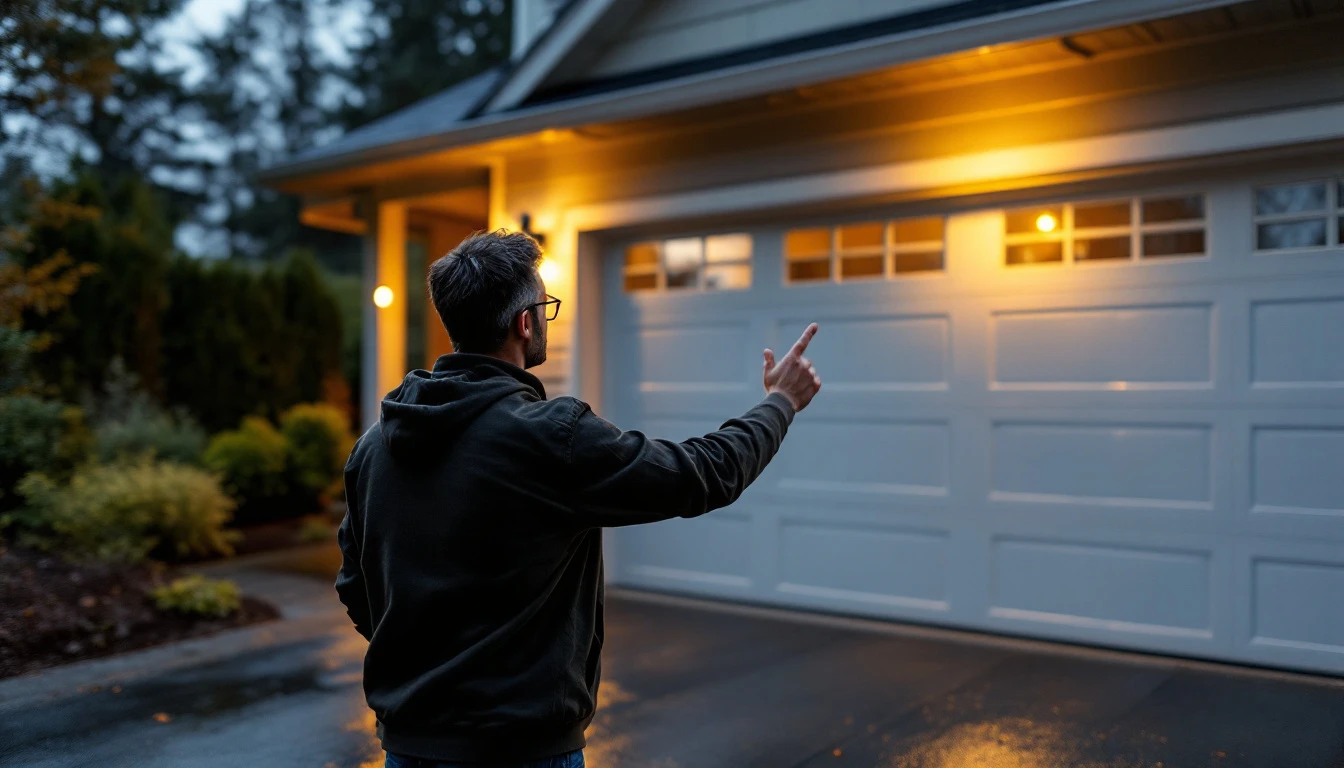
Remote not responding or inconsistent operation
When your garage door remote stops working or responds sporadically, start with the simplest fix: replace the batteries. If that doesn’t solve the problem, check the remote’s antenna wire inside the opener unit—it should be hanging straight down, not bent or damaged.
If your door reverses mid-close or won’t open fully, the safety sensors are likely misaligned or blocked. Clean the sensor lenses with a soft cloth and verify that nothing obstructs the beam between them…”. Look for the indicator lights on each sensor—both should be solid, not blinking. If one blinks, adjust that sensor until both lights remain steady.
Motor runs but door doesn’t move
When your opener motor hums or runs but the door stays put, you’re likely dealing with a disengaged trolley or broken drive mechanism. Check if someone accidentally pulled the emergency release cord—that red handle disconnects the trolley from the door. Simply pull the cord toward the motor to re-engage it.
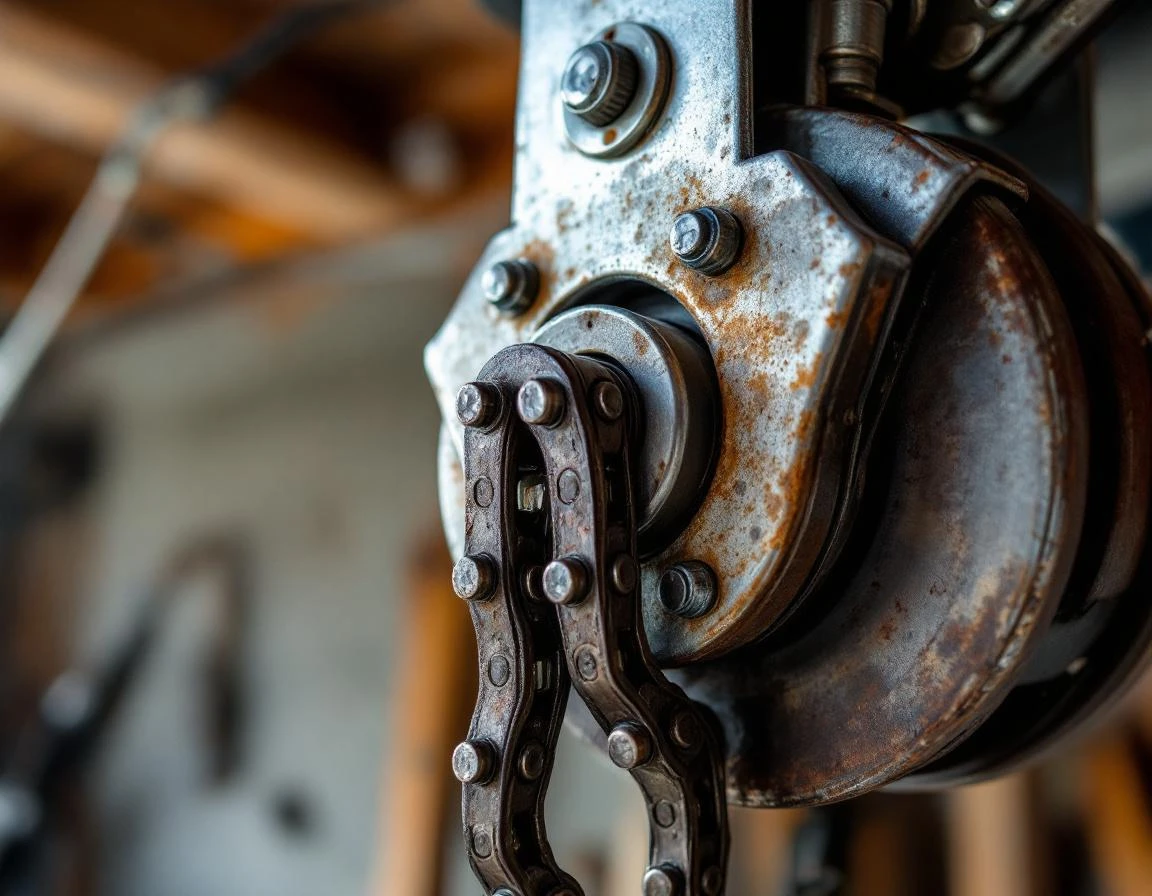
Grinding noises usually point to worn drive gears inside the motor housing or a dry chain needing lubrication. For chain-drive openers common in Portland’s suburban homes. Apply white lithium grease to the chain while avoiding the track itself. If grinding persists after lubrication, the main drive gear may need replacement—a repair best handled by professionals at Garage Harmony.
Diagnostic Flowchart: Identify Your Garage Door Opener Problem
Before grabbing tools, spend five minutes working through a systematic check to pinpoint exactly what’s wrong. Start with the simplest possibilities: press your remote. If nothing happens, check the wall button. Both unresponsive? Look at the opener unit itself—do you see any power indicator lights? No lights typically mean a tripped circuit breaker or unplugged power cord. If lights are on but the door won’t budge, you’ve ruled out power issues.
Now assess how the door behaves when you try to operate it. Does it start to close but immediately reverse? Check your safety sensors near the floor on each side of the door opening—one should show a steady green or amber light. Misaligned sensors (often bumped during yard work or by bikes and tools) are the most common cause of reversal issues. Does the door open halfway then stop? This pattern suggests limit switch problems or an obstruction in the track.
Listen carefully when you press the button. A motor that hums or runs without moving the door usually means the trolley has disengaged or the emergency release cord is pulled. A grinding or scraping sound points to worn gears inside the opener or a dry, binding chain. Dead silence with power confirmed? You’re likely looking at a failed motor or control board—time to call Garage Harmony for professional assessment.
Battery and Remote Issues
Dead remote batteries are among the most common reported garage door opener problems, making this the fastest fix in your troubleshooting arsenal. Most homeowners can resolve this issue in under five minutes with no special tools required.
Start by sliding open the battery compartment on the back of your remote—most models use a simple tab or screw mechanism. Check the battery type (typically CR2032 coin cells or AA/AAA batteries depending on your opener brand). Replace with fresh batteries, keeping correct polarity alignment with the + and – symbols inside the compartment.
After installing new batteries, test the remote from various distances. If it doesn’t respond immediately, you’ll need to reprogram the connection. For most Chamberlain and LiftMaster openers, press and release the “Learn” button on the motor unit, then within 30 seconds, press and hold your remote button until the opener light blinks. Genie openers require pressing the square “Learn Code” button on the hanging power head, followed by your remote button within one minute.
Still not working? Check for stuck buttons on the remote casing—press each button firmly several times to clear any debris. Test the remote’s signal range by standing directly beneath the motor unit. If reprogramming fails after two attempts or the remote only works from very close range, the remote itself may need replacement. At this point, contact Garage Harmony for a diagnostic check—the issue likely involves the receiver board rather than the remote.
Sensor Alignment and Obstruction
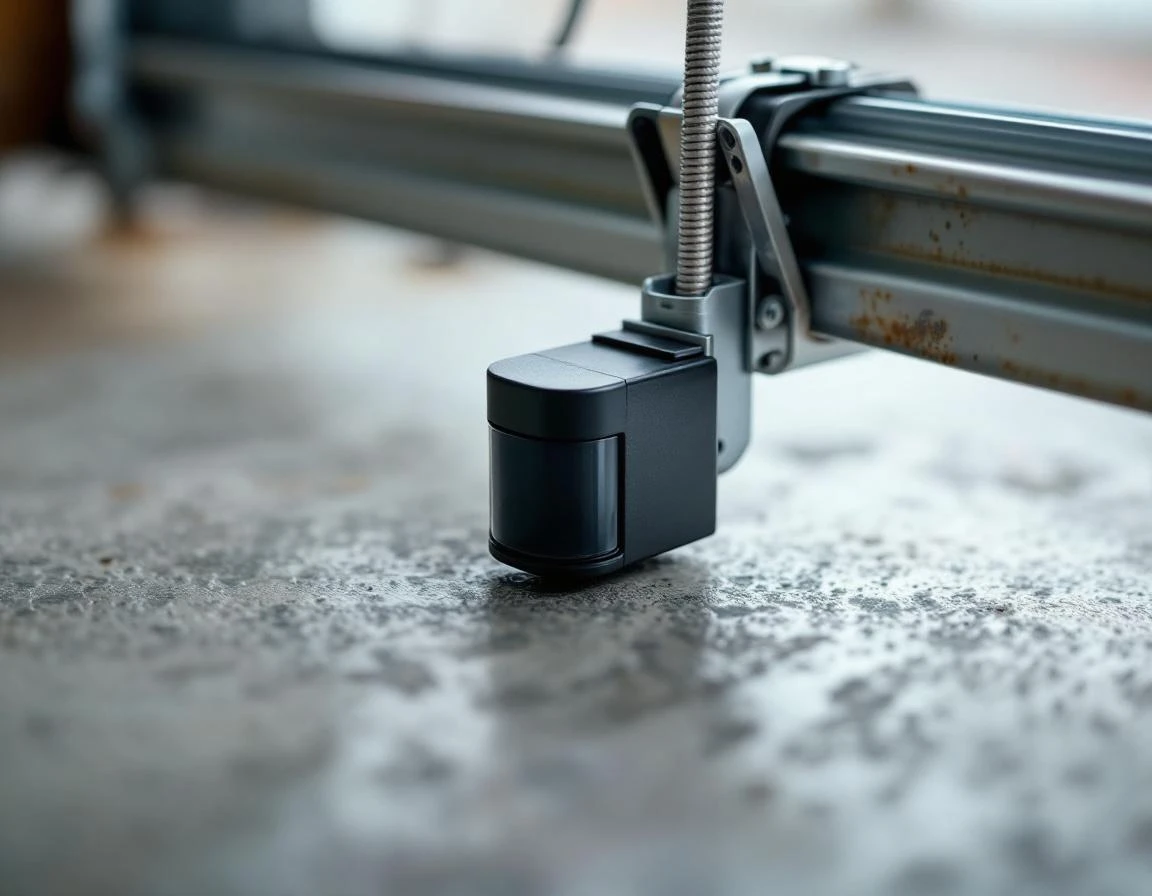
Photo-eye sensors mounted on each side of your garage door frame serve as critical safety devices. These sensors shoot an invisible beam across the door opening—when something breaks that beam, the door immediately reverses to prevent crushing injuries or property damage. This safety feature explains why your door suddenly reverses during closing when nothing appears to be in the way.
The “red eye test” provides instant visual confirmation of sensor problems. Stand inside your garage and watch the LED lights on both sensors while pressing the wall button to close the door. Each sensor should display a steady, solid light—typically red or green depending on the manufacturer. If either light blinks, flickers, or doesn’t illuminate at all, you’ve identified your problem.
Misalignment happens more often than you’d think. Portland’s wet winters cause wood door frames to swell slightly, shifting sensor brackets. Someone bumping a sensor while parking or kids playing in the garage can knock sensors out of position. Look directly at the sensors from the side—they should point exactly at each other, creating a perfectly straight line across the opening.
Start by wiping both sensor lenses with a clean, dry cloth. Cobwebs, dust, and water spots from lawn sprinklers block the beam just as effectively as physical objects. Next, check the mounting brackets. If either sensor has tilted or rotated, loosen the wing nut holding it in place, realign it to point directly at its partner, and retighten. Most sensors snap into their brackets with enough adjustment range to correct minor misalignment without tools.
Inspect the thin wires running from each sensor up to the opener unit. Damaged insulation, pinched wires, or loose connections at the opener terminals prevent sensors from functioning properly. If you spot frayed or cut wiring, this repair requires professional attention—garage door sensor circuits carry low voltage but require proper connections to maintain safety certification.
Motor and Mechanical Fixes
When your opener’s motor hums but the door stays put, you’re dealing with either a mechanical disconnect or a drive system problem. Start by checking power at the wall outlet with a lamp or voltage tester—loose outlets are more common than you’d think. Next, test the red disconnect handle near the motor. Pull it to disengage the trolley, then try moving the door manually. Does it glide smoothly? If yes, the problem lies with your motor or drive chain. If it binds or drags, your issue is mechanical.
For mechanical issues, inspect the chain or belt for proper tension—you should have about half an inch of sag at the midpoint. Too loose, and the drive can’t engage properly. Apply white lithium grease to hinges and rollers (never WD-40, which attracts dirt), and spray silicone lubricant on the tracks. These simple maintenance steps often restore smooth operation. Check for debris in the tracks and wipe them clean with a rag.
Some repairs require professional tools and expertise. Chain replacement demands precise tensioning equipment. Motor replacement involves electrical work that most homeowners shouldn’t tackle. Worn motor bearings create grinding sounds but need specialized diagnosis to confirm.
If lubrication and basic tension adjustments don’t solve your problem, or if you spot frayed cables or broken chain links, it’s time to call Garage Harmony.
When to Call a Professional Technician
Some garage door repairs cross the line from weekend DIY projects into serious safety hazards. While you can confidently tackle remote troubleshooting, sensor alignment, and basic lubrication on your own, certain problems demand professional expertise to avoid injury or expensive damage.
Never attempt these repairs yourself:
- Spring replacement tops the danger list because torsion springs operate under hundreds of pounds of tension. A spring snapping during amateur installation can cause severe injury or death. Professional technicians use specialized tools and training to handle these safely.
- Cable and pulley system failures require immediate professional attention—frayed cables under tension can whip free with devastating force.
- Complete opener motor failure and control board malfunctions also belong in the professional category. These electrical systems involve complex wiring and diagnostic equipment beyond basic multimeters.
For Portland homeowners, a single service call typically costs $150–$300, which represents a bargain compared to the $500+ in additional damage that misguided DIY attempts can create—not to mention potential emergency room visits.
Knowing when to stop your own repairs demonstrates wisdom, not weakness. You’ve learned to fix the common garage door opener issues covered in this guide, which handles roughly 70% of opener problems. For the remaining 30% involving springs, motors, or major electrical work, contact a professional.
Contact us today! Garage Harmony serves the entire Portland metro area with fast, professional garage door repair when you need expert help.