Garage door spring installation is more complicated than it looks. We’ve put together a guide on how to handle a garage door spring installation.
Looking to make your garage even better?
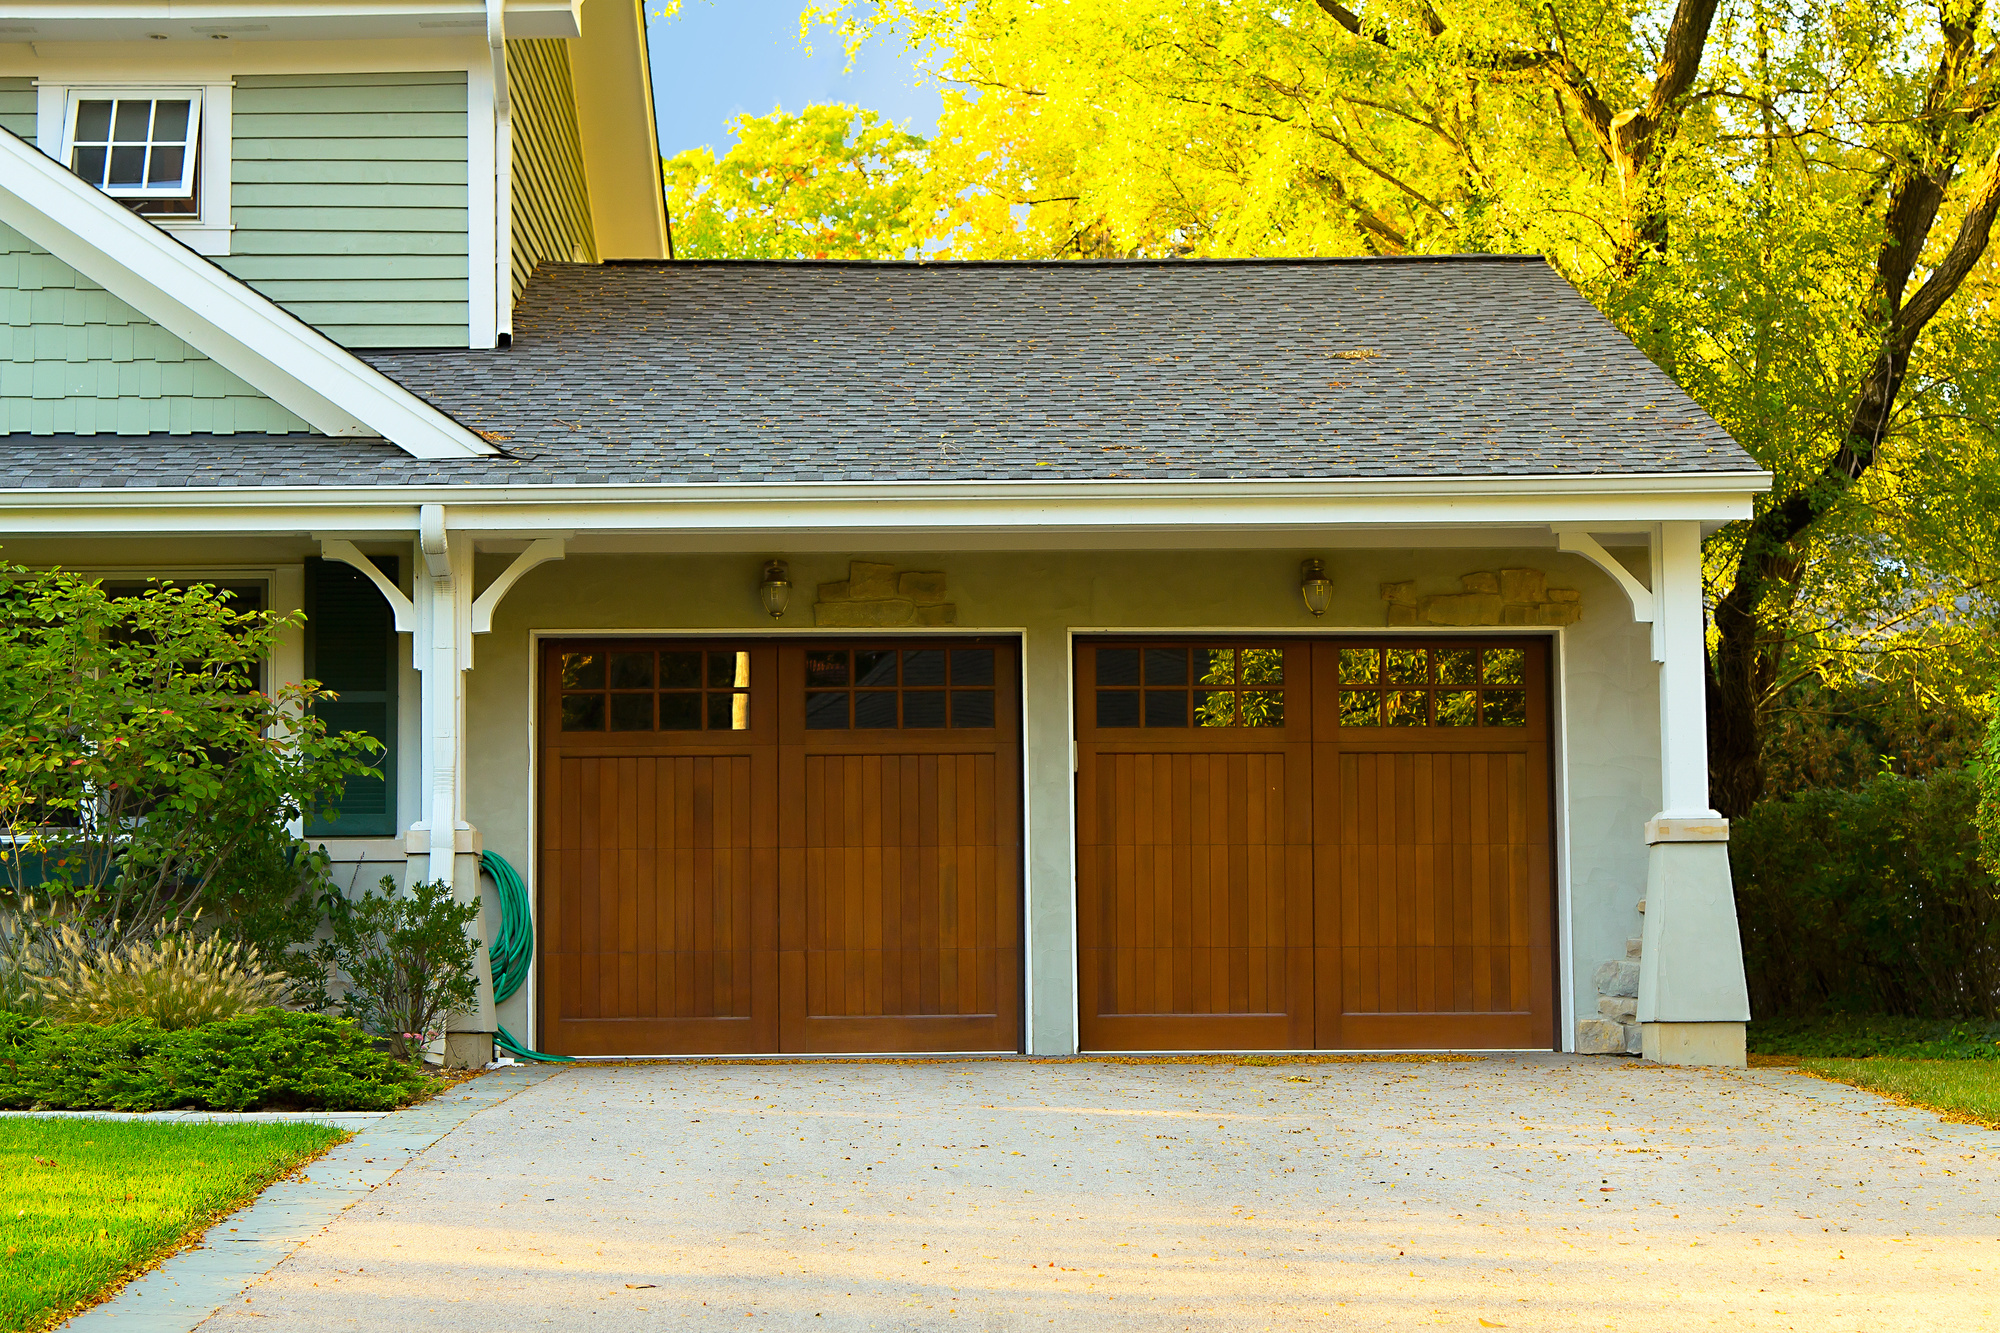
With the majority of American houses having a garage, ensuring it’s in peak condition is a must. It’s why when you have a broken garage door spring, replace it at once. However, you must consider whether you’ll let an expert handle the garage door spring installation.
In this guide, you’ll learn some garage door spring considerations. Read on and find out more:
To DIY or Not to DIY
Most experts recommend leaving a garage door torsion springs repair to the nearest garage door repair company. It’s sound advice, especially if you aren’t well-versed. Regardless, it isn’t a hard-and-fast rule, as long as you’re competent.
Replacing your garage door spring has a simple process. However, the steps involved are numerous. You must do them in proper order, the way pros do the task. It’s also important to get the right size for your replacement spring.
If you think you’re competent enough, our next section details the right steps. You can also read supplementary guides about garage door openers.
Garage Door Spring Installation: The Right Way
Your spring might have warranty coverage. However, the labor costs aren’t part of it. If you have enough DIY expertise, replacing a garage door spring is easy.
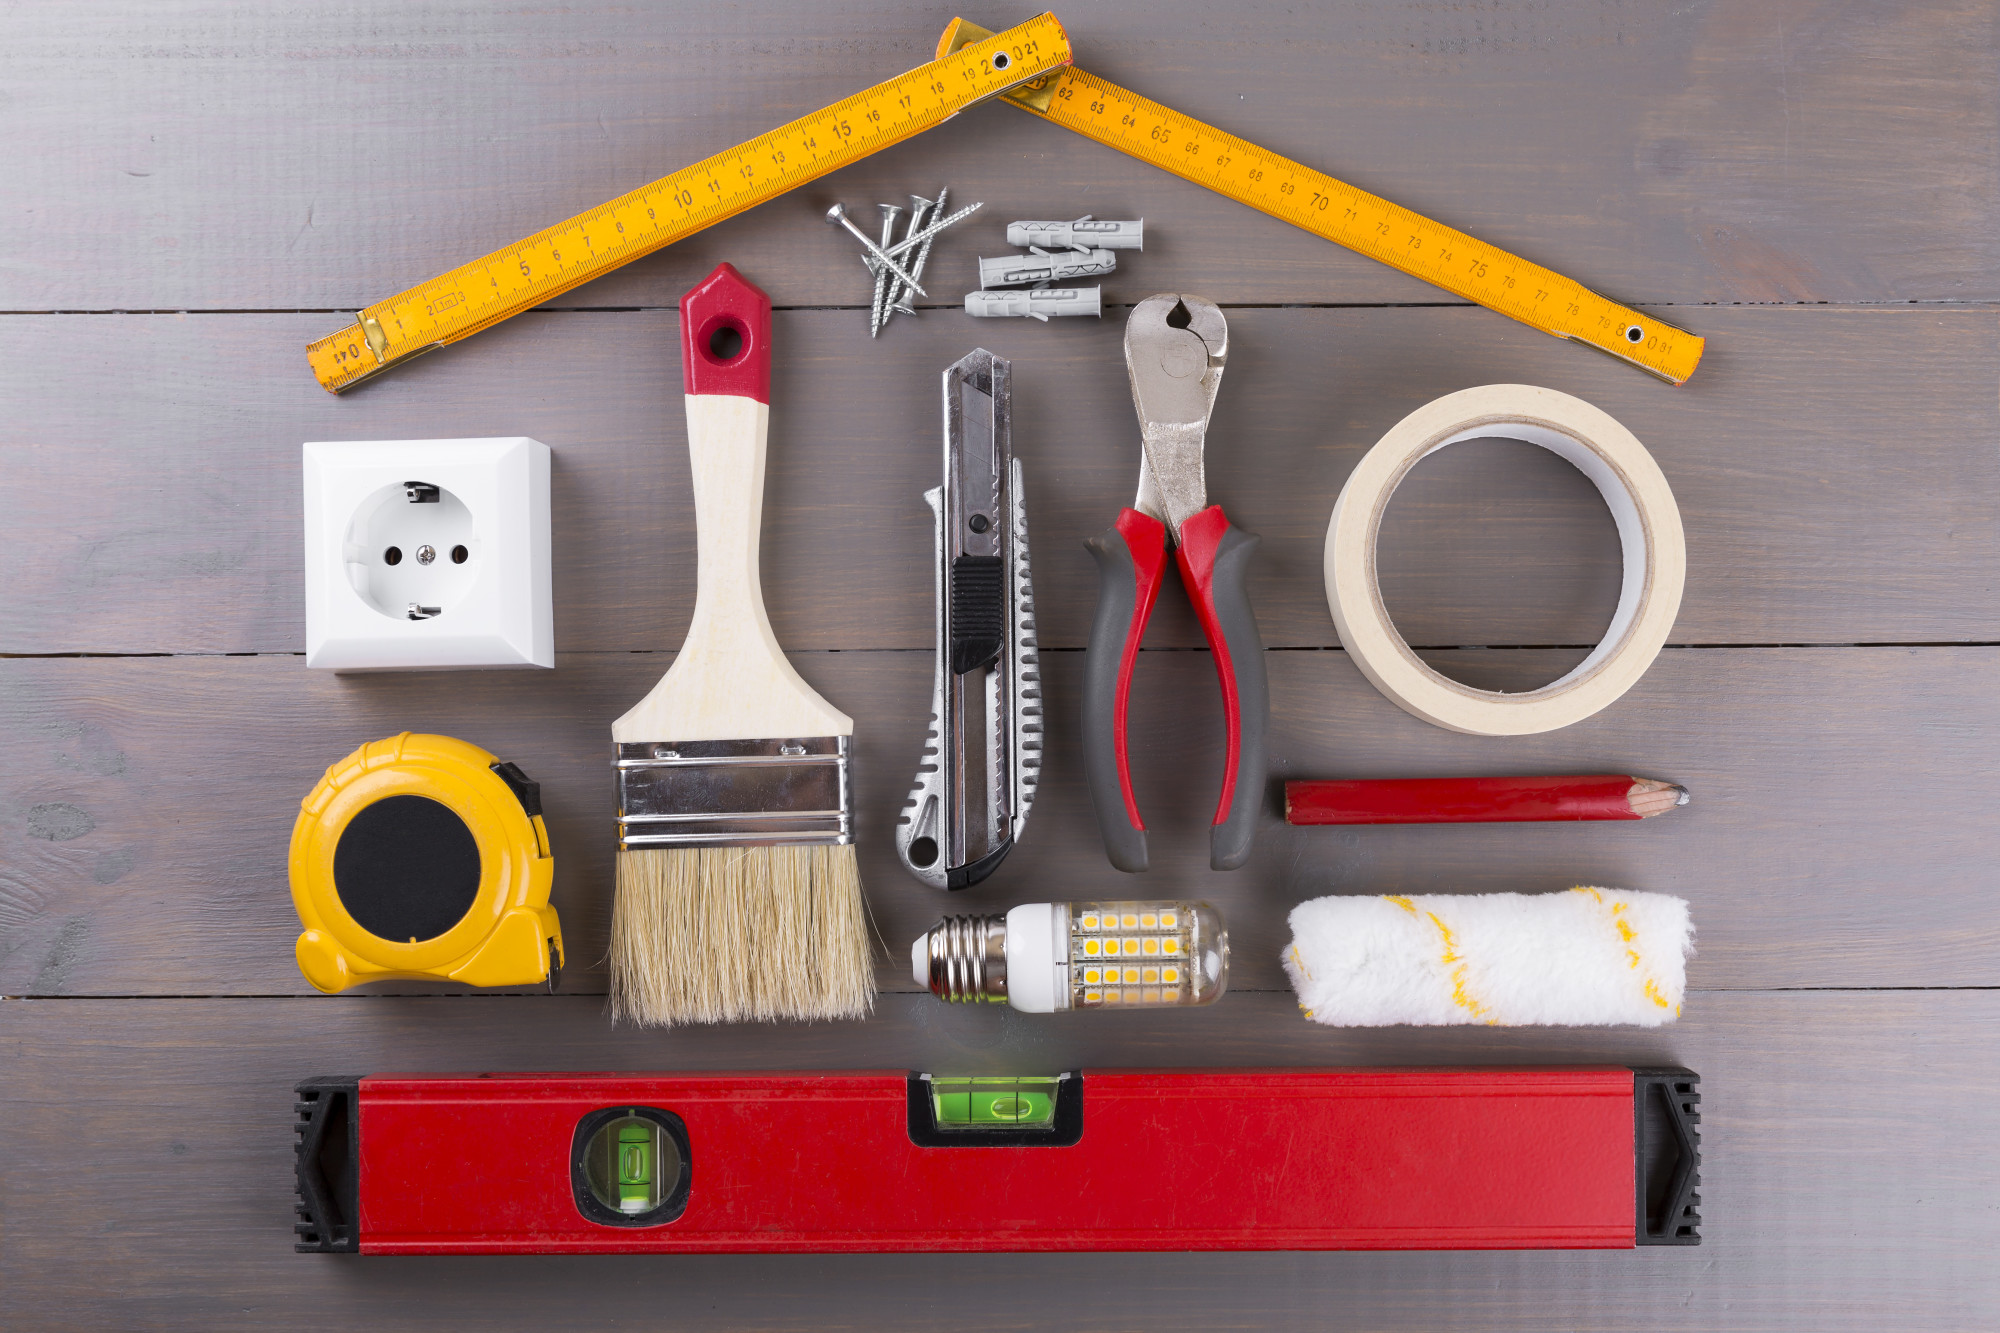
1. Tools and Parts Necessary
To install or replace your garage door spring, you must have the right tools. Here are things you need:
- Replacement torsion spring
- Impact gun
- 7/16 and 9/16 socket
- 9/16 ratchet
- File
- Vise grips
- Winding bars
- Hammer
- Ladder
- Level
- Replacement rollers
A normal torsion spring lasts for 10,000 cycles. However, you can get higher-quality springs that last between 25,000 and 50,000 cycles.
2. Prioritize Safety
When you’re doing this task, you must be patient. Always take your time and put safety at the foremost. It includes doing the following safety precautions:
- Unplugging the garage door motor
- Disengaging the opener from the door
- Pulling the emergency release cord
- Clamping off rollers using vise grips
Doing the last task ensuring the door won’t go up at any point. It prevents accidents while working on the installation.
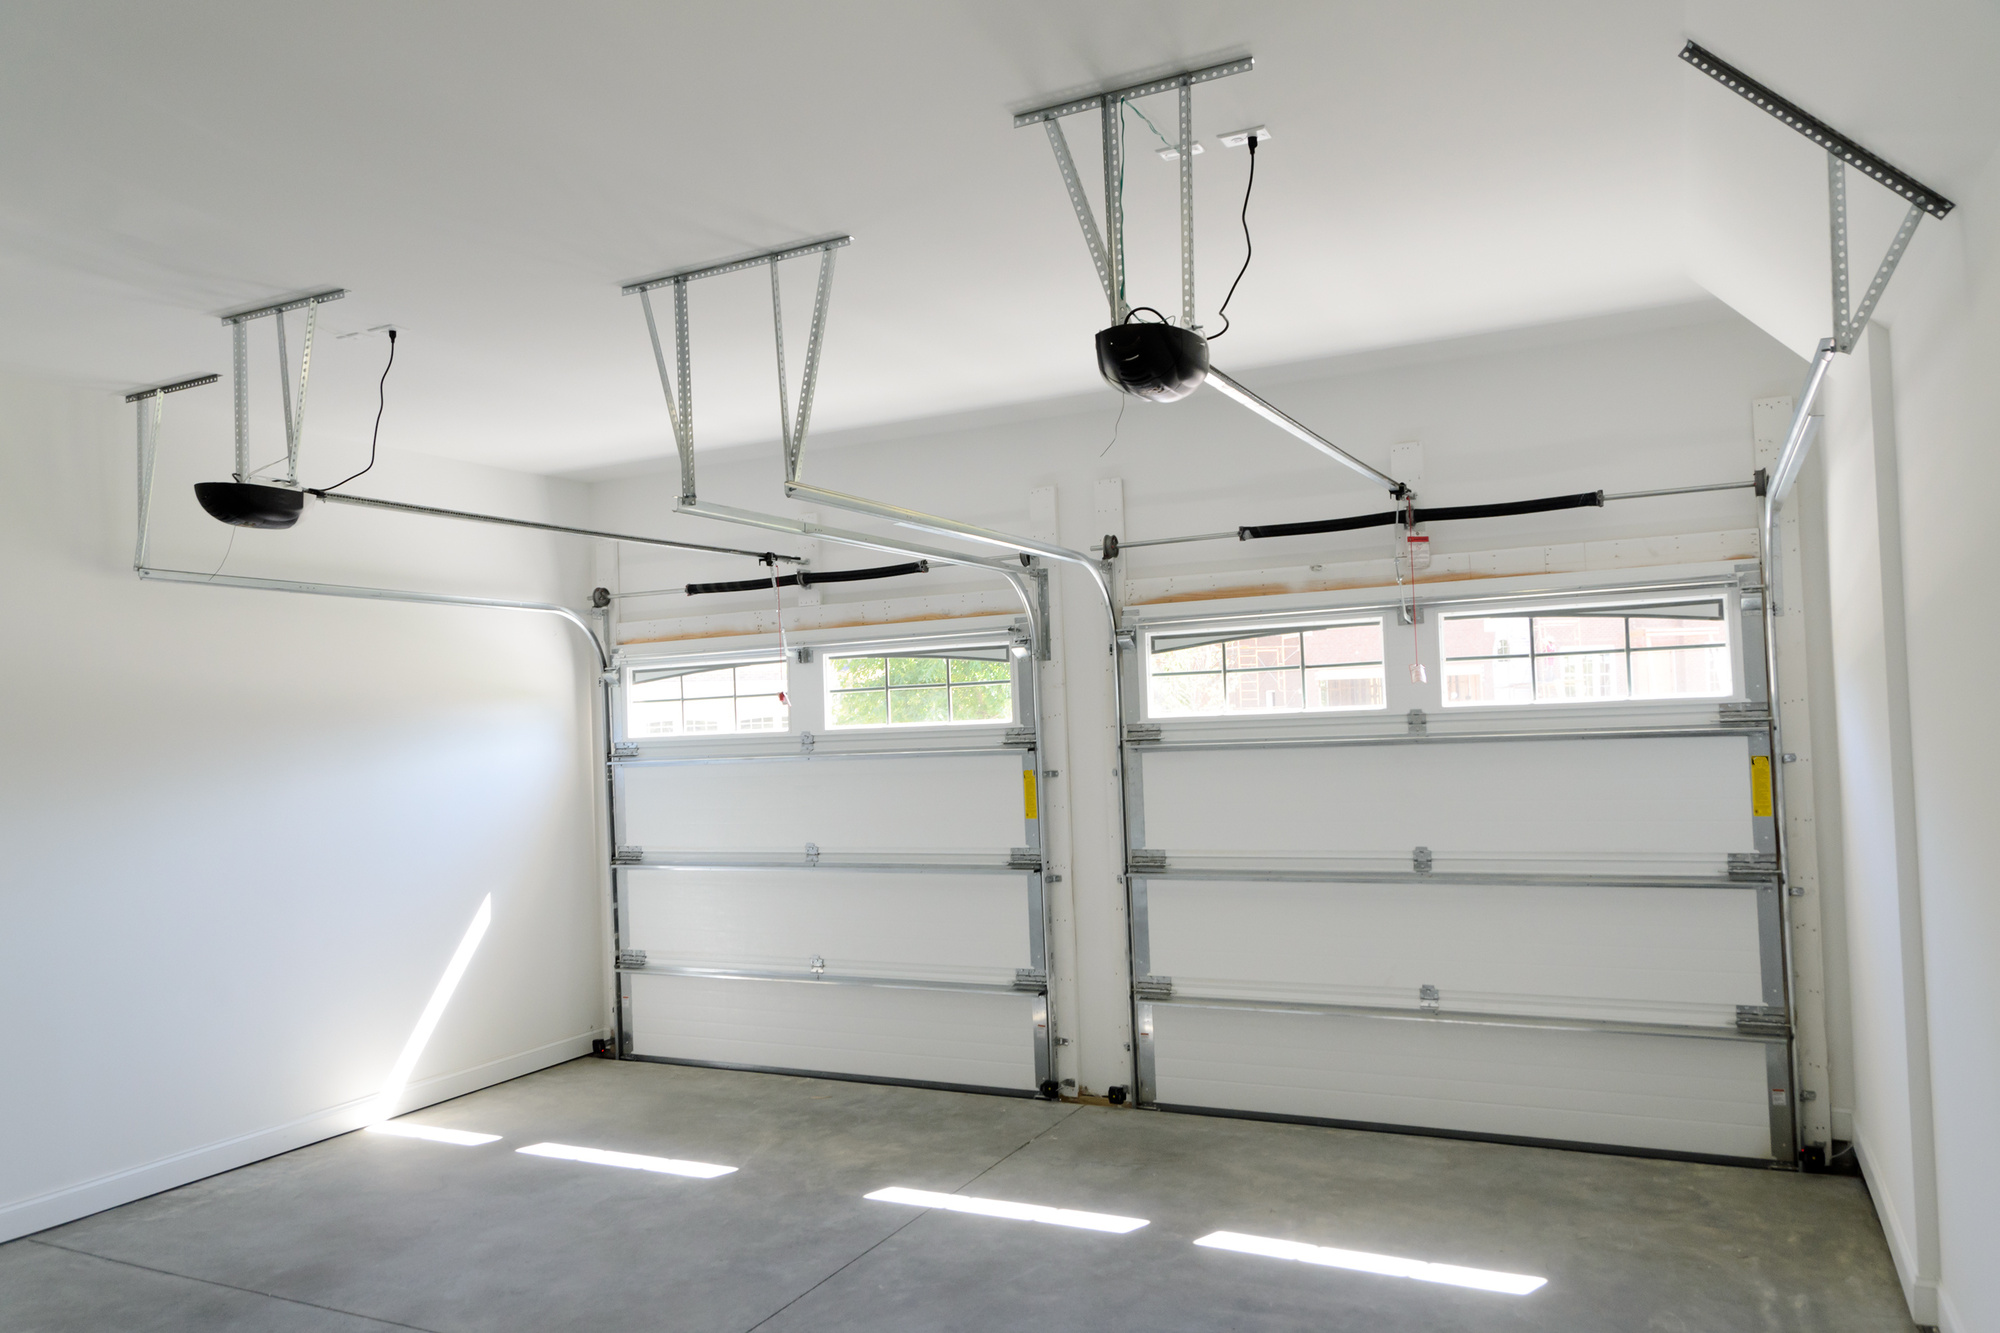
3. Release the Torsion Spring Tension
Get the winding bars, ratchet, and 7/16 socket. Climb the ladder and place the winding bar within the torsion spring’s hole. Keep the tension while releasing the set screws.
After loosening, the spring will turn. Use the winding bar to remove the spring tension. Do it slowly. As the tension dissipates, the turning becomes easier.
On the last two turns, keep a hand on the winding bar. Use the other and see whether the broken spring will come off.
4. Remove the Drums
Loosen the screws on the drums. You can locate both on either side of the garage door. Some experts like starting on the left side.
You must get rid of the cable first. Put it in a safe location while finishing the process. After that, remove the bearing plate bolts.
Doing this causes the drum to spin. Move it out of the way. Use a file and use gentle, rubbing motions on any burrs found on the shaft.
Remove the center bolts. These are the ones that hold the spring. After that, you can repeat the loosening method on the other side of the drum.
Check whether the entire torsion shaft slides. If it does, remove the drum as well as the spring.
5. Replace the Garage Door Spring
Pull the shaft back out. Do it until you can slide the new spring onto it. The springs must be in the center, ensuring that either side has equivalent space.
Once done, you can reassemble the setup. Use the bolts and nuts to reconnect the spring to the center bearing plate. Tighten until you’re sure that the spring is secure.
6. Reset the Drums
Get the cable and re-thread it correctly. Ensure that the drum is snug on the torsion tube. Use the ratchet to make it tight, but don’t overdo it.
After ensuring the screws are secure, do an additional ¾ turn. Ensure that the table’s tension remains tight while doing this task. Repeat the steps on the other side.
The cable must have the same levels of tension on both sides. Use a level to ensure that the setup is even enough.
7. Return the Spring Tension
Returning the tension to the springs ensures the garage door’s proper functions. As a general rule, turn the spring for every foot of the door’s height. For example, a six-foot garage door requires six full revolutions.
Before starting, know where your starting position is. After that, make quarter turns until satisfying the height requirements above. After finishing, tighten the set screws.
Get a second winding bar to prevent tension buildup. That way, you can get the original winding bar back.
8. Test the Garage Door
Remove all vise grips. At the same time, keep a steady hand on your garage door. Doing so prevents it from flying up.
Check the door’s tension. Ensure that it’s well-balanced. Lift the garage door to your waist level before inspecting it.
The door must never be too heavy. Otherwise, it would slide down. If you make it too hot, the door will shoot up.
Once you’re sure that nothing is wrong, return the emergency release cord to its initial place.
9. Replace the Rollers
When fixing broken springs, you must replace your rollers. Remove the brackets and slide the old rollers out. After that, slip the new ones before putting the brackets back.
The bottom rollers are special. Raise the door before using vise grips to bend a small part of the vertical track. Pull the door down until this roller pops out.
Replace it before straightening the track. After installing the new rollers, they must glide in their tracks without issues.
Replace Your Garage Door Springs Now!
These are some steps involved in the garage door spring installation. Use them if you have enough DIY skills. If not, there are experts who can help you!
Need help with your garage door? Contact us today and let’s talk.


Leave A Comment