

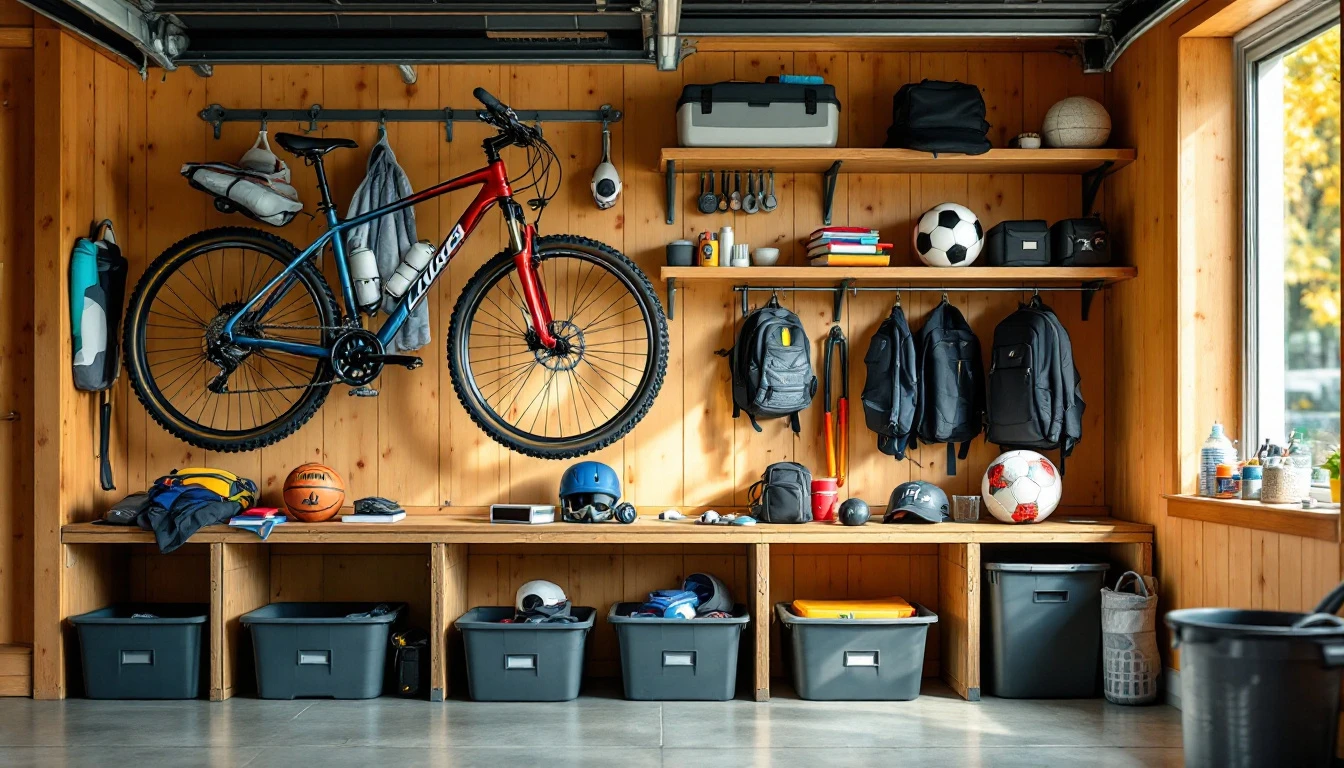
Why Garage Organization for Sports Gear and Bikes Matters Before School Year
As Portland families prepare for another school year beginning in early September, late August presents the perfect opportunity to tackle garage organization for sports gear and bikes. Most households don’t realize how much time they’re losing to clutter—disorganized garages can waste 30 to 45 minutes each week just searching for bikes, sports equipment, and school supplies. That’s time families don’t have during hectic school morning routines.
The real cost goes beyond wasted minutes. A chaotic garage leads to damaged equipment when bikes topple over, lost items that need replacing, and usable space that disappears under piles of miscellaneous gear. For Portland-area families juggling multiple bikes, sports schedules, and school activities, this chaos creates genuine stress that ripples through daily life.
What if you could eliminate that morning scramble? A functional zone-based storage system transforms your garage from a dumping ground into an organized hub where every item has a designated home. By separating bikes into one zone, sports equipment into another, and school supplies into a third clearly labeled station, you create a system that actually works for busy families.
The best part? Setting up this zone system now, before the school rush begins, gives your family time to adapt to the new organization and start September with less stress and more space.
Zone-Based Storage System Blueprint
How do you transform a cluttered garage into a functional space that supports your family’s daily routines? Start by dividing your garage into four dedicated zones: bikes, sports equipment, school supplies, and seasonal overflow. This approach creates clear boundaries for different categories of gear, making it easier for everyone in the household to find what they need and return items to their proper homes.
The secret to successful zone planning lies in using vertical space rather than floor space. Wall-mounted shelving, pegboards, and overhead storage systems keep vehicles parked where they belong while maximizing every square inch of available area. Corner spaces often go unused, but they’re perfect for corner shelving units that can house seasonal items or bulky sports equipment like camping gear and kayak paddles.
Placement Principles That Work
When setting up your zones, think about frequency of use. Place items your family reaches for daily at eye level and within easy hand reach—this means school backpacks, lunchboxes, and bike helmets should occupy prime real estate between waist and shoulder height. Sports equipment used weekly during the season can sit on mid-height shelves, while seasonal overflow items like holiday decorations belong on high shelves or overhead racks.
Each zone needs clear labeling and appropriately sized storage containers. Your bike zone might include wall hooks for helmets, a basket for bike lights and locks, and floor stands that keep bicycles upright without leaning against walls. The school supplies zone could feature cubbies or bins for each child, with sections for papers, art supplies, and project materials. Sports equipment zones work best with open bins for balls, wall-mounted racks for bats and hockey sticks, and dedicated hooks for team bags.
Visualizing Your Space
Picture a typical Portland-area two-car garage measuring 20 by 20 feet. Before implementing zones, bikes sprawl across the floor, sports bags pile in corners, and school supplies scatter between storage boxes. After establishing zones, one wall becomes the bike station with mounted hooks and a repair stand. The adjacent wall houses sports gear on slatwall panels with adjustable hooks. School supplies claim organized shelf space near the door for quick grab-and-go access, while seasonal items move to overhead racks above the parked cars.
Bikes: Wall-Mounted and Overhead Storage
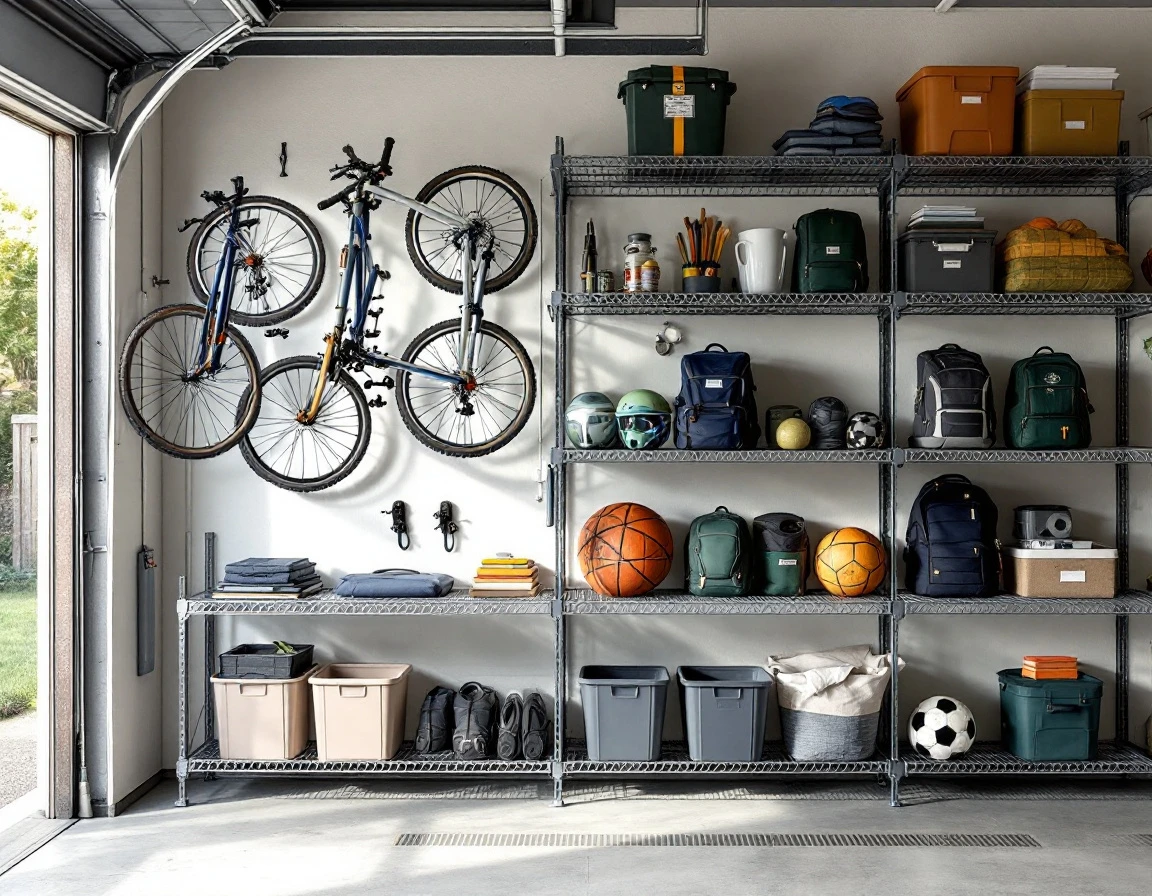
For most Portland families juggling daily school commutes and weekend trail rides, bikes take up valuable floor space and create clutter when left leaning against walls or scattered across the garage. Vertical bike storage solves this problem by moving bikes off the ground and onto walls or ceilings, freeing up square footage for vehicles and other activities.
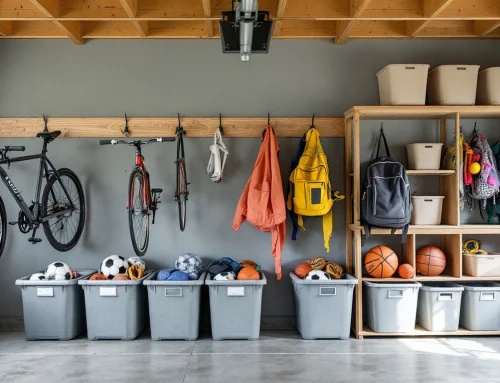
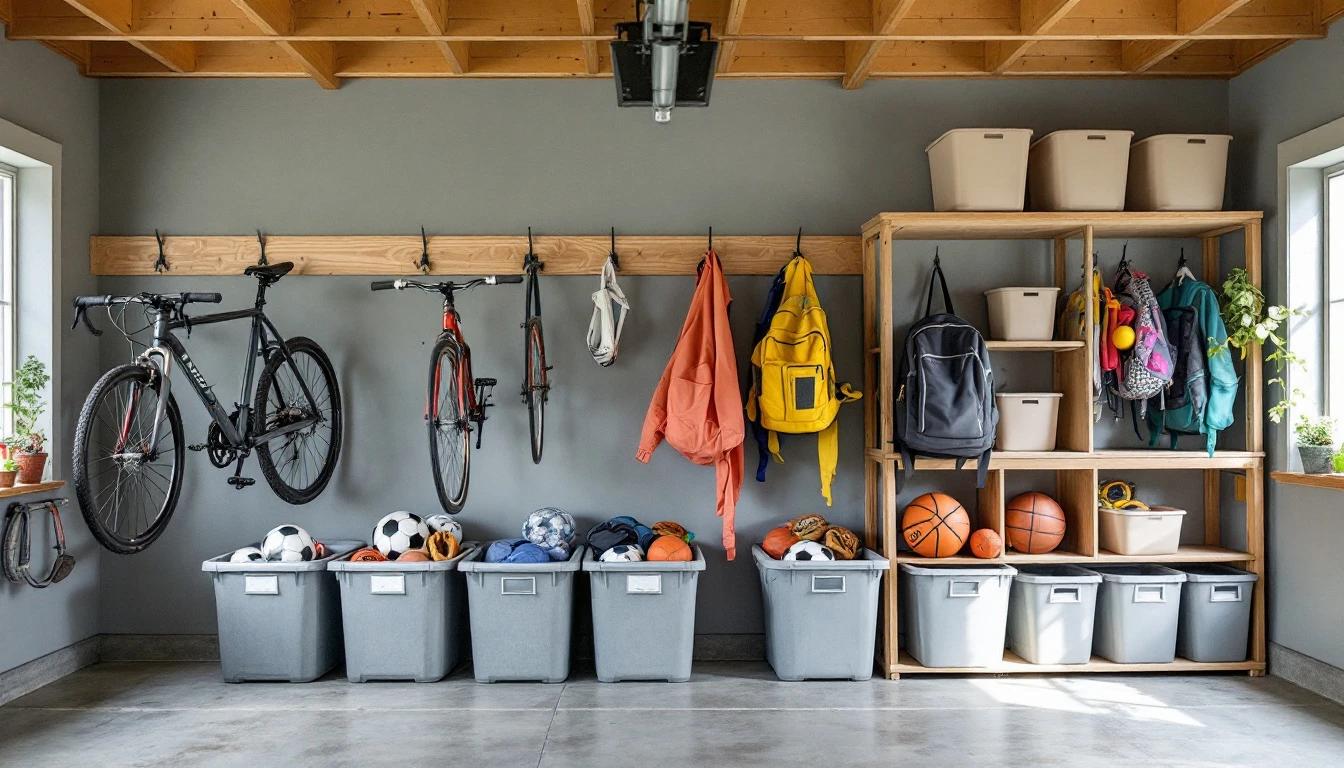
Wall-mounted bike racks offer the most accessible solution for bikes used regularly. Simple horizontal hooks—available at Home Depot or Fred Meyer—let you hang bikes by their front wheels at eye level. Each family member gets a labeled hook, making it easy for kids to grab their bikes before school. Portland-area garages typically fit 2-4 bikes comfortably when spaced 14-16 inches apart along a single wall.
Overhead pulley systems work best for seasonal bikes or those used less frequently, like adult mountain bikes reserved for weekend adventures. These ceiling-mounted hoists lift bikes up and out of the way, keeping them stored safely above head height until needed. The best way to store bikes in garage spaces often involves combining wall-mounted solutions with overhead systems depending on how many bicycles your family owns.
Store helmets and accessories in labeled bins mounted directly below wall hooks or placed on nearby shelving. This keeps everything together—when it’s time to head out, kids can grab their bike, helmet, and lock from one dedicated station. This first zone immediately transforms your garage floor from obstacle course to open, usable space.
Sports Equipment: Shelving and Bin Organization
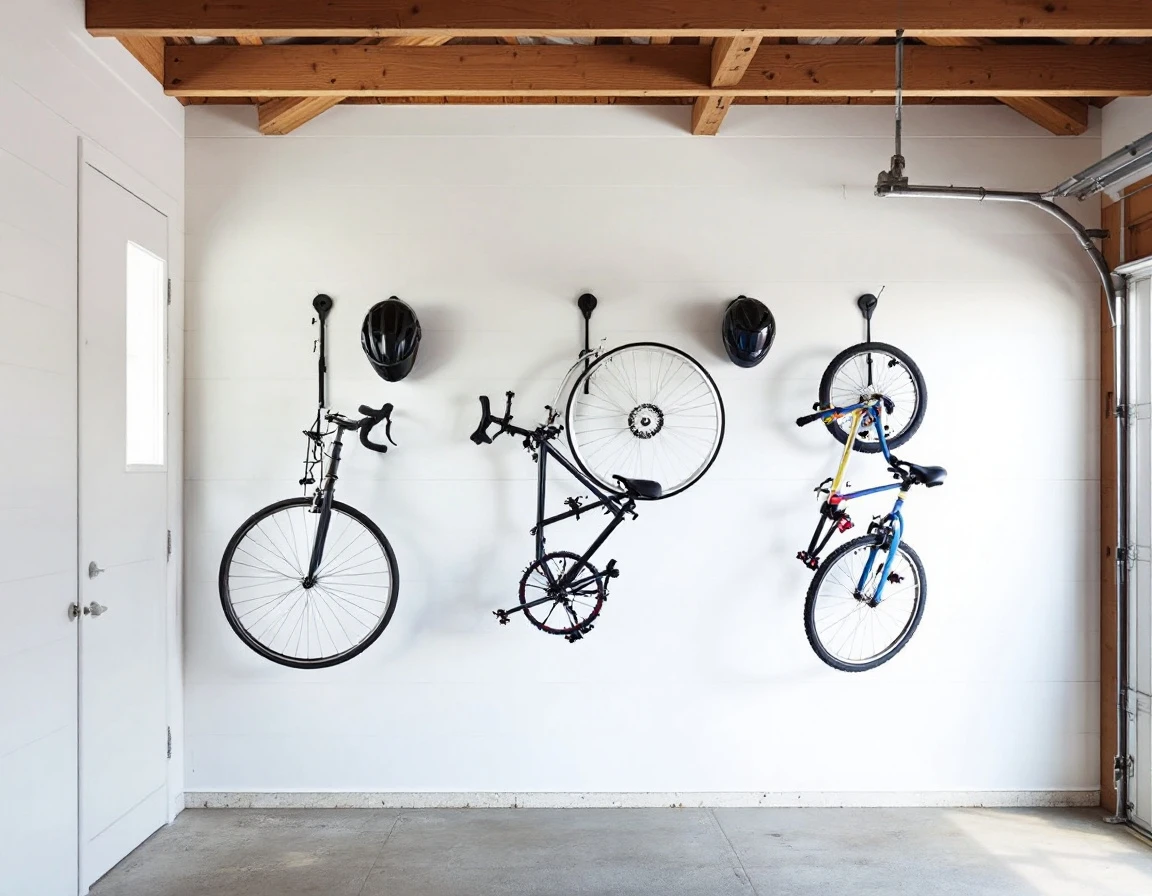
Now that bikes have their dedicated zone, it’s time to tackle the sports equipment area. August presents the perfect window to sort through cleats, balls, helmets, and protective gear before September’s packed schedules take over. Start by gathering every piece of equipment from car trunks, mudrooms, and garage corners, then sort by sport type.
Clear plastic bins with bold labels work wonders here. Group soccer gear together—balls, shin guards, cleats—in one bin. Baseball equipment gets its own container. Swimming accessories go in another. When children can see what’s inside at a glance, they find their own gear without calling for help. This simple system reduces the parental burden of hunting down missing items before practice.
Install adjustable shelving along garage walls to store these bins by frequency of use. Items needed weekly—like soccer gear during fall season—belong at eye level where kids can reach them independently. Seasonal equipment for winter sports or summer camps goes on higher shelves. Wall-mounted racks can hold larger items like tennis rackets or hockey sticks.
For smaller accessories, repurpose hanging shoe organizers. The clear pockets hold water bottles, gloves, goggles, and wristbands perfectly. During your August inventory, identify damaged shin guards or outgrown cleats now, not the night before the first game. Replace missing items while you still have time to shop around. For more affordable sports equipment storage solutions. Consider mixing open bins with wall-mounted racks.
School Supplies and Seasonal Items
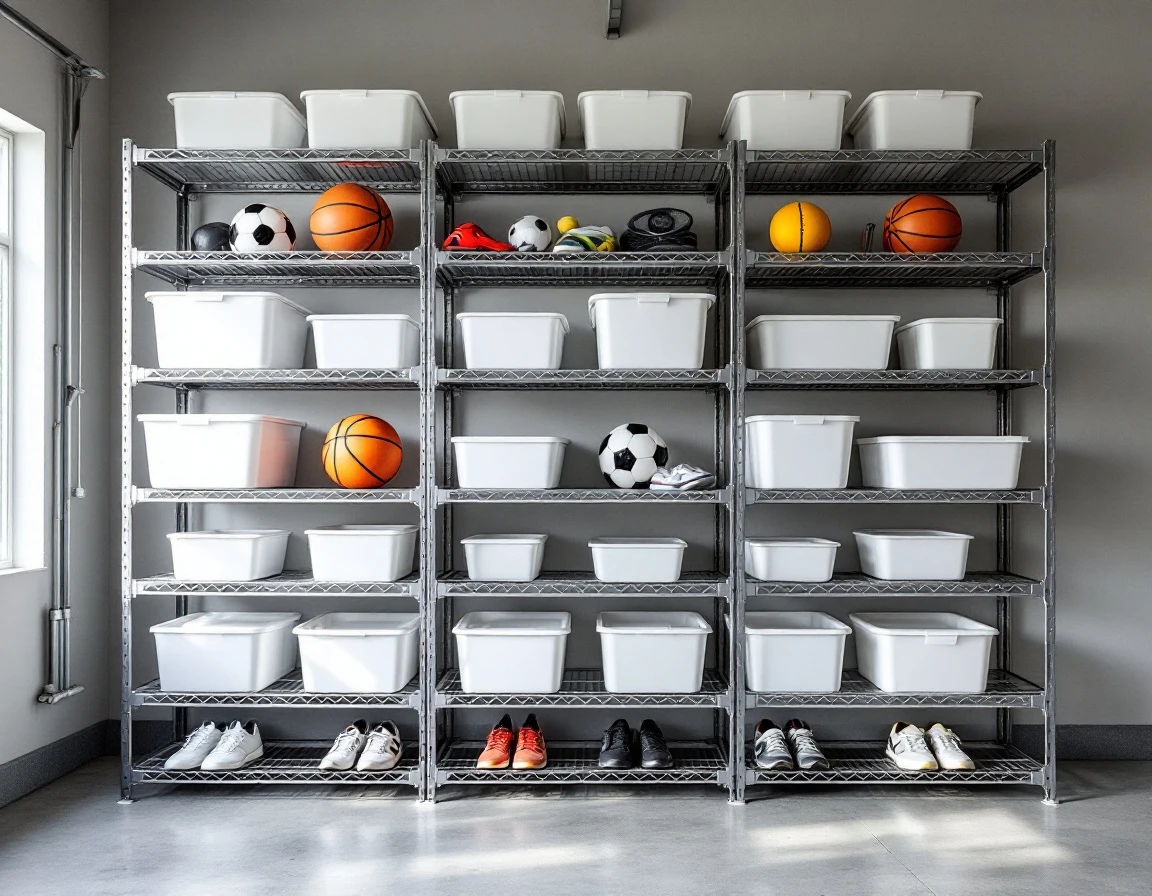
After organizing bikes and sports gear, dedicate your third zone to back-to-school supplies. Create a centralized station for pencils, notebooks, binders, and folders using labeled bins sorted by child or grade level. This approach eliminates the frantic morning search for supplies and helps you spot shortages before heading to the store.
Rolling carts work beautifully for school supply storage during the active school year. Position these on lower shelving or directly on the floor where kids can access them independently. When your third-grader runs out of graph paper or your middle schooler needs fresh index cards, they can wheel the cart to their workspace and restock without help. This setup also makes August prep sessions more efficient—you can roll the cart to your sorting area, load it by category, and return it to its designated spot.
Reserve your highest shelves for seasonal overflow like holiday decorations, winter sports equipment, or summer camping gear. These items don’t need daily access, so storing them above eye level frees valuable floor space for the supplies and gear your family uses regularly. Create a simple visual inventory system by affixing labels to the outside of each bin that list contents—”Winter Coats & Gloves” or “Halloween Decorations”—so family members can identify what needs replenishing without opening containers.
Measuring Your Space and Selecting Storage
Before you purchase a single shelf or bin, grab a tape measure and sketch out your garage’s footprint. Start by recording the width, depth, and wall heights, then note where doors, windows, electrical outlets, and overhead mechanisms are located. Most Portland-area garages run 16 to 18 feet wide and 20 to 24 feet deep. But your exact dimensions will determine which storage systems fit best.
Once you have measurements on paper, sketch a simple overhead view to scale—graph paper makes this easy. Mark where you need to park one or two vehicles, leaving about three feet of clearance on each side for door opening. Then outline your workspace area and any fixed features like water heaters or breaker panels. The remaining wall and overhead space is your storage canvas.
Now calculate how much vertical real estate you can actually use. Measure from floor to ceiling along each wall, accounting for garage door tracks and opener rails. This tells you whether you can install floor-to-ceiling shelving units or need shorter configurations. For overhead space above vehicles, confirm you have at least seven feet of clearance after storage installation.
When selecting products, prioritize adjustable shelving systems and modular bins that adapt as your family’s needs shift. Check out local retailers like The Home Depot on SE 82nd Avenue, Lowe’s locations throughout the metro area, or IKEA in Portland for affordable modular options. Adjustable wire shelving from brands like ClosetMaid or Gladiator lets you reconfigure shelf heights as sports equipment changes or school supply needs evolve. Stackable bins with clear fronts keep contents visible while growing with your system year after year. Slatwall systems allow for easy reconfiguration as your sports gear changes throughout the year.
August Timeline: Implementation Checklist
Ready to turn your garage zone plan into reality? Breaking the project into weekly goals makes the transformation manageable while keeping you on track for the first day of school. Here’s how to move from planning to completion in four weeks.
Week 1 (early August): Start by measuring your garage dimensions and sketching a layout to scale. Decide which zones to prioritize based on your family’s biggest pain points—whether that’s the daily bike scramble or sports equipment avalanches. Mark door swings, light switches, and electrical outlets on your sketch so you don’t block essential access points.
Weeks 2-3: Purchase your storage systems based on the measurements and layout you’ve finalized. Then organize a complete inventory of all bikes, sports equipment, and school supplies so you know exactly what needs a home. This is when you’ll catch missing items and damaged gear before school starts.
Weeks 3-4: Install wall mounts, shelving units, and zone labels according to your plan. Sort and store items in their assigned zones, grouping frequently used items at accessible heights.
Late August: Test the system with your family. Have each child practice grabbing their bike, finding their soccer cleats, or restocking school supplies. Adjust labels and placement based on what works—and what doesn’t. By September, you’ll start the school year with a garage that actually supports your family’s routine.





Leave A Comment