
Garage door installation is no easy feat. And, as such, you need to make sure you get it right. Here’s a quick guide to garage door installation.
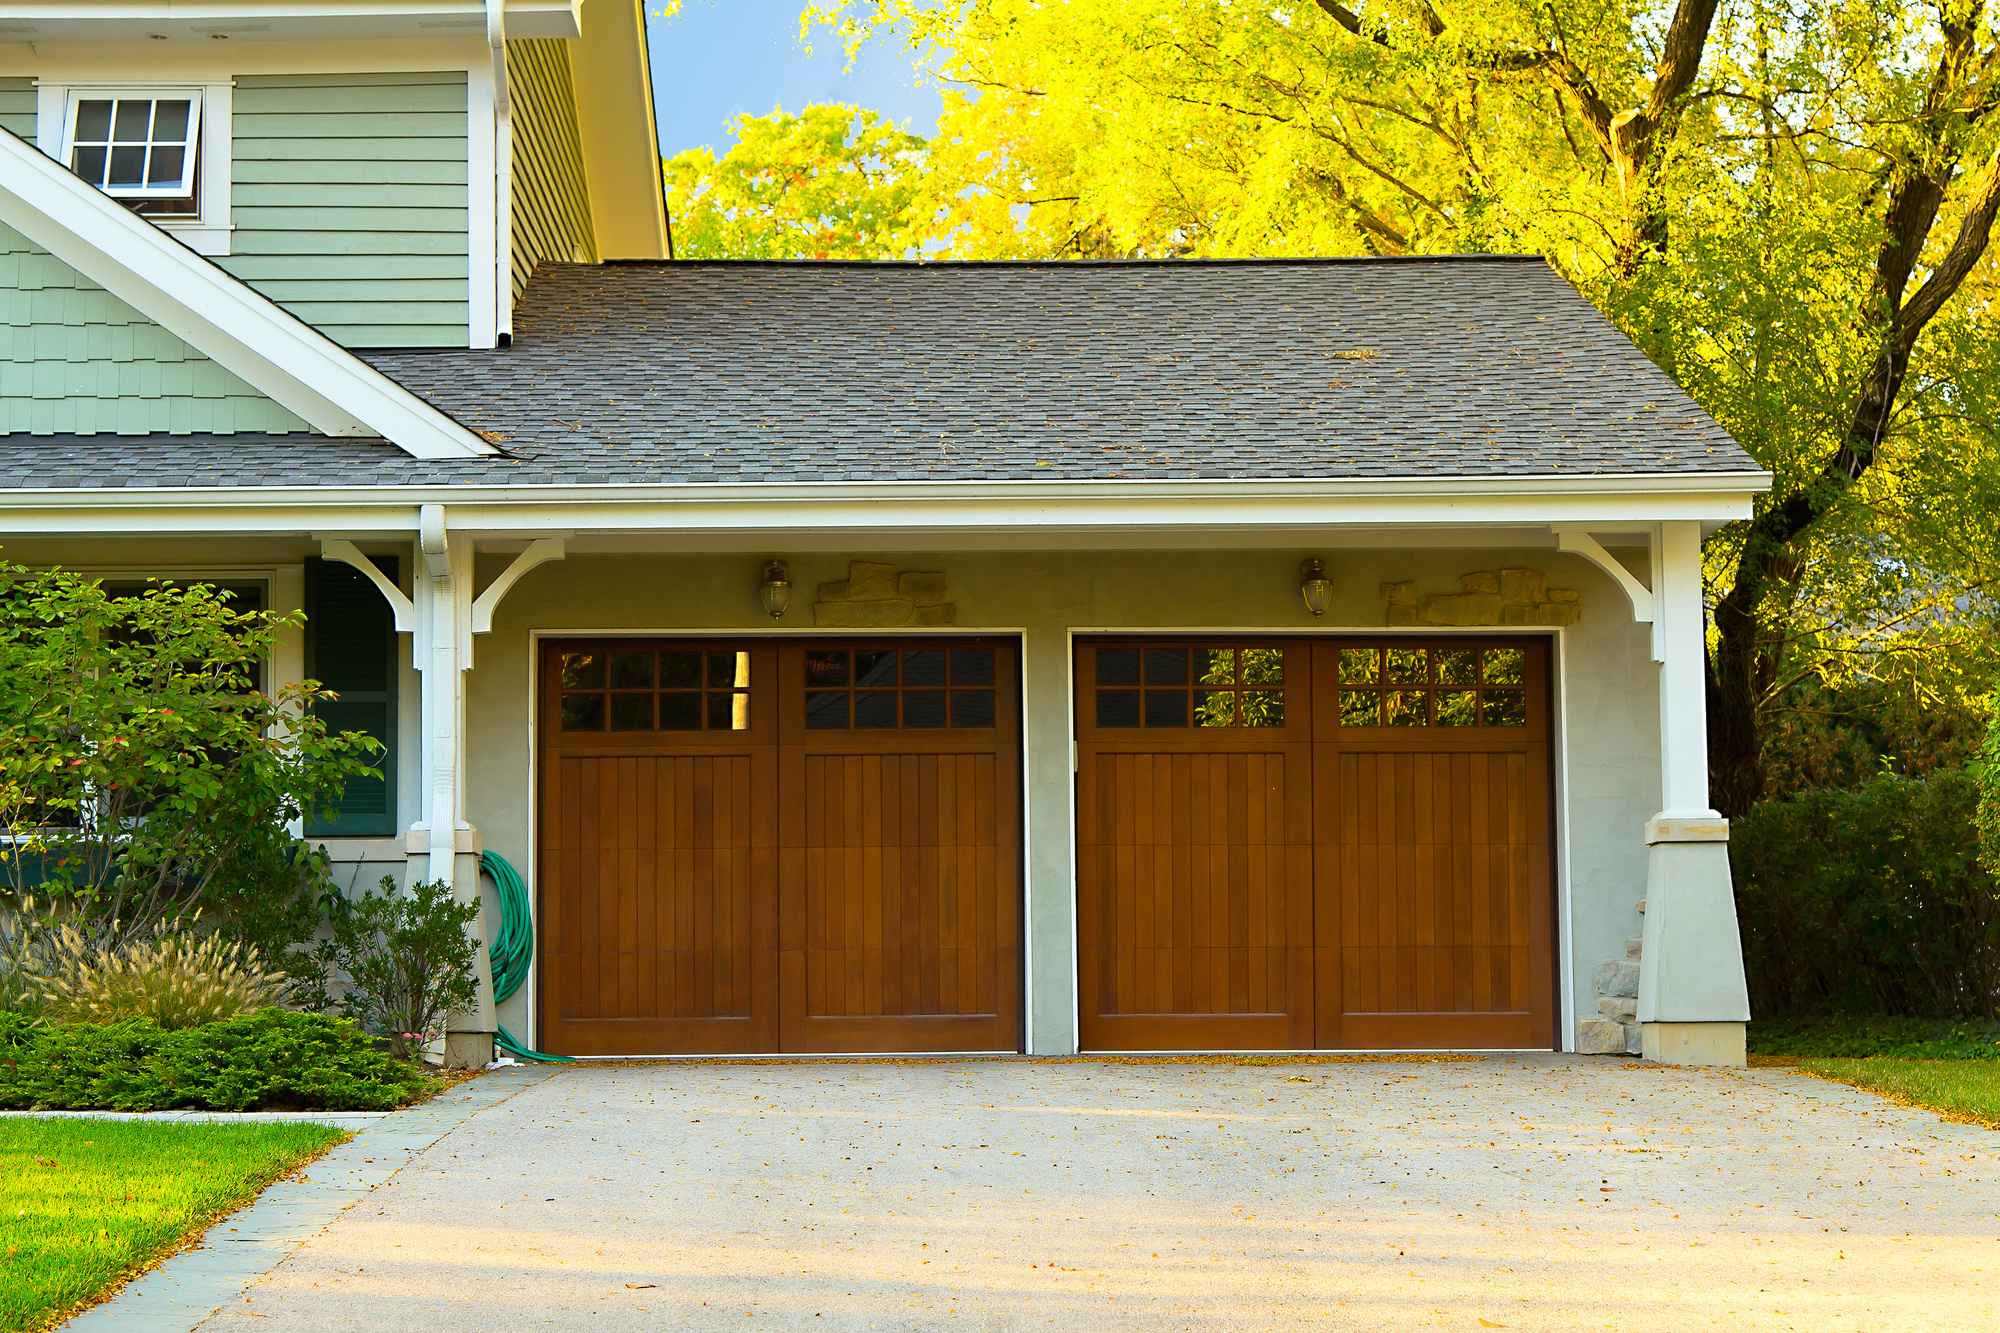
Is your current garage door showing signs of wear and tear and costing you lots of money on repairs? Well, it may be time to get a new one that will keep you safe and boost your home’s curb appeal.
A new garage door will require minimal maintenance and enhance your home’s energy efficiency. You also get to protect items stored in the garage from harsh weather conditions. A new garage door can give you an ROI of up to 93 percent when selling your home.
All modern garage doors come with clear instructions to take you through the entire installation process. Here are seven simple steps to follow during your next garage door installation:
1. Release the Tension
Clamp adjustable locking pliers onto the door’s torsion spring and wedge them against the header before installing the door. Insert a rod in one of the four holes of the spring winding cone. Hold it tightly with the steel rod in place and loosen all the screws that hold the winding cone.
Loosen the springs one at a time using the steel rod. You can also use two rods in the garage door opener installation to hold the cone firmly and turn it after loosening the first spring.
2. Detach the Current Opener and Door
The next step is to disconnect the current opener from the garage door. Remove the door panels starting at the top panels and detach the hinges joined to the panel. Wear glass handling gloves to prevent injury if the panels are made of glass.
Unbolt the track from the door frame to loosen the door. Unscrew the track from the top side and detach the opener if you have an automatic garage door.
3. Install the New Door Panels
Place a metal bar on the door’s top panel to prevent it from bending towards the center if you want to install a two-car garage door. Attach new hinges on top of the panels to allow the door to pivot one a single edge when opening or closing.
Install axle supports on the top of the door’s top panel and the bottom of its bottom panel. You should also place the lower panel onto the door’s opening. Drive a nail into the wall lying beside the panel and bend it over to support the panel.
Attach the next panel only when the panel is level to the door. Place it on the first panel while ensuring that the groove on the top panel lies on the ridge of the bottom panel. Repeat this process while ensuring that the first panel extends about one inch past the door opening top.
4. Secure All Hinges and Install the Track
The fourth step is to secure the top half of the hinges to the panels from inside. Attach wheeled axles onto the bottom, top axle supports, and side hinges while standing on the garage flooring.
Attach brackets onto the vertical track pieces to install the track. Refer to the instruction manual on the door to determine whether the brackets lie in the right places.
Place the brackets against the wall while ensuring that the wheels are lying on the track. You should then attach the door cable to the hook that lies in the bottom panel axle support. Complete this step by mounting the door’s bottom bracket onto the wall.
5. Join the Spring Assembly and Track Together
Assemble all the pieces for supporting the spring assembly and join them on the track. Refer to the instruction manual to ensure whether the parts lie in the right place.
Place the curved section of the track onto the vertical piece installed on step four. You should then join the other end to a ceiling bracket while using the same ceiling supports for your old door.
Join the door’s vertical track to the horizontal track using bolts. Remember to check whether the door lines up and fits well before tightening the bolts in place.
Continue this step by drilling holes through the horizontal track to be at par with the vertical track. Use the proper bolt measurements as you bolt all tracks together to avoid obstructing the track.
6. Install the Springs
Find the center of the door’s opening and mark this point onto the door header. You’ll need this point to attach the spring support later.
Join the spring anchors and springs together and then mount the spring locking cone on the joint. The locking cone will prevent the spring from loosening when subjected to high tension and reduce the need for a garage door spring replacement. You should also use bolts to attach the two springs to the header bracket.
Slide the torsion rod onto the holes in the header brackets lying on the side. You can then mount pulleys on each end of the metal rod, provided it is secure. Level the center of the assembly and secure the middle header bracket to the middle part of the header.
7. Attach the Cable
As you lift the cable, join it to a pulley wheel and turn the wheel to pull the slack from the door side. Push the wheel to the door’s header bracket and bolt it in place.
Use a pair of locking pliers to tighten the rod on the bracket to prevent it from turning. Continue this step by snapping a chalk line on the springs to know the number of times the springs turned when tightening them.
Tighten the springs with steel rods by turning them severally according to the recommendations given in the manual. Find out how many turns you used to tighten the spring by looking at the chalk line. Once there’s reduced tension, tighten the bolts to lock them and eliminate the pliers on the torsion rod.
Need a Garage Door Installation Service?
With a new garage door in your house, it is safer to access your garage at any time. Depending on the design and quality, you get to store your vehicle and other fragile items away from harsh weather. A professional garage door installation service is ideal if you can’t do the work on your own.
Reach out to Garage Harmony for expert garage door installation and garage door repair. Our company operates within Plano, TX, Vancouver, WA, Bend, OR, and Portland. Get your free quote today from our dedicated customer support staff.


Leave A Comment